
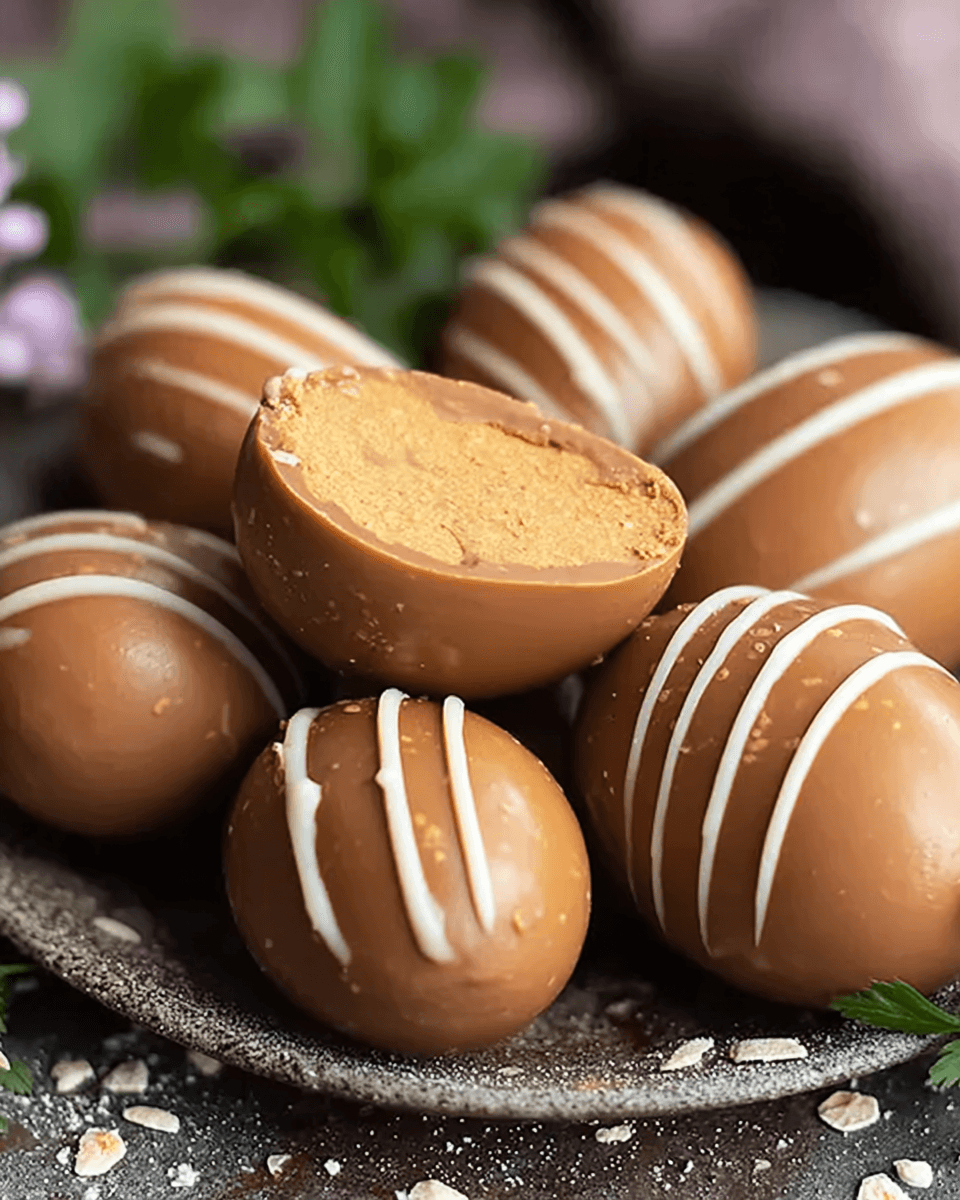
Introduction to Peanut Butter Eggs
There’s something magical about homemade treats, especially when they involve peanut butter and chocolate. Peanut Butter Eggs are a delightful combination that brings back memories of childhood, where every bite felt like a little celebration. Whether you’re looking for a quick solution for a busy day or a sweet surprise to impress your loved ones, this recipe is perfect. It’s simple, satisfying, and oh-so-delicious! Plus, making these treats at home means you can enjoy them fresh, without any of the preservatives found in store-bought versions. Let’s dive into this sweet adventure!
Why You’ll Love This Peanut Butter Eggs
These Peanut Butter Eggs are not just a treat; they’re a game-changer in the kitchen. They come together in no time, making them perfect for busy days or last-minute cravings. The creamy peanut butter filling paired with a rich chocolate coating creates a flavor explosion that’s hard to resist. Plus, they’re a hit with everyone, from kids to adults, ensuring smiles all around. Who wouldn’t love that?
Ingredients for Peanut Butter Eggs
Gathering the right ingredients is the first step to creating these delightful Peanut Butter Eggs. Here’s what you’ll need:
- Creamy Peanut Butter: The star of the show! It provides that rich, nutty flavor and smooth texture.
- Powdered Sugar: This sweetener gives the filling its delightful sweetness and helps it hold together.
- Vanilla Extract: A splash of this adds depth and enhances the overall flavor profile.
- Salt: Just a pinch balances the sweetness and brings out the flavors beautifully.
- Milk Chocolate Chips: These are for coating the eggs, offering a sweet, creamy finish. You can swap them for dark chocolate for a richer taste.
- Vegetable Oil: This helps the chocolate melt smoothly and gives it a nice sheen when coating the eggs.
Feel free to get creative! You can add a pinch of cinnamon for warmth or even crushed pretzels for a delightful crunch. For exact measurements, check the bottom of the article where you can find everything listed for easy printing.
How to Make Peanut Butter Eggs
Creating these Peanut Butter Eggs is a fun and straightforward process. Follow these simple steps, and you’ll have a batch of delicious treats ready to enjoy in no time!
Step 1: Mix the Peanut Butter Filling
Start by grabbing a mixing bowl. Combine the creamy peanut butter, powdered sugar, vanilla extract, and salt. Use a spatula or a sturdy spoon to mix everything together. You want it to be smooth and well-blended. The mixture should be thick but pliable, perfect for shaping into eggs. If it feels too sticky, a little extra powdered sugar can help!
Step 2: Shape the Eggs
Now comes the fun part! With clean hands, take a small amount of the peanut butter mixture and roll it into an egg shape, about one inch long. Place each shaped egg on a parchment-lined baking sheet. This step is crucial, as it helps them keep their shape. Once you’ve shaped all the eggs, pop the baking sheet into the refrigerator for at least 30 minutes. This will firm them up nicely.
Step 3: Melt the Chocolate
While the eggs are chilling, it’s time to melt the chocolate. In a microwave-safe bowl, combine the milk chocolate chips and vegetable oil. Heat the mixture in 30-second intervals, stirring in between. This method prevents the chocolate from burning. Keep going until it’s completely melted and smooth. The oil will give the chocolate a lovely sheen, making your eggs look even more tempting!
Step 4: Coat the Eggs
Once the peanut butter eggs are firm, it’s time to coat them. Take each egg and dip it into the melted chocolate, ensuring it’s fully covered. Use a fork to lift it out, allowing any excess chocolate to drip off. Return the coated eggs to the parchment-lined baking sheet. This step is where the magic happens, transforming your peanut butter filling into a chocolate-covered delight!
Step 5: Set the Chocolate
After all the eggs are coated, place the baking sheet back in the refrigerator for about 15 minutes. This final step allows the chocolate to set properly. Once it’s firm, your Peanut Butter Eggs are ready to be enjoyed! You can serve them immediately or store them in an airtight container in the fridge for up to a week. Trust me, they won’t last long!
Tips for Success
- Use room temperature peanut butter for easier mixing.
- Don’t skip the chilling step; it helps the eggs hold their shape.
- For a smoother chocolate coating, ensure the chocolate is fully melted and glossy.
- Experiment with different chocolate types for unique flavors.
- Keep your hands slightly damp when shaping the eggs to prevent sticking.
Equipment Needed
- Mixing Bowl: A medium-sized bowl works best. You can also use a large measuring cup if you’re short on bowls.
- Spatula or Spoon: For mixing the filling. A sturdy spoon will do just fine.
- Parchment Paper: Essential for lining your baking sheet. If you don’t have it, a silicone mat is a great alternative.
- Microwave-Safe Bowl: For melting chocolate. Any heatproof bowl will work.
- Fork: Handy for dipping the eggs into chocolate. A slotted spoon can also work in a pinch.
Variations
- Dark Chocolate Coating: Swap milk chocolate for dark chocolate for a richer, more intense flavor.
- Nutty Twist: Add chopped nuts like almonds or walnuts to the peanut butter mixture for extra crunch.
- Vegan Option: Use a plant-based chocolate and substitute the creamy peanut butter with almond or cashew butter.
- Flavor Infusions: Mix in a teaspoon of maple syrup or honey for a different sweetness profile.
- Spicy Kick: Add a pinch of cayenne pepper or chili powder to the peanut butter for a surprising heat.
Serving Suggestions
- Pair your Peanut Butter Eggs with a glass of cold milk for a classic combination.
- Serve them alongside fresh fruit like strawberries or bananas for a refreshing contrast.
- For a fun presentation, arrange them on a colorful platter with a sprinkle of sea salt on top.
- Consider adding a scoop of vanilla ice cream for an indulgent dessert experience.
FAQs about Peanut Butter Eggs
As you embark on your journey to create these delightful Peanut Butter Eggs, you might have a few questions. Here are some common queries that can help you along the way:
Can I use crunchy peanut butter instead of creamy?
Absolutely! Crunchy peanut butter will add a fun texture to your Peanut Butter Eggs. Just keep in mind that it may alter the smoothness of the filling slightly.
How long do these treats last?
When stored in an airtight container in the refrigerator, your Peanut Butter Eggs can last up to a week. But trust me, they’ll likely be gone long before that!
Can I freeze Peanut Butter Eggs?
Yes, you can freeze them! Just make sure they’re in a single layer on a baking sheet until frozen, then transfer them to an airtight container. They’ll keep for about a month in the freezer.
What can I substitute for powdered sugar?
If you don’t have powdered sugar on hand, you can make your own by blending granulated sugar in a blender until it’s fine. Just be sure to measure it after blending for the best results.
Can I add flavors to the chocolate coating?
Definitely! You can mix in a bit of peppermint extract or orange zest to the melted chocolate for a unique twist. Just remember to start with a small amount and taste as you go!
Final Thoughts
Making Peanut Butter Eggs is more than just a recipe; it’s a delightful experience that brings joy to both the cook and the lucky recipients. The combination of creamy peanut butter and rich chocolate creates a nostalgic treat that can brighten any day. Whether you’re whipping them up for a special occasion or just because, these homemade delights are sure to impress. Plus, the smiles on your loved ones’ faces as they savor each bite make all the effort worthwhile. So, roll up your sleeves and dive into this sweet adventure—you won’t regret it!
Peanut Butter Eggs: Make Irresistible Treats Today!
Ingredients
Method
- In a mixing bowl, combine the peanut butter, powdered sugar, vanilla extract, and salt. Mix until smooth and well combined.
- Using your hands, shape the mixture into egg shapes, about 1 inch long. Place the shaped eggs on a parchment-lined baking sheet and refrigerate for at least 30 minutes to firm up.
- While the eggs are chilling, melt the chocolate chips and vegetable oil together in a microwave-safe bowl. Heat in 30-second intervals, stirring in between, until completely melted and smooth.
- Remove the peanut butter eggs from the refrigerator. Dip each egg into the melted chocolate, ensuring it is fully coated. Return the coated eggs to the parchment-lined baking sheet.
- Once all the eggs are coated, refrigerate again for about 15 minutes to set the chocolate.
- Serve immediately or store in an airtight container in the refrigerator for up to one week.
Nutrition
Notes
- For a richer flavor, try using dark chocolate instead of milk chocolate.
- You can also add a pinch of cinnamon or a few crushed pretzels to the peanut butter mixture for added texture and flavor.