
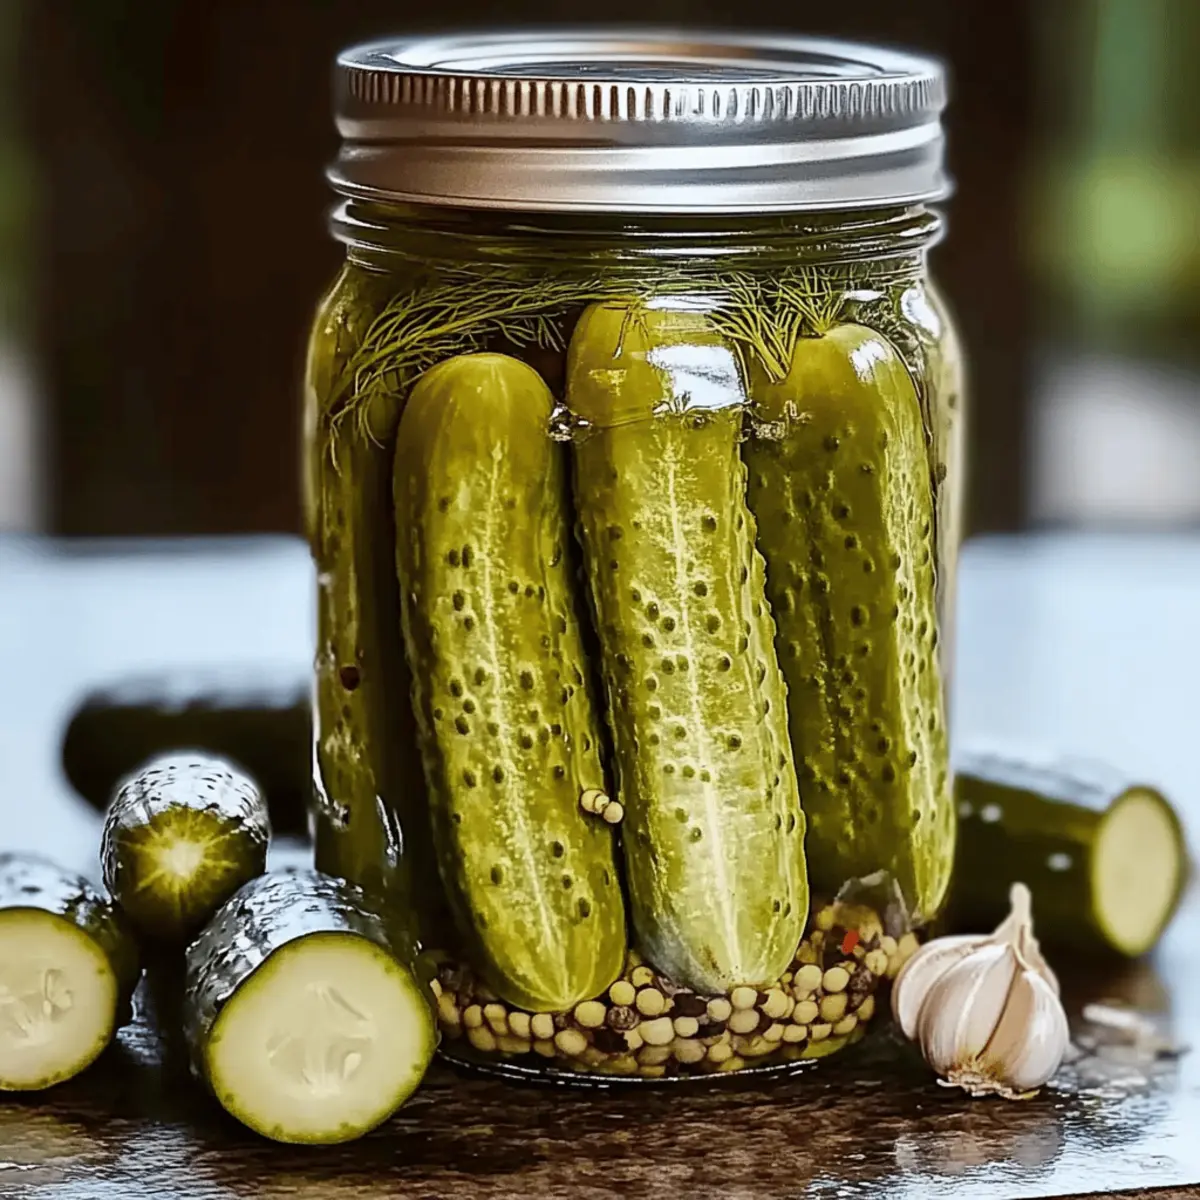
As the first signs of summer arrive, I can’t help but feel a surge of excitement for all things pickled. There’s something incredibly satisfying about making Easy Homemade Canned Dill Pickles; each jar filled with crisp cucumbers, fragrant garlic, and aromatic dill unveils the essence of this vibrant season. Beyond the simple pleasure of preserving summer’s bounty, these pickles allow you to ditch the fast-food routine while indulging in a homemade delight that’s both a crowd-pleaser and surprisingly quick to whip up! With just a handful of ingredients and minimal prep time, you’ll soon have delicious, tangy pickles ready to brighten up sandwiches, salads, or your snack platter. Ready to dive into this delightful canning adventure? Let’s create something special together!
Why Are Canned Dill Pickles So Popular?
Simplicity: The process is incredibly easy, making it perfect for both beginners and seasoned pros in the kitchen.
Fresh Ingredients: Using ripe cucumbers, fragrant garlic, and fresh dill ensures a vibrant flavor that elevates your dishes.
Crowd-Pleasing: These pickles are a hit at parties and picnics—offering something homemade that your friends and family will love!
Healthier Choice: Unlike store-bought varieties, you control the ingredients, reducing preservatives and adjusting sweetness and saltiness to your taste.
Versatile: Enjoy them as a snack, alongside burgers, or in salads; their crunchy burst of flavor complements countless meals.
Get ready to relish these delightful canned dill pickles and experience the joy of homemade goodness! For more tips on preserving flavors, check out our guide on Canning Basics.
Canned Dill Pickle Ingredients
For the Pickles
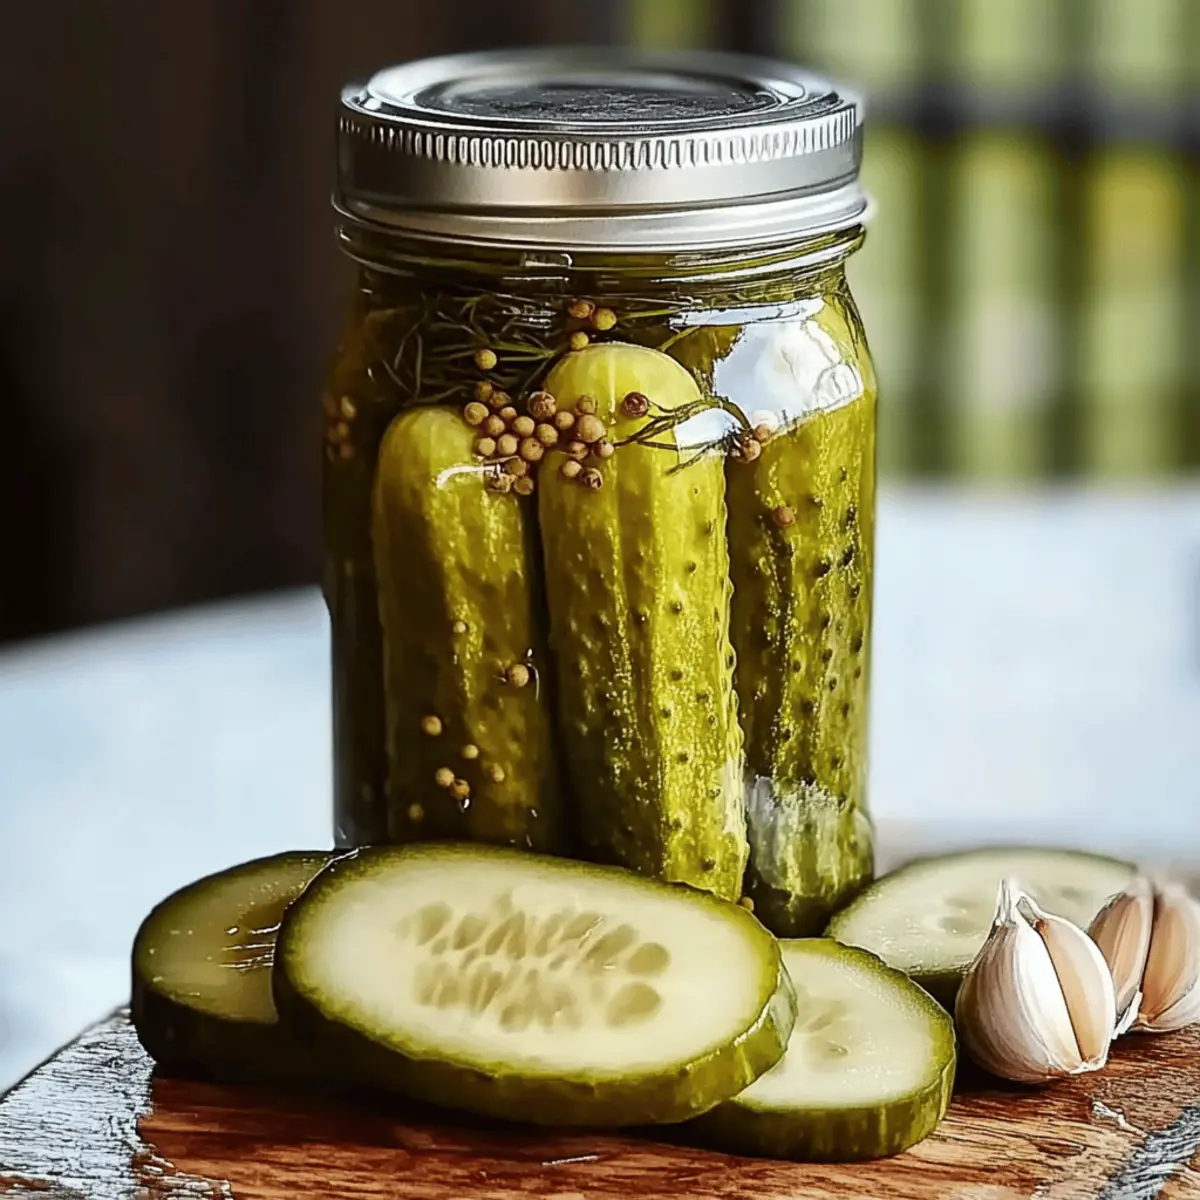
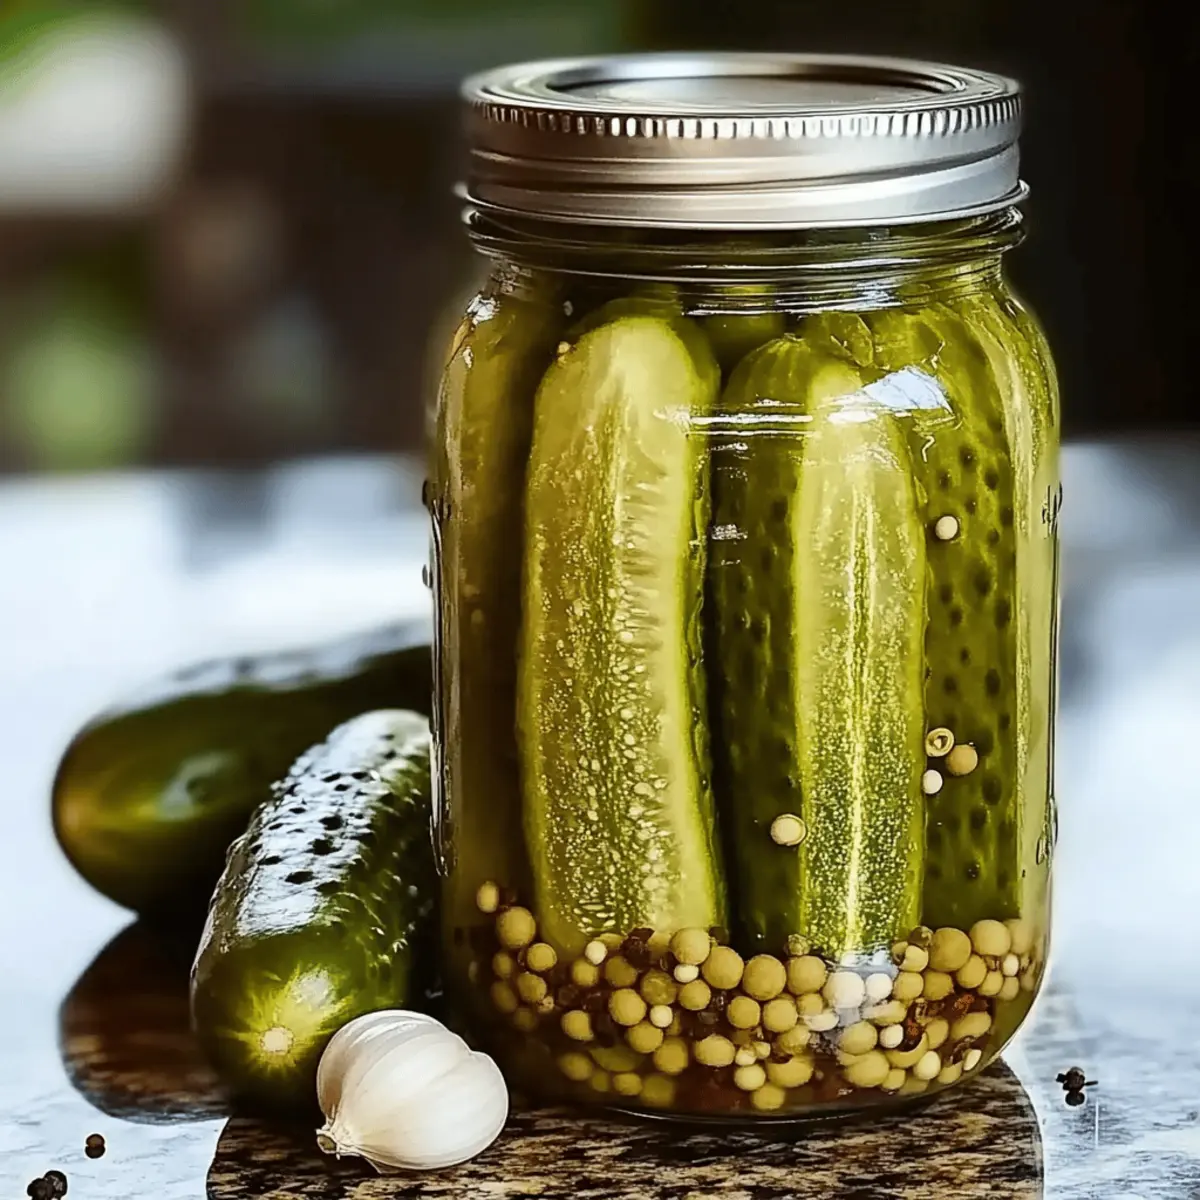
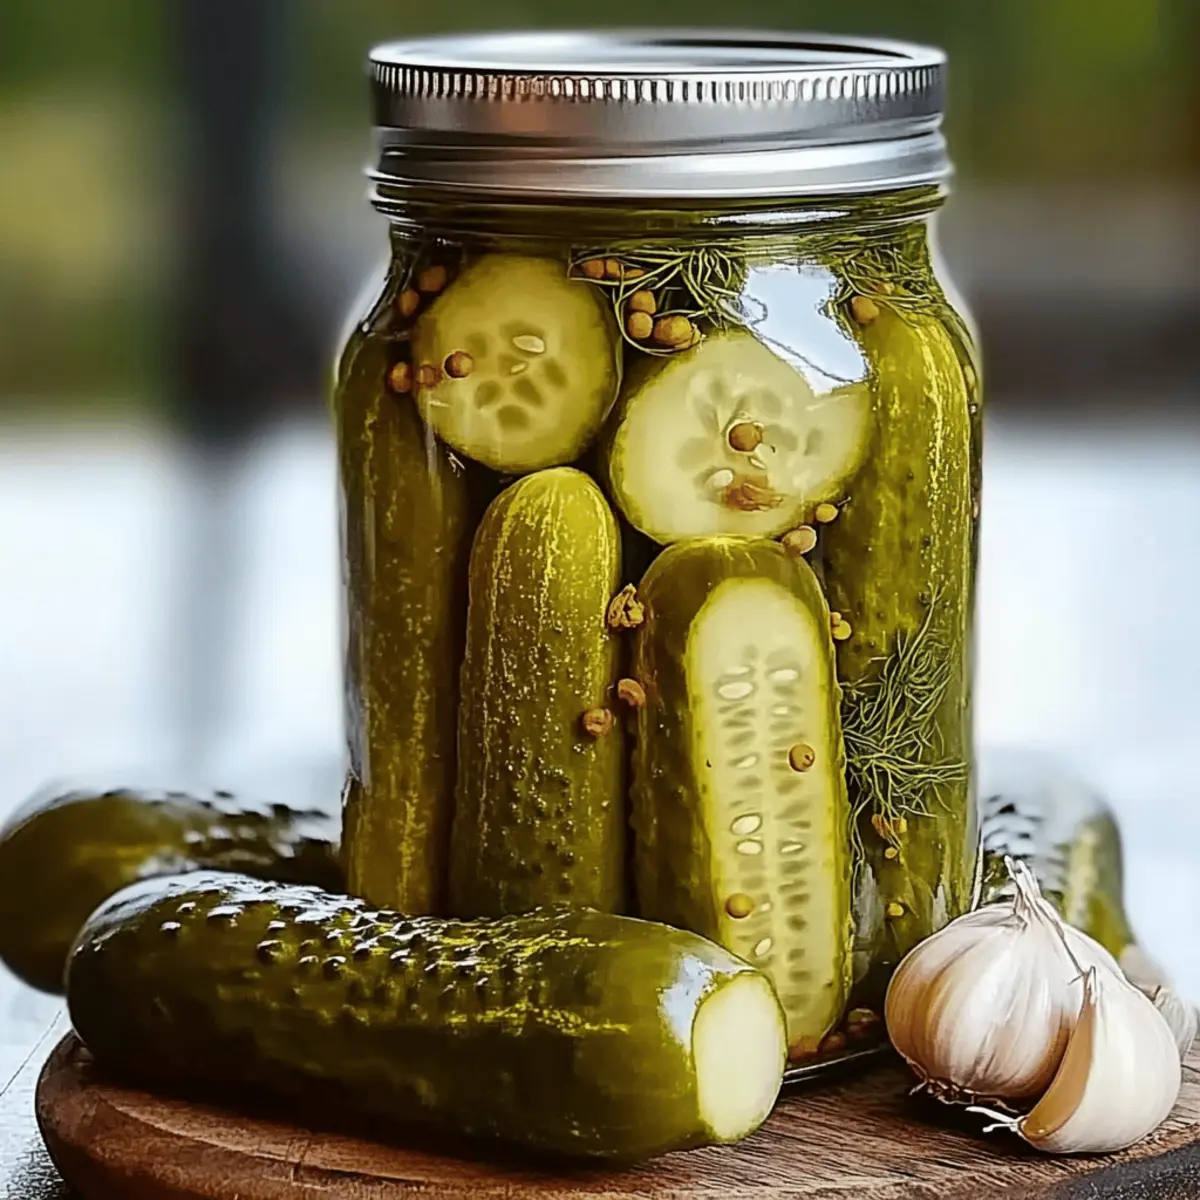
• Cucumbers – Fresh pickling varieties give you that satisfying crunch, so opt for firm, bumpy-skinned cucumbers for the best results.
• Garlic Cloves – Adds a robust flavor; use whole for milder notes or crushed for a bolder bite.
• Fresh Dill – The star ingredient for that classic dill flavor; dried dill can substitute, but expect a slightly less vibrant taste.
For the Brine
• White Vinegar – Provides essential sourness for pickling; distilled vinegar is recommended for its sharp flavor profile.
• Water – This balances out the vinegar, creating a harmonious brine that isn’t too overpowering.
• Salt – Essential for flavor and preservation—choose pickling or kosher salt to keep your pickles pure.
• Sugar – Balances the vinegar’s acidity; feel free to adjust this to create your perfect canned dill pickle sweetness.
Dive into the art of preserving summer with these Canned Dill Pickles that will invigorate your meals and offer a pop of freshness whenever you need it!
Step‑by‑Step Instructions for Canned Dill Pickles
Step 1: Prepare Jars
Begin by sterilizing your jars and lids to avoid spoilage. Place them in a large pot of boiling water for about 10 minutes, ensuring that they are fully submerged. This essential step in making Canned Dill Pickles not only cleans but also ensures your pickles stay fresh and safe.
Step 2: Prepare Cucumbers
While the jars are sterilizing, rinse your fresh pickling cucumbers under cold water. Slice them into spears or rounds—whichever shape you prefer. Look for firm, bumpy-skinned varieties for that satisfying crunch. Arrange them in bowls, ready for packing into the jars once your brine is ready.
Step 3: Make Brine
In a large pot over medium heat, combine water, white vinegar, salt, and sugar. Stir until the salt and sugar are completely dissolved. Bring the mixture to a gentle boil for about 3-5 minutes. The aroma of the bubbling brine will tell you it’s ready! This brine is key to the tangy flavor of your Canned Dill Pickles.
Step 4: Pack Jars
Remove sterilized jars from the boiling water (be careful, they’ll be hot!). Layer the cucumber spears with garlic cloves and fresh dill in each jar, packing them tightly but leaving about half an inch of space at the top. This layering not only looks beautiful but ensures each bite is flavorful.
Step 5: Pour Brine
Using a funnel, carefully pour the hot brine over the packed cucumbers, ensuring they are fully submerged. Leave about half an inch of headspace at the top of each jar. Seal the jars tightly with your sterilized lids—this sealing is essential in keeping your Canned Dill Pickles fresh.
Step 6: Process Jars
Process the jars by placing them in a boiling water bath. Ensure they are covered with water and boil for about 10 minutes. This step is crucial for creating a vacuum seal, which keeps your pickles safe for longer. Listen for the delightful pop as the jars seal!
Step 7: Cure
Once processed, remove the jars and let them cool completely at room temperature. Store them in a cool, dark place for at least one week before opening. This curing period allows the flavors to meld, enhancing the taste of your delightful Canned Dill Pickles.
Canned Dill Pickle Variations
Feel free to get creative with your pickles! Each twist offers a new adventure for your taste buds.
-
Spicy Kick: Add crushed red pepper flakes to the brine for a zesty twist that warms your palate with each bite. A sprinkle brings just the right amount of heat to your delightful pickles!
-
Sweet & Tangy: Substitute half the sugar with honey for a delightful touch of natural sweetness balanced with tangy flavors. This creates a unique blend that works wonderfully on sandwiches or as a stand-alone snack.
-
Garlic Lovers: Double the garlic cloves for a more robust flavor. The extra garlic infuses the brine, delivering a satisfying bite in every cucumber spear, elevating your pickles to the next level!
-
Vinegar Swap: Try using apple cider vinegar instead of white vinegar for a milder, tangy flavor profile. This simple swap adds a touch of fruitiness, making your pickles both delicious and unique.
-
Herb Garden: Add fresh herbs like tarragon or oregano along with dill for a flavorful herbal twist. Each herb enhances the brine, turning ordinary pickles into an extraordinary flavor experience that channels a summer garden!
-
Mixed Veggies: Toss in thinly sliced carrots or bell peppers with your cucumbers for vibrant mixed pickles. This colorful addition not only looks great but adds exciting crunch and taste, perfect for snacking!
-
Zesty Citrus: Incorporate lemon or lime zest into the brine for a fresh citric hit. This lively zing brightens the pickles and gives them a refreshing twist that’s just perfect for summer gatherings.
By exploring these variations, you can personalize your canned dill pickles to match your tastes! Dive into canning with these delicious ideas, and consider pairing them with our guide on Canning Basics for even more tips!
What to Serve with Easy Homemade Canned Dill Pickles
Nothing pairs better with the zesty crunch of homemade pickles than simple, wholesome dishes that highlight their vibrant flavors.
- Fresh Sandwiches: Layered with turkey, ham, or veggies, sandwiches are elevated by the crunch and tang of pickles, making each bite a delight.
- Classic Potato Salad: The creamy texture and mild flavors of potato salad harmonize beautifully with the bright acidity of dill pickles, adding depth to each forkful.
- Charcuterie Boards: Complemented by cheeses, meats, and olives, a charcuterie board is incomplete without the zest of pickles, adding a refreshing crunch.
- Crunchy Salads: Tossing diced pickles into garden salads or coleslaw brings a tangy twist that pairs perfectly with crisp greens and creamy dressings.
- Grilled Burgers: The tangy crunch of pickles is a classic topping for juicy burgers, balancing flavors and adding an irresistible crunch with every bite.
- Homemade Hummus Dip: Serve pickles alongside smooth, creamy hummus for a delightful contrast of textures—a perfect snack for gatherings or cozy evenings.
- Cold Pasta Salad: The refreshing notes of pickles can brighten up a pasta salad, infusing it with a delightful hint of summer in each mouthful.
- Savory Home-Cooked Meals: From roasted meats to hearty stews, pickles provide a flavorful contrast that enhances the overall dining experience.
- Chilled White Wine: A glass of crisp, chilled white wine complements the tangy kick of your pickles, making for a refreshing pairing.
- Ice Cream Churned Desserts: Surprise guests by serving pickles as an unexpected contrast alongside sweet, creamy desserts for a unique culinary experience that sparks interest.
Storage Tips for Canned Dill Pickles
Cool Place: Store sealed jars of your canned dill pickles in a cool, dark place, such as a pantry or basement, where they can last for up to one year unopened.
Refrigeration: Once a jar is opened, keep it in the refrigerator, consuming within two months for the best quality and crunchiness.
Check Seals: Always inspect jars for proper seals before storing; if any jars haven’t sealed correctly, refrigerate and use them within two weeks.
Avoid Sunlight: Exposure to light can affect the flavor and quality of your pickles, so always ensure they are kept away from direct sunlight for storage.
Make Ahead Options
These Canned Dill Pickles are perfect for meal prep enthusiasts looking to save time in the kitchen! You can prepare the jars and cook the brine up to 24 hours in advance without sacrificing flavor. Simply sterilize the jars, prepare the cucumbers, and store them in the fridge until you’re ready to proceed. When you’re ready to finish making your pickles, layer the cucumbers with garlic and dill in the sterilized jars, pour the hot brine over, seal, and process. This quick prep will allow you to enjoy tangy, crunchy pickles that are just as delicious as if made fresh, all while easing your cooking load on busy days.
Expert Tips for Canned Dill Pickles
• Choose the Right Cucumbers: Always opt for fresh pickling cucumbers—they’re firmer and crunchier than regular varieties, ensuring the best texture in your canned dill pickles.
• Sterilize Properly: Don’t skip the sterilization of jars! Properly cleaning your jars in boiling water prevents contamination, keeping your pickles safe for longer.
• Adjusting the Brine: Feel free to tweak the salt and sugar levels in the brine according to your preference but remember, too much vinegar can overpower the flavor of your canned dill pickles.
• Curing Time: Allow your pickles to sit for at least a week before tasting; a two-week wait will yield even bolder flavors as the ingredients meld together beautifully.
• Seal Checks: If any jars don’t seal properly after processing, refrigerate them immediately and consume within two weeks or reprocess them within 24 hours to ensure safety.
Canned Dill Pickles Recipe FAQs
What type of cucumbers should I use for making canned dill pickles?
Absolutely! For the best results, opt for fresh pickling cucumbers, also known as Kirby cucumbers. They have a firm texture and bumpy skin, ensuring that delightful crunch in every bite. Look for cucumbers that are free from blemishes and dark spots all over, as these can indicate overripeness.
How long can I store my canned dill pickles?
Once sealed, your homemade canned dill pickles can be stored in a cool, dark place for up to one year. If opened, keep them refrigerated and consume within two months for optimal freshness. Always check the seals before storage; any jars that haven’t sealed properly should be refrigerated and used within two weeks.
Can I freeze canned dill pickles?
Freezing pickles isn’t recommended as the texture may change after thawing, leading to a mushy result. Instead, enjoy your canned dill pickles fresh from the jar! If you’re looking to preserve cucumbers for longer, consider making a quick pickle or relish that can be frozen.
What should I do if my jars didn’t seal correctly?
If your jars don’t seal after processing, don’t panic! Refrigerate them immediately and consume within two weeks. Alternatively, you can reprocess the jars within 24 hours. Simply remove the lids, check the rim for any debris, reheat the brine, refill the jars, and process again for about 10 minutes.
Are there any dietary considerations for canned dill pickles?
Great question! Homemade canned dill pickles are generally healthy and can be customized to fit various dietary needs. However, if you or anyone you’re serving is sensitive to sodium, you might want to adjust the salt levels in the brine. As for pets, garlic is not recommended for dogs, so be cautious if you plan to share those pickles with your furry friends!
How do I know when my pickles are ready to eat?
It’s really exciting to wait for those flavors to meld! Ideally, allow your pickles to cure for at least one week, but for the best flavor, resist the temptation for two weeks if you can. The longer they sit, the more flavorful they become, as the garlic and dill work their magic!
Canned Dill Pickles You'll Love for Crunchy Summer Snacking
Ingredients
Equipment
Method
- Sterilize jars and lids in boiling water for about 10 minutes.
- Rinse cucumbers under cold water and slice them into spears or rounds.
- Combine water, white vinegar, salt, and sugar in a pot; stir until dissolved and boil for 3-5 minutes.
- Layer cucumber spears with garlic and dill in prepared jars.
- Pour hot brine over jars, leaving half an inch of headspace, and seal tightly.
- Process jars in boiling water bath for about 10 minutes.
- Let process jars cool completely at room temperature for at least one week before consuming.