
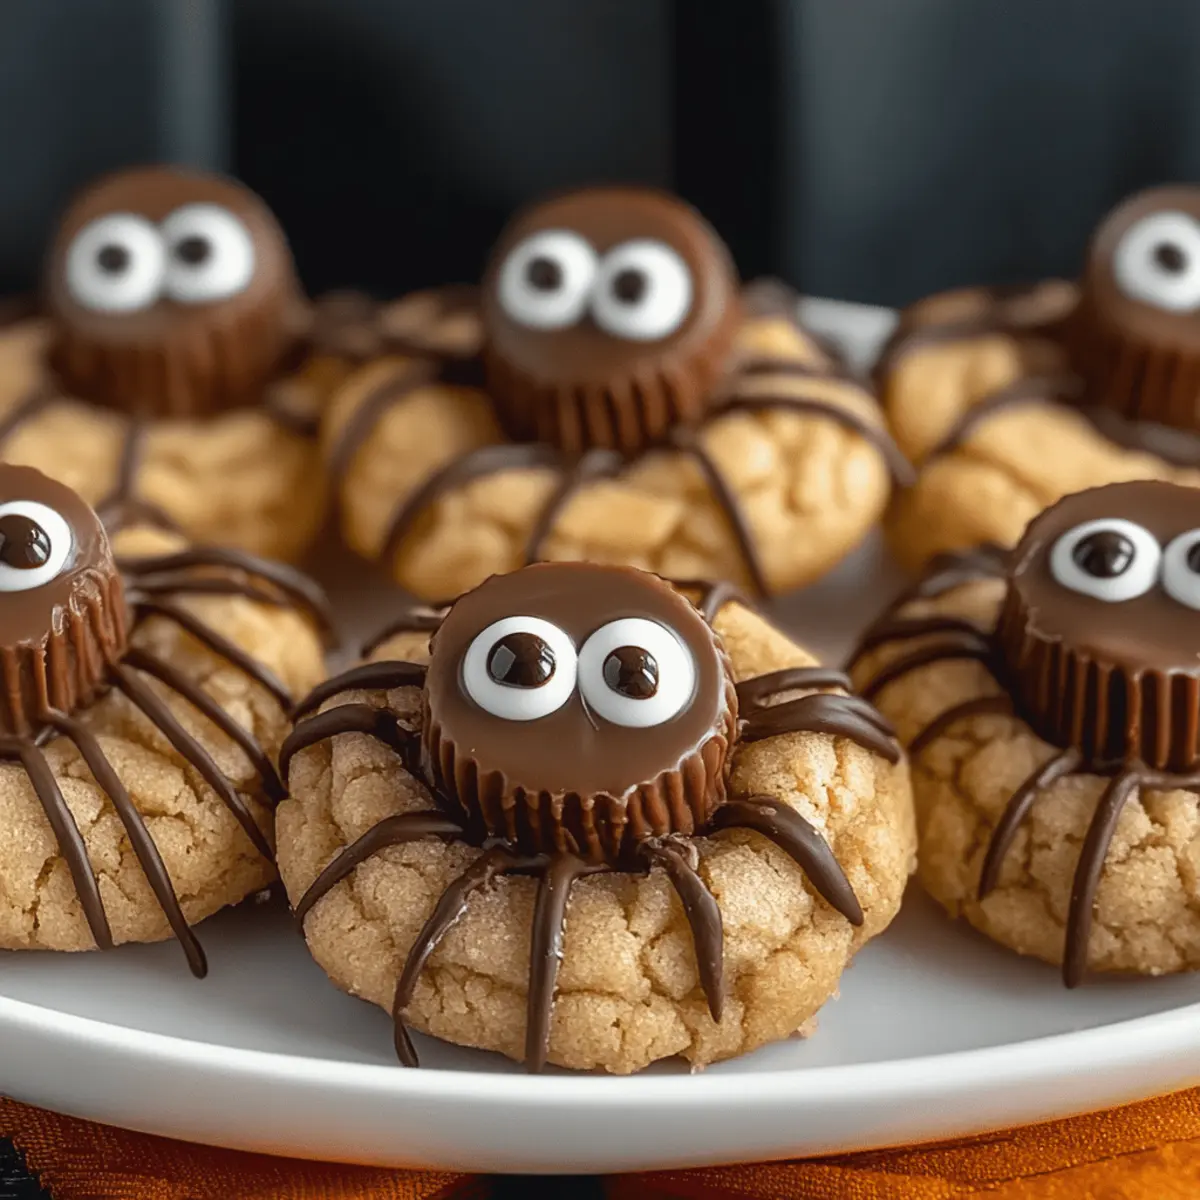
Halloween is right around the corner, and if you’re like me, you’re craving something that combines fun and flavor. Enter these Peanut Butter Spider Cookies—your new go-to for festive baking! This recipe transforms soft, chewy peanut butter cookies into adorable Halloween treats that are perfect for kids and adults alike. With their deliciously rich peanut butter base topped with Reese’s cups, melted chocolate, and playful candy eyes, these cookies are not just visually enchanting but also super easy to make. Plus, they’re a fantastic way to bring a little creativity to your kitchen while delighting your guests at parties or packing them into lunchboxes. So, are you ready to whip up these charming cookies that stand out more than any store-bought option?
Why Are These Cookies So Fun?
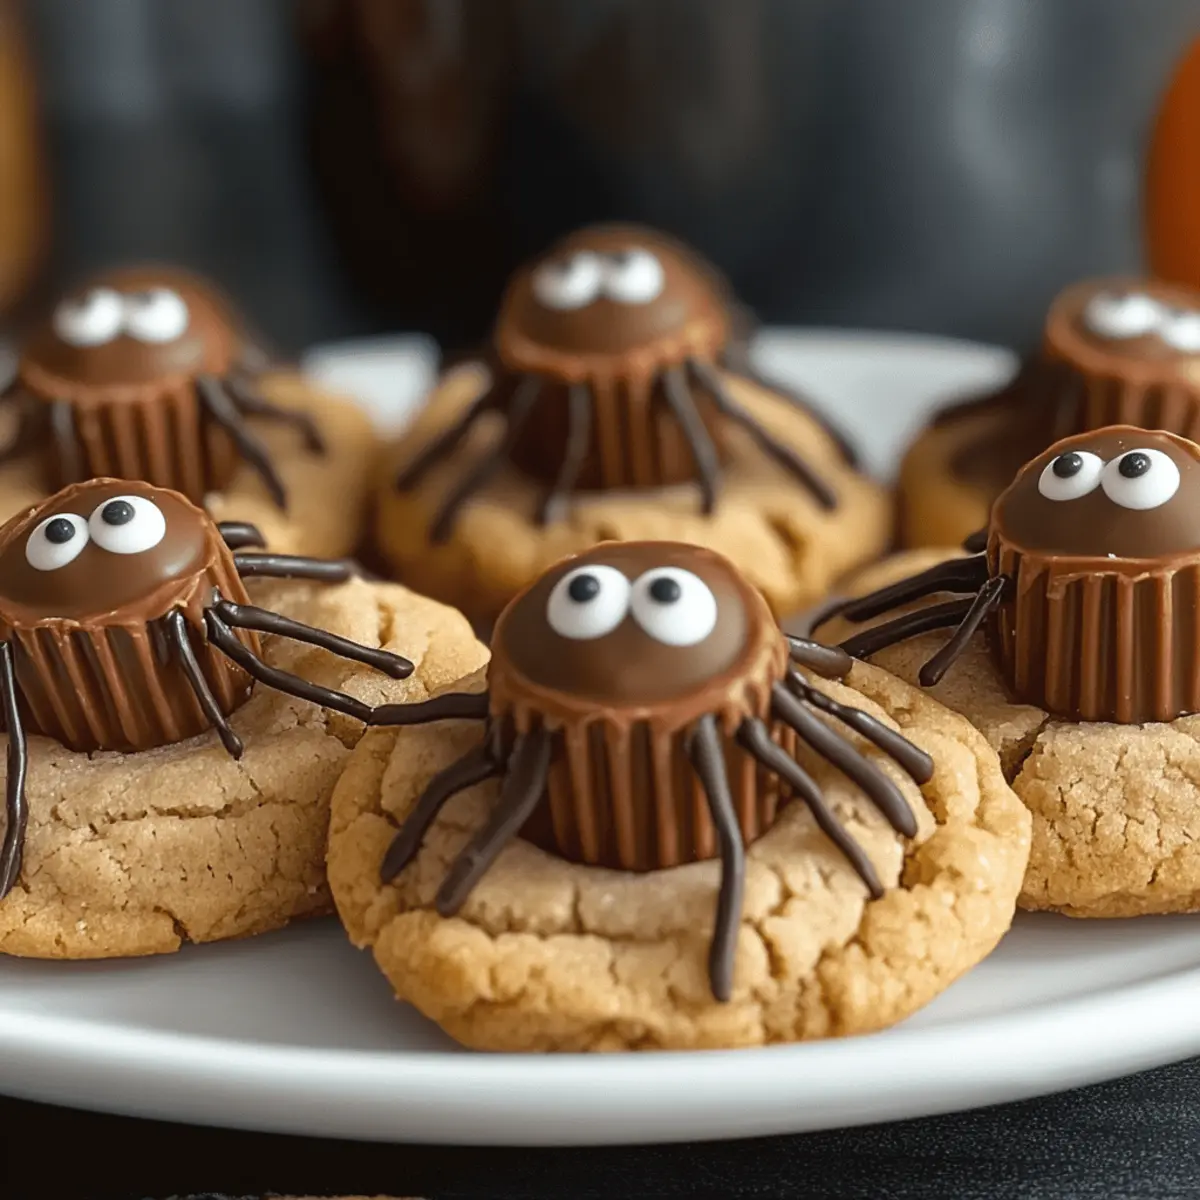
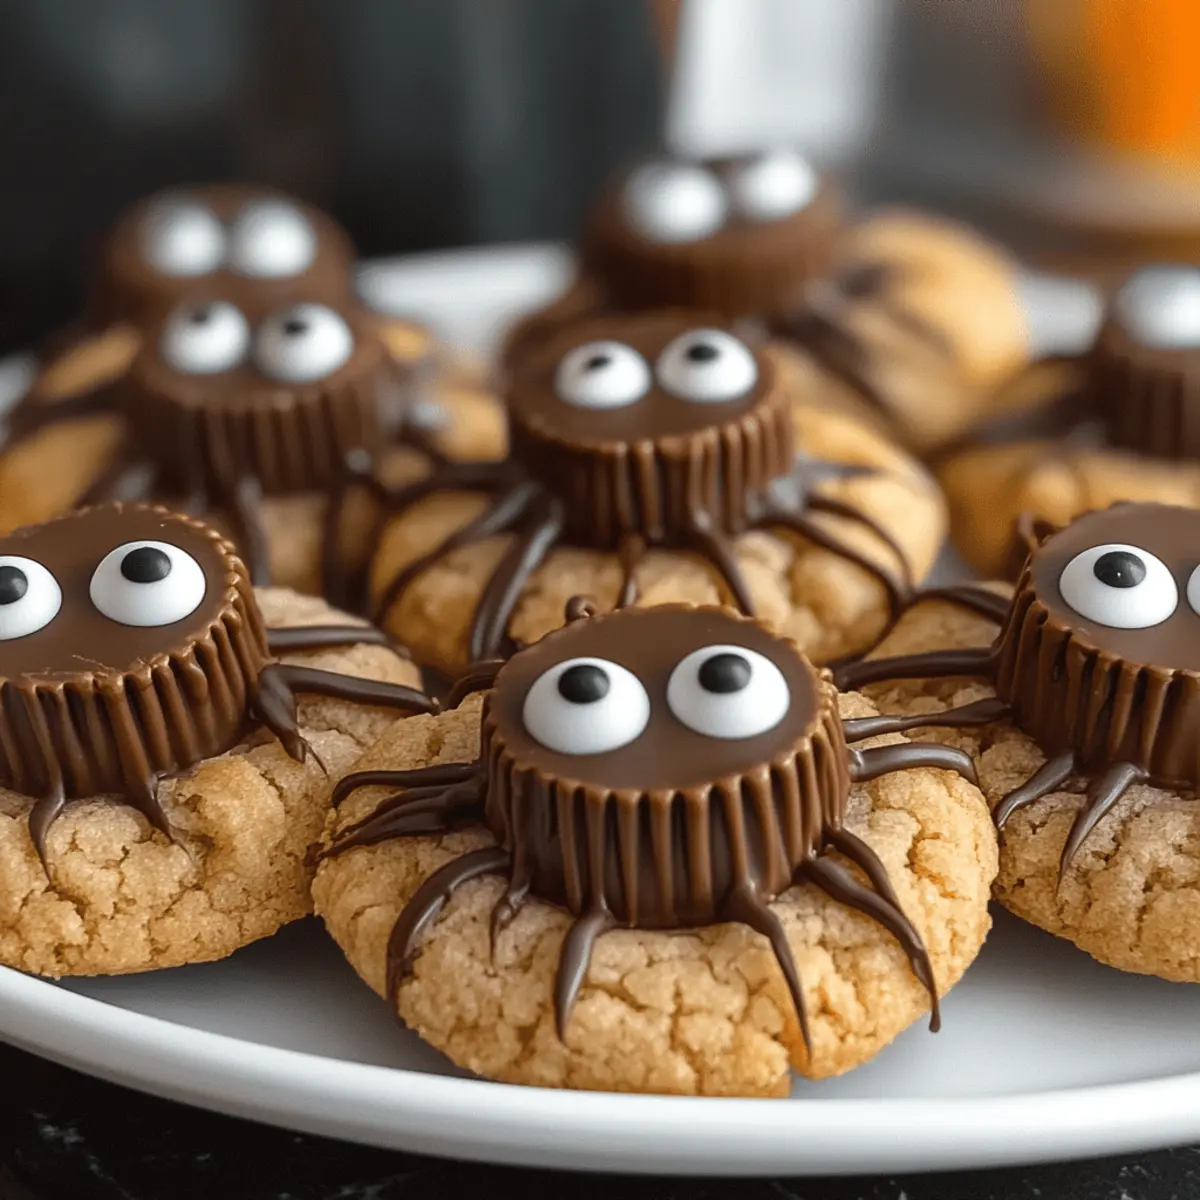
Playful, these Peanut Butter Spider Cookies are more than just a tasty treat; they’re a delightful activity for the whole family! Easy to make, with simple ingredients and straightforward steps, even kids can join in on the fun. Festively decorated, each cookie transforms into an adorable spider with melted chocolate legs and candy eyes, adding a spooky touch that’s sure to impress. Customizable, feel free to swap out the Reese’s for your favorite candies or mix in some chopped nuts or chocolate chunks for added texture. You’re not just baking; you’re creating cherished memories in the kitchen! So grab your aprons and get ready for a Halloween treat that will be loved by kids and adults alike!
Peanut Butter Spider Cookies Ingredients
• Get ready to bake the most delightful Halloween treat!
For the Cookies
- Unsalted Butter – Adds richness and tenderness; be sure it’s at room temperature for easy mixing.
- Brown Sugar – Provides moisture and a hint of caramel flavor; swap with coconut sugar for an enticing twist.
- Granulated Sugar – Sweetens the dough and contributes to a crispy exterior; this ingredient is essential for the perfect texture.
- Creamy Peanut Butter – Key for flavor and texture; opt for non-natural varieties for consistent results.
- Large Egg – Binds the ingredients and supports leavening; don’t substitute for best results.
- Vanilla Extract – Infuses aromatic flavor; for a richer experience, you might try vanilla bean paste.
- All-Purpose Flour – Supplies structure; a 1:1 gluten-free blend works as an alternative if needed.
- Baking Soda – Acts as a leavening agent; ensure it’s fresh to achieve the best rise.
- Baking Powder – Adds additional lift; remember to check the expiration date for effectiveness.
- Salt – Enhances sweetness; this ingredient is vital even in dessert recipes.
- Granulated Sugar (for rolling) – Creates a sweet crust; this step is optional but worth trying!
For the Decoration
- Mini Reese’s Peanut Butter Cups – The star of the show, these make for a delightful centerpiece; chilling them helps maintain their shape.
- Semi-Sweet Chocolate Chips – Perfect for melting and creating spider legs; dark chocolate offers a richer flavor option.
- Candy Eyeballs – A playful touch that transforms your cookies into adorable little spiders!
There you have it! These Peanut Butter Spider Cookies come together with these simple ingredients and a sprinkle of Halloween magic. Now, let’s dive into the fun part: making these delicious goodies!
Step‑by‑Step Instructions for Peanut Butter Spider Cookies
Step 1: Preheat Your Oven
Begin by preheating your oven to 350°F (175°C). This ensures that your oven is at the perfect temperature for baking, which is crucial for achieving soft and chewy Peanut Butter Spider Cookies. While the oven heats, line a baking sheet with parchment paper to prevent sticking and make cleanup a breeze.
Step 2: Prepare the Reese’s Cups
Next, take the 24 mini Reese’s cups and place them in the freezer for about 30 minutes. Chilling the Reese’s will help them retain their shape when pressed into the cookies, ensuring they remain the delightful centerpiece for your Halloween treats.
Step 3: Cream the Butter and Sugar
In a large mixing bowl, beat together ½ cup of unsalted butter, ½ cup of brown sugar, and ½ cup of granulated sugar using an electric mixer on medium speed. Continue mixing for about 2-3 minutes until the mixture becomes light, fluffy, and well combined. This step is crucial for creating a rich, tender base for your Peanut Butter Spider Cookies.
Step 4: Add the Remaining Wet Ingredients
Now, mix in 1 cup of creamy peanut butter, 1 large egg, and 1 teaspoon of vanilla extract to your butter-sugar mixture. Beat until fully incorporated and smooth, taking about 1-2 minutes. This creamy blend will infuse your cookies with that delicious, nutty flavor that’s irresistible.
Step 5: Combine the Dry Ingredients
In a separate bowl, whisk together 1 ½ cups of all-purpose flour, 1 teaspoon of baking soda, 1 teaspoon of baking powder, and a pinch of salt. Gradually add this dry mixture to the wet ingredients, mixing on low speed just until everything is combined. Be careful not to overmix, as this can affect the texture of your Peanut Butter Spider Cookies.
Step 6: Form the Cookie Dough
Using a cookie scoop or tablespoon, scoop out portions of dough and roll them into balls about 1 inch in diameter. If desired, roll the balls in additional granulated sugar for a sweet crust. Place them evenly spaced on the prepared baking sheet, ensuring plenty of room for spreading while baking.
Step 7: Bake the Cookies
Place the baking sheet in the preheated oven and bake the cookies for 8 to 11 minutes, or until they are just lightly golden around the edges. The cookies will look slightly underbaked in the center, which is perfect for that soft, chewy texture we want in our Peanut Butter Spider Cookies.
Step 8: Cool and Press the Reese’s
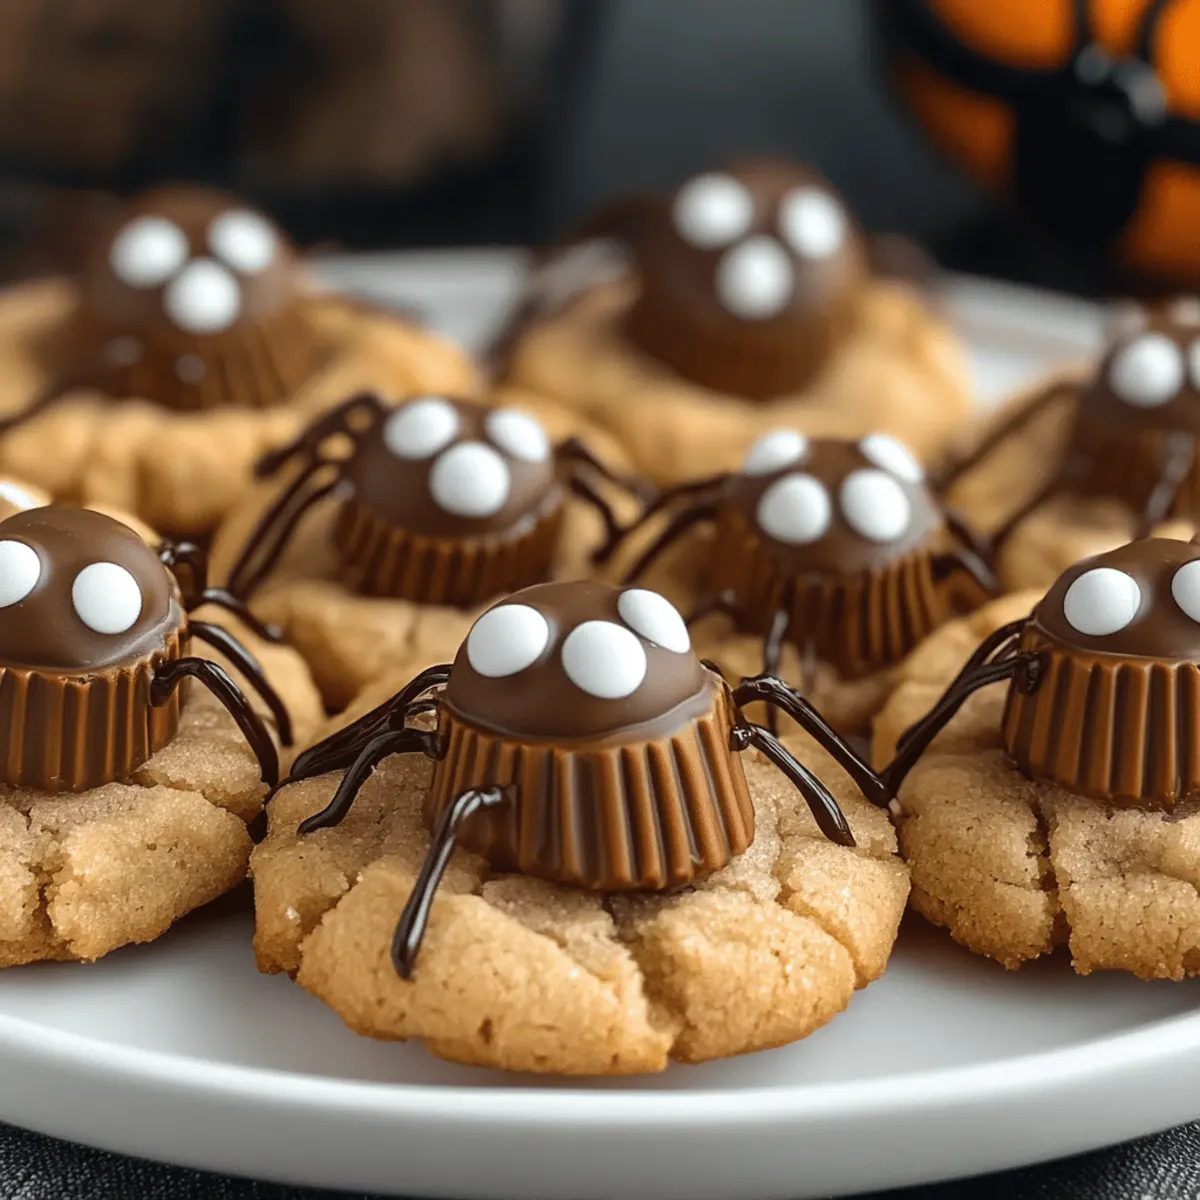
Remove the cookies from the oven and let them cool for about 5 minutes on the baking sheet. While they are still warm, gently press a frozen mini Reese’s cup into the center of each cookie. This will create a delightful surprise for whoever bites into your spooky treats!
Step 9: Decorate with Spider Legs
While the cookies cool completely, melt ½ cup of semi-sweet chocolate chips in a microwave-safe bowl in 20-second intervals, stirring frequently until smooth. Using a squeeze bottle or piping bag, drizzle melted chocolate over each cookie to form spider legs. Attach candy eyeballs to the Reese’s cups using a dab of melted chocolate for an adorable finishing touch.
Peanut Butter Spider Cookies Variations
Customize your Peanut Butter Spider Cookies for even more fun and flavor!
-
Nut-Free: Swap peanut butter for sunflower seed butter, making it safe for kids with nut allergies while keeping the great taste.
-
Chocolate Lovers: Add chocolate chunks to the dough for extra richness and depth. Each bite will be an indulgent surprise!
-
Alternative Decor: Use mini chocolate chips or M&M’s for the spider eyes instead of candy eyeballs, giving your treats a different look. It’s a great way to change up the decorations while maintaining that fun element.
-
Texture Twist: Mix in chopped pecans or walnuts for a delightful crunch that complements the soft cookies beautifully. The combination of textures adds a wonderful surprise in every bite.
-
Spicy Kick: Incorporate a pinch of cayenne pepper into the dough for a subtle heat, elevating the flavor profile and making your cookies stand out!
-
Reese’s Variant: Instead of mini Reese’s cups, try using white chocolate-covered peanut butter cups for a lighter, sweeter take on the traditional design. It adds a creamy twist that’s sure to please.
-
Frosted Delight: After cooling, frost the cookies with a cream cheese frosting instead of melted chocolate for a rich and creamy finish. This extra layer will make your cookies truly unique and delectable.
-
Pumpkin Spice: For a seasonal twist, add a teaspoon of pumpkin spice to the dough. It’ll infuse your cookies with warm autumn flavors, perfect for Halloween gatherings.
With these delightful variations, you can create your own version of Peanut Butter Spider Cookies, turning this festive treat into something uniquely yours! And for more fun with peanut butter, don’t forget to check out my Peanut Butter Brownie Cups or the creamy Peanut Butter Jelly cheesecake recipes for more sweet inspiration. Happy baking!
Storage Tips for Peanut Butter Spider Cookies
- Room Temperature: Keep your cookies in an airtight container at room temperature for up to 3 days. This helps retain their soft, chewy texture while keeping them easily accessible for snacking.
- Fridge: If you prefer your cookies to last longer, place them in the refrigerator for up to a week. Make sure they are in an airtight container to prevent them from drying out.
- Freezer: For extended storage, freeze your Peanut Butter Spider Cookies for up to 3 months. Stack them with parchment paper in between layers to avoid sticking, and store in a freezer-safe bag or container.
- Reheating: When ready to enjoy, simply thaw at room temperature or pop them in the microwave for a few seconds until warm. This will bring back that freshly baked taste!
Make Ahead Options
These Peanut Butter Spider Cookies are perfect for meal prep, making your Halloween baking stress-free! You can prepare the cookie dough up to 24 hours in advance by combining all the wet and dry ingredients, then refrigerating the dough in an airtight container. For added convenience, you can also freeze the scooped dough balls for up to 3 months. When you’re ready to bake, simply thaw the dough overnight in the fridge and proceed with baking as directed. To assemble, press the chilled Reese’s cups into the freshly baked cookies and decorate with melted chocolate and candy eyes for delightful results, all while ensuring your cookies remain just as delicious!
What to Serve with Peanut Butter Spider Cookies
Delight your guests with a whimsical spread that complements the festive fun of these enchanting cookies.
-
Witch’s Brew Hot Chocolate: A rich and creamy beverage filled with marshmallows, this drink elevates the cozy vibes of your Halloween treats. Perfect for dipping cookies!
-
Spooky Fruit Skewers: Fresh fruits like grapes, strawberries, and bananas made to look like spooky creatures bring a refreshing balance to sweet cookies.
-
Pumpkin Spice Cake: This moist and spiced cake harmonizes beautifully with the creamy peanut butter flavor while adding a seasonal touch to your dessert table.
-
Candy Corn Popcorn Mix: Sweet and salty popcorn mixed with festive candy corn creates an irresistible snack that echoes the playful spirit of your cookies.
-
Caramel Apple Slices: Crisp apple slices drizzled with rich caramel offer a crunchy contrast while fitting perfectly into the Halloween theme.
-
Halloween Themed Cupcakes: Decorated with fun frosting and sprinkles, these treats complement the cookies while also adding an extra layer of festive flair.
-
Spiced Apple Cider: Warm and fragrant, this drink brings a cozy touch and balances the sweetness of the cookies with its fall spices.
-
Gummy Worms: These colorful candies add a fun, playful element to your dessert table, enticing kids to indulge in holiday spirit.
Expert Tips for Peanut Butter Spider Cookies
- Chill for Shape: Ensure your Reese’s cups are thoroughly chilled before baking to maintain their shape and prevent melting into the cookies.
- Cool Before Decorating: Allow the cookies to cool completely before adding chocolate legs and candy eyes; this prevents the decorations from sliding off.
- Use Parchment Paper: Lining your baking sheet with parchment paper not only prevents sticking but also makes cleanup a breeze after baking your delightful Peanut Butter Spider Cookies.
- Uniform Dough Balls: To achieve even baking, use a cookie scoop for consistent dough portions; this helps your cookies bake uniformly and look great on the platter.
- Baking Time: Keep a close eye on the cookies as they bake; removing them while they still look slightly underbaked ensures they stay soft and chewy.
Peanut Butter Spider Cookies Recipe FAQs
What type of peanut butter is best for the cookies?
I recommend using non-natural creamy peanut butter. Natural varieties can alter the texture of the cookies, making them less fluffy. Brands like Jif or Skippy work wonderfully for this recipe!
How should I store the Peanut Butter Spider Cookies?
These cookies can be stored in an airtight container at room temperature for up to 3 days to maintain their soft, chewy texture. For longer storage, keep them in the fridge for up to a week.
Can I freeze the Peanut Butter Spider Cookies?
Absolutely! To freeze, first let the cookies cool completely. Place them in a single layer on a baking sheet and freeze for about 1 hour. Then stack them with parchment paper in between layers in a freezer-safe container or bag. They will last up to 3 months.
What should I do if my cookies spread too much while baking?
If your cookies spread too much during baking, it may be due to soft butter or too-warm dough. Ensure your butter is at the right room temperature and refrigerate the dough for about 30 minutes before baking. This helps the cookies maintain their shape during baking.
Are these cookies safe for kids with peanut allergies?
Unfortunately, these Peanut Butter Spider Cookies are not safe for those with peanut allergies. To create a nut-free version, you can use sunflower seed butter instead of peanut butter. Just be aware that it may give a slightly different flavor.
How can I ensure my cookies will look uniform?
To achieve even sizes, using a cookie scoop is a game changer! This will help you portion out the dough perfectly, so every cookie bakes evenly and looks consistent on the platter.
Peanut Butter Spider Cookies That Kids Will Love Making
Ingredients
Equipment
Method
- Preheat your oven to 350°F (175°C) and line a baking sheet with parchment paper.
- Chill 24 mini Reese's cups in the freezer for about 30 minutes.
- In a mixing bowl, cream together ½ cup unsalted butter, ½ cup brown sugar, and ½ cup granulated sugar until light and fluffy.
- Add 1 cup creamy peanut butter, 1 large egg, and 1 teaspoon vanilla extract to the mixture and beat until smooth.
- In a separate bowl, whisk together 1 ½ cups flour, 1 teaspoon baking soda, 1 teaspoon baking powder, and a pinch of salt. Gradually combine with the wet mix.
- Scoop portions of dough and roll into 1-inch balls, optionally rolling in additional sugar before placing on the baking sheet.
- Bake for 8 to 11 minutes until golden at the edges and slightly underbaked in the center.
- Cool cookies for about 5 minutes before pressing a chilled Reese's cup into the center of each.
- Melt ½ cup chocolate chips and drizzle over cookies to create spider legs. Attach candy eyeballs with melted chocolate.