
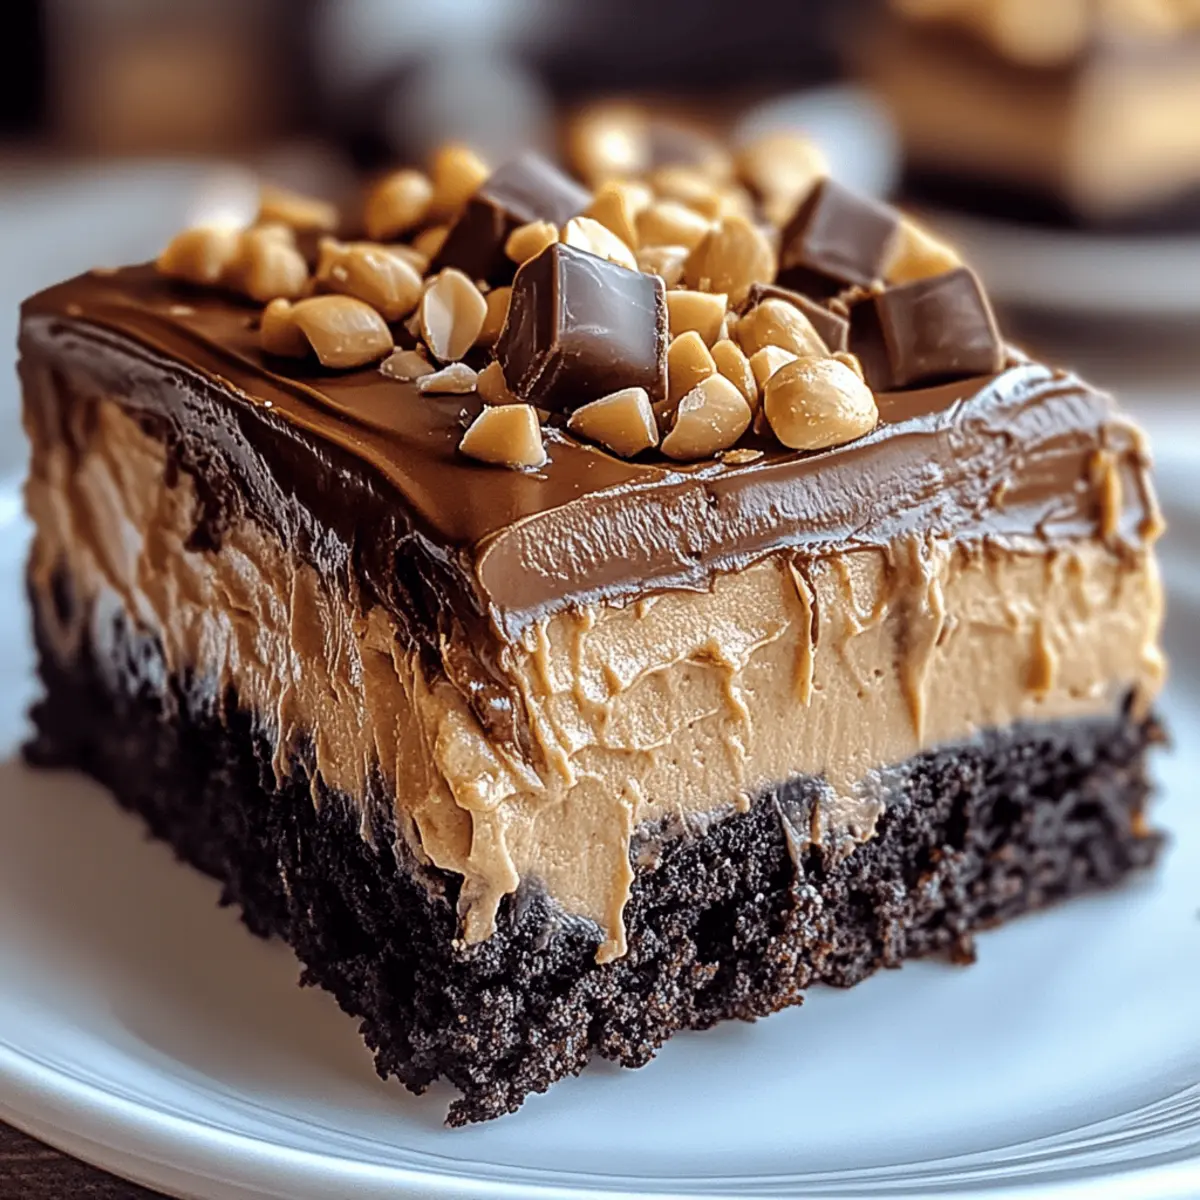
That unmistakable aroma of chocolate and peanut butter wafting through my kitchen instantly transports me back to my childhood, where dessert was the highlight of every family gathering. Today, I want to share my go-to recipe for Chocolate Peanut Butter Poke Cake—a luscious, crowd-pleasing dessert that’s as easy to whip up as it is delightful to devour. Whether you’re celebrating a birthday or simply want to indulge your sweet tooth, this cake checks all the boxes: it’s gluten-free friendly, so nobody has to miss out, and with its rich layers of flavor, it’s destined to make everyone smile. Curious how to achieve that perfect balance of creamy sweetness and moist cake? Let’s dive into this recipe that promises to be a showstopper at your next gathering!
Why Will You Love This Cake?
Irresistible Combo: Imagine the delightful fusion of chocolate and peanut butter in each bite, creating a heavenly dessert that appeals to those nostalgic for childhood treats.
Easy to Make: With just a few simple steps, you can create a show-stopping dessert that looks and tastes gourmet without the fuss.
Customizable Varieties: Feel free to switch up the frostings! Whether you prefer a classic peanut butter whipped topping or want to explore options like cream cheese frosting, the choice is yours.
Gluten-Free Adaptation: Using a gluten-free chocolate cake mix, this recipe ensures that everyone can indulge, making it perfect for gatherings with guests of all dietary needs.
Crowd Favorite: This Chocolate Peanut Butter Poke Cake is guaranteed to impress at parties—everyone will be asking for seconds! If you’re looking for more delicious peanut butter options, check out my Peanut Butter Jelly Cheesecake recipe for another crowd-pleaser.
Chocolate Peanut Butter Poke Cake Ingredients
• A scrumptious collection of flavors awaits you!
For the Cake
- Chocolate Cake Mix – The base structure of the cake; opt for a gluten-free mix if needed for dietary preferences.
- Vanilla Extract (optional) – Enhances the flavor depth, recommended for a richer cake experience.
For the Filling
- Peanut Butter – Creates the creamy filling; creamy peanut butter offers a smooth texture while crunchy adds delightful bits.
- Sweetened Condensed Milk – Essential for sweetness and creaminess in the poke cake filling.
- Whole Milk – Adjusts the consistency of the filling; substitute with a plant-based milk for a dairy-free option.
For the Topping
- Heavy Cream – Beaten to create a fluffy topping; make sure it’s chilled for the best results.
- Powdered Sugar – Sweetens the whipped cream topping; adjust to taste if you prefer a less sweet finish.
- Reese’s Cups and Crushed Peanuts – Optional garnish that adds a flavor boost and crunch; perfect for decoration.
- Melted Chocolate and Peanut Butter – Drizzled on top for an extra rich touch; can be omitted for a simpler presentation.
With these ingredients ready, you’re all set to create your very own Chocolate Peanut Butter Poke Cake. Let’s bring that nostalgic flavor to life!
Step‑by‑Step Instructions for Chocolate Peanut Butter Poke Cake
Step 1: Preheat the Oven
Preheat your oven to 350°F (175°C) to prepare for baking the cake. Grab a 9×13-inch baking dish and lightly grease it with cooking spray or butter. In a large bowl, combine the chocolate cake mix and any ingredients specified on the package, adding the optional vanilla extract to enhance the flavor. Mix until fully integrated and set aside.
Step 2: Bake the Cake
Pour the prepared cake batter into the greased baking dish, smoothing out the top with a spatula for an even bake. Place the dish in your preheated oven and bake for 25-30 minutes. Keep an eye on the cake, and it’s done when a toothpick inserted in the center comes out clean or with a few moist crumbs attached.
Step 3: Cool and Poke Holes
Once done, take the baking dish out of the oven and allow the cake to cool for about 10 minutes on a wire rack. While the cake is still warm, use the handle of a wooden spoon to poke several holes evenly across the surface. This step is crucial for allowing the luscious filling to soak into your Chocolate Peanut Butter Poke Cake.
Step 4: Prepare the Filling
In a mixing bowl, whisk together the creamy peanut butter, sweetened condensed milk, and whole milk until the mixture is velvety and smooth. Pour this irresistible filling over the warm cake, ensuring it seeps into all the holes you created earlier. Let it settle and absorb for a few minutes before moving on.
Step 5: Make the Whipped Topping
In a large, chilled mixing bowl, beat the heavy cream and powdered sugar together until soft peaks start to form—this should take about 3-5 minutes. Add in the peanut butter and continue to whip until you reach a fluffy consistency. This rich topping will beautifully complement your Chocolate Peanut Butter Poke Cake.
Step 6: Assemble and Garnish
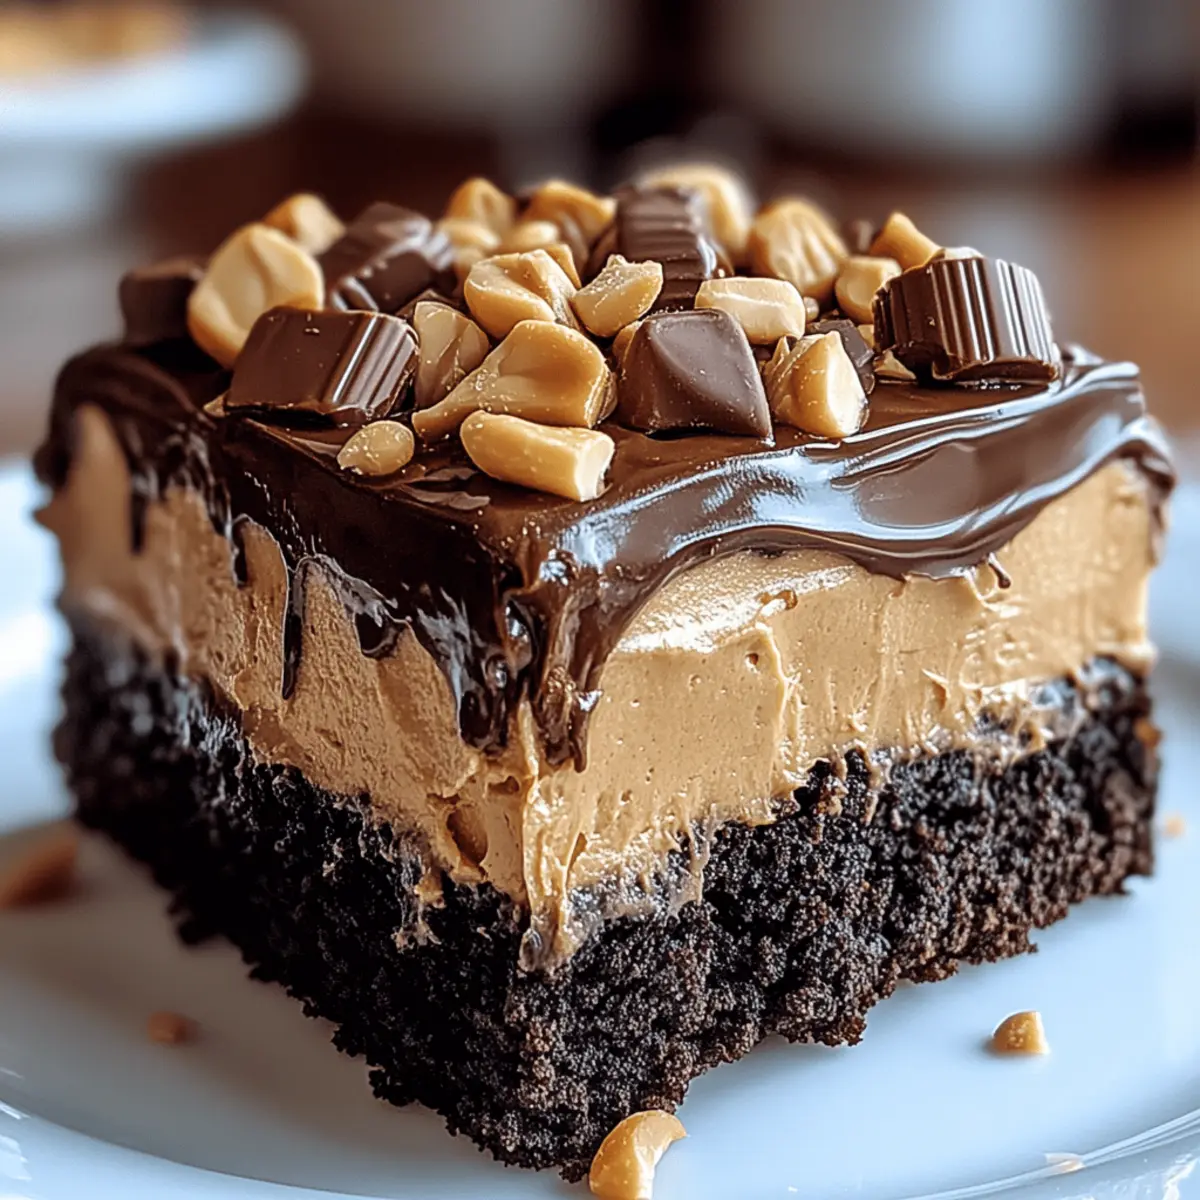
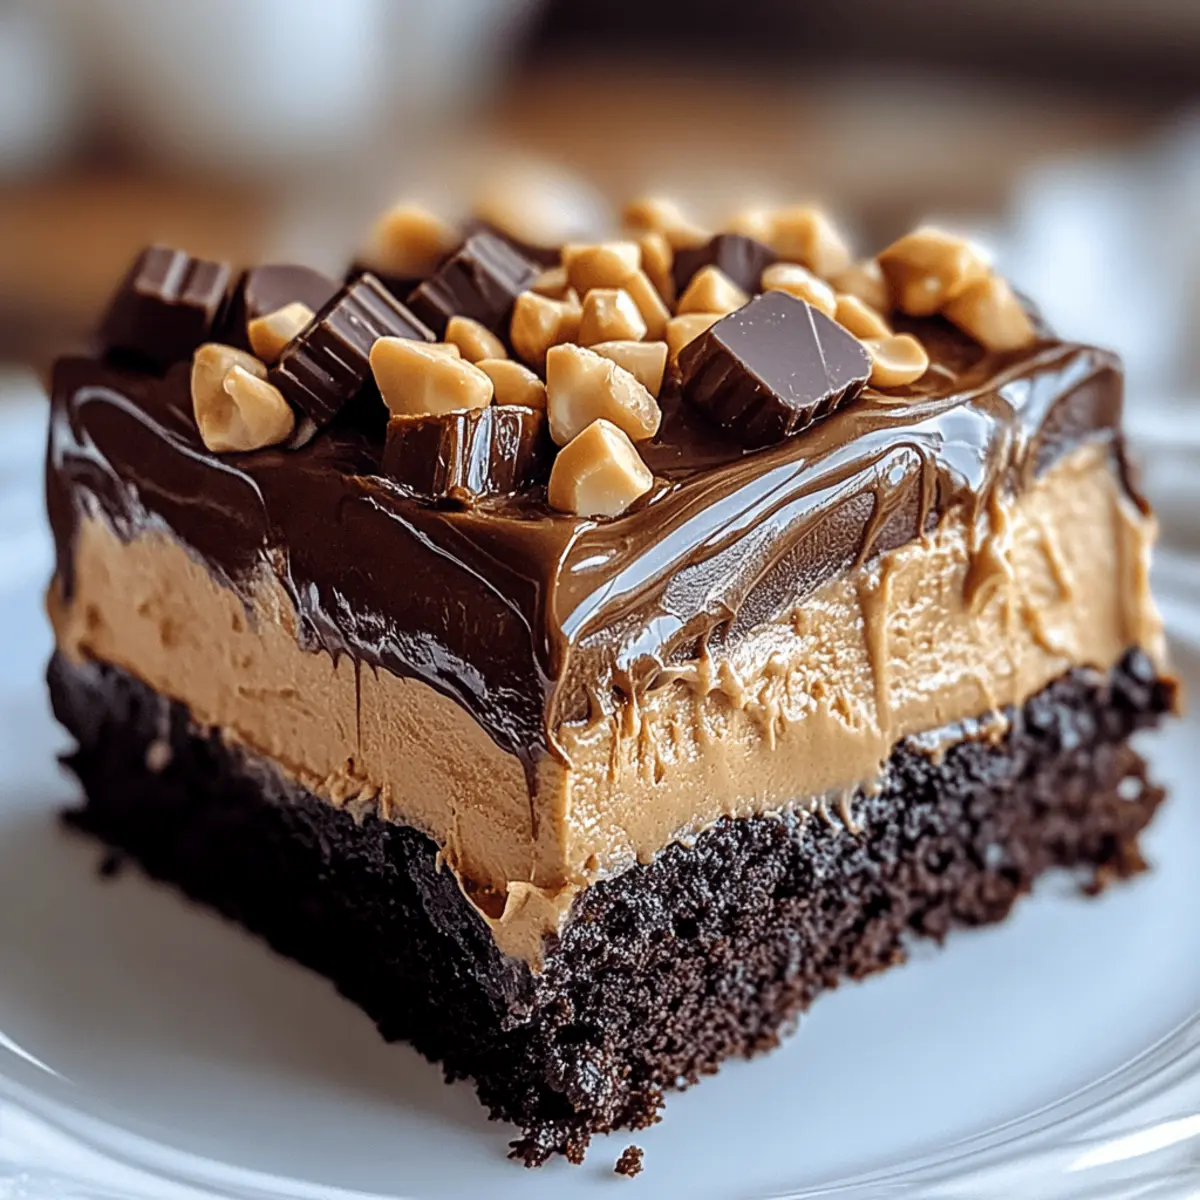
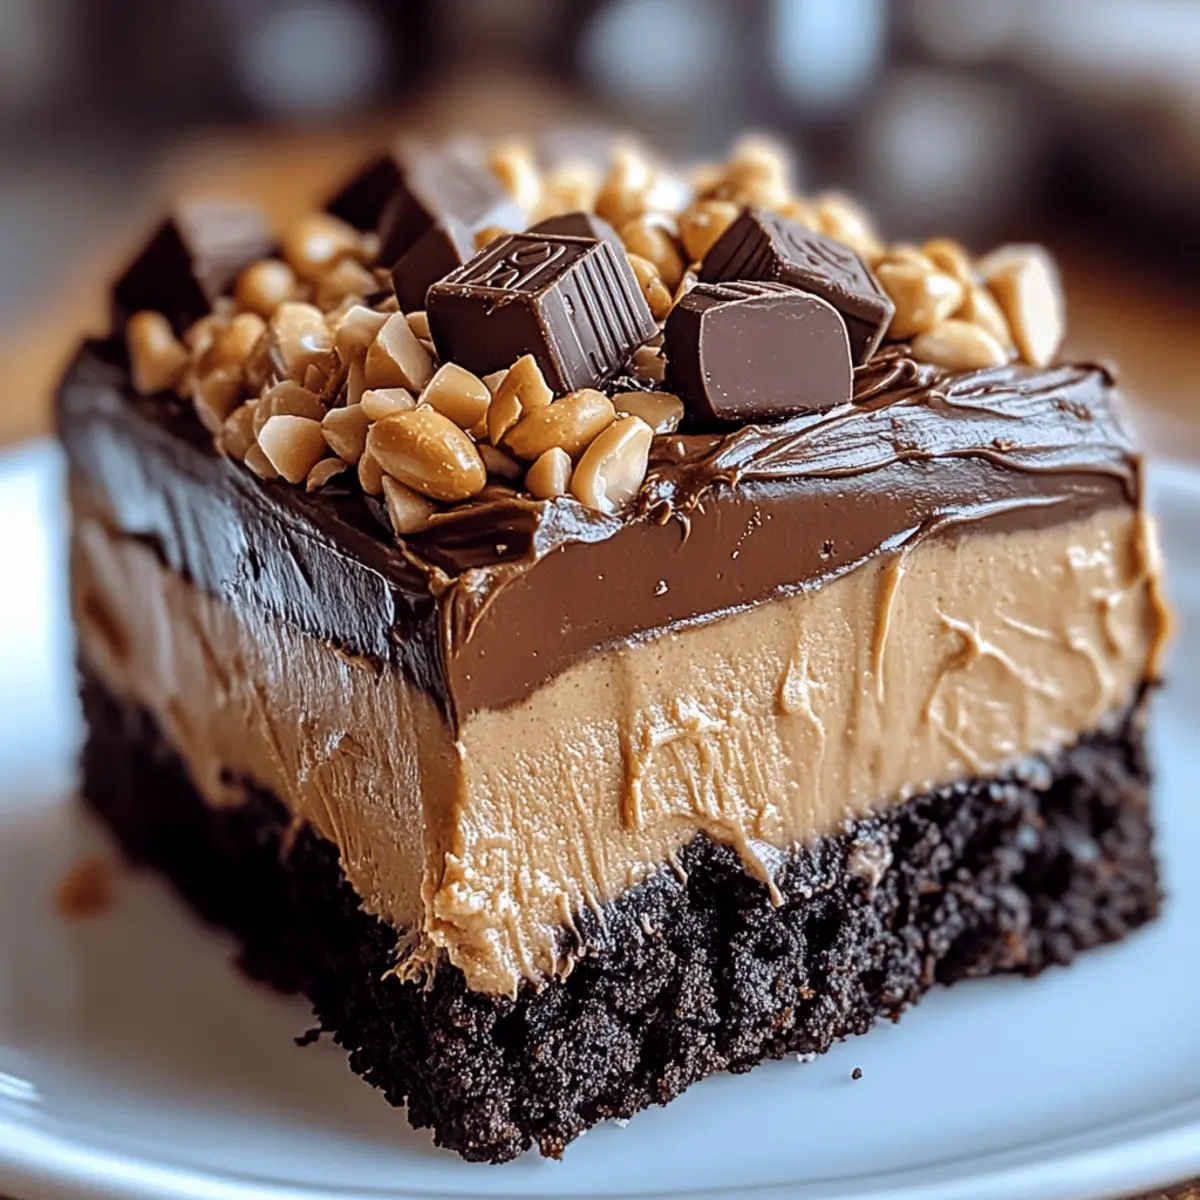
Spread the prepared peanut butter whipped topping evenly across the cooled cake using a spatula. For an extra touch of indulgence, sprinkle with crushed Reese’s cups and chopped peanuts. If desired, drizzle melted chocolate and peanut butter over the top for an appealing presentation.
Step 7: Chill and Serve
Cover the assembled cake with plastic wrap and refrigerate for at least 1 hour to set the flavors and allow the filling to meld. When ready to serve, slice this delightful Chocolate Peanut Butter Poke Cake and watch it disappear as your guests savor every last bite.
How to Store and Freeze Chocolate Peanut Butter Poke Cake
Fridge: Store leftovers in an airtight container in the refrigerator for up to 3 days to maintain freshness and flavor.
Freezer: If desired, freeze individual slices wrapped tightly in plastic wrap and then in foil for up to 2 months. Thaw in the fridge for a few hours before enjoying.
Reheating: For a warm treat, reheat slices in the microwave for about 15-20 seconds. Be careful not to overheat, as the filling may become too warm.
Make-Ahead: This Chocolate Peanut Butter Poke Cake can be made a day in advance, allowing the flavors to meld beautifully overnight before serving.
Expert Tips for Chocolate Peanut Butter Poke Cake
-
Cooling is Key: Ensure the cake is completely cool before adding the whipped topping to prevent melting and ensure a beautiful presentation.
-
Optimal Soaking: Allow the filling to fully absorb into the cake for the best texture; aim for at least 5-10 minutes before frosting.
-
Gluten-Free Tip: If using a gluten-free chocolate cake mix, adjust baking time slightly, as these may require a few extra minutes to bake properly.
-
Customize Your Topping: Feel free to switch from peanut butter whipped topping to a cream cheese frosting or chocolate ganache for a unique flavor twist.
-
Make Ahead: For a richer taste, prepare your Chocolate Peanut Butter Poke Cake a day in advance. The flavors meld beautifully overnight, enhancing the dessert.
Make Ahead Options
These Chocolate Peanut Butter Poke Cakes are a dream for meal prepping because you can prepare the cake base up to 24 hours in advance, allowing flavors to deepen. Simply bake, cool, and poke holes in the cake, then cover it tightly with plastic wrap to keep it fresh in the refrigerator. You can make the peanut butter filling and whipped topping up to 3 days ahead; store them separately in airtight containers to ensure quality. When it’s time to serve, just pour the filling over the cake, spread the topping, and let it chill for an hour to set. This way, you can enjoy a delightful dessert with minimal effort on the day of your gathering!
What to Serve with Chocolate Peanut Butter Poke Cake
There’s nothing quite like the joy of creating a complete meal that pairs perfectly with this luscious dessert.
- Rich Vanilla Ice Cream: A delightful contrast, bringing a creamy, cold element that balances the cake’s rich flavors.
- Fresh Berries: The tartness of raspberries or strawberries adds a refreshing note, brightening each bite of cake.
- Coffee or Espresso: The warm, bold flavors enhance the chocolate and peanut butter, making each taste more indulgent.
- Chocolate Milkshake: A childhood favorite that echoes the dessert’s flavors, perfect for those who love a sweet treat.
- Coconut Whipped Cream: Light and airy, this can provide an exotic twist that complements the cake’s richness beautifully.
- Mini Peanut Butter Cookies: A playful bite-sized addition that echoes the cake’s peanut butter theme—great for snacking!
- Caramel Drizzle: A touch of salted caramel sauce adds an exciting flavor contrast while enhancing the dessert’s decadence.
- Red Wine: A chilled glass of sweet red can elevate the dessert experience, marrying beautifully with chocolate flavors.
Chocolate Peanut Butter Poke Cake Variations
Feel free to get imaginative with your dessert! Let’s explore some fun ideas to make this cake uniquely yours.
-
Nut-Free Option: Replace peanut butter with sunflower seed butter for a delicious, nut-free alternative that’s just as creamy.
-
Frosting Twist: Try using cream cheese frosting for a tangy kick. It pairs beautifully with the chocolate and peanut butter.
-
Give it a Berry Boost: Add a layer of fresh raspberries or strawberries between the cake and filling for a fruity contrast that brightens the dessert.
-
Banana Flavor: Mix in mashed ripe bananas into the batter for moistness and a delightful banana-peanut butter fusion.
-
Plant-Based Delight: Opt for coconut cream instead of heavy cream and a dairy-free chocolate cake mix to craft a vegan version of this luscious cake.
-
Crunchy Topping: Instead of Reese’s Cups, top with toasted coconut flakes and chopped pecans for a nutty crunch and tropical flair.
-
Decadent Drizzle: Enhance the chocolate drizzle with a hint of espresso powder mixed in for a sophisticated mocha flavor that coffee lovers will revel in.
-
Spicy Kick: Stir a pinch of cayenne pepper or cinnamon into your chocolate cake mix for a surprising, warm spice that elevates the flavors beautifully.
These variations not only keep the classic recipe exciting but also cater to different tastes and dietary needs. If you’re looking for more scrumptious peanut butter ideas, check out my Peanut Butter Brownie Cups or Crafting Decadent Cakes for even more delightful treats!
Chocolate Peanut Butter Poke Cake Recipe FAQs
What type of chocolate cake mix should I use?
You can use a regular chocolate cake mix for this recipe; however, if you’re looking for a gluten-free option, simply opt for a gluten-free chocolate cake mix. This ensures that everyone at your gathering can enjoy this delicious Chocolate Peanut Butter Poke Cake!
How should I store leftover Chocolate Peanut Butter Poke Cake?
To keep your cake fresh, store any leftovers in an airtight container in the refrigerator. It will stay good for up to 3 days. This will help maintain its moistness and flavor, making it easy to enjoy even after a few days!
Can I freeze this cake?
Absolutely! You can freeze individual slices of the Chocolate Peanut Butter Poke Cake. Wrap each slice tightly in plastic wrap, then place it in a freezer-safe bag or container. It can be frozen for up to 2 months. When you’re ready to enjoy a slice, simply thaw it in the fridge for a few hours.
What should I do if the filling isn’t absorbing properly?
If you notice that the filling isn’t soaking into the cake, ensure you’ve poked enough holes and let the cake cool slightly before pouring the filling. This helps create pathways for the sweet mixture to soak in. If you’re still having trouble, consider poking more holes to allow for better absorption.
Is this cake suitable for those with nut allergies?
If you’re concerned about nut allergies, you can substitute the peanut butter with sunflower seed butter or almond butter (be sure your guests aren’t allergic to those, either!). Additionally, check the chocolate cake mix to ensure it doesn’t contain any added nuts. Always inform guests of the ingredients used to be safe!
How long can I keep the Chocolate Peanut Butter Poke Cake in the fridge?
You can keep your cake in the refrigerator for about 3 days. For the best taste and texture, try to enjoy it within that timeframe. If you wait too long, the cake might start losing its deliciousness and may not give you that moist, satisfying bite you crave!
Mouthwatering Chocolate Peanut Butter Poke Cake for Every Sweet Tooth
Ingredients
Equipment
Method
- Preheat your oven to 350°F (175°C) and grease the baking dish. Combine the cake mix and its ingredients, adding vanilla if using. Mix well and set aside.
- Pour the batter into the baking dish. Bake for 25-30 minutes until a toothpick comes out clean.
- Let the cake cool for about 10 minutes, then poke holes across the surface using a wooden spoon handle.
- Whisk together peanut butter, sweetened condensed milk, and whole milk until smooth. Pour over the warm cake, allowing it to seep into the holes.
- Beat the heavy cream and powdered sugar until soft peaks form, then add peanut butter and mix until fluffy.
- Spread the whipped topping over the cooled cake and garnish with crushed Reese’s cups and peanuts. Drizzle with melted chocolate and peanut butter if desired.
- Cover and refrigerate for at least 1 hour before serving.