
As I stood in the kitchen surrounded by pumpkins of every size and hue, I couldn’t help but get swept up in the festive spirit of fall. That’s when the idea for these delightful Peanut Butter Pumpkins struck me—whimsical, kid-friendly treats that bring a smile to both young and old alike. This easy recipe not only satisfies your sweet tooth but also offers a healthier option that’s gluten-free! Plus, they’re a fantastic way to bond with family while whipping up a batch for Halloween or Thanksgiving gatherings. Ready to transform your kitchen into a pumpkin patch? Let’s dive into this fun-filled adventure!
Why Are Peanut Butter Pumpkins a Must-Try?
Delightful Presentation: These Peanut Butter Pumpkins are not just delicious; they’re adorable! Their bright orange color and charming designs make them perfect for any fall festivity.
Kid-Approved Fun: This recipe is a hit with children; they’ll love getting their hands sticky and shaping the pumpkins.
Versatile Creations: Feel free to experiment! Try variations like Chocolate Dipped or even a nut butter blend for added flavor.
Healthier Indulgence: With natural peanut butter and gluten-free ingredients, these treats are a guilt-free way to satisfy your sweet cravings without compromising your health.
Quick and Easy: Whip these up in no time—perfect for last-minute gatherings or a fun weekend project with family!
Transform your holidays with these festive gems that everyone will love!
Peanut Butter Pumpkins Ingredients
For the Peanut Butter Mixture
- Creamy Peanut Butter – Provides rich flavor and creamy texture; substitution: use natural peanut butter for an authentic taste.
- Powdered Sugar – Adds sweetness and helps bind the mixture; note: adjust quantity for less sweetness if desired.
- Vanilla Extract – Enhances overall flavor profile.
- Crispy Rice Cereal – Adds texture and structure to the pumpkins; note: can be replaced with granola for a different crunch.
For the Coating
- Orange Candy Melts – Used for coating, giving the pumpkins their vibrant color; substitution: melted chocolate can be used instead for a deeper flavor.
- Vegetable Oil – Used to thin candy melts for coating.
- Green Candy Melts – For decorating leaves on the pumpkins.
For the Decorations
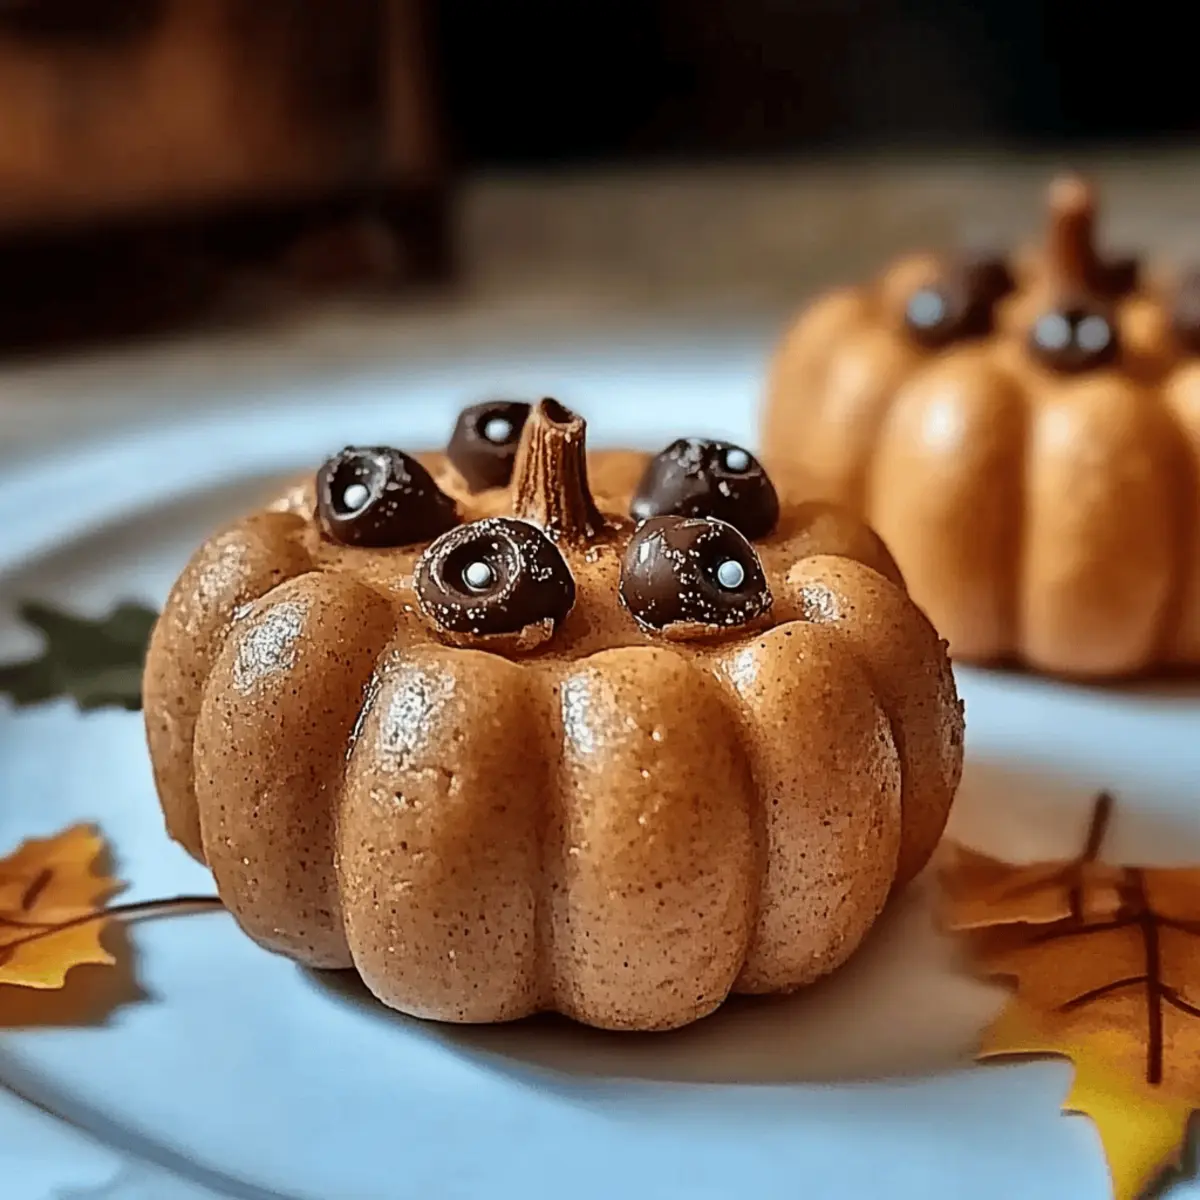
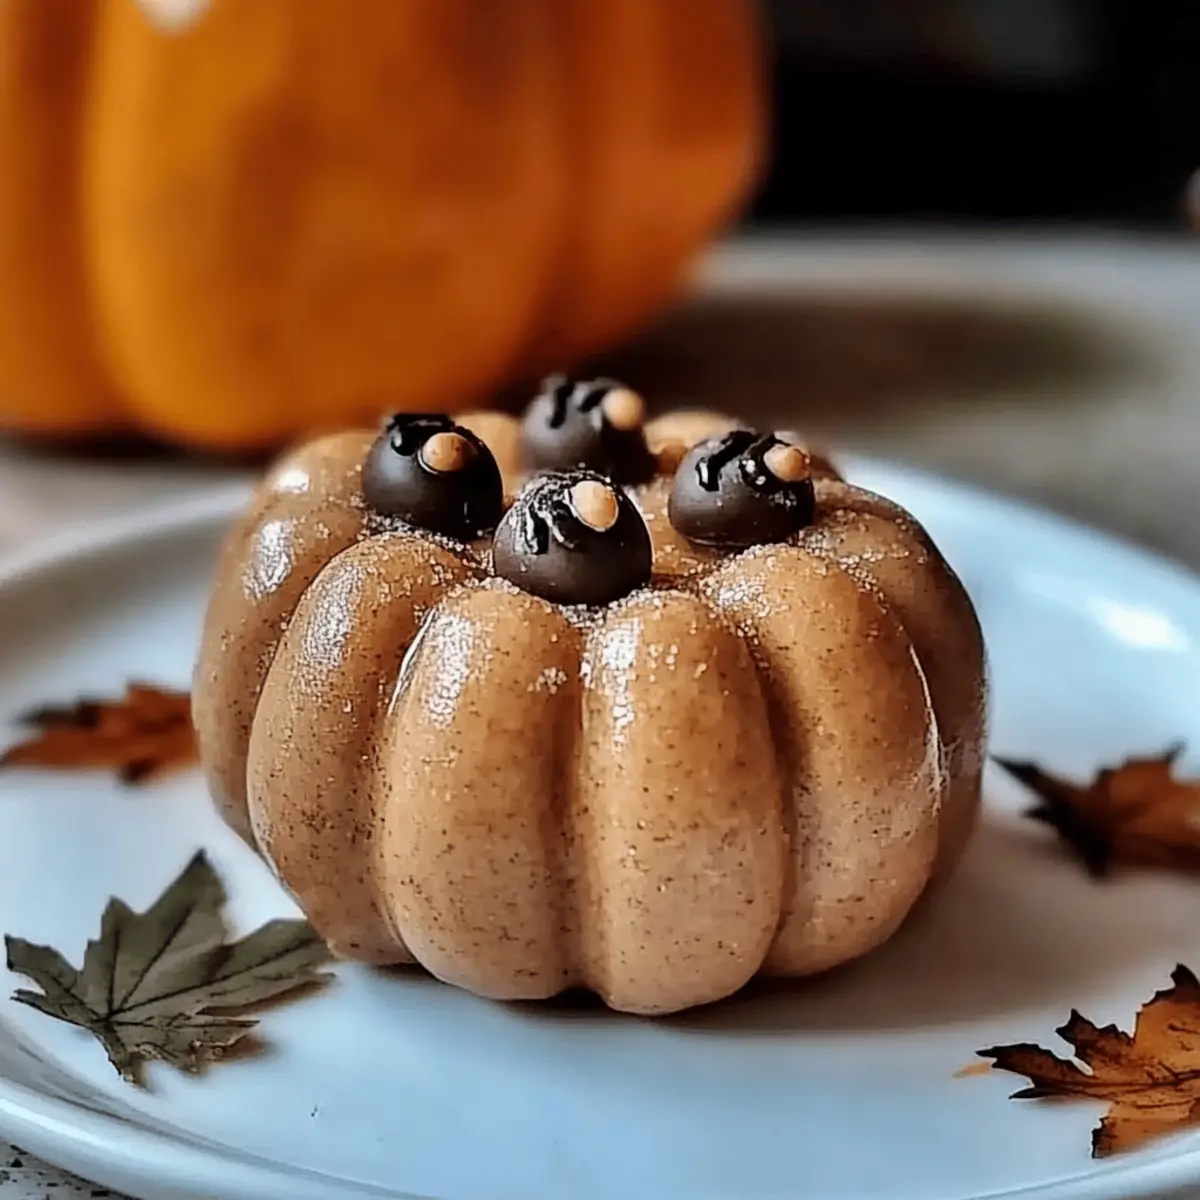
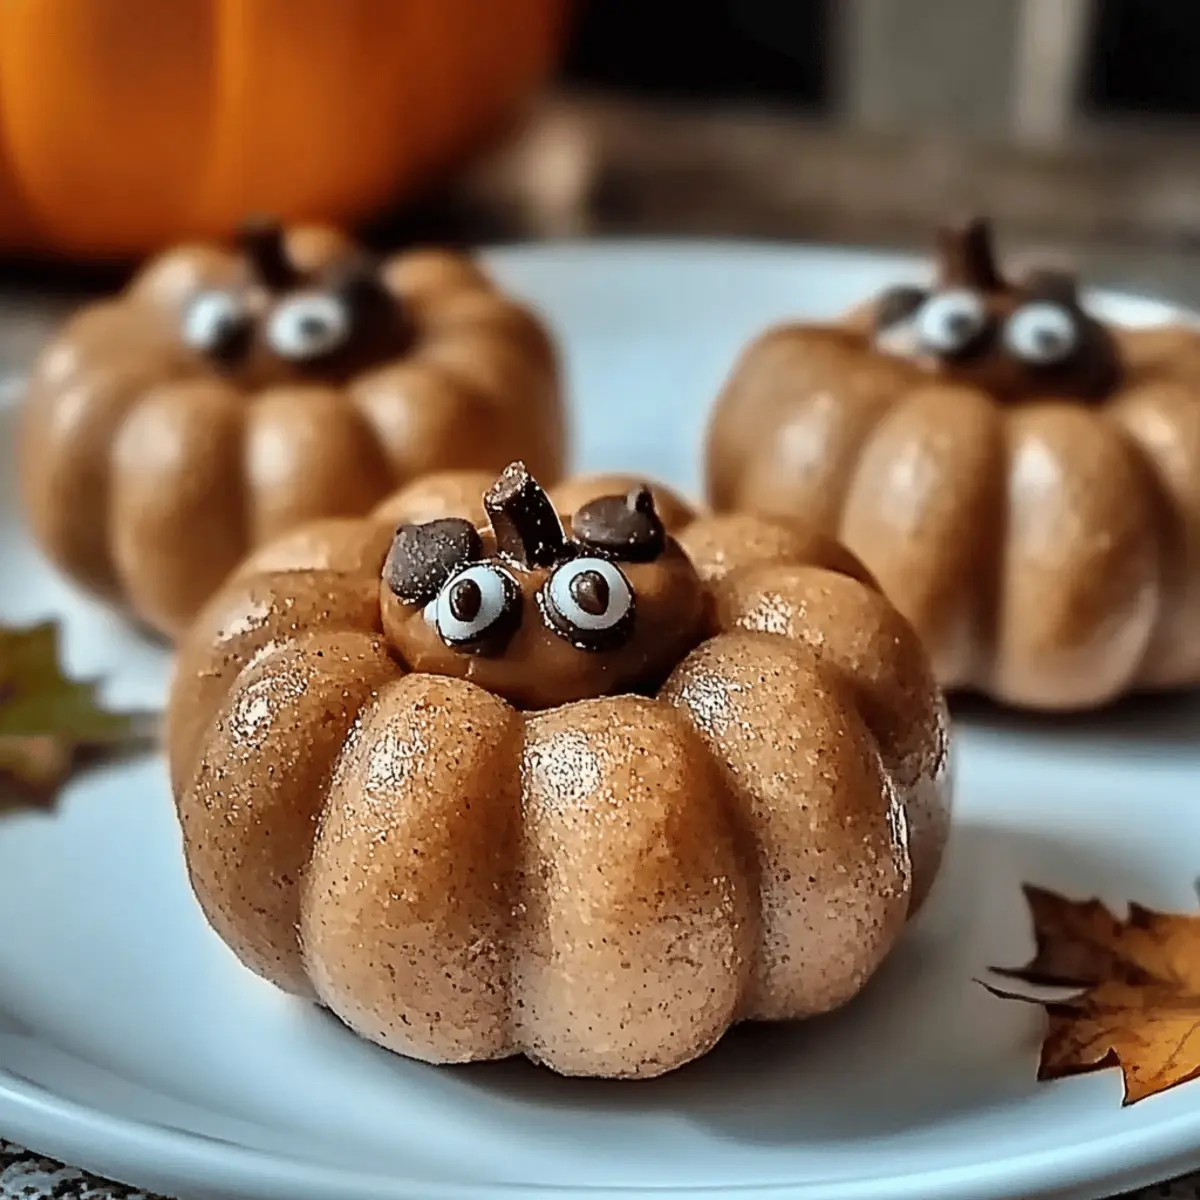
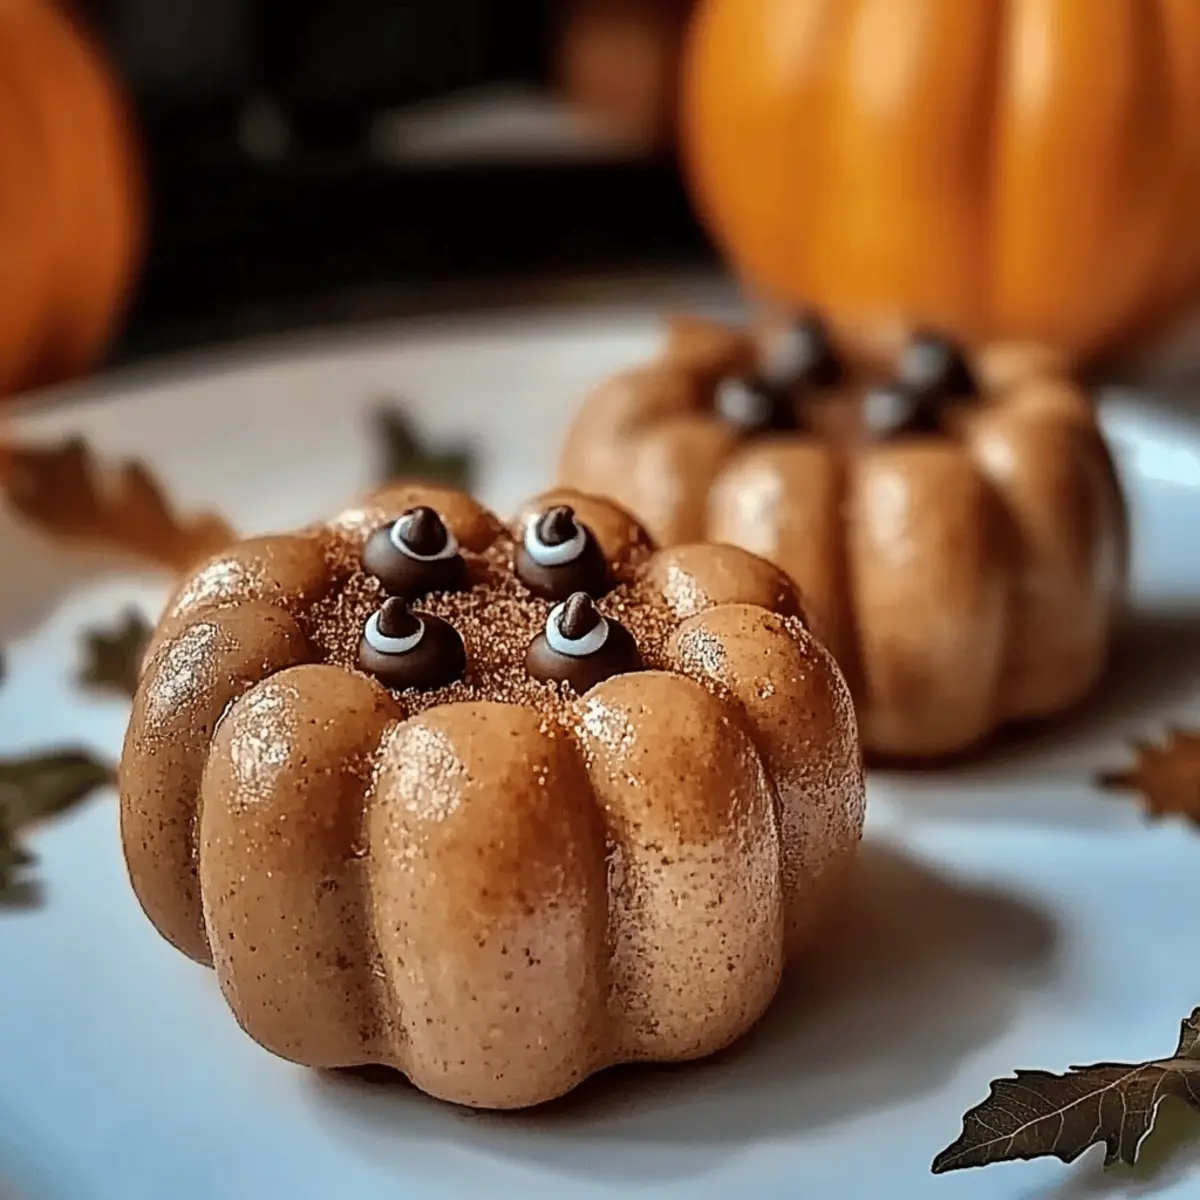
- Mini Chocolate Chips – Used for pumpkin eyes to create a cute face.
Gather these delightful ingredients and let the festive fun begin with your Peanut Butter Pumpkins!
Step‑by‑Step Instructions for Peanut Butter Pumpkins
Step 1: Prepare Workspace
Begin by cleaning your kitchen counter and gathering all necessary ingredients and tools for making Peanut Butter Pumpkins. This includes a mixing bowl, a spatula, a lined baking sheet, a microwave-safe bowl for melting candy, and a sturdy refrigerator for chilling. Keeping everything organized will make the process smoother and more enjoyable.
Step 2: Mix Peanut Butter Mixture
In a large mixing bowl, combine the creamy peanut butter, powdered sugar, and vanilla extract. Using a spatula, mix these ingredients until the mixture is smooth and well-blended with no lumps. This step should take about 2-3 minutes, and you’ll know it’s ready when it holds together nicely and looks glossy.
Step 3: Add Rice Cereal
Gently fold in the crispy rice cereal to your peanut butter mixture until it is fully integrated. Take your time to ensure even distribution, and continue mixing until the cereal is coated and the mixture holds together. This step adds both texture and structure to your Peanut Butter Pumpkins, making them delightful bites!
Step 4: Form Pumpkins
Using your hands, roll the mixture into 1-2 inch round balls and place them on the lined baking sheet. Aim for uniform size to ensure even coating and a consistent appearance. The fun part is shaping them into adorable pumpkin forms! You’ll create about a dozen peanut butter pumpkins depending on the size.
Step 5: Chill
Transfer the baking sheet with the peanut butter balls to the refrigerator and chill for 30 minutes. This step is crucial for firming up the mixture, which helps prevent cracking when you coat them in candy melts. You’ll know they’re ready when they feel solid to the touch.
Step 6: Melt Candy Coating
While the pumpkins chill, prepare the candy coating. In a microwave-safe bowl, combine the orange candy melts with a drizzle of vegetable oil. Microwave in 30-second intervals, stirring between each, until the mixture is completely smooth and easily pourable. This should take about 1-2 minutes total; just be careful not to overheat!
Step 7: Coat Pumpkins
Once the peanut butter balls are chilled and the candy coating is ready, dip each pumpkin into the melted orange candy. Use a fork to ensure they are fully covered before placing them back on the lined baking sheet. Make sure to work quickly to maintain a thin coating for a delightful finish.
Step 8: Decorate
While the candy coating is still wet, add mini chocolate chips for eyes and use melted green candy to shape leaves on top. Get creative here—your Peanut Butter Pumpkins can have funny faces or cute expressions! This step adds a whimsical touch and makes them even more inviting for family and friends.
Step 9: Set
Finally, allow the coated Peanut Butter Pumpkins to set at room temperature until the candy shell is fully hardened. This typically takes around 20-30 minutes. Once they’ve set, you can transfer them to an airtight container and store them in the refrigerator for up to a week, ready to delight at any fall gathering!
What to Serve with Peanut Butter Pumpkins
These delightful treats can easily steal the show, but pairing them with complementary flavors and textures can create a feast that lingers long in your guests’ memories.
-
Warm Apple Cider: The spiced warmth of apple cider enhances the cozy fall vibe and balances the sweetness of the peanut butter pumpkins beautifully.
-
Vanilla Ice Cream: A scoop of creamy vanilla ice cream adds a lovely contrast, offering a cool, silky texture that harmonizes with the pumpkin treats.
-
Chewy Caramel Corn: Add some crunchy, sweet caramel corn for an irresistible snack mix; its texture offers a fun contrast to the smooth peanut butter filling.
-
Savory Cheese Platter: Include sharp cheddar or creamy brie on a cheese board. These savory bites create a delightful counterpoint to the sweetness of the pumpkins.
-
Colorful Fruit Salad: A vibrant fruit salad combines fresh flavors, bringing a refreshing balance to your dessert table and brightening your fall-themed spread.
-
Pumpkin Spice Latte: For a cozy drink, serve pumpkin spice lattes that echo the fall theme, enhancing the festive spirit while pairing perfectly with the treat’s flavors.
-
Chocolate-Dipped Pretzels: Combining sweet and salty, these crunchy snacks provide an added layer of texture that complements the softness of the peanut butter pumpkins.
Bringing together these delightful accompaniments will elevate your fall gathering into a memorable celebration of flavors!
Expert Tips for Peanut Butter Pumpkins
-
Choose Quality Peanut Butter: Use natural peanut butter for the best flavor and creaminess in your Peanut Butter Pumpkins; avoid brands with added sugar or oils.
-
Proper Chilling: Remember to chill the peanut butter balls thoroughly before coating them; this helps prevent cracks in the candy shell and keeps everything intact.
-
Get Creative with Toppings: Don’t be afraid to experiment! Try adding sprinkles, edible glitter, or even different colored candy melts for a festive touch.
-
Watch the Melting Process: Carefully microwave the candy melts in intervals to ensure they don’t overheat; stirring frequently will help achieve a smooth consistency.
-
Avoid Overloading: When coating the pumpkins, use a fork to evenly cover them and avoid excess candy coating; too much can make them overly sweet.
With these expert tips, your Peanut Butter Pumpkins are sure to impress family and friends this fall!
Make Ahead Options
These Peanut Butter Pumpkins are perfect for busy home cooks looking to save time! You can prepare the peanut butter mixture and shape the pumpkins up to 24 hours in advance. Simply form the pumpkin balls, then chill them in the refrigerator until you’re ready to coat them. If you want to prep even further ahead, freeze the uncoated peanut butter balls for up to three months; just thaw them in the fridge before dipping in the candy coating. To maintain quality, ensure the pumpkin balls are well-chilled before coating to prevent cracking. When it’s time to serve, follow the melting and coating instructions as usual for deliciously festive results!
Peanut Butter Pumpkins Variations & Substitutions
Feel free to unleash your creativity and transform this recipe to suit your tastes and preferences!
-
Chocolate Dipped: Swap orange candy melts for dark or milk chocolate for a rich twist. The chocolatey finish adds a decadent touch that will delight any chocolate lover.
-
Nut Butter Blend: Mix different nut butters like almond or cashew to create unique flavors. Experimenting with nut butters can lead to delightful surprises in your Peanut Butter Pumpkins.
-
Stuffed Pumpkins: Spice things up by adding a surprise filling of caramel or chocolate inside the pumpkins. This hidden treasure makes each bite an adventure that your friends and family will adore!
-
Healthier Alternative: Use a sugar substitute like stevia or honey in place of powdered sugar for a lower-calorie version. Enjoy the same creamy goodness with a healthier spin!
-
Flavor Boost: Add a teaspoon of cinnamon or nutmeg to the peanut butter mixture for a seasonal flavor. These warm spices will transport you straight into the cozy vibes of fall.
-
Crunchy Version: For added texture, fold in chopped nuts or seeds along with the rice cereal. This crunch gives your Peanut Butter Pumpkins an exciting bite that contrasts beautifully with the smooth interior.
-
Vegan Option: Use dairy-free chocolate and coconut oil instead of candy melts to create a vegan-friendly treat. Everyone can join in the fall fun without sacrificing taste!
-
Miniature Pumpkins: Roll smaller balls for bite-sized treats to serve at gatherings. These tiny delights are perfect for kids and snacking; they help curb portion sizes while still satisfying cravings.
Embrace these variations and make the Peanut Butter Pumpkins truly your own! Don’t forget to check out some delicious ideas like Chewy Peanut Butter or Peanut Butter Brownie as inspiration for your next creation!
Storage Tips for Peanut Butter Pumpkins
Fridge: Store your Peanut Butter Pumpkins in an airtight container in the refrigerator for up to one week to maintain freshness and flavor.
Freezer: For longer storage, freeze uncoated peanut butter balls for up to three months. When ready, thaw them in the fridge before coating with candy melts.
Room Temperature: If serving immediately, these treats can be left at room temperature for a couple of hours, but keep them cool to avoid melting the coating.
Reheating: These delightful pumpkins are best enjoyed cold or at room temperature; avoid reheating as it may affect the candy coating.
Peanut Butter Pumpkins Recipe FAQs
How do I choose the right peanut butter?
Absolutely! For the best flavor and texture in your Peanut Butter Pumpkins, I recommend using natural peanut butter. Look for brands with only peanuts and salt listed in the ingredients. Avoid any with added sugars or oils, as they can affect the consistency of your mixture.
What’s the best way to store Peanut Butter Pumpkins?
You can store your Peanut Butter Pumpkins in an airtight container in the refrigerator for up to one week. This keeps them fresh and ensures you enjoy that creamy peanut butter flavor. If you want to prepare them ahead of time, freeze the uncoated peanut butter balls for up to three months. Just thaw them in the fridge before coating them with candy melts!
What should I do if the candy coating cracks?
Very! To prevent the candy coating from cracking, ensure that your peanut butter balls are thoroughly chilled before dipping. If you encounter cracks after coating, don’t worry! You can reheat any leftover candy coating and smoothly patch them up. Just gently melt a little more coating and use a small spoon to cover the cracks.
Can I make these Peanut Butter Pumpkins gluten-free?
Absolutely! This Peanut Butter Pumpkins recipe is naturally gluten-free as long as you use gluten-free crispy rice cereal. Always check the packaging to confirm that all ingredients are certified gluten-free if this is a concern due to allergies or dietary restrictions.
Can I freeze the finished Peanut Butter Pumpkins?
The more the merrier! Yes, you can freeze the finished Peanut Butter Pumpkins, but I recommend doing it before coating them with the candy melts. To freeze, place the uncoated peanut butter balls in a single layer on a baking sheet and freeze until solid, then transfer to an airtight container or freezer bag for up to three months. Thaw them in the fridge before coating for the freshest results!
What are some fun variations I can try?
Oh, there are so many options! Feel free to experiment with different nut butters like almond or cashew for a unique twist. You can also try dipping them in dark or milk chocolate instead of candy melts for a richer flavor. For a surprise inside, consider making stuffed pumpkins by adding a creamy caramel or chocolate filling. The possibilities are endless with these festive treats!
Peanut Butter Pumpkins: Whimsical Treats for Fall Fun
Ingredients
Equipment
Method
- Prepare Workspace. Begin by cleaning your kitchen counter and gathering all necessary ingredients and tools for making Peanut Butter Pumpkins.
- Mix Peanut Butter Mixture. In a large mixing bowl, combine the creamy peanut butter, powdered sugar, and vanilla extract until the mixture is smooth.
- Add Rice Cereal. Gently fold in the crispy rice cereal until it is fully integrated and the mixture holds together.
- Form Pumpkins. Roll the mixture into 1-2 inch round balls and place them on the lined baking sheet.
- Chill. Transfer the baking sheet to the refrigerator and chill for 30 minutes to firm up the mixture.
- Melt Candy Coating. In a microwave-safe bowl, combine the orange candy melts with vegetable oil and microwave until smooth.
- Coat Pumpkins. Dip each chilled pumpkin into the melted orange candy and place back on the lined baking sheet.
- Decorate. While the candy coating is still wet, add mini chocolate chips for eyes and use melted green candy for leaves.
- Set. Allow the coated pumpkins to set at room temperature until the candy shell is fully hardened.