
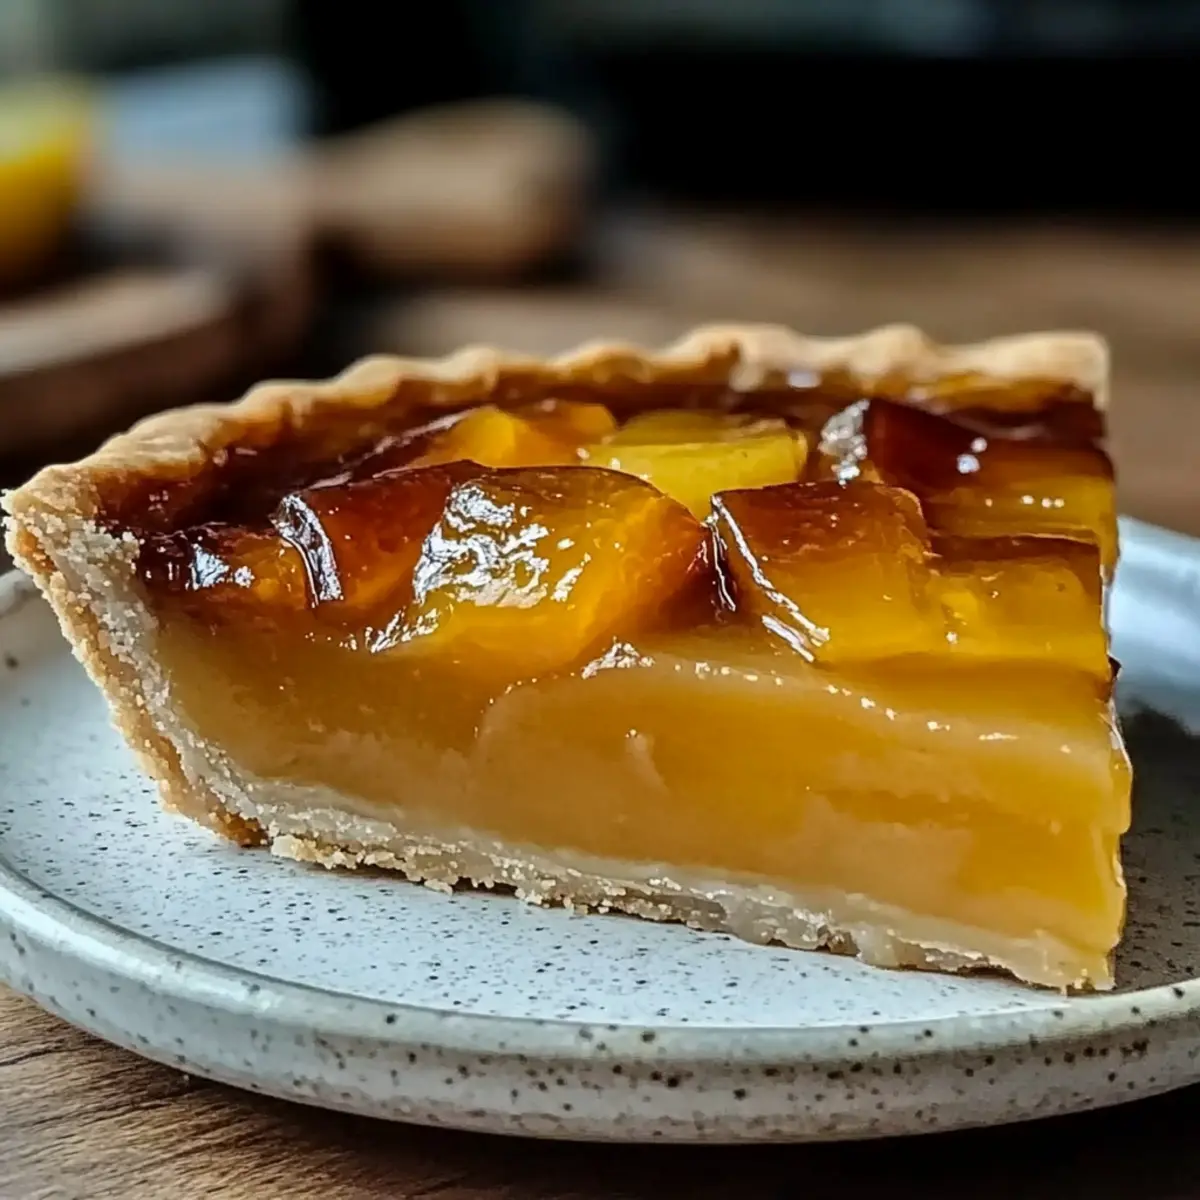
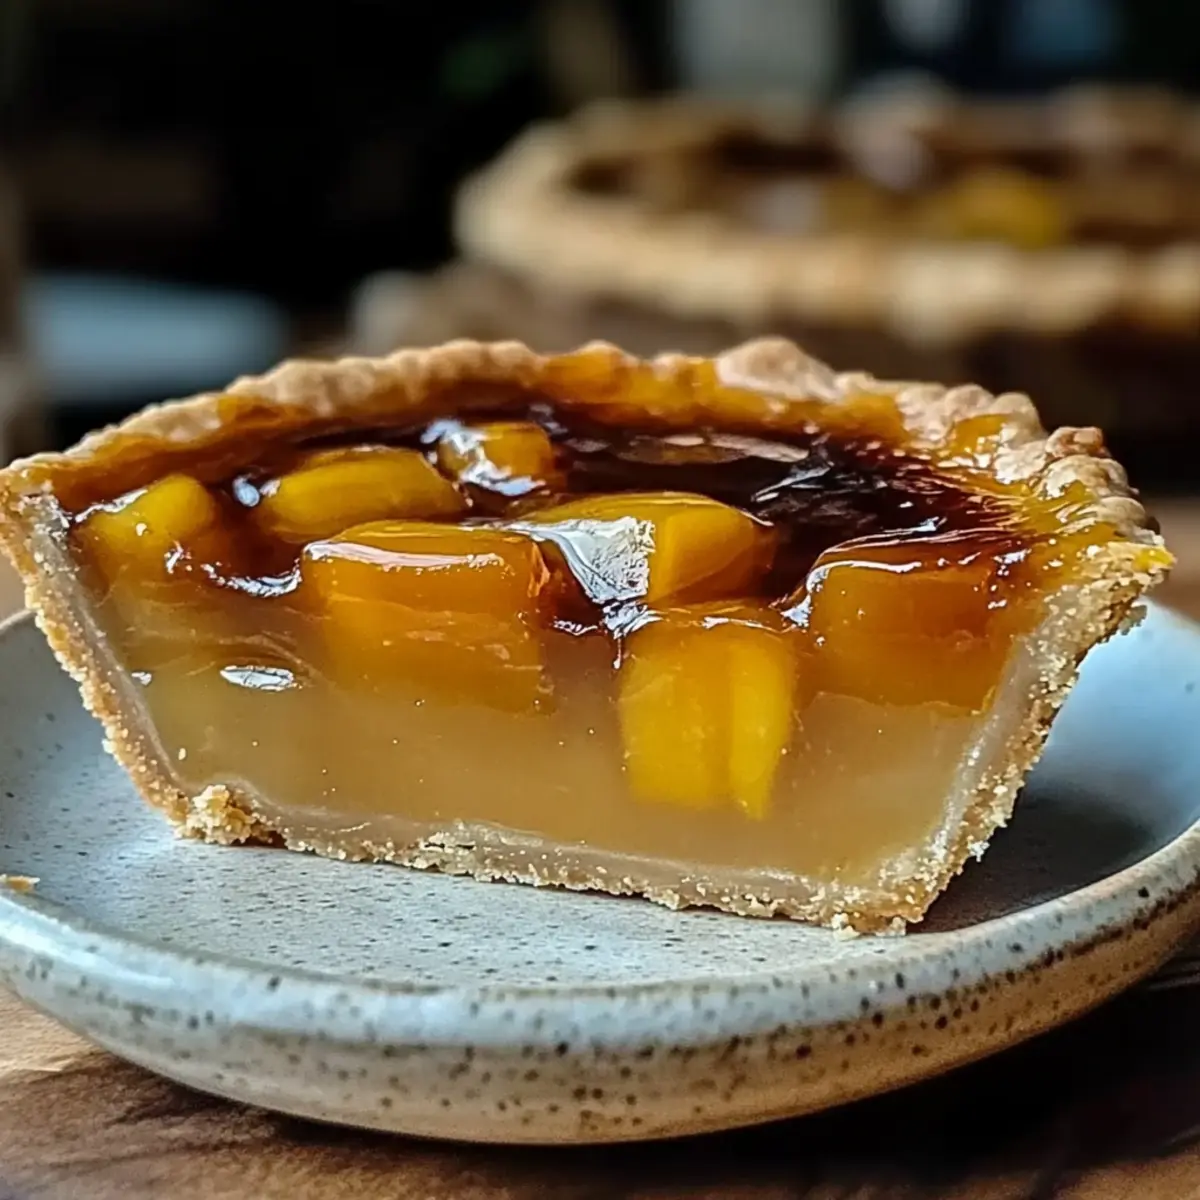
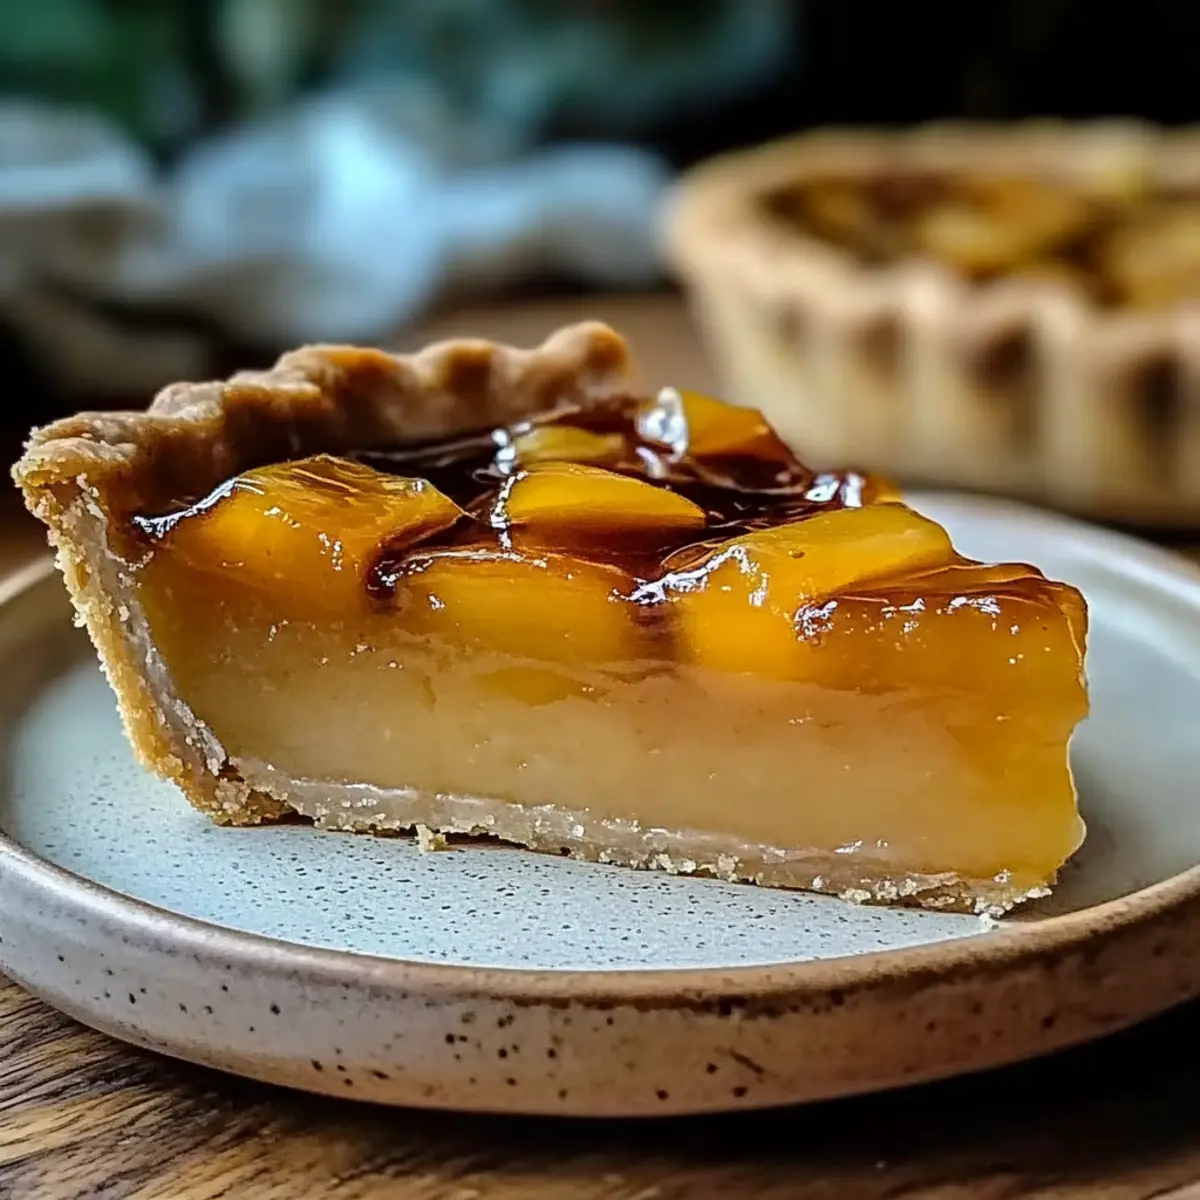
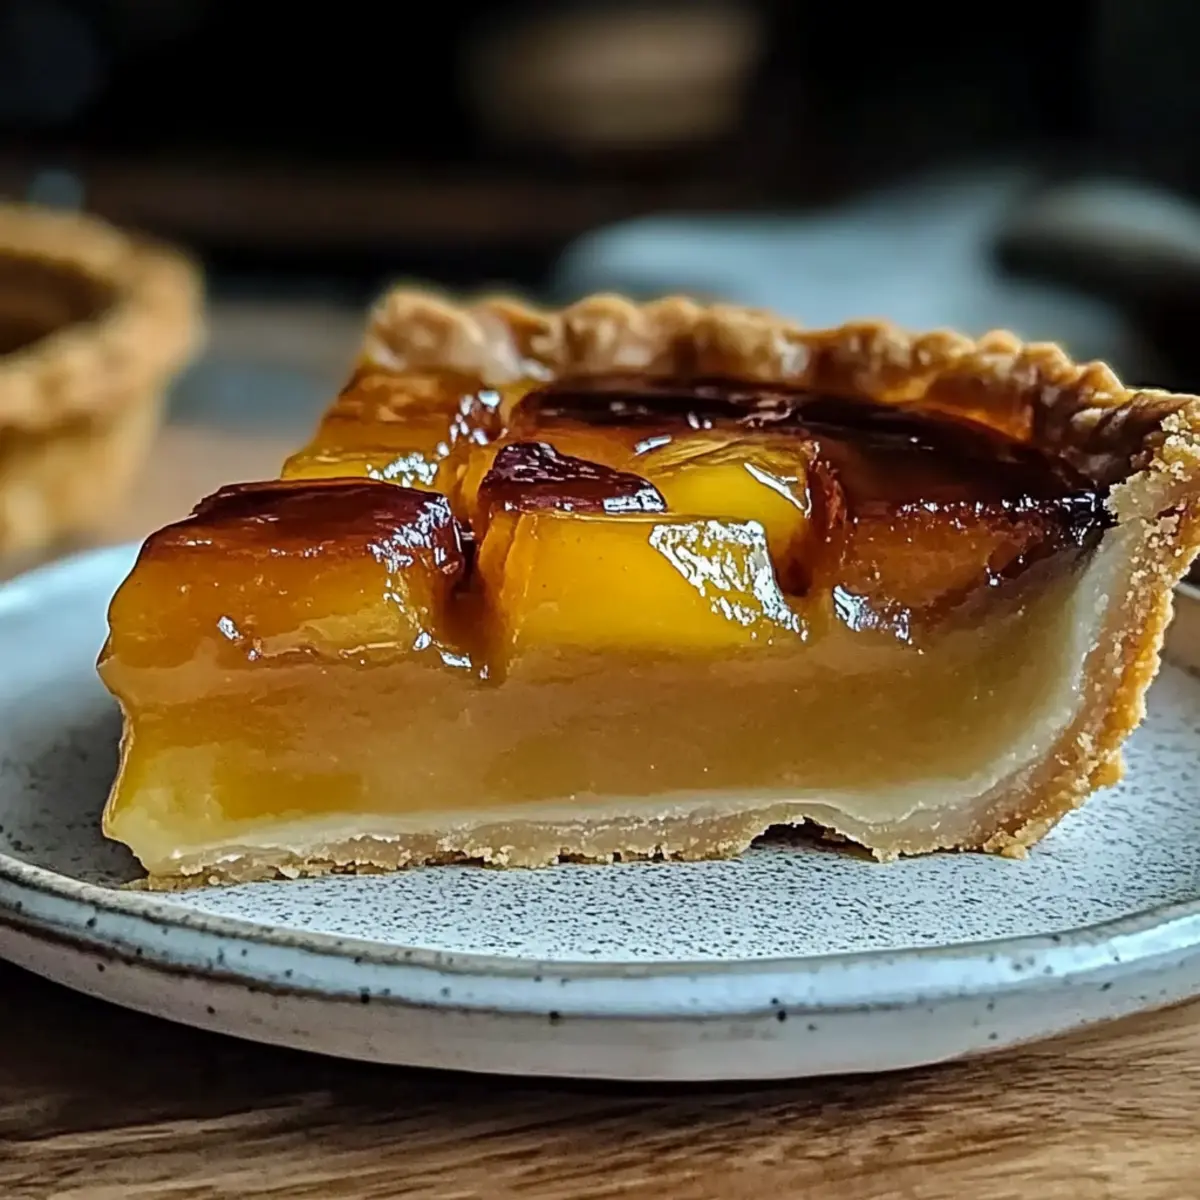
As I pulled the Burnt Honey Pie from the oven, an intoxicating aroma filled my kitchen, wrapping me in a warm embrace of caramelized sweetness. This pie is not just a dessert; it’s an experience, with its velvety filling and a contrast of textures that will leave your taste buds dancing. The beauty of Burnt Honey Pie lies in its elegant simplicity—perfect for impressing guests at a dinner party or indulging in a cozy night at home. Plus, it’s surprisingly easy to prepare, allowing you to focus on the moments that matter. Whether you’re entertaining or just craving something sweet, this pie is bound to become a new favorite. Curious to find out how to make this alluring treat? Let’s dive in!
Why is Burnt Honey Pie a Must-Try?
Irresistible Flavor: The deep caramelized honey elevates every bite, creating a rich and indulgent dessert experience.
Effortless Preparation: Simple steps mean you can wow your guests without spending hours in the kitchen.
Versatile Variations: Whether you stick to the classic or experiment with flavors like cinnamon, the options are endless!
Visual Appeal: The striking burnt top paired with a creamy filling makes for a stunning centerpiece at any gathering.
Perfect for All Occasions: Celebrating a special moment or just treating yourself, this pie fits right in! A slice brings pure joy, similar to our Mini Pecan Pie and its comforting flavors.
Burnt Honey Pie Ingredients
For the Filling
- Honey – Main flavor component providing sweetness and caramelization; consider using maple syrup or agave nectar, although it will alter the flavor.
- Eggs – Acts as a binding agent for the filling; for a vegan version, substitute with flax eggs.
- Heavy Cream – Adds richness and creaminess to the filling; can use plant-based alternatives for a vegan version.
- Milk – Balances the creaminess of the filling; substitute with plant-based milk for a vegan option.
- Butter – Contributes to the crust’s flavor and texture; optional to use dairy-free butter for a vegan version.
- Pie Crust – Provides structure; using a pre-made store-bought crust is acceptable for convenience.
- Salt – Enhances flavor; essential for balancing sweetness.
For the Topping
- Whipped Cream or Ice Cream – Complements the richness of the Burnt Honey Pie and adds a delightful creaminess to each bite.
- Cinnamon or Nutmeg – These spices can be infused in the filling for added warmth and depth of flavor.
Enjoy the sensational combination of flavors as you bring this delightful Burnt Honey Pie to life!
Step‑by‑Step Instructions for Burnt Honey Pie
Step 1: Preheat the Oven
Start by preheating your oven to 350°F (175°C). This ensures a consistent temperature when baking your Burnt Honey Pie, helping it set perfectly. Preparing the oven in advance allows you to focus on the filling while it heats up, ensuring an effortless flow to your delicious dessert-making process.
Step 2: Burn the Honey
In a medium saucepan, add 1 cup of honey and heat it over medium-low heat. Stir continuously until the honey becomes a deep amber color, about 8-10 minutes. Be vigilant to avoid burning it; you’re looking for a rich caramel aroma. Once achieved, remove it from heat and let it cool slightly before incorporating it into the filling.
Step 3: Mix the Filling
In a large mixing bowl, whisk together 3 large eggs, 1 cup of heavy cream, and ½ cup of milk until well combined. Slowly drizzle in the cooled burnt honey while whisking to ensure a smooth consistency. The mixture should be glossy and homogenous, indicating the Burnt Honey Pie filling is ready for the crust.
Step 4: Assemble the Pie
Take your prepared pie crust and place it on a baking sheet to catch any drips. Carefully pour the creamy burnt honey filling into the crust, ensuring an even distribution. The filling should fill the crust just below the edge, leaving space to avoid overflow during baking.
Step 5: Bake the Pie
Slide the assembled pie into your preheated oven and bake for 30-35 minutes. Keep an eye on the filling; it should be set but still slightly jiggly in the center. You can test this by gently shaking the baking sheet. When the edges are firm and the center remains wobbly, it’s time to take it out.
Step 6: Cool Before Serving
Allow the Burnt Honey Pie to cool at room temperature for at least 1 hour. This helps the filling set properly, enhancing the texture and flavor. If you’re preparing it ahead of time, refrigerate the pie for a few hours for an even creamier consistency before serving.
What to Serve with Burnt Honey Pie
As you savor each delightful slice, consider these pairings to create a memorable meal experience.
-
Whipped Cream: A dollop of freshly whipped cream adds a light, airy contrast to the rich pie, enhancing the overall sensory delight.
-
Fresh Berries: Juicy raspberries or tart blackberries provide a bright, refreshing burst that balances the sweetness and creaminess of the pie.
-
Vanilla Bean Ice Cream: The creamy, cold texture of vanilla bean ice cream complements the warm pie perfectly, bringing a delightful harmony of flavors.
-
Cinnamon Spiced Coffee: A warm cup of coffee infused with cinnamon enhances the caramel flavors, making for a comforting and indulgent dessert experience.
-
Dark Chocolate Shavings: A sprinkle of dark chocolate on top adds a luxurious touch, introducing a subtle bitterness that pairs beautifully with the sweetness of the pie.
-
Nuts and Caramel Sauce: Serve with crunchy candied nuts drizzled in caramel for an added texture contrast, amplifying the pie’s richness for an ultimate decadent dessert.
Each of these serves not just as a side, but as an experience that transforms your Burnt Honey Pie into a full-fledged celebration of flavor!
How to Store and Freeze Burnt Honey Pie
Fridge: Store your Burnt Honey Pie in the refrigerator, covered with plastic wrap or in an airtight container, for up to 3 days. This will keep it fresh while allowing the flavors to develop.
Freezer: If you need to store it longer, you can freeze the pie for up to 2 months. Make sure to wrap it tightly in plastic wrap followed by aluminum foil to prevent freezer burn.
Thawing: When ready to enjoy, thaw the Burnt Honey Pie in the refrigerator overnight. Reheat in a warm oven for a few minutes to restore its delightful texture.
Reheating: Enjoy cold or at room temperature; however, if you prefer it warm, gently reheat slices in the oven at 350°F (175°C) for about 5-10 minutes.
Expert Tips for Burnt Honey Pie
-
Monitor Honey Closely: Burn the honey carefully to achieve the right caramel flavor; taste as it cooks to avoid bitterness.
-
Check for Jiggly Center: If the filling is too jiggly after baking, return it to the oven for a few more minutes until slightly firmer.
-
Chill for Best Texture: Cooling the Burnt Honey Pie in the refrigerator enhances its creaminess and allows flavors to meld beautifully.
-
Use Quality Ingredients: Opt for the best honey, heavy cream, and organic eggs for a truly luxurious dessert experience.
-
Pre-made Crust is Acceptable: For convenience, using a store-bought pie crust is perfectly fine and saves time without compromising flavor.
Make Ahead Options
Burnt Honey Pie is perfect for meal prep, saving you time and effort on busy days! You can prepare the filling up to 24 hours in advance and store it in an airtight container in the refrigerator. To do this, simply follow the steps for making the filling, then pour it into the pie crust just before baking. Keep the pie covered to prevent absorption of fridge odors, ensuring it remains just as delicious. When you’re ready to serve, simply bake the pie straight from the fridge. This allows for a stunning dessert that’s still fresh and rich in flavor, perfect for impressing guests or indulging your sweet tooth!
Burnt Honey Pie: Customization Ideas
Feel free to get creative with your Burnt Honey Pie and explore delightful flavor variations that will elevate your dessert experience!
-
Vegan Twist: Replace eggs with flax eggs and use full coconut cream to maintain richness while keeping it plant-based. This swap will still deliver a creamy texture you’ll love.
-
Spiced Heaven: Add a pinch of cinnamon or nutmeg to the filling for an inviting, warm flavor that transforms your pie into a comforting dessert, perfect for chilly evenings.
-
Herb-Infused Honey: Infuse your honey with rosemary or thyme while heating it; this herbal twist adds an unexpected depth and sophistication to your pie, impressing all who taste it.
-
Zesty Citrus: Grate some lemon or orange zest into the filling to brighten the flavor profile and provide a refreshing contrast to the sweetness—an exquisite touch to savor.
-
Nutty Crust: Swap your traditional pie crust for a crushed nut crust (think almonds or pecans) for added texture and a nutty flavor that complements the honey beautifully.
-
Chocolate Drizzle: A drizzle of melted dark chocolate on top after baking creates a decadent layer of richness, making your pie an even more indulgent treat for chocolate lovers.
-
Chilled Delight: For a refreshing touch, serve your Burnt Honey Pie with a dollop of whipped cream or a scoop of vanilla ice cream, giving each bite a creamy counterpart to enjoy.
Experimenting with these variations not only personalizes your pie but also allows you to discover new flavors that may soon become family favorites alongside recipes like our Cranberry Honey Butter or Brown Sugar Honey Glazed Carrots. Enjoy!
Burnt Honey Pie Recipe FAQs
What type of honey should I use for Burnt Honey Pie?
Using a high-quality honey is essential for the best flavor. I recommend wildflower or clover honey, as they offer rich, diverse notes that enhance the pie’s taste. Avoid highly processed honey, as it may lack the depth required for this recipe.
How should I store my Burnt Honey Pie?
Store your Burnt Honey Pie in the refrigerator, covered with plastic wrap or in an airtight container, for up to 3 days. This keeps it fresh while allowing the flavors to meld beautifully. It’s a delicious treat waiting to be enjoyed!
Can I freeze Burnt Honey Pie?
Absolutely! You can freeze the pie for up to 2 months. Make sure to wrap it tightly in plastic wrap followed by aluminum foil to prevent freezer burn. This enables you to enjoy your pie even later, without compromising flavor or texture.
What should I do if my filling is too jiggly after baking?
If you notice your Burnt Honey Pie filling is overly jiggly, return it to the oven for an additional 5-10 minutes. This may require monitoring closely to avoid overcooking. The edges should be firm, while the center should still have a gentle wobble when shaken.
Are there any dietary concerns with Burnt Honey Pie?
Yes, if you’re making this pie for those with dietary restrictions, you can easily adapt it! For a vegan version, substitute regular eggs with flax eggs (1 tablespoon ground flaxseed mixed with 2.5 tablespoons of water equals one egg). Choose non-dairy milk and cream alternatives and using dairy-free butter options for the crust works wonderfully too!
How can I tell when the Burnt Honey Pie is done baking?
The pie is done when the edges are firm and the center remains slightly jiggly, similar to a cheesecake. You can gently shake the baking sheet to check. If the center ripples ever so slightly but holds its shape, you’ve nailed it!
Burnt Honey Pie: Indulge in This Luxurious Caramel Delight
Ingredients
Equipment
Method
- Preheat your oven to 350°F (175°C).
- In a medium saucepan, add 1 cup of honey and heat it over medium-low heat, stirring continuously until it becomes a deep amber color, about 8-10 minutes. Remove from heat and let cool slightly.
- In a large mixing bowl, whisk together 3 large eggs, 1 cup of heavy cream, and ½ cup of milk until well combined. Slowly drizzle in the cooled burnt honey while whisking.
- Place the prepared pie crust on a baking sheet and pour the creamy burnt honey filling into the crust, leaving space to avoid overflow during baking.
- Bake for 30-35 minutes until the edges are firm and the center remains slightly jiggly.
- Allow the pie to cool at room temperature for at least 1 hour before serving or refrigerate for a few hours.