
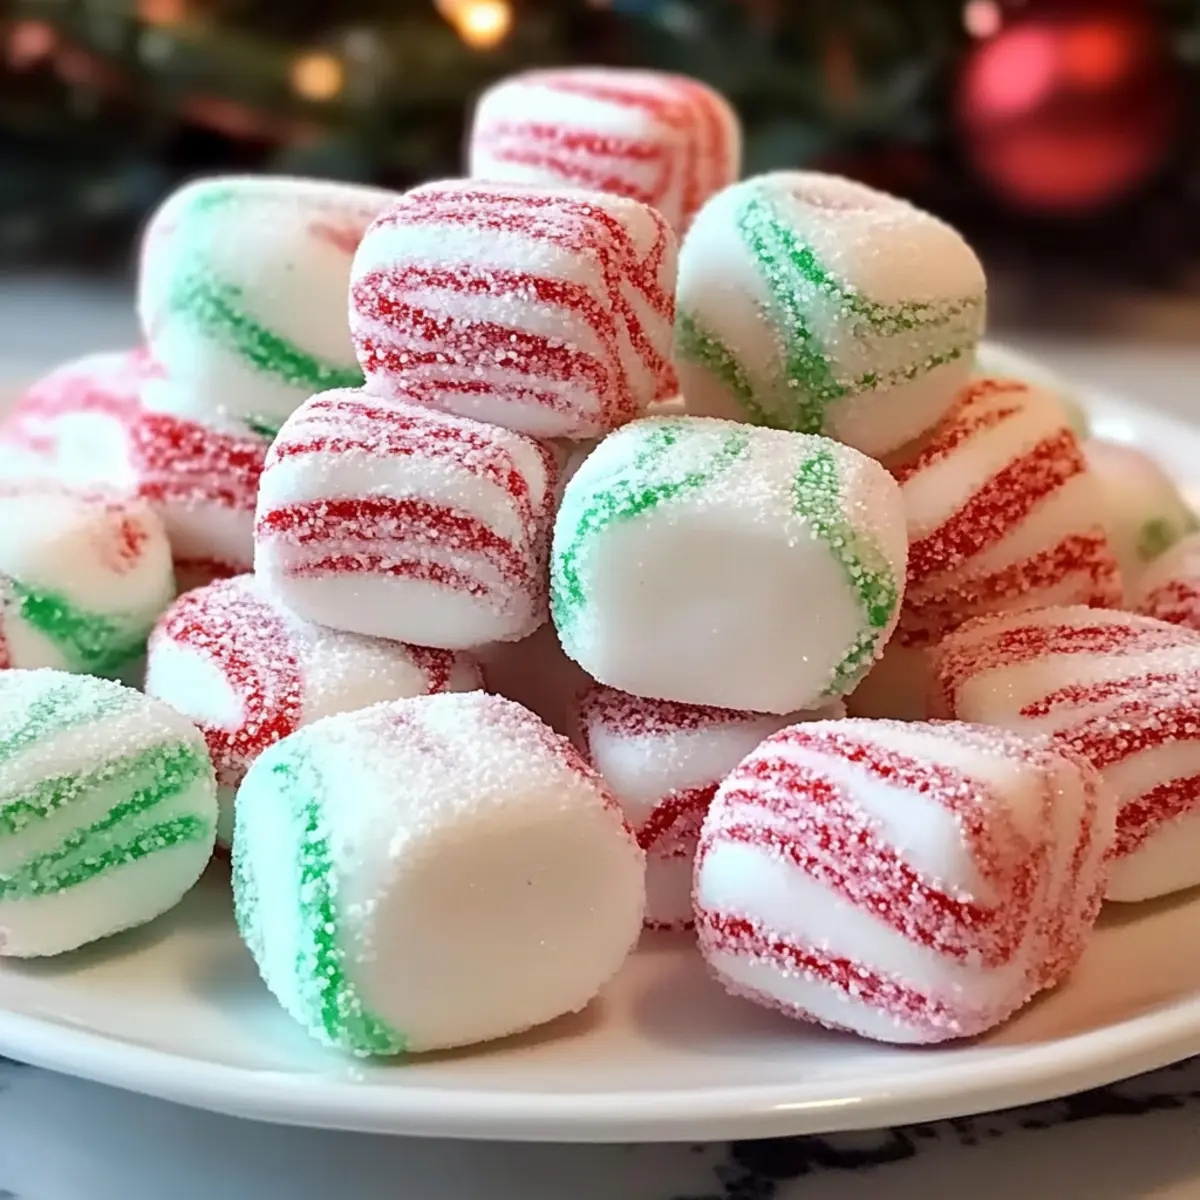
The aroma of peppermint wafted through the air as I unwrapped the festive treat; moments like this remind me why homemade is always better. Soft Christmas Peppermints are not just delightful candies; they evoke nostalgia and joy, making each bite a little piece of holiday magic. With their melt-in-your-mouth creamy center and slight crispness, these no-bake minty wonders are perfect for cookie trays, gifting, or savoring by the Christmas tree. What I love most about these Soft Christmas Peppermints is how effortlessly adaptable they are, allowing you to play with colors and flavors to suit your festive spirit. Plus, they require just a handful of pantry staples and a little love, making them a simple yet impressive addition to your holiday celebrations. So, are you ready to whip up a batch and spread some holiday cheer?
Why Love Soft Christmas Peppermints?
Melt-in-your-mouth goodness: With their creamy centers and crisp exteriors, these candies are sure to delight everyone!
No-bake convenience: Easily whip together these peppy treats in no time, perfect for last-minute holiday gatherings.
Customizable flavors: Feel free to experiment with different extracts, allowing your creativity to shine through!
Gifting made easy: Beautifully jarred and tied with a ribbon, they make charming gifts that friends and family will adore.
Family fun: Involve the kids in shaping these mints for a festive family activity that creates lasting memories.
Tantalize your friends and family with these festive treats, and for more delightful holiday recipes, check out our top cookie recipes to make your season even sweeter!
Soft Christmas Peppermints Ingredients
• Get ready to create these festive delights!
For the Dough
- Powdered Sugar – This provides the necessary sweetness and structure; be sure to have extra on hand for dusting to prevent sticking.
- Sweetened Condensed Milk – Acts as a binding agent for a creamy texture; you can replace it with full-fat milk if you prefer less sweetness.
- Peppermint Extract – The star ingredient for that classic minty flavor; feel free to adjust the amount to suit your taste.
For Color & Coating
- Food Coloring (Red and Green Gel) – Use gel to achieve vibrant hues without adding moisture to the dough; natural alternatives like beet or spinach powder work too!
- Granulated Sugar – This is essential for coating the mints, adding sweetness and a festive touch.
With these simple ingredients, you’ll have the foundation for your Soft Christmas Peppermints, ready to spread joy this holiday season!
Step‑by‑Step Instructions for Soft Christmas Peppermints
Step 1: Prepare Dough
Begin by sifting 4 cups of powdered sugar into a large mixing bowl. Pour in one can (14 ounces) of sweetened condensed milk and add 1 teaspoon of peppermint extract. Use a sturdy spatula to mix until a sticky dough forms. If the dough feels too wet, gradually incorporate more powdered sugar until it reaches a pliable consistency, ready for shaping.
Step 2: Color Dough
Once your dough is formed, divide it into three equal portions on a clean surface. Keep one portion plain and add a few drops of red gel food coloring to the second, and green gel to the third. Knead each portion separately until the colors are evenly distributed, creating vibrant shades perfect for your festive Soft Christmas Peppermints.
Step 3: Shape Mints
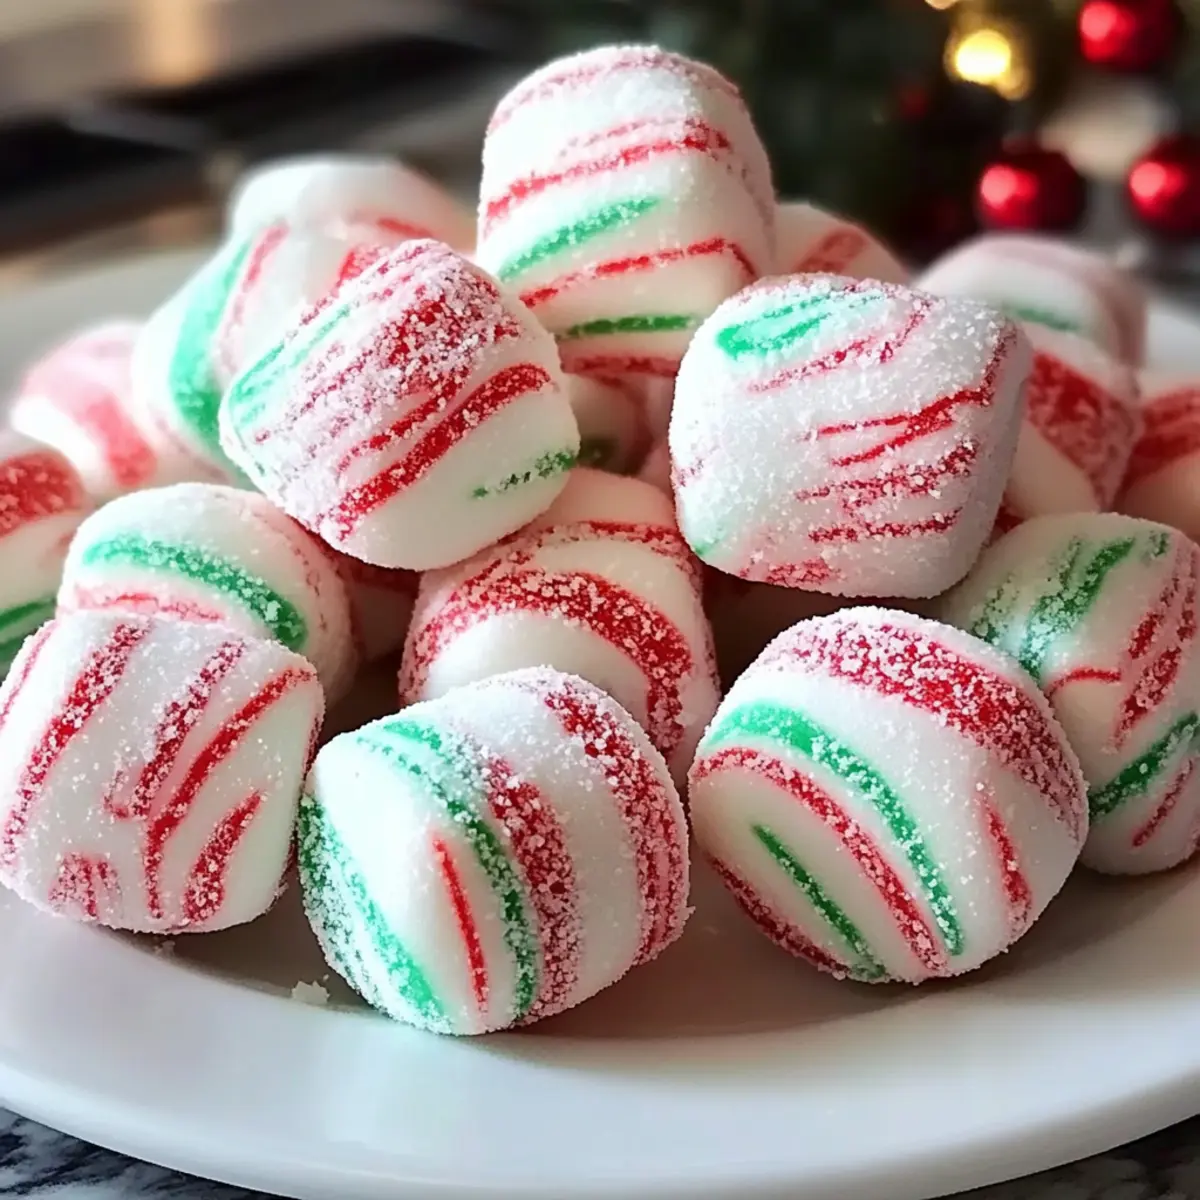
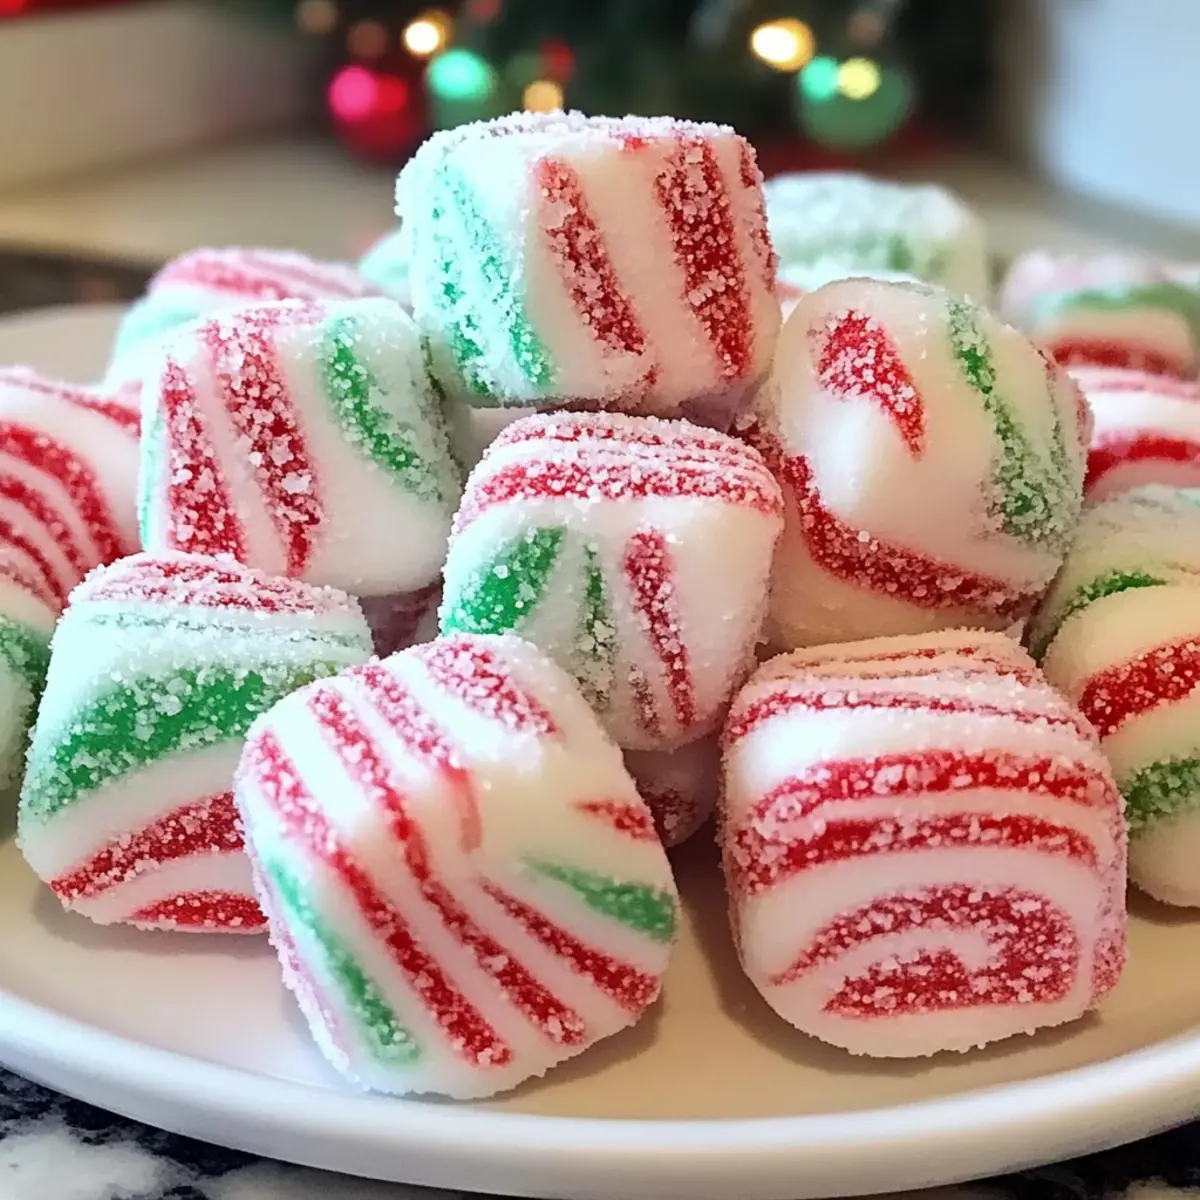
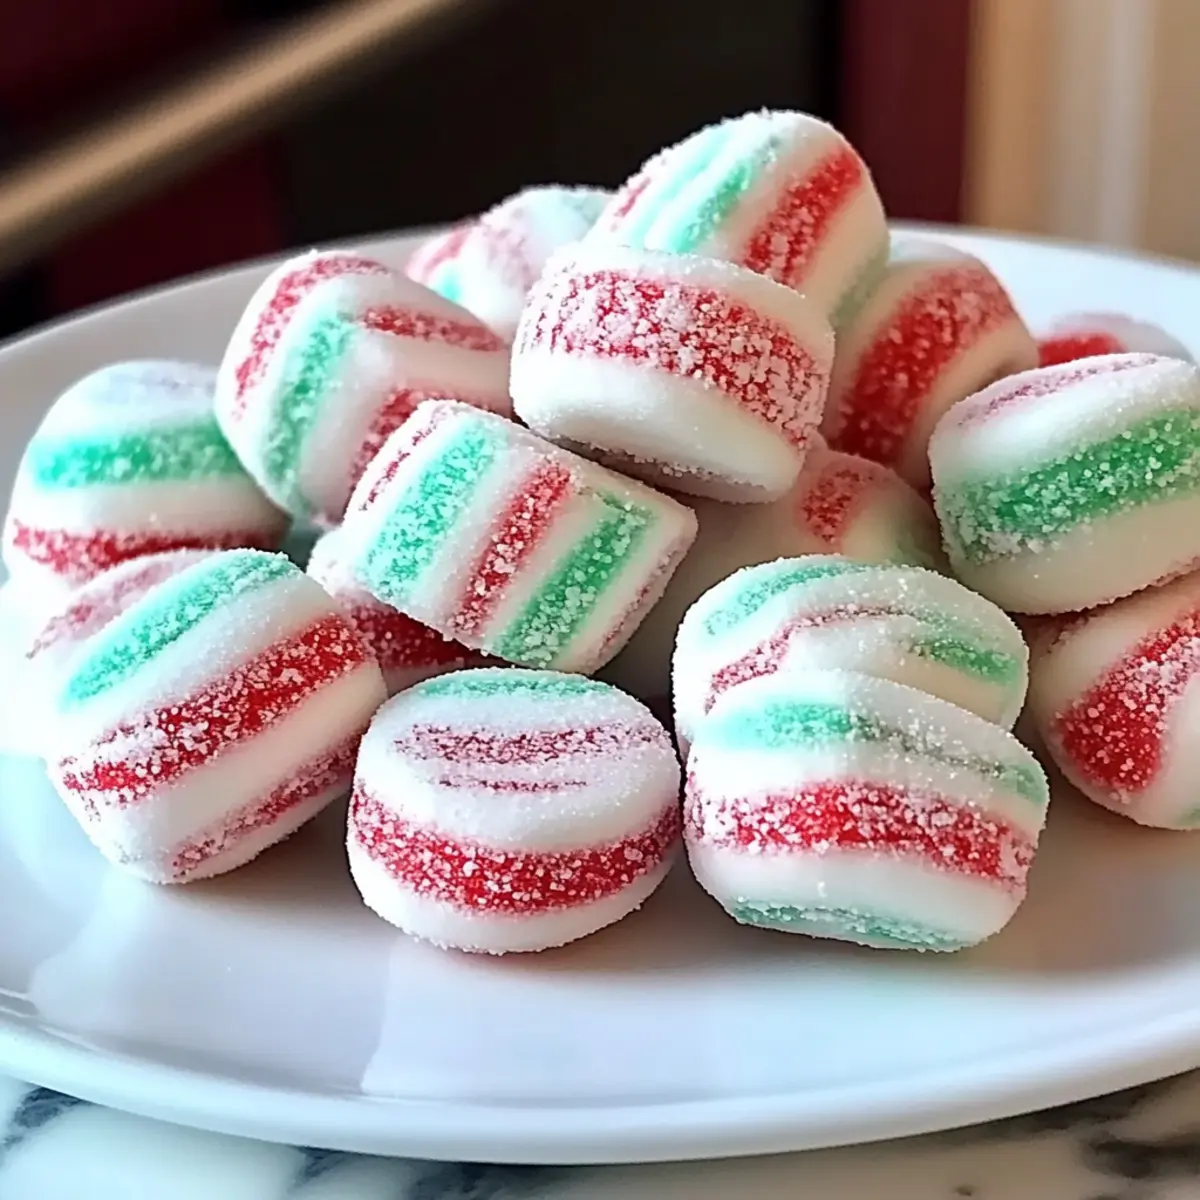
Dust your work surface generously with powdered sugar to prevent sticking. Take a colored dough portion and roll it into thin ropes about ¼ inch in diameter. To create a candy cane effect, twist two colored ropes together. Repeat with the remaining portions, ensuring you have both red and green twisted together for a delightful visual appeal.
Step 4: Cut & Coat
Using a sharp knife, cut the twisted ropes into 2-inch segments and gently shape each piece into small rounds or discs. Next, roll each mint in granulated sugar to coat them evenly. This coating will not only add sweetness but also ensure a lovely, festive finish to your Soft Christmas Peppermints.
Step 5: Drying
Place the mint-shaped candies on a parchment-lined baking sheet, ensuring they have some space between them for proper airflow. Let your Soft Christmas Peppermints dry at room temperature for about 8 hours or overnight. This drying time allows them to firm up, achieving that perfect melt-in-your-mouth texture that defines these delightful holiday treats.
Make Ahead Options
These Soft Christmas Peppermints are a fantastic option for meal prep enthusiasts during the bustling holiday season! You can prepare the dough up to 24 hours in advance by mixing the powdered sugar, sweetened condensed milk, and peppermint extract. Once ready, cover the bowl tightly and refrigerate to maintain freshness. Additionally, you can shape the mints and coat them in granulated sugar, then let them dry at room temperature—this can also be done up to 3 days ahead of serving. When it’s time to enjoy, simply remove them from storage, and they’ll be just as delicious, ready to delight your family or guests!
Soft Christmas Peppermints Variations & Substitutions
Feel free to get creative with these Soft Christmas Peppermints, adding your personal touch to make them even more delightful!
-
Flavor Boosts: Add a few drops of vanilla or almond extract for a unique twist on the traditional mint flavor. These subtle shifts can create a new favorite.
-
Color Variations: Use different colors of gel food coloring to match your festive theme—think blue and silver for a winter wonderland or vibrant pink and purple for a fun twist.
-
Natural Colorants: Replace gel food colorings with natural alternatives like beet or turmeric powder for a healthier spin! These options bring color without compromising flavor.
-
Dairy-Free: Substitute sweetened condensed milk with coconut cream to create a dairy-free version. The coconut adds a lovely, tropical twist to the classic mint flavor.
-
Texture Twists: Roll in crushed candy canes instead of granulated sugar for an extra crunch and seasonal flair. This adds delightful flavor and texture!
-
Spicy Kick: If you like a little heat, mix in a dash of cayenne pepper or cinnamon into the dough for a warm, spicy twist on your mints.
-
Mini Mints: For bite-sized treats, shape the dough into smaller rounds. This makes them perfect for snacking and great for sharing!
-
Kids’ Activity: Get the little ones involved by letting them create their own designs. With colorful dough and fun shapes, everyone can make their own customized mints!
Feeling inspired? For even more festive ideas, explore our collection of holiday cookie recipes to find the perfect pairing for your peppermint treats!
Expert Tips for Soft Christmas Peppermints
-
Color Consistency: Use gel food coloring instead of liquid to maintain dough texture. This ensures your Soft Christmas Peppermints remain perfectly pliable and vibrant.
-
Prevent Sticking: Always dust your hands and work surfaces with powdered sugar. This prevents the dough from sticking and makes handling easier, resulting in neat shapes.
-
Perfect Dough: Your dough should feel soft but not sticky. If it’s too wet, gradually add more powdered sugar until it’s the right consistency for rolling and shaping.
-
Family Fun Activity: Involve kids in the shaping process. Not only does it make for a fun holiday activity, but it also helps create lasting family memories while making your Soft Christmas Peppermints.
-
Drying Time: Allow plenty of air circulation when drying the mints. This helps them achieve that desired crispy exterior while keeping the centers creamy and delicious.
How to Store and Freeze Soft Christmas Peppermints
Room Temperature: Store Soft Christmas Peppermints in an airtight container at room temperature for up to two weeks to maintain their delightful texture and flavor.
Fridge: If you want them to last longer, you can refrigerate the mints for up to one month. Remember to use an airtight container to prevent moisture from affecting their softness.
Freezer: For extended storage, freeze Soft Christmas Peppermints in a single layer on a parchment-lined baking sheet. Once frozen, transfer them to a zip-top bag or airtight container for up to three months.
Thawing: To enjoy, simply thaw the mints at room temperature for about 30 minutes before serving. This will bring back their delicious melt-in-your-mouth feel!
What to Serve with Soft Christmas Peppermints
Create the ultimate holiday experience with these delightful combinations!
-
Rich Hot Chocolate: A warm, velvety mug of hot chocolate is the perfect contrast to the cool, minty flavor of the mints. It brings comfort and coziness to your seasonal celebrations.
-
Spiced Gingerbread Cookies: The warm spices in gingerbread cookies complement the cool freshness of your Soft Christmas Peppermints, creating a harmonious blend of flavors that make for a festive dessert platter.
-
Festive Cheese Board: Add a selection of creamy cheeses and crunchy crackers to balance the sweetness of your mints, providing a variety of textures and flavors that your guests will love.
-
Peppermint Bark: Serve these two minty treats together for a delightful peppermint overload! The rich chocolate of peppermint bark pairs beautifully with the soft, fluffy centers of your homemade mints.
-
Nutty Fruitcake: The dense, moist texture of fruitcake enriched with nuts complements the lightness of the peppermint candies, bringing an inviting contrast to your holiday dessert table.
-
Mulled Wine: This warming, spiced drink enhances the festive mood and creates a lovely pairing with the refreshing tastes of your Soft Christmas Peppermints—perfect after a chilly winter walk.
-
Cranberry Orange Scones: The bright tartness of cranberry and the zesty orange flavor make these scones a refreshing counterpart to the creamy peppermint, balancing sweetness with citrus brightness.
-
Festive Coffee: A cup of coffee brewed with cinnamon or peppermint flavors enhances your mints while providing a comforting and energizing finish to your holiday journey.
With these suggestions, you’ll craft a memorable holiday spread that celebrates the joy of homemade treats!
Soft Christmas Peppermints Recipe FAQs
How do I know if my powdered sugar is fresh enough?
Absolutely! Fresh powdered sugar should be fine and light without any clumps. If you see clumps or dark spots, it might be time to replace it. Fresh powdered sugar ensures your Soft Christmas Peppermints have the best texture.
How should I store my Soft Christmas Peppermints?
To keep your Soft Christmas Peppermints fresh, store them in an airtight container at room temperature for up to two weeks. If you prefer longer-lasting mints, refrigerate them, and they will stay good for up to a month. Remember to check that they are well-sealed to prevent moisture from ruining their delightful texture.
Can I freeze Soft Christmas Peppermints?
Yes, you can! To freeze your Soft Christmas Peppermints, arrange them in a single layer on a parchment-lined baking sheet and freeze until solid. Then, transfer them to a zip-top bag or a sealed container, where they can stay fresh for up to three months. When you’re ready to indulge, simply thaw them at room temperature for about 30 minutes.
What should I do if my dough is too sticky?
If your dough turns out too sticky, don’t worry! Simply add more powdered sugar, a little at a time, until it reaches a pliable consistency. Ensure you’re mixing well after each addition, as this can help get the right texture for shaping your Soft Christmas Peppermints.
Are there any allergies I should consider when making these mints?
Very good question! If you’re concerned about allergies, it’s crucial to check the labels on your ingredients. Most are safe, but sweetened condensed milk can contain milk allergens, so consider using a dairy-free substitute if needed. Additionally, peppermint extract could be a concern for those with sensitivities, so easily modify the flavor with vanilla or almond extracts instead.
Soft Christmas Peppermints: Melt-in-Your-Mouth Magic
Ingredients
Equipment
Method
- Sift 4 cups of powdered sugar into a large mixing bowl. Pour in 1 can of sweetened condensed milk and 1 tsp of peppermint extract. Mix until a sticky dough forms.
- Divide the dough into three portions. Keep one plain, add red gel to the second and green gel to the third. Knead until colors are distributed.
- Dust your work surface with powdered sugar. Roll colored dough into thin ropes. Twist two colors together for a candy cane effect.
- Cut the twisted ropes into 2-inch segments and shape into rounds or discs. Roll in granulated sugar to coat.
- Place the candies on a parchment-lined baking sheet. Let them dry at room temperature for 8 hours or overnight.