
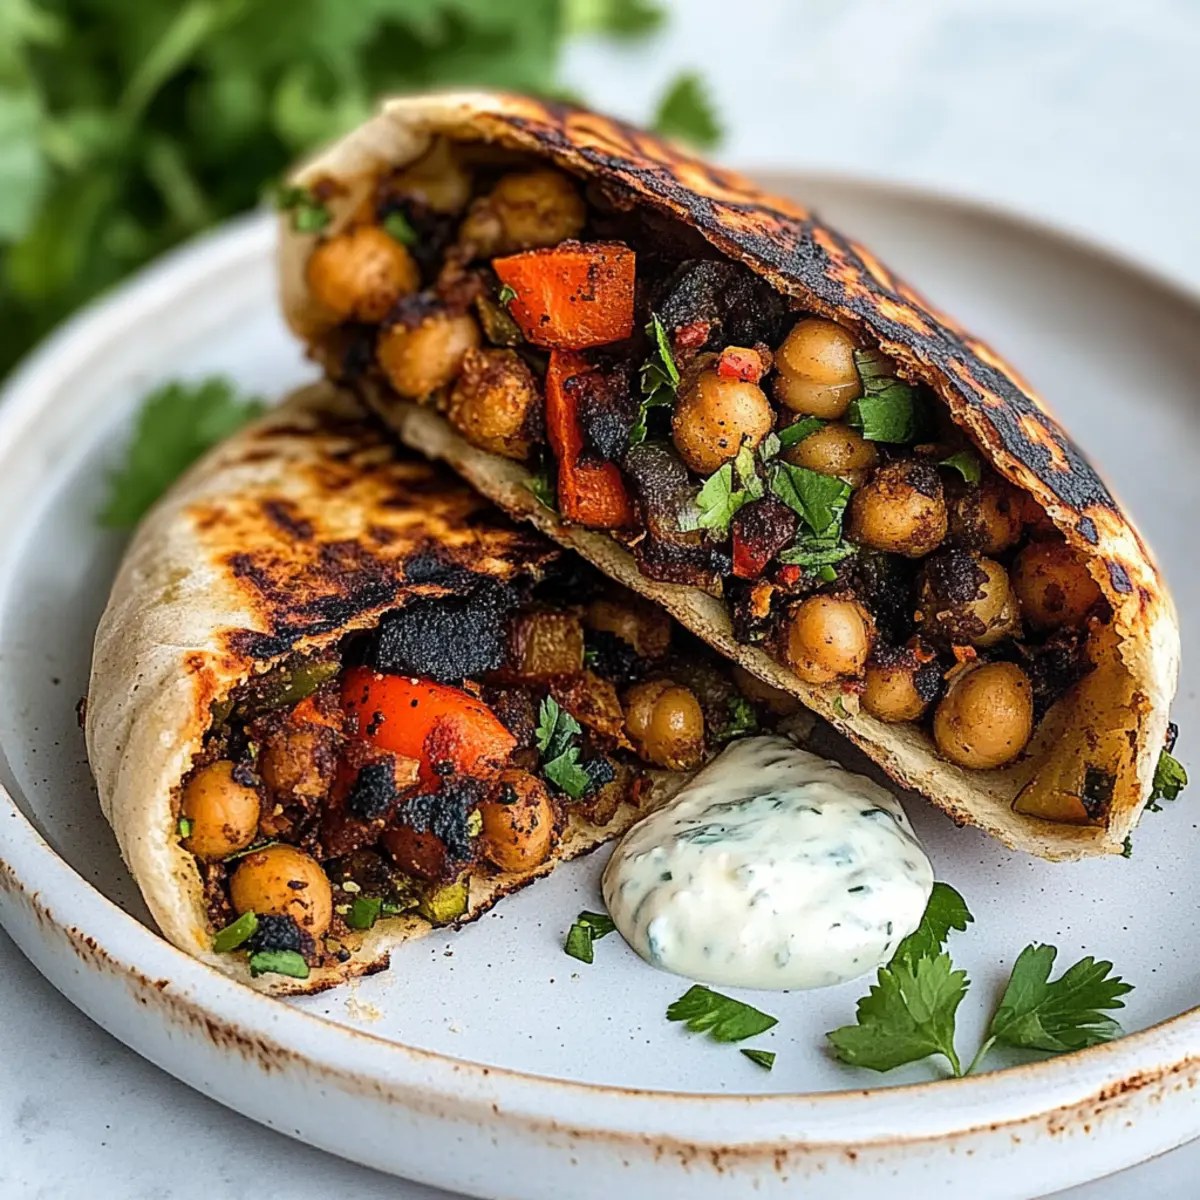
While hanging out at my favorite Middle Eastern eatery, the aroma of spicy grilled chickpeas wafted through the air, instantly tugging at my hunger pangs. That moment sparked the inspiration for my Za’atar Spiced Grilled Chickpea Veggie Pita—a delicious and satisfying dish that marries health with indulgence. This vegan recipe is packed with high protein and fiber, making it a perfect choice for a fulfilling meal without the fast-food guilt. Plus, it comes together quickly, allowing you to whip up a flavor-packed dinner even on the busiest nights. Whether you choose to stick with the classic ingredients or mix it up with your favorites, this dish is all about elevating your homemade cooking to a new level. Ready to find out how you can recreate this mouthwatering experience in your own kitchen?
Why This Recipe Will Surprise You
Bold flavors: The za’atar spice blend gives a unique twist that elevates the humble chickpea.
Nutritious: With high protein and fiber, this dish supports a healthy lifestyle while remaining comforting and delicious.
Quick preparation: In under 30 minutes, you can enjoy a satisfying meal that rivals your favorite fast food.
Versatile ingredients: Feel free to swap in seasonal veggies or alternate proteins like tempeh for easy customization. If you’re looking for more creative ideas, check out my Chicken Parmesan Grilled option for another delightful mashup.
Crowd-pleasing appeal: Perfect for family dinners or meal prep, everyone is bound to love this grilled pita’s fresh and delightful flavors!
Grilled Chickpea Veggie Pita Ingredients
For the Filling
- Chickpeas – The star of this dish; use canned chickpeas for convenience, or substitute with crumbled super firm tofu or lentils for variation.
- Aromatics – Enhance flavor with yellow onion and garlic; shallots can be substituted for a sweeter touch.
- Bell Pepper – Adds texture and nutrition; swap with zucchini for a milder taste.
- Mushrooms – Infuse earthiness into your filling, though you can omit if preferred.
- Tomato Paste – Keeps the filling rich; use tube or canned and feel free to skip if you’re avoiding tomatoes.
- Za’atar – This essential Middle Eastern spice blend boosts the flavor and makes the dish interesting.
- Coriander and Cumin – These spices elevate the overall flavor; adjust based on your taste preferences.
- Parsley and Cilantro – Fresh herbs add brightness; use either or a mix for a fresh burst.
For the Pitas
- Whole Grain Pitas – Opt for higher protein content pitas; gluten-free varieties are available for those with dietary restrictions.
For the Sauce
- Vegan Greek-Style Yogurt – Provides creaminess and additional protein; use tahini sauce if you want a different twist.
Step‑by‑Step Instructions for Grilled Chickpea Veggie Pita
Step 1: Prepare Filling
Begin by mashing the rinsed and drained chickpeas in a bowl until mostly smooth, leaving some chunks for texture. In a skillet, heat a tablespoon of oil over medium heat and sauté chopped onions and bell peppers for about 4–5 minutes until soft. Stir in minced garlic, tomato paste, and spices, cooking for another 2–3 minutes until fragrant.
Step 2: Stuff Pitas
Preheat your grill or grill pan to medium-high heat. Take a whole grain pita and carefully cut it in half to create pockets. Generously fill each pita half with the chickpea veggie mixture, ensuring not to overstuff to prevent tearing. Brush the outside lightly with oil to enhance crispiness while grilling.
Step 3: Grill Pitas
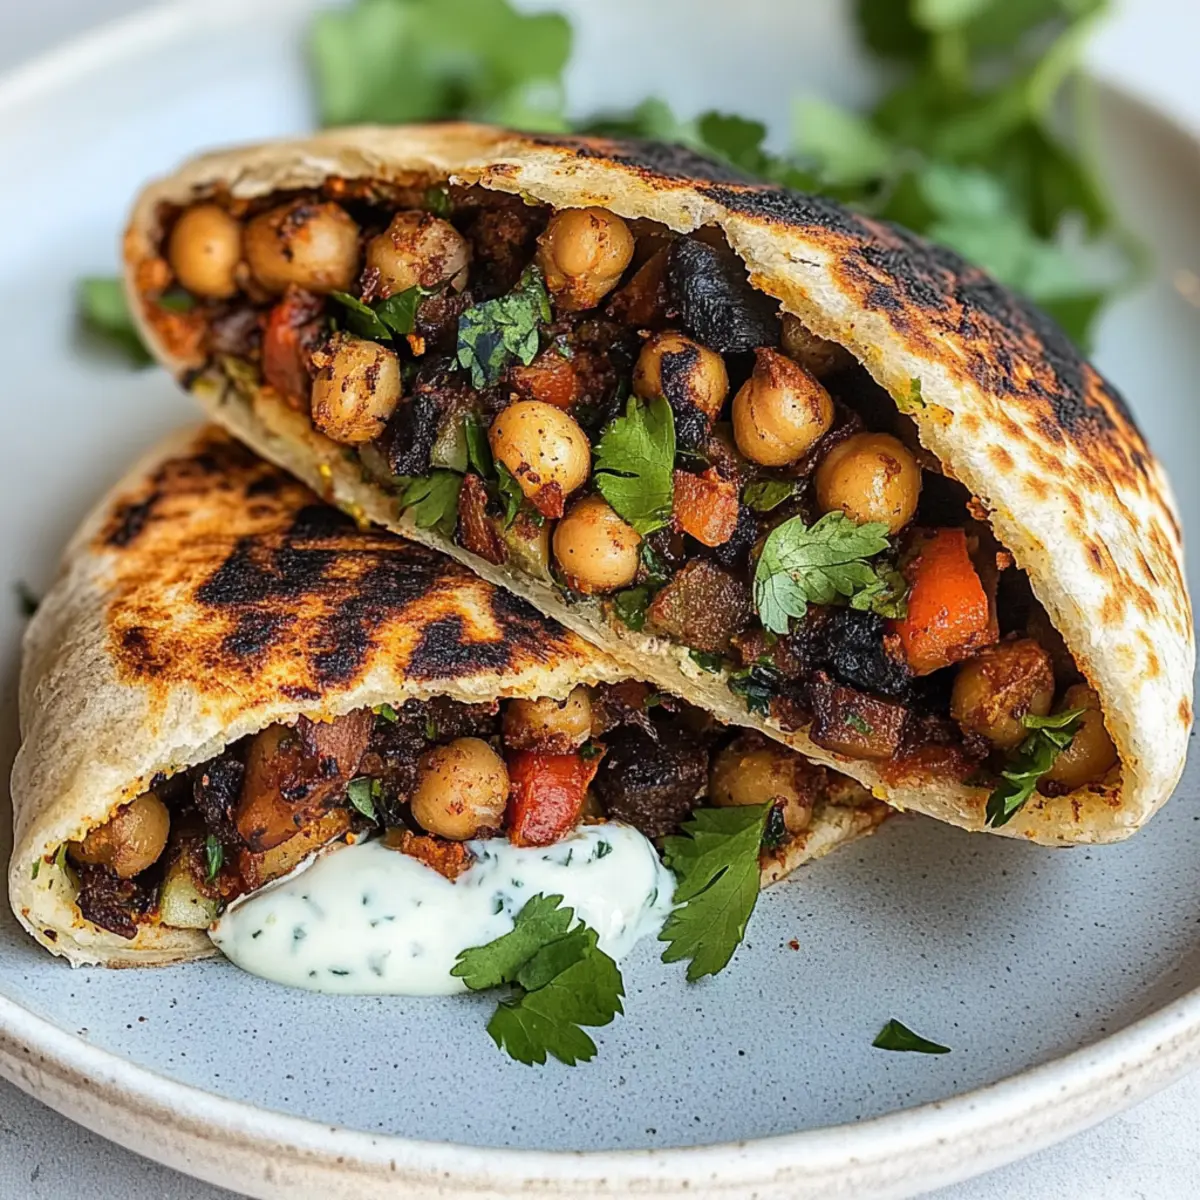
Place the stuffed pitas on the preheated grill, grilling one side for about 3–4 minutes until golden and slightly charred. Carefully flip and grill the other side for an additional 3 minutes until crispy and heated through. Look for a nice golden-brown color, ensuring the filling is warm.
Step 4: Make Yogurt Sauce
While the pitas are grilling, prepare a quick yogurt sauce by mixing vegan Greek-style yogurt with chopped parsley, cilantro, salt, and pepper in a bowl. Taste and adjust the seasoning as needed. This creamy sauce pairs beautifully with your Grilled Chickpea Veggie Pita.
Step 5: Serve
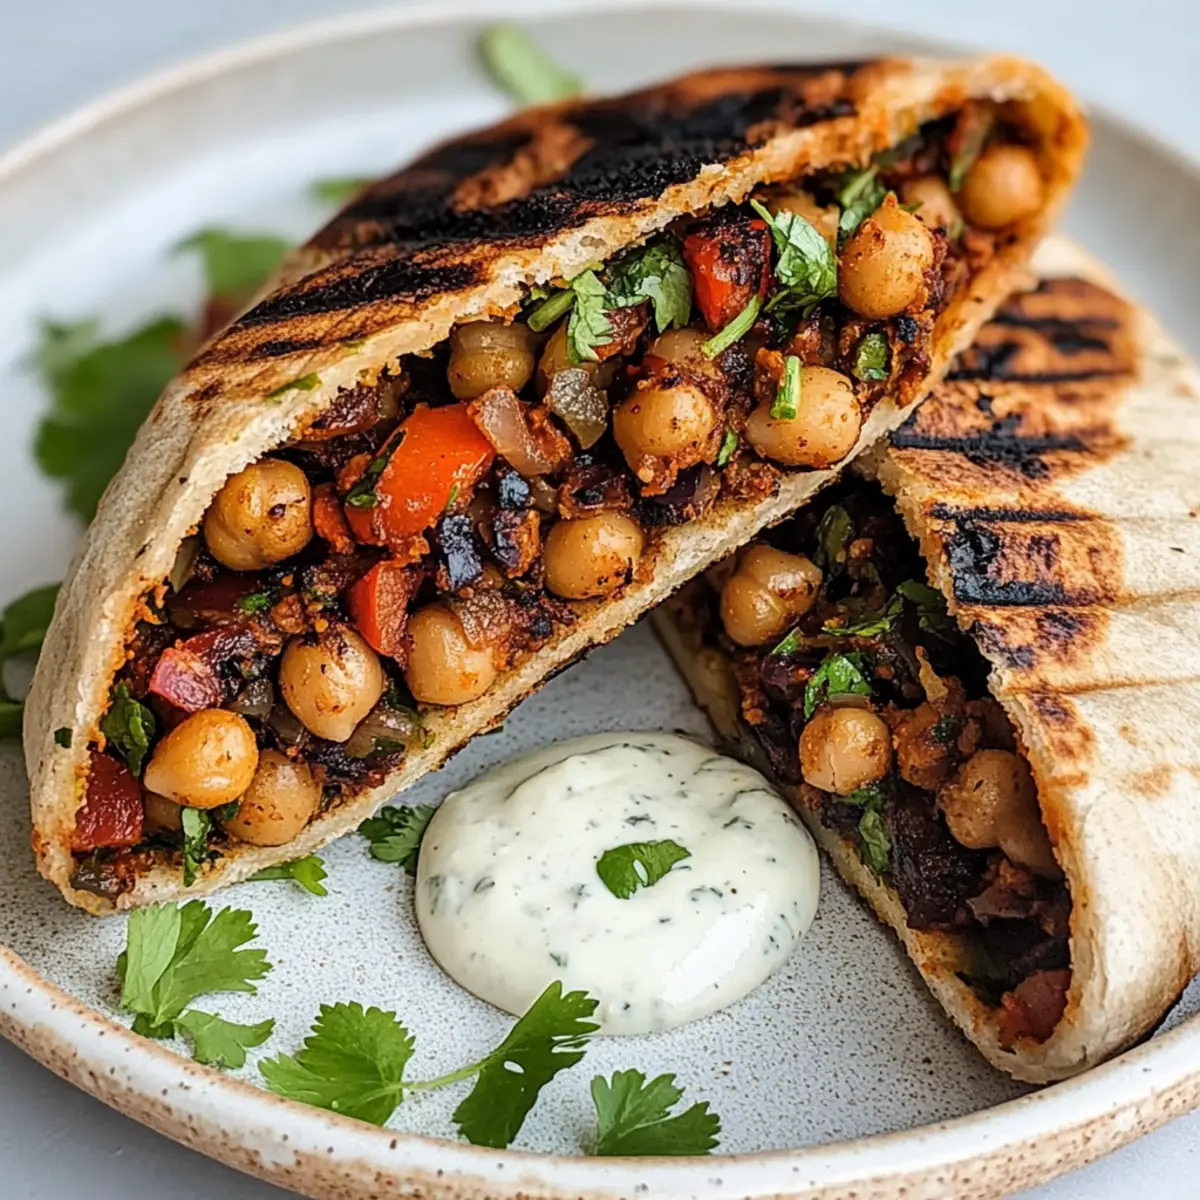
Once the pitas are perfectly grilled, remove them from the heat and allow them to cool slightly. Serve warm with the herby yogurt sauce drizzled on top or alongside for dipping. Pair with a fresh side salad to complete your satisfying meal.
Make Ahead Options
These Grilled Chickpea Veggie Pitas are perfect for meal prep enthusiasts! You can prepare the chickpea filling up to 3 days in advance, storing it in an airtight container in the refrigerator to maintain its delicious flavor. Additionally, you can slice your whole grain pitas and store them separately to prevent sogginess. When you’re ready to enjoy your meal, simply stuff the pitas with the filling and grill them for about 6-7 minutes total until they’re crispy and heated through. This way, you’ll have a quick, restaurant-quality dinner ready in no time—just as tasty as if you made it fresh!
Storage Tips for Grilled Chickpea Veggie Pita
Fridge: Store any leftover filling in an airtight container for up to 5 days. Ensure it cools completely to maintain freshness.
Freezer: Freeze the chickpea filling in freezer-safe bags or containers for up to 3 months. Thaw overnight in the fridge before use.
Pita Storage: Keep pitas separate from the filling to avoid sogginess. Store in a sealed bag at room temperature for up to 2 days or freeze them for longer periods.
Reheating: Warm filling in a skillet over medium heat or microwave until heated through. Toast pitas on a grill or in a toaster for that fresh, crispy texture before serving.
Tips for the Best Grilled Chickpea Veggie Pita
- Perfect Chickpeas: Use canned chickpeas for convenience, but make sure to rinse and drain them to avoid excess salt.
- Avoid Soggy Pitas: Let your grilled chickpea veggie pitas cool a bit before serving to prevent moisture buildup inside the pitas.
- Custom Spice Mix: Adjust the za’atar and spices according to your personal taste; a pinch of cayenne can add a delightful kick!
- Choose the Right Pitas: Opt for whole grain pitas that hold up well on the grill; thin pitas may tear, so stuff them lightly.
- Meal Prep Friendly: Make your chickpea filling ahead of time and store it in the fridge for up to 5 days for a quick meal option.
Grilled Chickpea Veggie Pita Variations
Feel free to explore these delightful twists and substitutions to make the recipe truly your own!
-
Chickpea Swap: Replace chickpeas with ground tempeh or crumbled tofu for a different texture and flavor profile.
-
Herb Twist: Use fresh dill instead of parsley or cilantro to introduce a fragrant, slightly different taste. It pairs beautifully with the spices!
-
Veggie Alternatives: Experiment with spinach or zucchini for added nutrition and a splash of color. These swaps brighten the filling while keeping it light.
-
Wrap Variation: Substitute whole grain pitas with a flour tortilla for a wrap-style dish that’s just as satisfying. Perfect for a portable lunch!
-
Creamy Sauce Remix: Ditch the yogurt and try a tahini sauce for a nutty flavor. This sesame base brings a unique creaminess to your meal.
-
Add Heat: If you enjoy a spice kick, include chili flakes or a splash of your favorite hot sauce into the chickpea mixture. This adds an exciting twist that’ll awaken your taste buds!
-
Go Gluten-Free: Opt for gluten-free pitas or other flatbreads if needed, ensuring everyone can enjoy this delectable meal together. It’s all about inclusivity!
-
Flavor Boost: For extra richness, add a scoop of hummus as a spread inside the pita before adding the filling. This will add depth to every bite. And if you’re curious about more creative takes, consider trying my Chicken Parmesan Grilled recipe for another delightful mashup!
What to Serve with Grilled Chickpea Veggie Pita
To create a well-rounded meal, consider delightful pairings that highlight the vibrant flavors of your pitas.
- Herby Garlic Yogurt Sauce: A zesty complement that enhances each bite with creaminess and fresh herbs, balancing the spices beautifully.
- Crispy Roasted Potatoes: Perfectly seasoned and golden-brown, these potatoes add a satisfying crunch and a hearty element to the meal.
- Mediterranean Quinoa Salad: This colorful salad filled with cucumbers, tomatoes, and olives brings a refreshing, zesty contrast to the warm pitas.
- Mint Lemonade: Bright and invigorating, this drink pairs harmoniously with the grilled flavor, keeping the meal light and refreshing.
- Tabbouleh: A bright and herbal parsley salad that adds freshness and complements the chickpeas’ earthiness while providing crunch.
- Sweet Potato Fries: Their natural sweetness paired with a hint of spice enhances the overall experience and brings comfort to your plate.
- Roasted Vegetables: A medley of seasonal veggies like zucchini and bell peppers that are caramelized for intense flavor adds a wonderful earthy element.
- Fruit Salad: A light, refreshing mixture of seasonal fruits balances the richness of the pitas and rounds out your meal delightfully.
Grilled Chickpea Veggie Pita Recipe FAQs
What type of chickpeas should I use?
Absolutely! Canned chickpeas are highly recommended for convenience. Just make sure to rinse and drain them well to remove excess salt. If you’d like to mix things up, feel free to substitute them with crumbled super firm tofu or canned lentils for a delightful twist.
How should I store leftover filling and pitas?
For the best quality, store any leftover chickpea filling in an airtight container in the fridge for up to 5 days. Be sure to let it cool completely before sealing. As for pitas, keep them in a sealed bag at room temperature for up to 2 days or freeze them if longer storage is needed.
Can I freeze the chickpea filling?
Yes, you can! For freezing, portion the chickpea filling into freezer-safe bags or containers, making sure to remove as much air as possible. It will stay good for up to 3 months. When you’re ready to use, simply thaw overnight in the fridge and reheat in a skillet until warmed through.
Why are my pitas tearing when I stuff them?
That can happen! To prevent tearing, be careful not to overstuff your pitas. If they are thin, it’s best to use less filling. Alternatively, opt for a sturdier whole grain pita that holds up better during grilling; this little tip makes all the difference!
Is this recipe suitable for my gluten-free diet?
Very! You can easily enjoy this Grilled Chickpea Veggie Pita by using gluten-free pitas available at most supermarkets. Just check the labels to ensure they meet your dietary needs. Also, for the sauce, you can switch out the vegan Greek-style yogurt for tahini for a delicious alternative.
How can I enhance the flavor even more?
Great question! You can customize the spices if you prefer. Adding a pinch of cayenne pepper can bring a delightful kick to your chickpea mixture. Also, don’t hesitate to experiment with your favorite vegetables—spinach, zucchini, or even roasted eggplant can elevate this dish to new heights!

Grilled Chickpea Veggie Pita: A Flavorful Vegan Delight
Ingredients
Equipment
Method
- Begin by mashing the rinsed and drained chickpeas in a bowl until mostly smooth, leaving some chunks for texture. In a skillet, heat a tablespoon of oil over medium heat and sauté chopped onions and bell peppers for about 4–5 minutes until soft. Stir in minced garlic, tomato paste, and spices, cooking for another 2–3 minutes until fragrant.
- Preheat your grill or grill pan to medium-high heat. Take a whole grain pita and carefully cut it in half to create pockets. Generously fill each pita half with the chickpea veggie mixture, ensuring not to overstuff to prevent tearing. Brush the outside lightly with oil to enhance crispiness while grilling.
- Place the stuffed pitas on the preheated grill, grilling one side for about 3–4 minutes until golden and slightly charred. Carefully flip and grill the other side for an additional 3 minutes until crispy and heated through.
- While the pitas are grilling, prepare a quick yogurt sauce by mixing vegan Greek-style yogurt with chopped parsley, cilantro, salt, and pepper in a bowl. Taste and adjust the seasoning as needed.
- Once the pitas are perfectly grilled, remove them from the heat and allow them to cool slightly. Serve warm with the herby yogurt sauce drizzled on top or alongside for dipping.