
As I stood in my kitchen, the rich aroma of spiced ground beef and peppers enveloped me like a warm hug. It’s moments like these that remind me why cooking is such a joy—especially when making my favorite comfort food, classic beef chili. This recipe is a game changer, offering a deliciously hearty meal that’s quick to prepare and perfect for meal prep. Whether you’re hosting a casual family dinner or getting ready for game day, this chili is a crowd-pleaser that tastes even better the next day. So, are you ready to dive into a bowl of comforting goodness? Let’s get cooking!
Why is this chili so irresistible?
Comforting Warmth: There’s nothing like a bowl of chili to warm you up on a chilly night. The rich blend of spices and tender ground beef creates an inviting aroma that beckons everyone to the table.
Versatile Cooking Methods: Whether you’re using the stovetop, an Instant Pot, or a slow cooker, this recipe fits your schedule and cooking style perfectly.
Meal Prep Dream: Make a big batch and enjoy leftovers throughout the week, or freeze some for those busy nights when you just need a quick meal.
Flavor Explosion: The combination of fire-roasted tomatoes and three types of peppers delivers a savory experience that keeps your taste buds dancing.
Crowd-Pleasing Classic: Perfect for family gatherings or game day, everyone will love dipping their chips in this hearty bowl of goodness. Try serving it alongside some homemade cornbread for an extra treat!
Classic Beef Chili Ingredients
For the Chili Base
• Neutral Oil – Use canola or vegetable oil for sautéing the vegetables.
• Ground Beef – Provides protein and flavor; feel free to swap in ground turkey for a leaner option.
• Yellow Onion – Essential for adding sweetness and depth; no substitutes here!
• Green Bell Pepper – Contributes sweetness and crunch; red or yellow bell peppers can be used instead.
• Poblano Pepper – Adds mild heat and flavor; for less spice, consider using more bell peppers.
• Jalapeño Peppers – Offers spiciness; adjust to your personal heat threshold.
• Garlic – Freshly minced garlic enhances flavor; garlic powder is a backup but not preferred.
• Tomato Paste – Intensifies the flavor of tomatoes; no substitutes, though canned diced tomatoes can come in handy.
• Fire-Roasted Tomatoes (canned) – Provides a rich, smoky base; regular canned tomatoes work if needed.
• Beef Broth – Adds liquid and flavor; swap with chicken or vegetable broth if preferred.
• Beer (optional) – Adds richness; any beer of choice enhances the flavor, but broth can replace it if you’re avoiding alcohol.
For the Spices
• Chili Powder – An essential spice that adds warmth and color; adjust quantity based on desired heat.
• Smoked Paprika – Offers a delightful smokiness; substitute with regular paprika if needed.
• Dried Oregano – Adds an earthy herb flavor; no substitutions here.
• Ground Cumin – Enhances overall chili flavor; this spice is non-negotiable!
• Ground Coriander – Contributes warmth; can substitute with cumin if needed.
• Ground Cinnamon – Adds an unexpected warmth; you can omit it if you prefer.
• Cocoa Powder – Provides richness; unsweetened cocoa is ideal, though it can be omitted if desired.
For the Finishing Touches
• Worcestershire Sauce – Deepens the flavor; soy sauce can be used as a substitute.
• Apple Cider Vinegar – Balances flavors with its acidity; red wine vinegar works well as an alternative.
• Red Kidney Beans (canned) – Adds protein and texture; feel free to substitute with black or pinto beans if you like.
This classic chili made with ground beef is destined to become your new go-to meal!
Step-by-Step Instructions for Classic Chili is Made with Ground Beef
Step 1: Brown the Beef
In a large pot, heat 2 tablespoons of neutral oil over medium heat. Add 1 pound of ground beef and cook for 10–15 minutes, breaking it up with a spoon, until it’s browned and cooked through. The beef should be no longer pink, and a delightful aroma will fill your kitchen as it sizzles.
Step 2: Sauté the Vegetables
With the beef removed, keep the pot on medium heat and toss in 1 diced yellow onion, 1 chopped green bell pepper, 1 diced poblano pepper, and 1 minced jalapeño. Sauté for about 5 minutes until the vegetables soften and the onion turns translucent. You want them to be fragrant and slightly tender, setting the stage for your classic chili.
Step 3: Add the Aromatics
Stir in 3 minced garlic cloves and 2 tablespoons of tomato paste to the sautéed vegetables. Sprinkle in 2 tablespoons of chili powder, 1 teaspoon of smoked paprika, 1 teaspoon of dried oregano, and a dash of cocoa powder, cumin, coriander, and ground cinnamon. Cook for 2–3 minutes until the spices become aromatic, creating a flavorful base for your chili.
Step 4: Combine Ingredients
Return the browned ground beef to the pot, mixing well with the sautéed veggies and spices. Pour in 2 tablespoons of Worcestershire sauce, 1 tablespoon of apple cider vinegar, 2 cans of fire-roasted tomatoes, 1 cup of beef broth, and if desired, 1 cup of beer. Stir everything together, ensuring a rich and robust mixture perfect for a classic chili.
Step 5: Simmer the Chili
Bring the chili to a boil over medium-high heat, then reduce the heat to low and cover the pot. Let it simmer gently for at least one hour, stirring occasionally. The longer you simmer, the more the flavors will meld; feel free to let it go for up to two hours for an even richer taste and a thicker consistency.
Step 6: Add the Beans
Approximately 10 minutes before you’re ready to serve, stir in two cans of drained red kidney beans. Allow the beans to heat through, which should take about 5 minutes. This final step enhances the heartiness of your classic chili, providing that perfect blend of protein and texture that everyone loves.
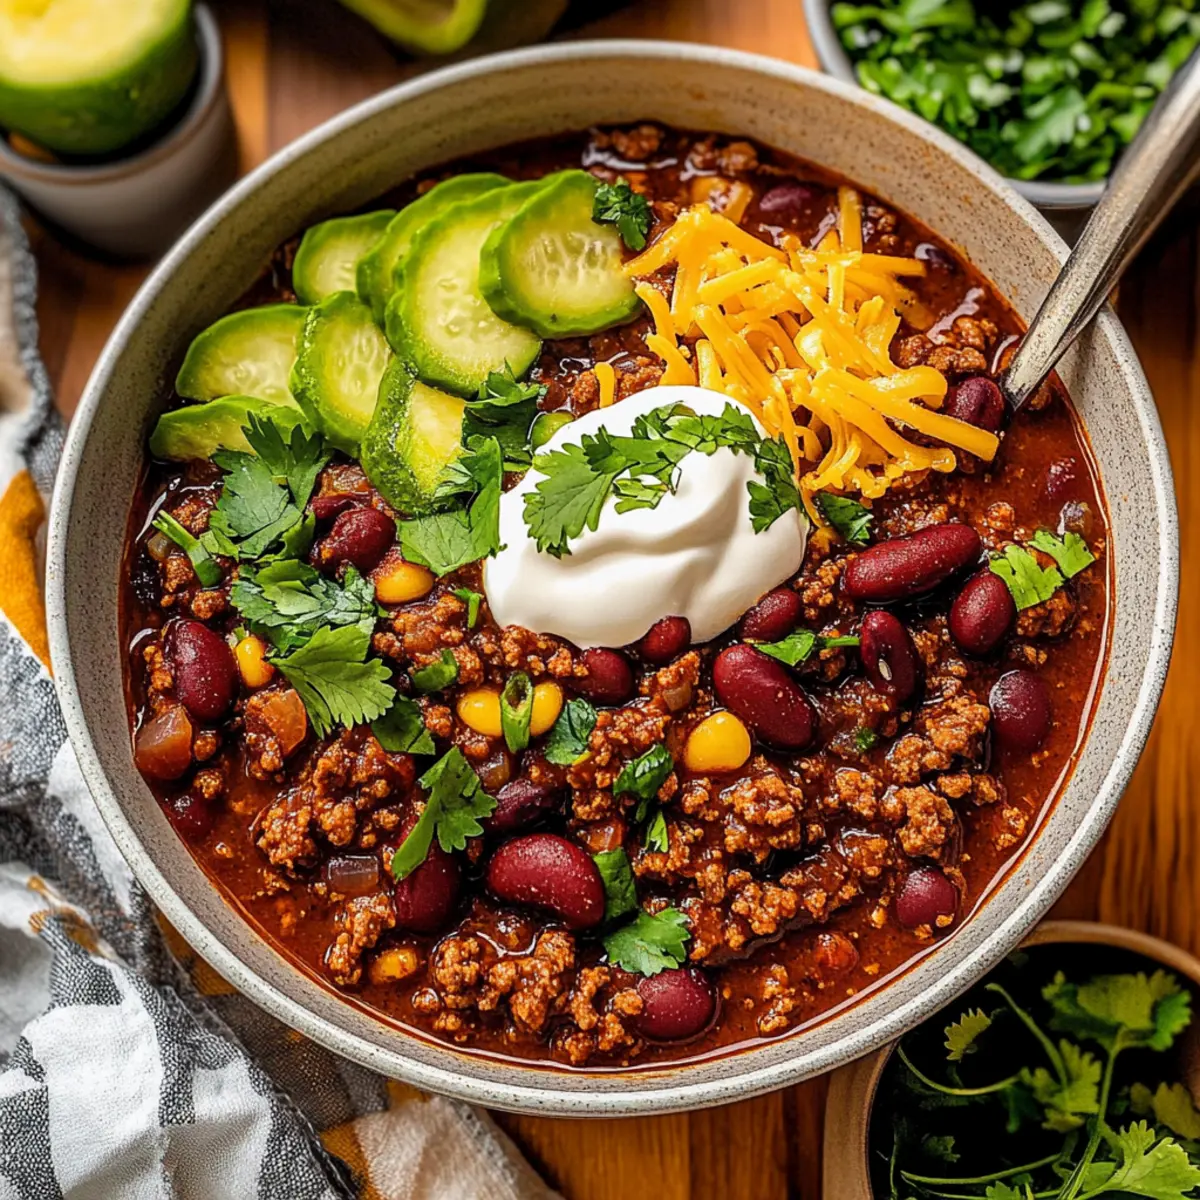
Step 7: Serve and Enjoy
Once your chili is aromatic and bubbling, ladle it into bowls and serve hot. Consider topping it with sour cream, shredded cheese, or fresh cilantro for added flavor. As you enjoy this classic chili made with ground beef, remember how each bowl warms the soul and gathers loved ones around the table.
Make Ahead Options
This classic beef chili is perfect for meal prep and can save you time during busy weekdays! You can prepare the entire chili and refrigerate it for up to 3 days in advance; simply let it cool completely and transfer it to an airtight container. Alternatively, you can also freeze it for up to 3 months. To maintain quality, ensure it’s well-sealed to prevent freezer burn. When ready to enjoy, thaw overnight in the fridge, then reheat on the stovetop or in the microwave until heated through, and stir in the drained beans just before serving. This way, your classic beef chili will retain its rich flavors and hearty texture, ready to be enjoyed with minimal effort!
Expert Tips for Classic Beef Chili
• Browning Technique: Ensure you brown the ground beef well to enhance the chili’s flavor. Let it sizzle without overcrowding the pan—this prevents steaming.
• Taste Test: Always taste your classic chili before serving. You may need to adjust salt, spices, or acidity, so your flavors are perfectly balanced.
• Thickening Wizardry: For a thicker chili, reduce the amount of broth. Conversely, add more broth gradually if you prefer a lighter, soupier consistency.
• Meal Prep Magic: Make a double batch and freeze leftovers in airtight containers. Classic beef chili can be enjoyed for up to three months, making weeknight dinners a breeze!
• Versatile Variations: Explore bean options! While red kidney beans are traditional, trying black or pinto beans can bring new textures to your classic chili.
• Use Fresh Ingredients: Fresh garlic and vibrant peppers enhance the taste of your chili. Choose high-quality ingredients for the best outcome!
What to Serve with The Only Chili Recipe You’ll Ever Need
The comforting richness of beef chili invites a symphony of sides to complete your meal, making every bite a delicious experience.
-
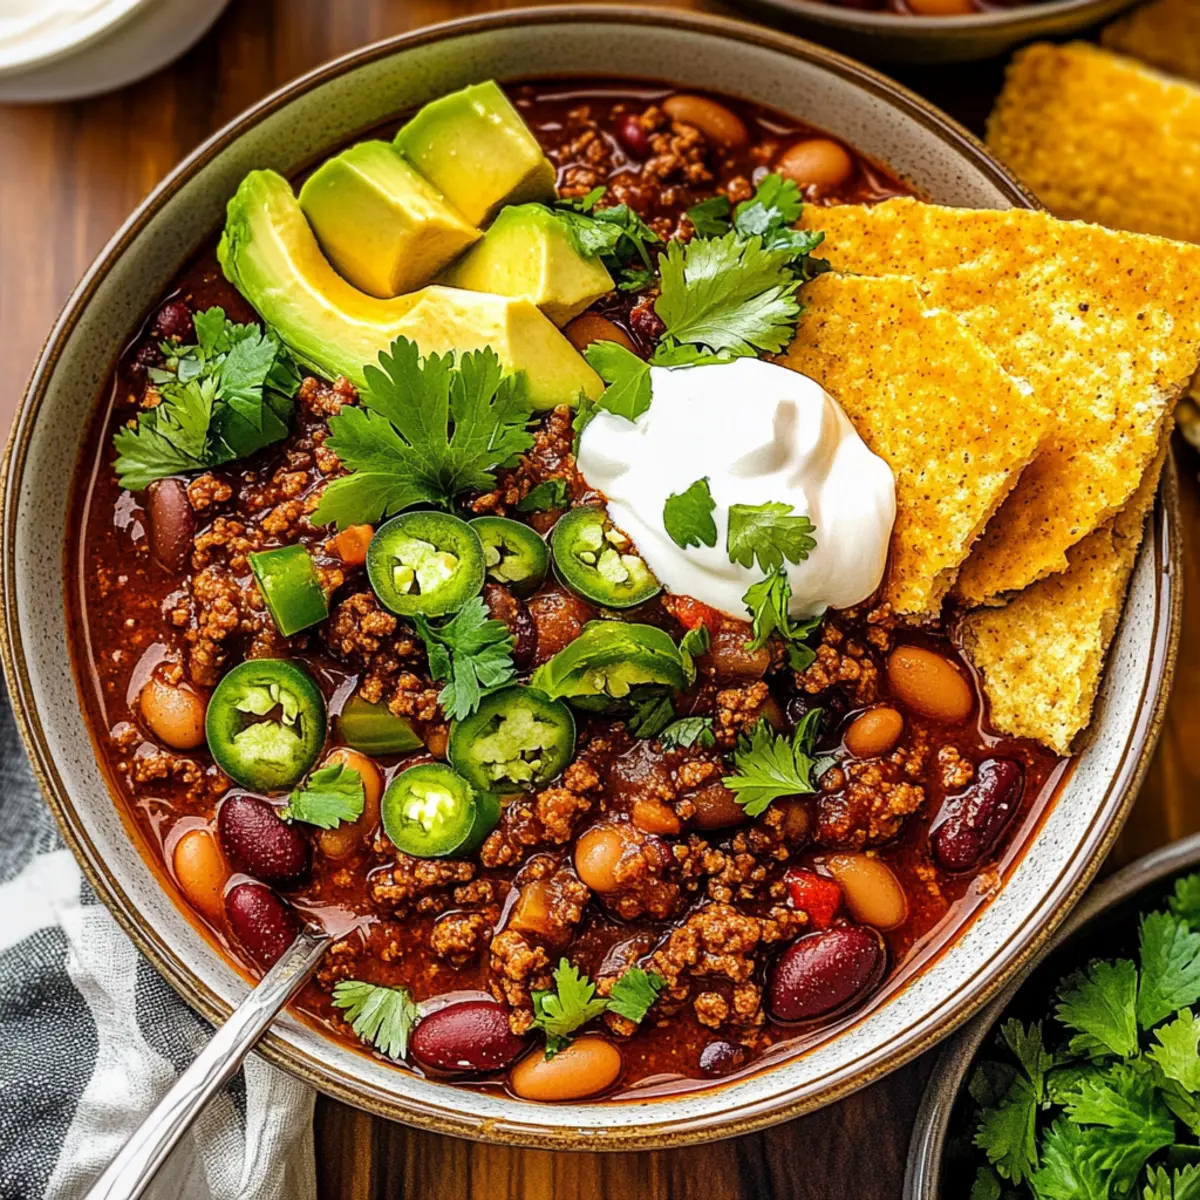
Warm Cornbread: The sweet, buttery flavor of cornbread complements the spicy chili beautifully while providing a delightful texture contrast. It’s perfect for sopping up every last drop!
-
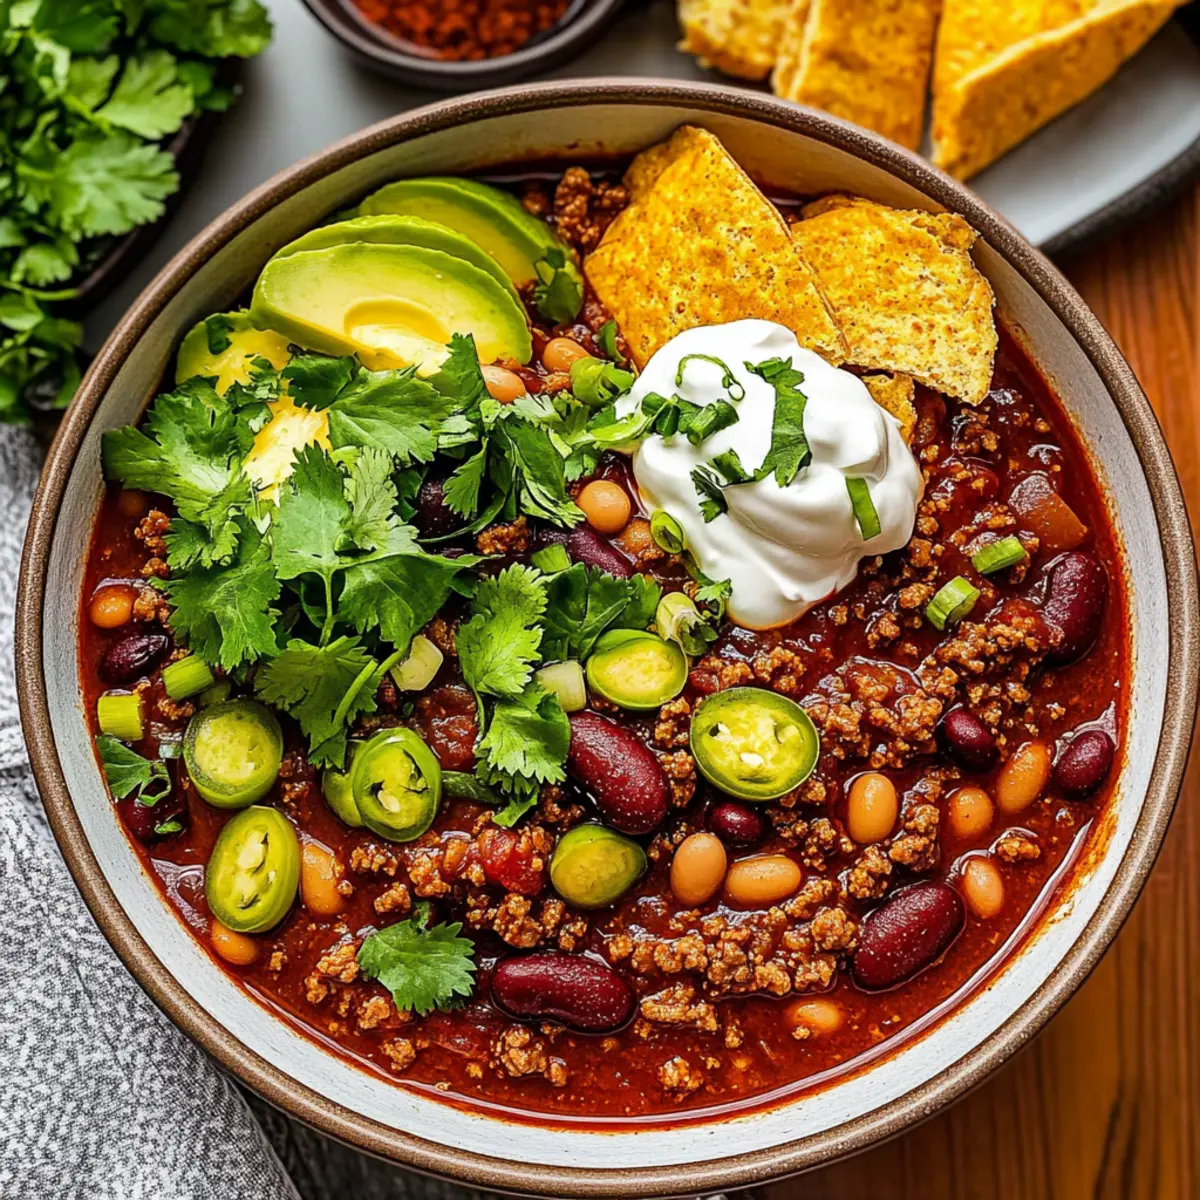
Tortilla Chips: Crisp and salty, tortilla chips are ideal for scooping up that hearty chili. Their crunch adds an enjoyable bite and can be an exciting topping too!
-
Sour Cream: Cool and creamy, a dollop of sour cream balances the heat from the chili while adding a smooth texture that invites indulgence.
-
Shredded Cheese: A sprinkle of sharp cheddar or Monterey Jack melts beautifully over the hot chili, enhancing the typical chili experience. The cheesy goodness brings comfort in every warm mouthful.
-
Classic Salad: A light, fresh salad with crisp greens and a zesty vinaigrette provides a refreshing contrast to the robust flavors of your beef chili. It’s a wonderful way to add color to the table!
-
Pickled Jalapeños: For those who love an extra kick, the tangy bite of pickled jalapeños offers a spicy zest that elevates the flavor profile of the classic beef chili.
-
Ice-Cold Beer: Enjoying a chilled beer alongside your chili enhances the flavors while providing a refreshing counterpoint to the warmth of the dish. Any choice will work great!
-
Chocolate Desserts: Finish your meal with a rich chocolate dessert like brownies or chocolate cake. The sweetness contrasts beautifully with the savory chili, creating a delightful end to your meal.
How to Store and Freeze Classic Beef Chili
Fridge: Store leftover classic beef chili in airtight containers for up to 4-5 days. Ensure it’s cooled to room temperature before sealing to maintain freshness.
Freezer: For long-term storage, freeze cooled chili in airtight containers or heavy-duty freezer bags for up to 3 months. Divide into portions for convenient meal prep.
Reheating: Thaw overnight in the fridge before reheating. Warm it in a pot on the stovetop over medium heat, stirring occasionally, until heated through, or use a microwave-safe dish in short intervals.
Airtight Guidance: Always let the chili cool before storing to prevent condensation, which can affect its texture and flavor when reheated.
Classic Beef Chili Variations & Substitutions
Feel free to get creative with this classic chili recipe! Each variation invites you to explore new flavors and textures that will make your meal even more delightful.
-
Lean Option: Swap ground beef for ground turkey or bison for a healthier twist. You’ll enjoy all the classic flavors with less fat.
-
Vegetarian Delight: Omit the meat and boost the beans! Use lentils or increase the kidney beans for a hearty, plant-based version that satisfies.
-
Beans Galore: Mix it up! Use black beans or pinto beans instead of kidney beans for fun flavor variations. Combining different beans creates a delightful texture.
-
Extra Veggies: Add diced zucchini or corn for a pop of color and sweetness. These veggies not only enhance nutrition but also add a fresh crunch.
-
Heat Adjustment: Want more spice? Incorporate serrano peppers or add a splash of hot sauce for extra kick. Customize to your heat level and enjoy the thrill!
-
Smoky Flavor Boost: Enhance depth with a chipotle pepper in adobo sauce. It infuses a smoky, spicy richness that takes your chili to an entirely new level.
-
Beer Alternatives: If you prefer not to use beer, feel free to replace it with additional beef or vegetable broth. It still maintains that hearty flavor while keeping it family-friendly.
For additional delicious inspiration, you can always check out this Blue Cheese Walnut Thyme Puff Pastry Twirl or try pairing this chili with some homemade cornbread for a cozy meal experience. Enjoy every spoonful as you explore these tasty changes!

Classic Beef Chili Recipe FAQs
How do I select the best ingredients for my chili?
Absolutely! For the freshest flavors, choose ground beef with a good fat content—around 80% lean. For peppers, look for ones that are firm and vibrant in color; avoid any that show dark spots or wrinkles. Opt for canned tomatoes that say “fire-roasted” for that smoky flavor, as they make a significant difference in the final taste of this classic chili made with ground beef.
What’s the best way to store leftover chili?
Very! Once cooled to room temperature, you can store leftover classic beef chili in airtight containers in the fridge for up to 4-5 days. I recommend portioning it into smaller servings for easy reheating throughout the week. Always leave a little room at the top of the container, as the chili may expand slightly when frozen or reheated.
Can I freeze classic beef chili? How long does it last?
You bet! To freeze, allow the chili to cool completely, then transfer it into airtight containers or heavy-duty freezer bags, leaving some space at the top for expansion. It can be stored in the freezer for up to 3 months. When you’re ready to enjoy a warm bowl again, simply thaw it overnight in the fridge or use the microwave for a quick thaw.
What if my chili turns out too thick or too thin?
No worries! If your chili is too thick, you can gradually stir in small amounts of beef broth or water until you reach your desired consistency. For chili that’s too thin, let it simmer uncovered for an additional 10-15 minutes to allow some liquid to evaporate and thicken it up. Always adjust to taste and feel free to add a pinch more spices for flavor!
Are there any dietary considerations for this recipe?
Absolutely! If you’re cooking for someone with dietary restrictions, you can replace the ground beef with ground turkey or make it vegetarian by increasing the beans or adding lentils. For those with allergies, check that the Worcestershire sauce and any canned goods are gluten-free. Always review your ingredients to ensure they meet your dietary needs!
Classic Chili is Made with Ground Beef for Cozy Nights
Ingredients
Equipment
Method
- In a large pot, heat 2 tablespoons of neutral oil over medium heat. Add 1 pound of ground beef and cook for 10–15 minutes, breaking it up with a spoon, until it’s browned and cooked through.
- With the beef removed, keep the pot on medium heat and toss in 1 diced yellow onion, 1 chopped green bell pepper, 1 diced poblano pepper, and 1 minced jalapeño. Sauté for about 5 minutes until softened.
- Stir in 3 minced garlic cloves and 2 tablespoons of tomato paste, then add spices. Cook for 2–3 minutes until the spices become aromatic.
- Return the browned ground beef to the pot, mixing with the vegetables and spices. Pour in Worcestershire sauce, apple cider vinegar, fire-roasted tomatoes, beef broth, and beer. Stir everything together.
- Bring the chili to a boil, then reduce the heat to low and cover. Let it simmer gently for at least one hour.
- Approximately 10 minutes before serving, stir in two cans of drained red kidney beans and heat through.
- Ladle into bowls and serve hot, topping with sour cream, shredded cheese, or fresh cilantro if desired.