
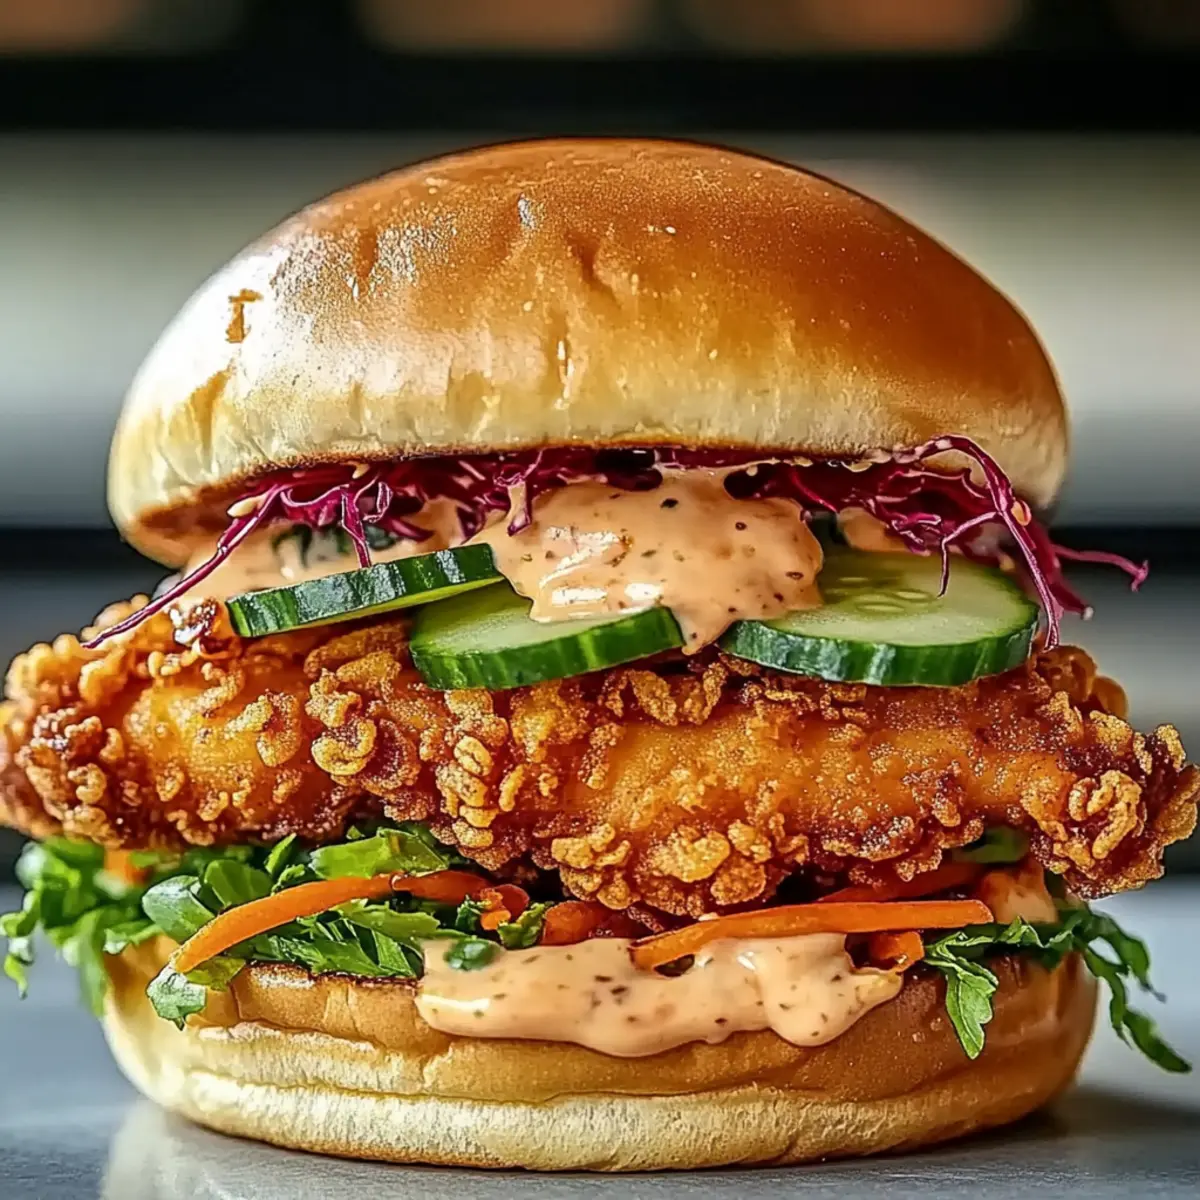
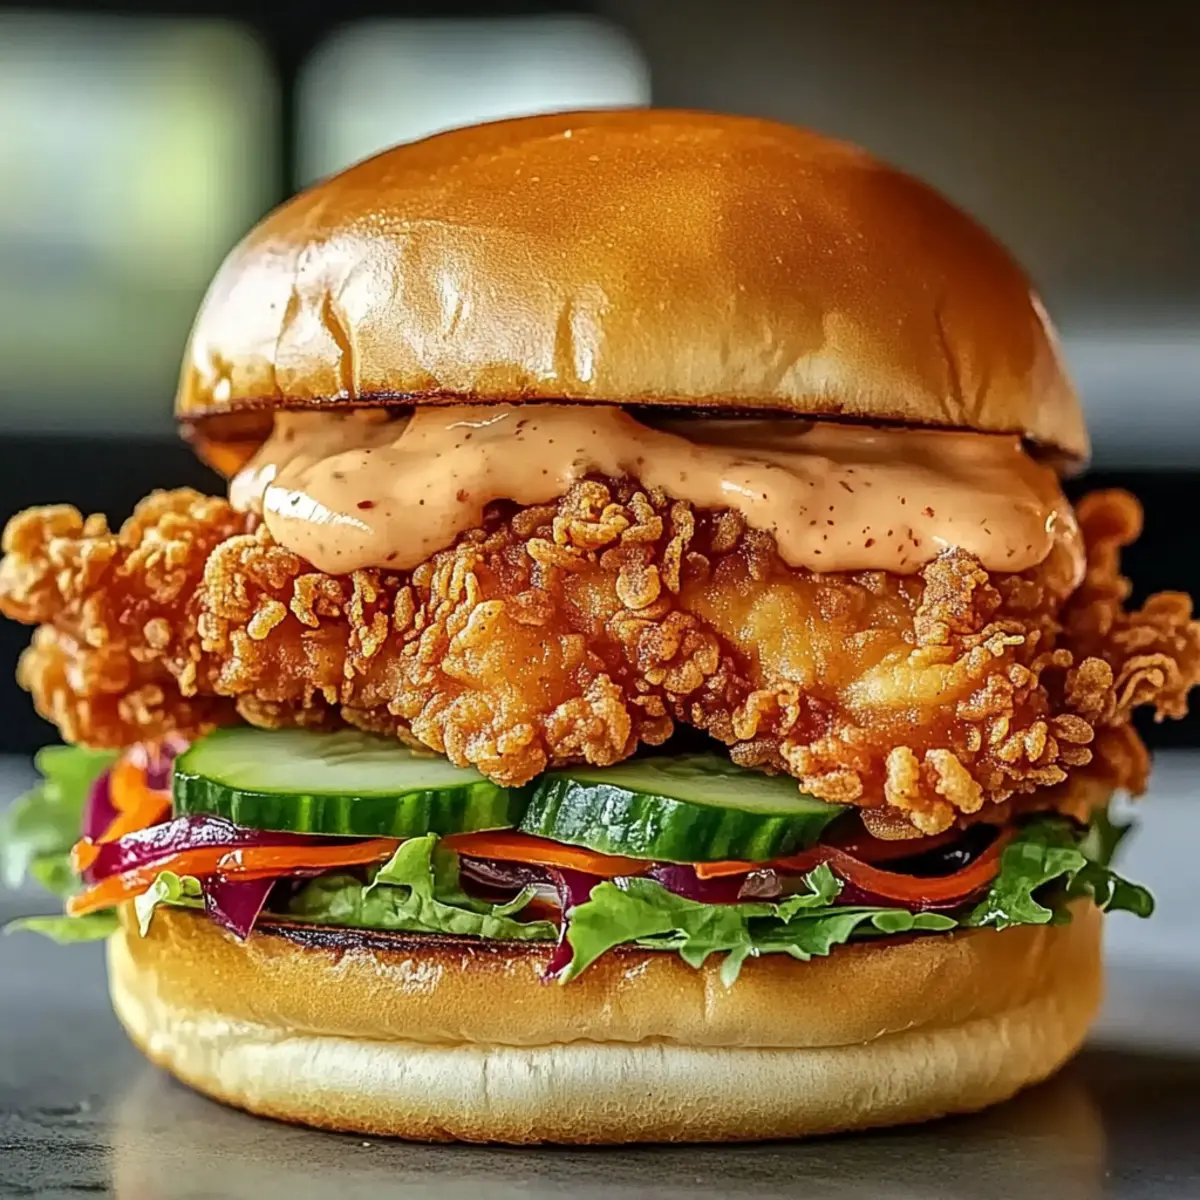
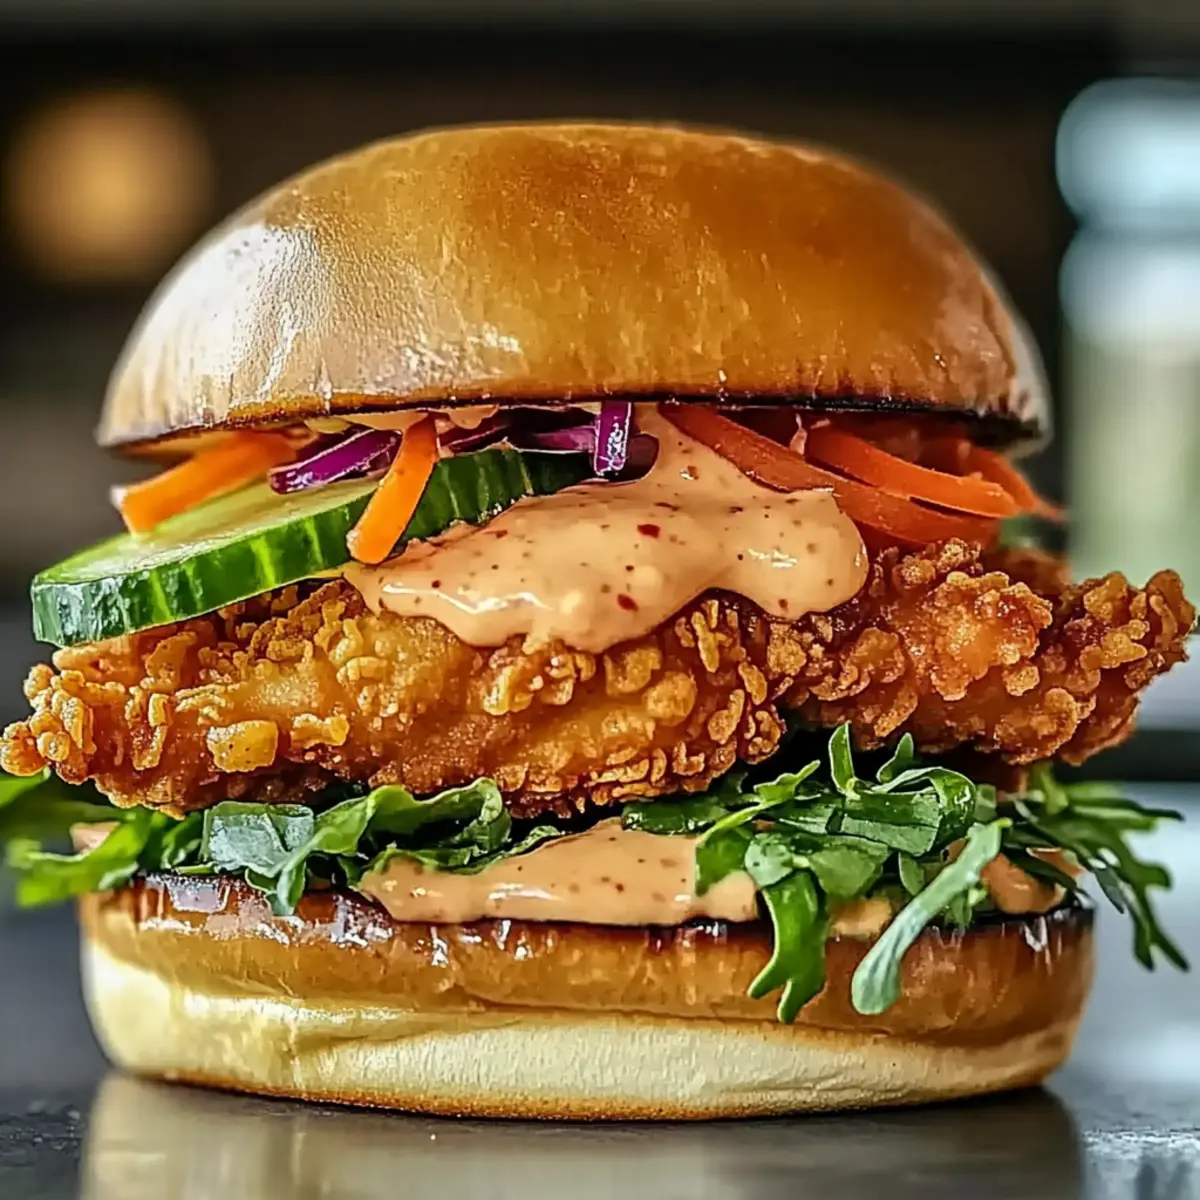
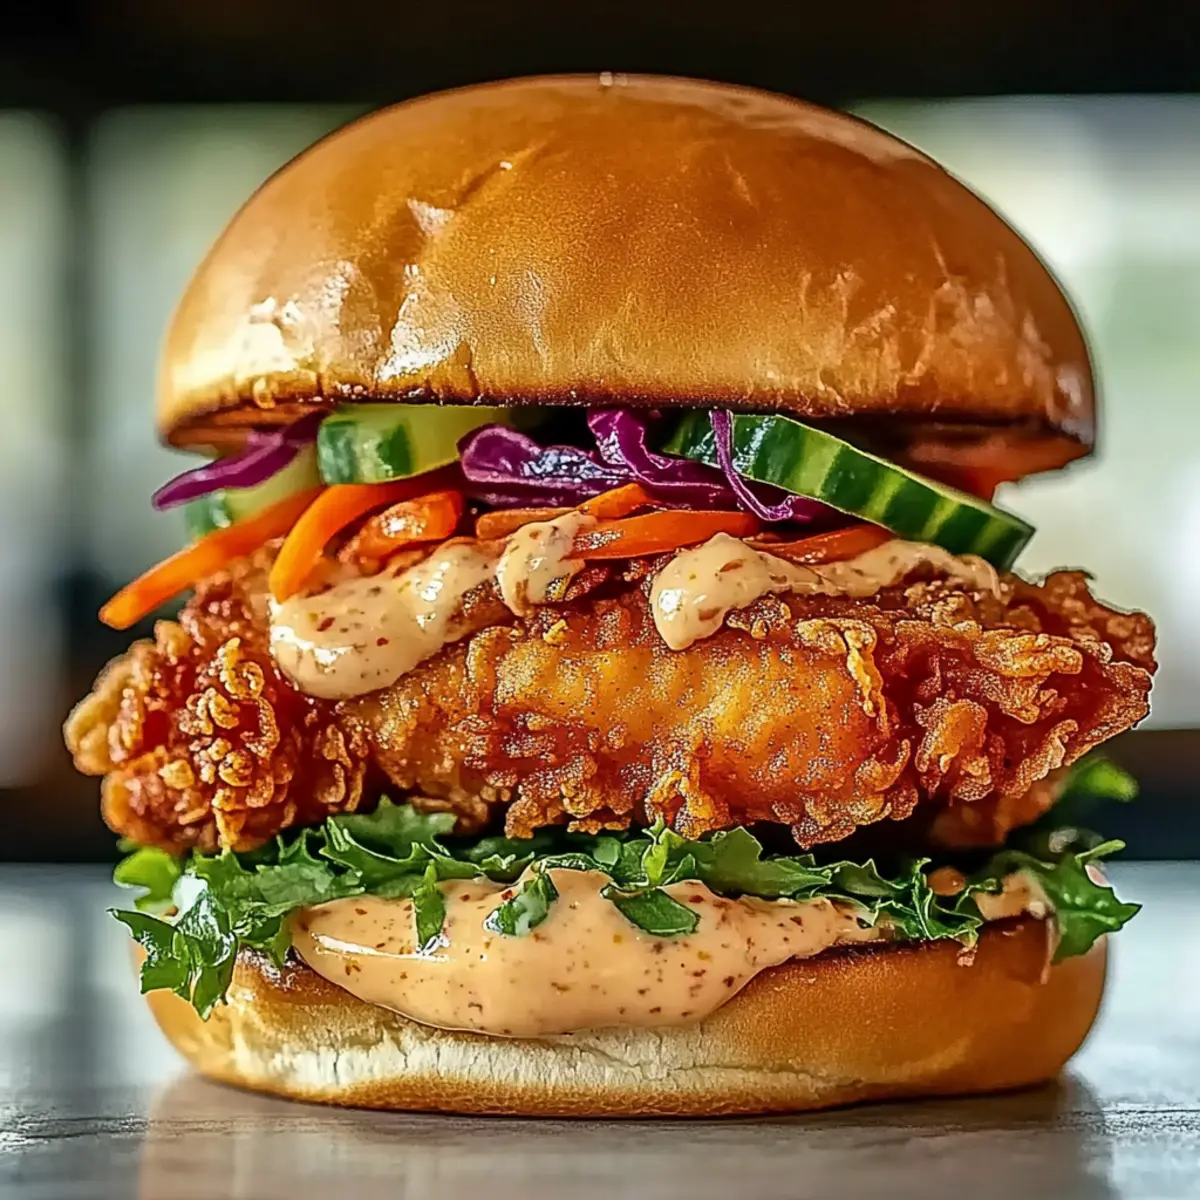
The sizzling sound of chicken hitting hot oil always gets my heart racing. Today, I’m excited to share my take on the Thai Fried Chicken Sandwich with Spicy Chili Mayo. This delicious creation takes tender chicken thighs, marinated in fragrant coconut milk and curry spices, and wraps them in a crisp coating. The end result is an irresistible crispy chicken sandwich that not only satisfies those comfort food cravings but also introduces a delightful Asian fusion twist. Perfect for a quick weeknight dinner or an impressive weekend feast, this sandwich is a guaranteed crowd-pleaser. Ready to elevate your sandwich game? Let’s dive into the recipe that will leave your taste buds dancing!
Why is this sandwich a must-try?
Crispy Perfection: The combination of rice flour and cornstarch creates a Heaven-sent crunch that’s second to none.
Flavor Explosion: Each bite offers a dance of spicy, tangy, and creamy flavors, making it a standout among ordinary sandwiches.
Quick & Easy: With simple ingredients and straightforward steps, you can whip up this Thai Fried Chicken Sandwich in no time, perfect for any weeknight dinner!
Versatile Delight: Whether served with a side of Asian slaw or sweet potato fries, it’s adjustable to fit any cravings or dietary needs.
Crowd-Pleasing Comfort: Ideal for family gatherings or casual get-togethers, this sandwich is sure to impress even the toughest food critics!
Thai Fried Chicken Sandwich Ingredients
For the Chicken Marinade
• Coconut Milk – Tenderizes chicken and infuses flavor. Substitution: Use plain yogurt or a non-dairy milk alternative if desired.
• Curry Powder – Provides aromatic, spicy notes. No direct substitution recommended; however, use a blend of turmeric and cumin for a similar flavor profile.
• Garlic (minced) – Enhances overall taste with savory depth. Fresh is recommended, but pre-minced garlic can be used in a pinch.
• Ginger (grated) – Adds warmth and spice. Substitution: Ground ginger can work, but fresh is ideal for best flavor.
• Salt & Sugar – Balance flavors and enhance taste. Use kosher salt or sea salt for seasoning.
For the Coating
• Rice Flour or Cornstarch – Creates crispiness in the coating. All-purpose flour is a possible substitute, but it may not yield the same crunch.
• Chicken Thighs – Juicy and forgiving, perfect for frying. Chicken breasts can be used but may dry out; monitor cooking time closely.
• Vegetable Oil – Essential for frying, with a high smoke point. Substitution: Canola or peanut oil works well.
For the Sandwich
• Buns – Soft base for the sandwich. Use gluten-free buns to accommodate dietary restrictions.
• Thai Chili Sauce – Provides creaminess and spice for the sauce. Mix sriracha with sweet chili sauce if unavailable.
• Mayonnaise or Plain Yogurt – Acts as a base for the sauce. Greek yogurt can be used for a healthier option.
• Cucumbers & Pickled Carrots – Adds freshness and crunch to the sandwich. Substitutions: Other fresh veggies like radishes can work in place of cucumbers.
Step‑by‑Step Instructions for Thai Fried Chicken Sandwich
Step 1: Marinate the Chicken
In a mixing bowl, combine 1 cup of coconut milk, 1 tablespoon of curry powder, 2 minced garlic cloves, 1 tablespoon of grated ginger, 1 teaspoon of salt, and 1 teaspoon of sugar. Stir until blended, then add the 1 pound of chicken thighs, ensuring they are fully submerged in the marinade. Cover the bowl and refrigerate for at least 1 hour, though overnight will yield more intense flavor.
Step 2: Prepare the Coating
In a shallow dish, whisk together 1 cup of rice flour or cornstarch with 1 teaspoon of salt and ½ teaspoon of black pepper. Once the chicken is marinated, remove it from the bowl and allow any excess marinade to drip off. Dredge each chicken thigh thoroughly in the coating mixture, pressing it in gently to ensure an even layer for that perfect crunch when frying.
Step 3: Heat the Oil
In a deep skillet or heavy-bottomed pot, heat about 2 inches of vegetable oil to 350°F (175°C) over medium-high heat. Use a deep-fry thermometer for accurate readings, as maintaining the right temperature is crucial for achieving the crispy texture of your Thai Fried Chicken. Once hot, reduce the heat slightly to prevent oil from burning while frying.
Step 4: Fry the Chicken
Carefully place the coated chicken thighs in the hot oil, ensuring not to overcrowd the pan. Fry each piece for about 5-7 minutes on one side until a golden-brown crust forms. Flip the chicken and continue frying for another 5-7 minutes, or until the internal temperature reaches 165°F (74°C). Remove the chicken and place it on a wire rack to drain excess oil, maintaining that signature crispiness.
Step 5: Make the Sauce
In a small bowl, whisk together ¼ cup of Thai chili sauce with ¼ cup of mayonnaise or plain yogurt until smooth and creamy. Adjust the heat by adding more chili sauce if you prefer a spicier kick. This sauce will be the perfect complement to your crispy Thai Fried Chicken Sandwich, enhancing every bite with its rich flavor.
Step 6: Assemble the Sandwich
Start by toasting your buns lightly to add a touch of warmth and crunch. On the bottom half of each bun, spread a generous layer of the spicy mayo. Layer on the fried chicken thighs, then top with sliced cucumbers and pickled carrots for refreshing crunch. Finally, place the other half of the bun on top, gently pressing down to hold everything together, and your Thai Fried Chicken Sandwich is ready to enjoy!
Thai Fried Chicken Sandwich Variations
Feel free to get creative with your Thai Fried Chicken Sandwich by trying these exciting variations for a personal twist!
-
Chicken Tenders: Opt for chicken tenders instead of thighs for easier handling and faster cooking. They’re perfect for picky eaters!
-
Sweet & Spicy: Mix in a spoonful of honey with your sauce for a touch of sweetness that perfectly balances the heat. It’s a flavor adventure!
-
Crispy Tofu: For a vegetarian option, replace chicken with crispy tofu or even eggplant slices. Marinate and coat as usual for a satisfying crunch.
-
Gluten-Free: Swap rice flour for a gluten-free flour blend to cater to gluten intolerant friends. No one will miss the gluten with this crispy coating!
-
Crispy Veggies: Add thin slices of zucchini or carrots to the coating for an extra crunch and a burst of color. These veggies elevate your sandwich in both flavor and presentation.
-
Herbed Mayo: Stir fresh herbs like cilantro or basil into the mayo for an added burst of freshness. This twist brings a delightful aroma and a beautiful touch.
-
Asian Slaw: Top your sandwich with a quick Asian slaw of cabbage, carrots, and a tangy vinaigrette for an extra crunch and a vibrant flavor contrast.
-
Heat it Up: Feel free to add more Thai chili sauce or a dash of sriracha to the mayo for those who love an extra kick of spice. It’s the perfect way to fire up your taste buds!
As you explore these variations, consider pairing your delicious Thai Fried Chicken Sandwich with a side of crispy Asian slaw or some Lazy Chicken Parmesan for a complete meal experience! Enjoy the culinary journey!
Expert Tips for Thai Fried Chicken Sandwich
-
Marinate Longer: For deeper flavor, marinate your chicken thighs overnight. This ensures every bite bursts with flavor in the Thai Fried Chicken Sandwich.
-
Proper Frying Temperature: Use a thermometer to maintain oil at 350°F (175°C). Too hot will burn the crust, while too cool will make it soggy.
-
Crispy Coating: Let the coated chicken rest for 10 minutes before frying. This helps the coating adhere better, ensuring a delightful crunch.
-
Wire Rack Usage: After frying, drain your chicken on a wire rack instead of paper towels. This keeps the coating crisp and prevents sogginess.
-
Customize Your Sauce: Adjust the spice level by mixing in more Thai chili sauce or adding a touch of honey for sweetness in your sandwich sauce.
-
Cook Evenly: Ensure chicken thighs are of similar thickness for even cooking, preventing any pieces from being under or overdone in your Thai Fried Chicken Sandwich.
How to Store and Freeze Thai Fried Chicken Sandwich
Fridge: Store any leftover chicken in an airtight container for up to 3 days. Wrap buns separately to maintain their softness and prevent them from becoming soggy.
Freezer: For longer storage, freeze the fried chicken (without the buns) in an airtight container or freezer bag, where it can last up to 2 months.
Reheating: To reheat, place the chicken in an oven preheated to 375°F (190°C) for about 15-20 minutes until hot and crispy. Assemble with fresh ingredients for the best experience.
Make-Ahead Tips: Marinate chicken up to 24 hours in advance, and cook only when you’re ready to serve. Enjoy the deliciousness of your Thai Fried Chicken Sandwich at your convenience!
Make Ahead Options
These Thai Fried Chicken Sandwiches are perfect for meal prep enthusiasts! You can marinate the chicken in coconut milk and spices up to 24 hours in advance, ensuring the flavors penetrate deeply and keep the chicken juicy. You can also prepare the spicy mayo and store it in the refrigerator for up to 3 days. When ready to serve, simply coat the marinated chicken and fry it fresh, as this helps maintain that irresistible crunch. For the best results, assemble the sandwiches just before serving, so the buns stay soft and the veggies remain crisp. With these make-ahead tips, you’ll enjoy an effortless meal that’s just as delicious!
What to Serve with Thai Fried Chicken Sandwich
Savoring the delectable crunch of a Thai Fried Chicken Sandwich is an experience best paired with vibrant sides and drinks that elevate your meal.
- Crispy Asian Slaw: This refreshing slaw adds a crunchy, tangy counterpoint, blending perfectly with the flavors of the sandwich.
- Sweet Potato Fries: Their natural sweetness complements the spicy notes in the chicken, creating a delightful contrast in every bite. For an added twist, try sprinkling some chili powder over them!
- Coconut Rice: Creamy and fragrant, this rice dish mirrors the coconut milk in the marinade, enhancing the sandwich’s flavors while providing a satisfying base.
- Mango Salad: A bright mix of fresh mango, herbs, and chili adds a zesty brightness that balances the richness of the fried chicken.
- Chili Lime Soda: This refreshing drink cools the palate while the zesty lime and a hint of chili echo the sandwich’s kick, making for a delightful pairing experience.
- Fruit Salad: A light and refreshing fruit medley offers a sweet finish to your meal, cleansing the palate beautifully after the savory indulgence of the sandwich.
Embrace these pairings to create a well-rounded and unforgettable dining experience!
Thai Fried Chicken Sandwich Recipe FAQs
How do I choose ripe ingredients for my Thai Fried Chicken Sandwich?
Absolutely! Select fresh, firm cucumbers without dark spots, which indicate overripeness. For the pickled carrots, choose ones that are vibrant in color and offer a slight crunch. Ensuring the freshest ingredients is key to elevating your sandwich experience.
What is the best way to store leftover Thai Fried Chicken Sandwich?
Very! Store the crispy chicken in an airtight container in the fridge for up to 3 days. Wrap the buns separately in plastic wrap to maintain their softness and prevent them from getting soggy. Reheating in an oven or air fryer is recommended for restoring the crispiness.
Can I freeze the components of the sandwich?
Absolutely! For freezing, place the fried chicken (without the buns) in an airtight container or freezer bag. It can last up to 3 months. When you’re ready to enjoy, thaw in the fridge overnight and reheat in a preheated oven at 375°F (190°C) for about 15-20 minutes.
I had issues with the coating not sticking to the chicken—any tips?
Certainly! Let the dredged chicken rest for about 10 minutes before frying. This allows the coating to adhere better. Additionally, ensure you’re frying at the correct temperature of 350°F (175°C); if the oil is too cool, the coating might slide off.
Can I customize the recipe for dietary restrictions?
Of course! Substitute coconut milk with plain yogurt or a non-dairy milk for the marinade to suit various diets. For gluten-free needs, use gluten-free buns and rice flour for the coating. This way, everyone can enjoy the delightful flavors of your Thai Fried Chicken Sandwich!
What if I have allergies to any of the ingredients?
Sure! Always check for allergies. To replace mayonnaise, consider using a dairy-free alternative or even mashed avocado for creaminess. If you’re allergic to garlic, you can omit it and enhance the flavor with fresh herbs.
Crispy Thai Fried Chicken Sandwich with Spicy Mayo Bliss
Ingredients
Equipment
Method
- Marinate the Chicken: In a mixing bowl, combine coconut milk, curry powder, minced garlic, grated ginger, salt, and sugar. Add chicken thighs, cover, and refrigerate for at least 1 hour.
- Prepare the Coating: In a shallow dish, whisk together rice flour or cornstarch, salt, and black pepper. Dredge marinated chicken in coating mix.
- Heat the Oil: Heat about 2 inches of vegetable oil to 350°F (175°C) in a deep skillet. Use a thermometer for accurate readings.
- Fry the Chicken: Fry each piece for about 5-7 minutes on each side until golden brown, then drain on a wire rack.
- Make the Sauce: Whisk together Thai chili sauce and mayonnaise or plain yogurt until smooth.
- Assemble the Sandwich: Toast buns, spread spicy mayo, add fried chicken, cucumbers, and pickled carrots, then top with the other half of the bun.