
As I unwrapped the last bit of spring sunshine in my kitchen, the vibrant colors of Easter began to dance in my mind. Enter the Easy and Colorful Easter Poke Cake—a joyful creation that playfully captures the essence of the season. This delightful dessert not only brings a radiant burst of colors to your holiday table but is also a breeze to prepare ahead of time, making it a true lifesaver for busy home chefs. With layers of moist cake, creamy pudding, and a fluffy whipped topping, it’s the perfect way to please both kids and adults alike. Whether you’re celebrating Easter or simply want to brighten up your dessert repertoire, this customizable cake promises smiles all around. Ready to dive into a slice that’s not just tasty but also absolutely stunning? Let’s get baking!

Why is this cake a must-try?
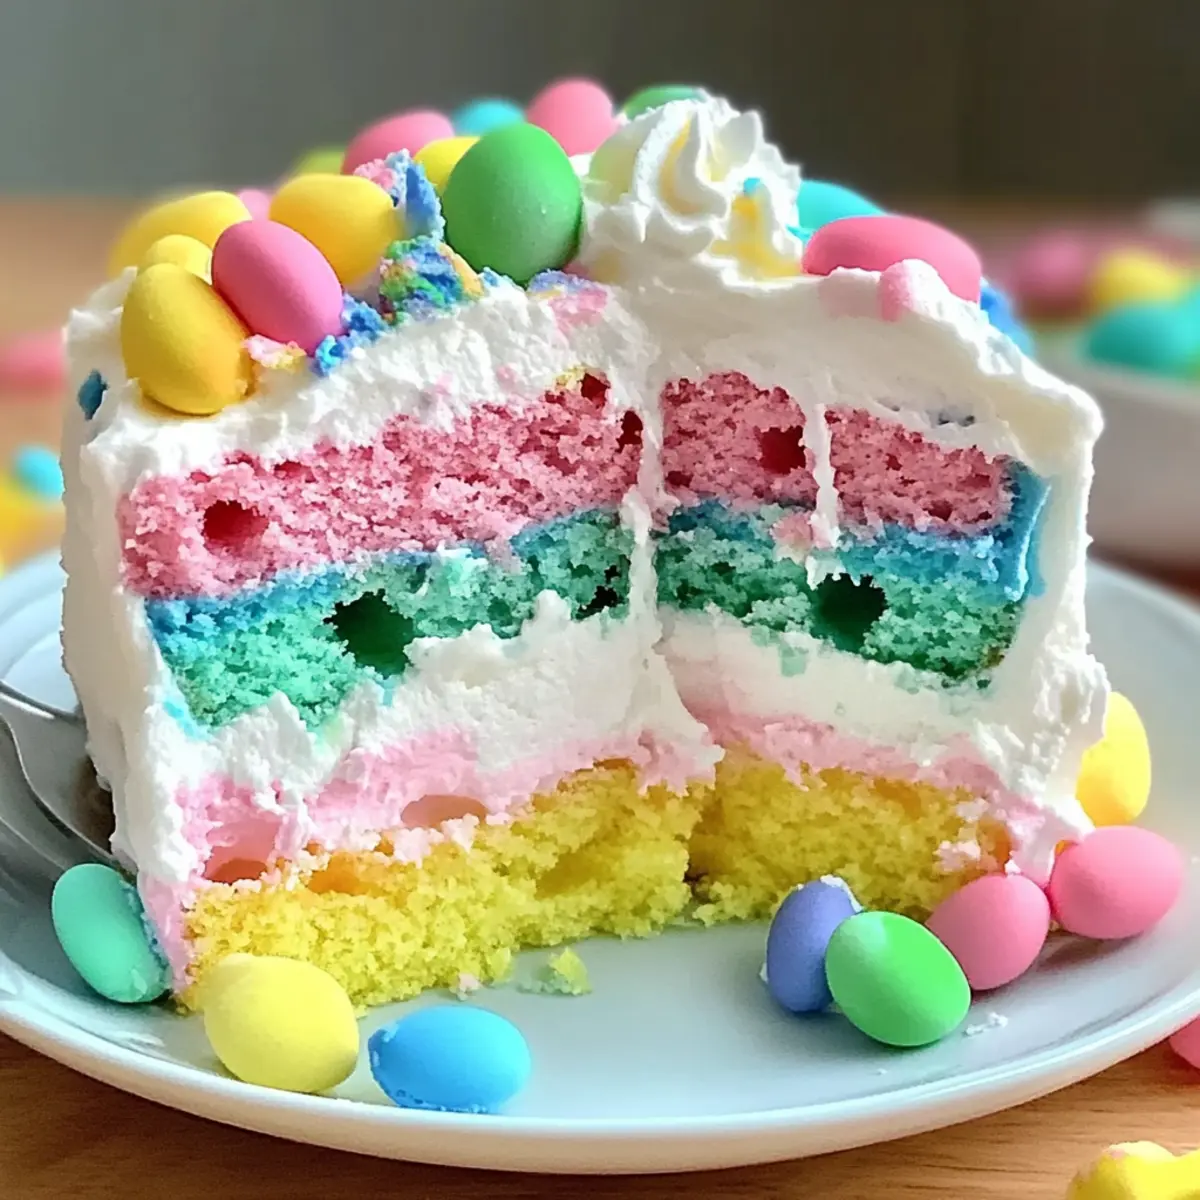
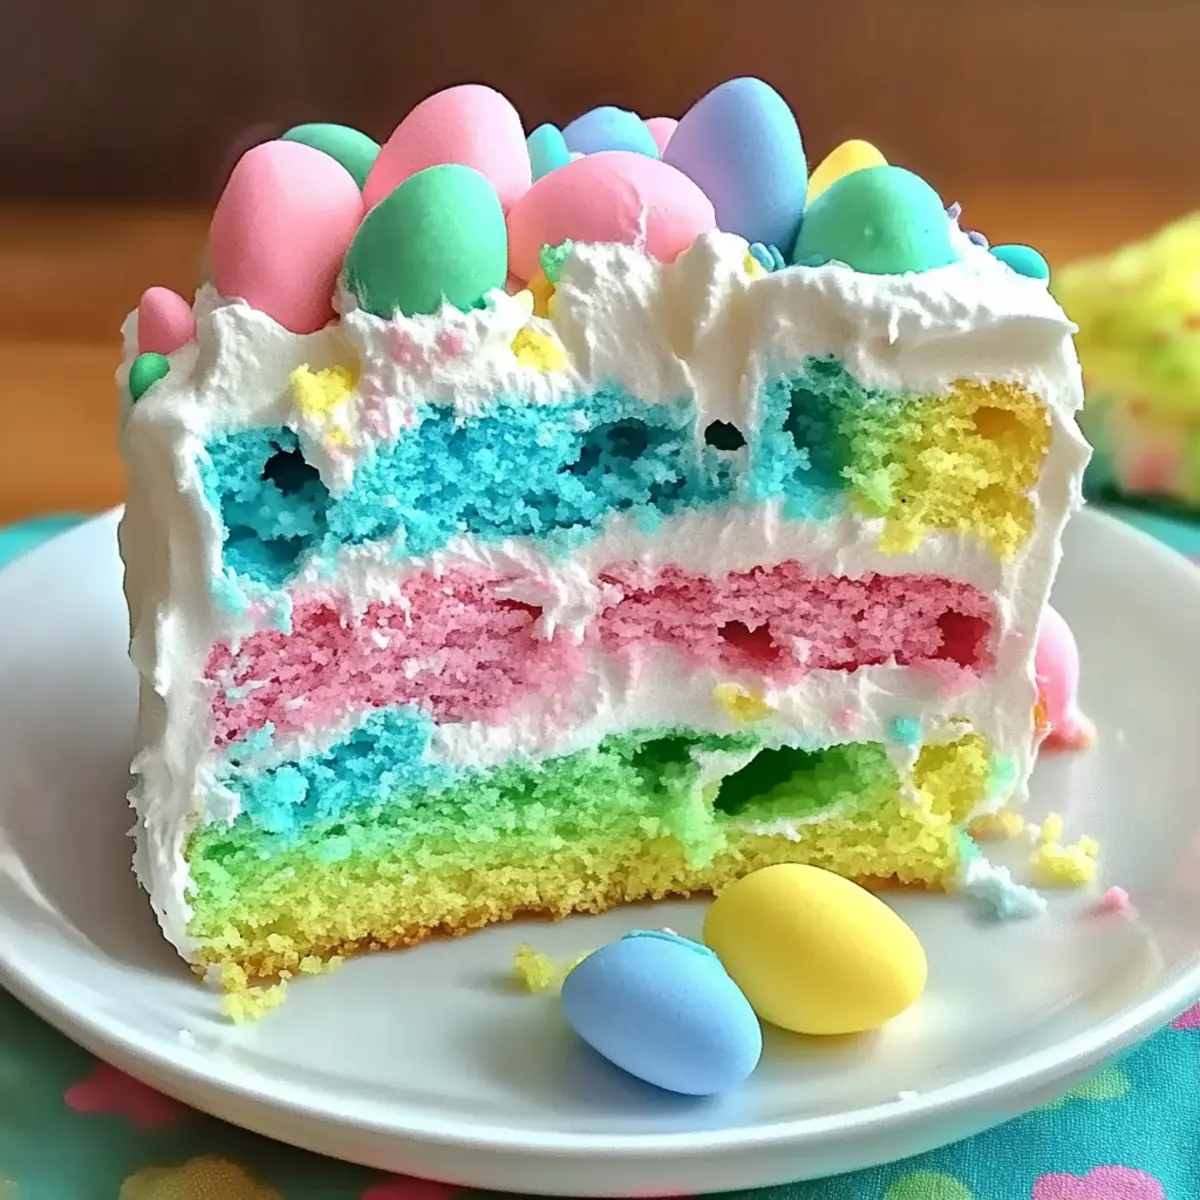
Vibrant Colors: This Easter Poke Cake features stunning hues, transforming any gathering into a festive celebration.
Kid-Friendly Fun: Perfect for little hands to help with decorating, making it a memory-creating activity for the whole family.
Effortless Make-Ahead: Prepare it the day before to save time on busy holiday mornings, allowing for a stress-free dessert moment.
Endless Adaptability: Customize flavors and colors year-round, making this cake suitable for any occasion. For instance, try it with a Snickerdoodle Bundt Cake twist for a delightful alternative!
Deliciously Moist: The combination of pudding and whipped cream delivers a moist, cloud-like texture that everyone will adore.
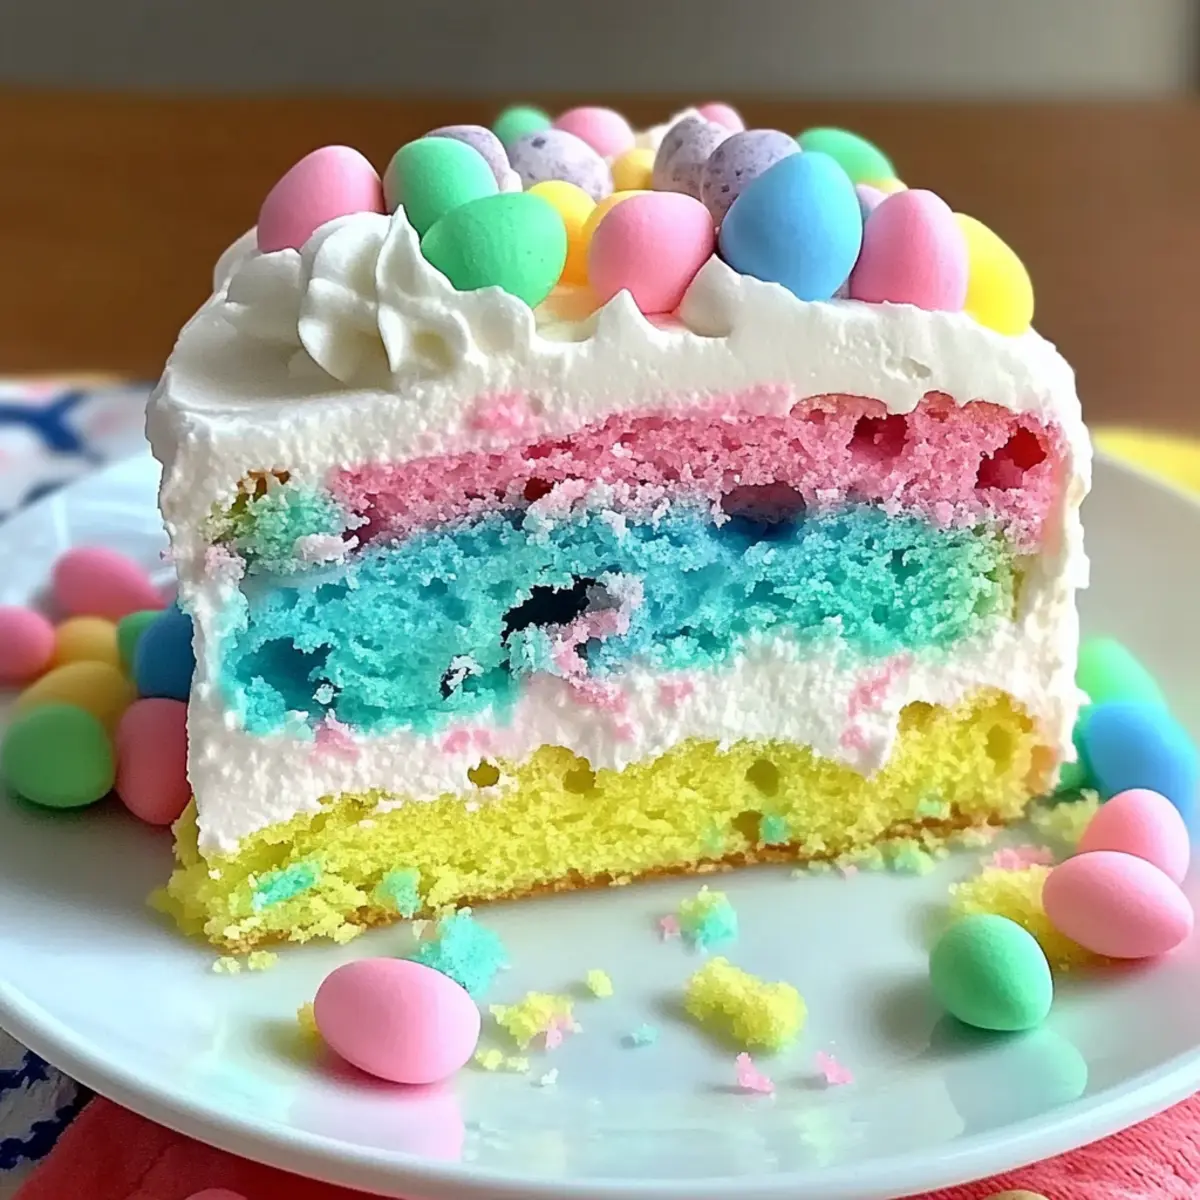
Spectacular Presentation: With its colorful layers and fluffy topping, this cake isn’t just tasty—it’s a centerpiece that will impress your guests!
Easter Poke Cake Ingredients
For the Cake
• White Cake Mix – This forms the base, but feel free to swap it for vanilla or lemon cake mix for a refreshing twist.
• Milk – Essential for activating the pudding mix; any kind, including dairy-free, works beautifully.
• Food Coloring – Use liquid or gel varieties to create the vibrant colors that make this poke cake pop!
For the Pudding Filling
• Instant White Chocolate Pudding – A luxurious addition that provides creaminess; consider vanilla, cheesecake, or lemon pudding for variation.
For the Whipped Topping
• Heavy Cream – The key to fluffy whipped cream; store-bought options can be a convenient alternative.
• Powdered Sugar – Not just for sweetening but also stabilizing the whipped cream; adjust to your personal sweetness preference.
Note: This Easter Poke Cake is as delicious as it is colorful, making it perfect for your festive celebrations!
Step‑by‑Step Instructions for Easy and Colorful Easter Poke Cake
Step 1: Prepare Cake Batter
Preheat your oven to 350°F (175°C). In a large mixing bowl, combine the white cake mix with the required milk until smooth and well blended. Divide the batter into four separate bowls, adding different food coloring to each to create vibrant hues. Stir until evenly colored, ensuring that the colors are bright and joyful, ready to brighten your Easter Poke Cake.
Step 2: Bake Cake
Grease a 9×13 inch baking dish with cooking spray or butter. Pour the colored batter into the dish, using a spoon to swirl the colors together gently for a marbled effect. Bake in the preheated oven for 25-30 minutes, or until the cake springs back when lightly pressed and is golden on top. Once baked, cool the cake in the pan for about 10 minutes before proceeding.
Step 3: Poke Cake
Using the handle of a wooden spoon or a skewer, poke holes in the warm cake, making them about an inch apart. This crucial step allows the creamy filling to soak into the cake, enhancing its flavor and moisture. Be sure to poke holes deep enough to reach the pudding layer; this is what transforms your cake into an indulgent Easter Poke Cake!
Step 4: Add Pudding Filling
In a separate bowl, whisk together the instant white chocolate pudding mix and the milk until it thickens, which should take about 2 minutes. Carefully pour this mixture over the poked cake, ensuring it seeps into all the holes. Spread any remaining pudding over the top of the cake, smoothing it out evenly. Cover the cake with plastic wrap and refrigerate for at least 2 hours to allow the flavors to meld beautifully.
Step 5: Top with Whipped Cream
In a mixing bowl, whip the heavy cream with powdered sugar until soft peaks form, which typically takes 3-5 minutes. Ensure your mixing bowl and beaters are chilled for the best results. Generously spread the fluffy whipped cream over the chilled pudding layer on the cake, forming an attractive layer that adds richness and texture to your Easter Poke Cake. Decorate with sprinkles or edible glitter for a festive touch.
Step 6: Serve and Enjoy
Once your cake is fully assembled and decorated, slice it into squares to serve. The colorful layers will be revealed, delighting both kids and adults alike. Pair with fresh fruit or a refreshing beverage if desired. This Easy and Colorful Easter Poke Cake can be covered and stored in the refrigerator for up to 3 days, making it a convenient and cheerful dessert option for your holiday celebrations.
How to Store and Freeze Easter Poke Cake
Fridge: Store your Easter Poke Cake covered tightly in plastic wrap or in an airtight container for up to 3 days. This keeps the cake moist while preventing unwanted odors from the fridge.
Freezer: For longer preservation, freeze slices of the Easter Poke Cake for up to 2 months. Wrap each piece tightly in plastic wrap, then place them in a freezer-safe bag.
Thawing: When ready to enjoy, simply transfer the cake to the fridge to thaw overnight. This maintains its delicious texture and flavor.
Reheating: If you prefer a warm slice, gently microwave for 10-15 seconds, ensuring not to overheat the whipped cream topping.
What to Serve with Easy and Colorful Easter Poke Cake
Elevate your celebration with complementary flavors and textures that transform any gathering into a festive feast.
- Fresh Berries: A medley of strawberries, blueberries, and raspberries adds a refreshing burst that balances the cake’s sweetness.
- Vanilla Ice Cream: Creamy ice cream provides a luxurious contrast, melting slightly on the warm cake for a delightful indulgence.
- Lemonade Splash: A zesty lemonade or sparkling lemonade spritzer pairs elegantly, cutting through the cake’s richness with a citrusy brightness.
- Chocolate-Covered Strawberries: These sweet treats provide a fun and elegant touch, adding chocolatey decadence alongside the colorful cake.
- Fruit Salad: A light and vibrant fruit salad brings a burst of fresh flavors, making your meal feel more cohesive and balanced.
- Mini Cupcakes: Offer a variety of mini cupcakes for a whimsical dessert table that keeps guests engaged and excited.
- Cheesecake Bites: These creamy bites contrast the cake’s lightness beautifully, providing a delightful textural variety on your dessert platter.
- Coffee or Espresso: A warm cup of coffee or espresso enhances the dessert experience, providing a rich complement to every festive bite.
- Pineapple Whip: Light and tropical, pineapple whip adds a refreshing counterpoint, perfect for brightening up your celebration.
- Zesty Citrus Meringue Tart: A slice of this tart provides a tangy contrast, introducing a different flavor element to the dessert table.
Easter Poke Cake Variations & Substitutions
Feel free to get creative with your Easter Poke Cake and make it uniquely yours by trying these fun variations!
- Dairy-Free: Use almond or coconut milk for the pudding and top with a dairy-free whipped cream to keep it creamy and delicious.
- Flavorful Puddings: Swap white chocolate pudding for chocolate, butterscotch, or even cheesecake pudding for a tasty twist your family will love.
- Zesty Surprise: Incorporate zest from a lemon or orange into the batter for a refreshing, citrusy flavor that brightens up each slice.
- Gluten-Free: Opt for a gluten-free cake mix to accommodate gluten-sensitive guests without sacrificing any flavor or fun.
- Mascarpone Addition: Replace half of the heavy cream with mascarpone cheese for a richer whipped topping that adds depth and creaminess.
- Festive Sprinkles: Elevate your cake’s appearance by adding themed sprinkles or edible glitter for that extra pop of fun!
- Layered Delight: For a more decadent dessert, add a layer of fruit, like strawberries or raspberries, between the pudding and whipped cream layers.
- Mini Versions: For a fun twist, create mini poke cakes using cupcake-sized cake rounds, perfect for individual servings at parties!
Whether you’re inspired by the seasons or just your own taste buds, these variations will help you create an Easter Poke Cake that’s truly delectable for any occasion. And if you’re in the mood for more cake adventures, don’t miss our fabulous Cinnamon Roll Cake or the delightful Russian Honey Cake. Happy baking!
Make Ahead Options
These Easy and Colorful Easter Poke Cakes are a fantastic option for busy home cooks looking to save time! You can prepare the cake up to 24 hours in advance; simply bake, poke holes, and fill with pudding, then refrigerate. The pudding will infuse the cake with flavor, ensuring it’s just as delicious when served later. For optimal results, top with whipped cream right before serving to maintain its light, fluffy texture and avoid any sogginess. If you wish, store the finished cake covered in the fridge for up to 3 days for easy dessert at your holiday gathering. Preparing components ahead not only saves time but guarantees a vibrant centerpiece that everyone will enjoy!
Expert Tips for Perfect Easter Poke Cake
• Chill Overnight: Allow the cake to chill overnight for maximum flavor infusion. It helps the pudding soak in perfectly.
• Spacing is Key: Poke holes about an inch apart to prevent sections from becoming too soggy, ensuring a delightful texture in your Easter Poke Cake.
• Use Chilled Tools: Whipping cream is best when your bowl and utensils are chilled; this adds to its fluffiness and stability.
• Decorate Last Minute: Add decorative sprinkles or fruits right before serving to keep the visuals fresh and appealing.
• Alternative Milk Options: Feel free to use almond or oat milk for a dairy-free version that doesn’t compromise taste!
Easy and Colorful Easter Poke Cake Recipe FAQs
What type of cake mix works best for this recipe?
Absolutely! A white cake mix serves as a great base for the Easy and Colorful Easter Poke Cake. However, you can easily swap it with vanilla or lemon cake mix to add a bit of unique flavor to your dessert. I often choose a lemon cake mix for a light, refreshing twist, especially during the spring season.
How should I store leftover Easter Poke Cake?
To keep your Easter Poke Cake fresh and delicious, store it covered tightly in plastic wrap or in an airtight container in the refrigerator for up to 3 days. This will help maintain its moisture while keeping other odors at bay. Just be sure to cut slices out carefully to avoid disturbing the layers!
Can I freeze the Easter Poke Cake?
Very! Freezing is a fantastic option if you want to enjoy this cake at a later date. Wrap each slice tightly in plastic wrap, then place them in a freezer-safe bag. You can freeze it for up to 2 months. When you’re ready to indulge, simply transfer a slice to the refrigerator to thaw overnight, preserving its delightful texture and flavors.
What if my pudding doesn’t set properly?
If you find your pudding mixture hasn’t thickened as expected, it may be due to not whisking it long enough or not using cold milk. Be sure to whisk the pudding mix with cold milk vigorously for about 2 minutes until thickened. If it’s still runny, you can add a bit more pudding mix, allowing it to set properly before spreading it on your cake.
Can my pets enjoy a small piece of this cake?
While it’s tempting to share, it’s best to keep this dessert away from pets. The ingredients like chocolate pudding and heavy cream aren’t ideal for animals and could cause digestive discomfort. Stick to pet-safe treats when looking to celebrate with your furry friends!
Is there a dairy-free option for this recipe?
Absolutely! To make a dairy-free version of the Easy and Colorful Easter Poke Cake, simply substitute the regular milk with almond or oat milk and use a dairy-free whipped topping. Additionally, many varieties of pudding mix are available that don’t contain dairy; just be sure to check the labels when selecting your ingredients.
Colorful Easter Poke Cake That's Easy and Fun to Make
Ingredients
Equipment
Method
- Preheat your oven to 350°F (175°C). In a large mixing bowl, combine the white cake mix with the required milk until smooth and well blended. Divide the batter into four separate bowls, adding different food coloring to each.
- Grease the 9x13 inch baking dish. Pour the colored batter into the dish, swirl the colors together gently. Bake for 25-30 minutes, or until the cake springs back when lightly pressed. Cool in the pan for about 10 minutes.
- Using the handle of a wooden spoon or a skewer, poke holes in the warm cake about an inch apart. This allows the filling to soak into the cake.
- Whisk together instant pudding mix and milk until thickened. Pour this over the poked cake, ensuring it seeps into all holes. Cover with plastic wrap and refrigerate for at least 2 hours.
- Whip heavy cream with powdered sugar until soft peaks form. Spread the whipped cream over the chilled pudding layer and decorate with sprinkles or edible glitter.
- Slice into squares to serve. The colorful layers will be revealed. Optionally, serve with fresh fruit or a refreshing beverage.