
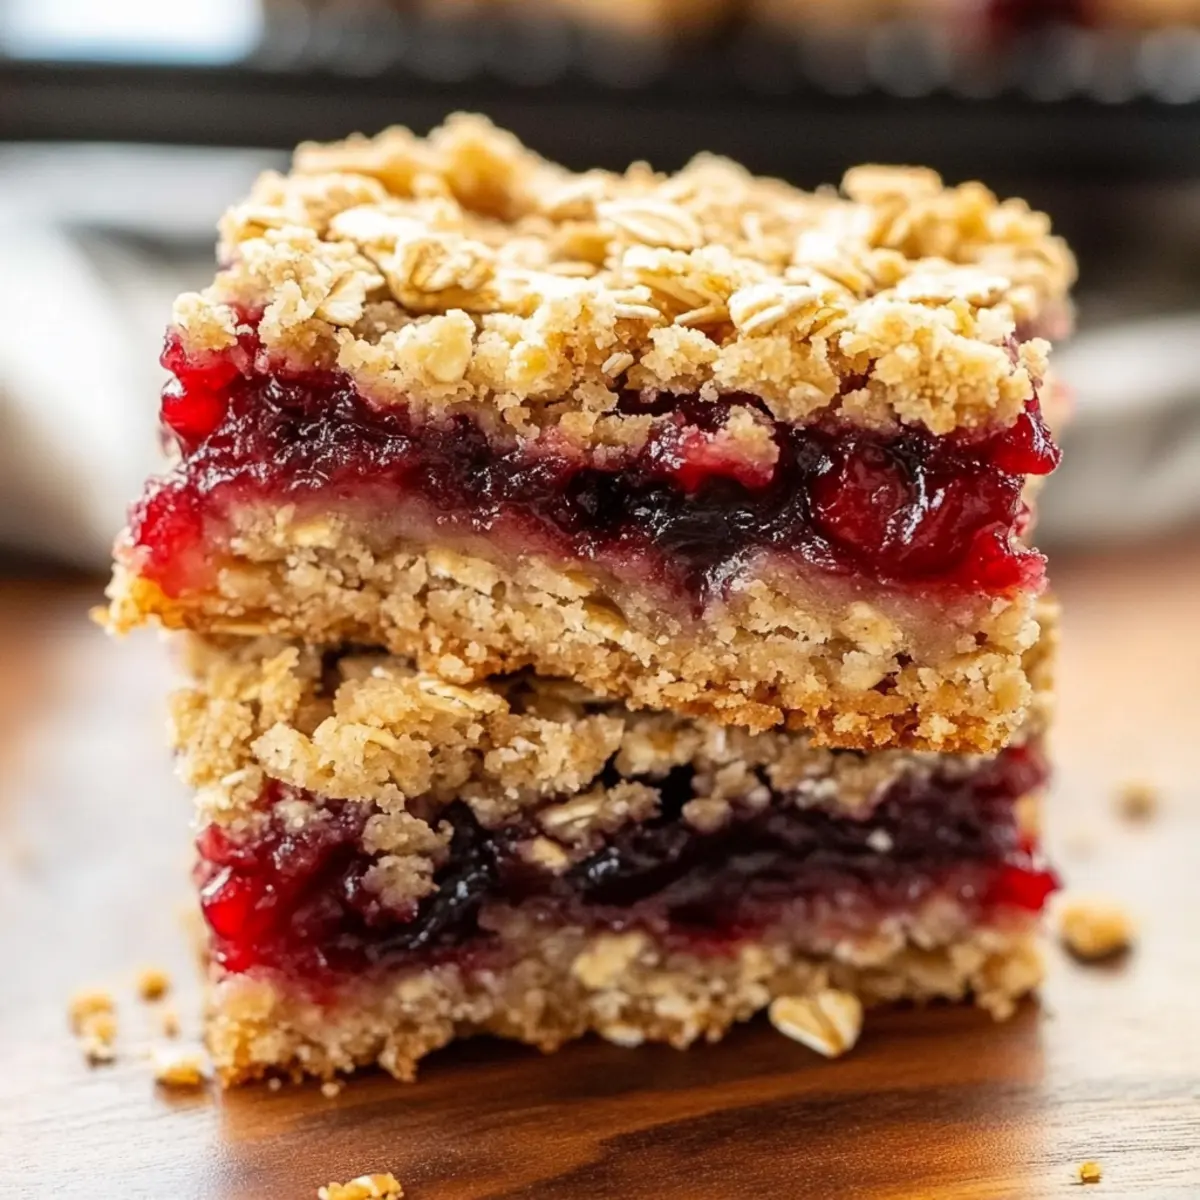
There’s something magical about the warm smell of freshly baked Cherry Oat Bars wafting through the kitchen. These delightful treats effortlessly bring together the sweetness of cherry pie and the comforting essence of cobbler—all in a convenient, effortlessly snackable form. With their chewy texture and vibrant fruitiness, my Cherry Oat Bars are not only easy to whip up but also your new go-to for satisfying those sweet cravings without fuss. They’re perfect for quick gatherings or a cozy night in, making them a fantastic addition to any dessert repertoire. And the best part? They’re just as delicious served warm with a scoop of ice cream or enjoyed cold right out of the fridge. Curious yet about how to create this delectable dessert? Let’s dive into the details!
Why Choose Cherry Oat Bars Today?
Simplicity at Its Best: These Cherry Oat Bars come together quickly, requiring minimal effort and common pantry ingredients—perfect for busy bakers!
Irresistible Flavor: The delightful balance of sweet cherries combined with hearty oats creates a mouthwatering treat that’s undeniably satisfying.
Versatile Treat: Enjoy them as a snack, dessert, or even a breakfast option. You can also experiment with different fillings like blueberries or raspberries!
Crowd-Pleasing Favorite: These bars are sure to be a hit at gatherings—everyone loves a bite of this comforting dessert!
Storage Friendly: They keep well at room temperature or in the fridge, making them perfect for meal prep or as a grab-and-go sweet bite.
Extra Indulgence: Serve them warm with a scoop of ice cream for an extra special treat, similar to my Lemon Lime Cherry bars!
Cherry Oat Bars Ingredients
For the Crust and Topping
• Flour – Provides structure; you can use gluten-free flour for a gluten-free version.
• Quick Oats – Adds chewiness and texture; do not substitute with regular oats as they may alter the final result.
• Rolled Oats – Enhances chewiness; substitute with more quick oats if necessary.
• Brown Sugar – Adds sweetness and a hint of molasses; can be replaced with granulated sugar for a lighter flavor.
• Baking Powder – Essential for the bars to rise slightly; don’t skip this step for the best texture.
• Salt – Balances sweetness; optional but highly recommended for enhanced flavor.
• Room Temperature Butter – Provides richness; substitute with coconut oil for a dairy-free option.
For the Cherry Filling
• Cherry Filling – The star of the show, made from fresh cherries, sugar, lemon juice, and cornstarch; ensure cherries are pitted for optimal flavor!
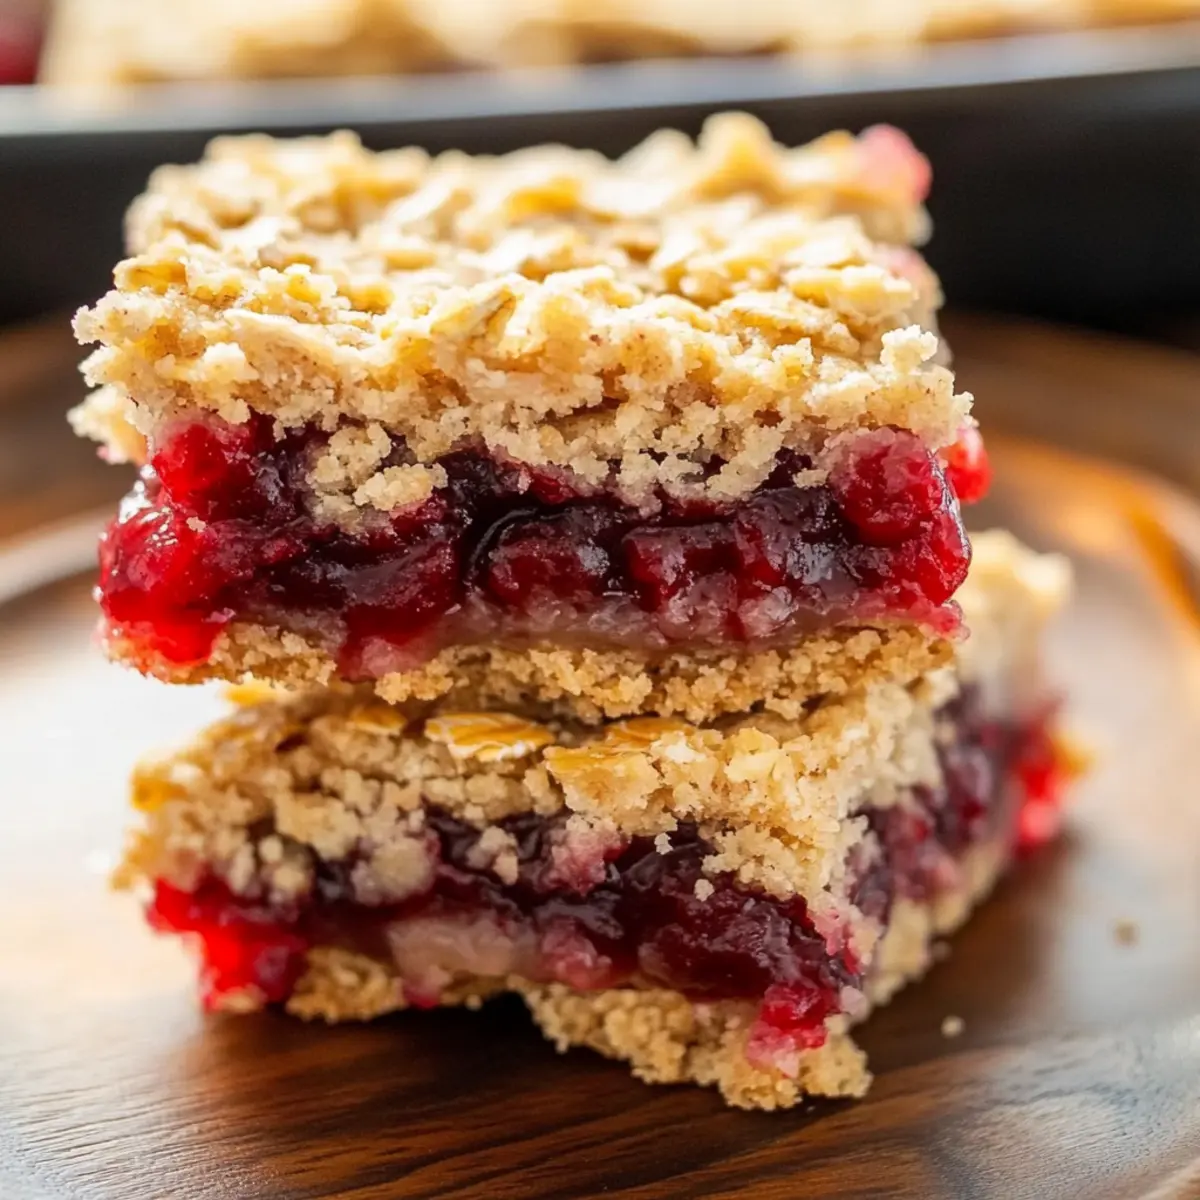
These delicious Cherry Oat Bars come together beautifully, making them the perfect sweet treat for any occasion!
Step‑by‑Step Instructions for Cherry Oat Bars
Step 1: Prepare Cherry Filling
In a medium saucepan, combine the pitted cherries, sugar, lemon juice, and cornstarch. Cook over medium heat, stirring occasionally, for about 10 minutes until the mixture begins to boil and thicken. You’ll know it’s ready when it’s glossy and coats the back of a spoon. Once thickened, remove from heat and set aside to cool.
Step 2: Prepare Pan
Line a 9×13-inch or 9×9-inch baking pan with parchment paper, allowing some overhang for easy removal later. Lightly spray the parchment with cooking spray to prevent sticking. This will be the foundation of your Cherry Oat Bars, ensuring they come out beautifully without breaking apart.
Step 3: Mix Dry Ingredients
In a large mixing bowl, combine the flour, quick oats, rolled oats, brown sugar, baking powder, and salt. Stir the dry ingredients together until well blended—this should only take a minute or two. The mixture will have a coarse texture, which is perfect for the crumbly base and topping of your Cherry Oat Bars.
Step 4: Incorporate Butter
Add the room temperature butter to the dry oat mixture. Using a fork or your fingers, mix until the mixture resembles coarse crumbs. This step is crucial as it creates the buttery flavor and texture for your bars. Aim for a combination that easily holds together when squeezed but still crumbles readily.
Step 5: Layer Bars
Press approximately two-thirds of the crumb mixture into the prepared pan to form the bottom layer. Use your fingers to evenly spread and compact the crust. Once pressed down firmly, pour the cooled cherry filling over the crust, spreading it evenly. Top with the remaining crumb mixture, sprinkling it generously for a delicious, textured topping.
Step 6: Bake
Preheat your oven to 350°F (175°C). Once heated, place the assembled Cherry Oat Bars in the oven and bake for 30 to 35 minutes. Look for a light golden-brown color on top and a bubbling filling as visual cues indicating they’re ready. The aroma will be irresistible!
Step 7: Cool and Cut
After baking, remove the pan from the oven and let it cool completely in the pan on a wire rack. This cooling process is essential, as it allows the bars to firm up, making them easier to cut into squares. Once completely cool, lift the bars out using the parchment overhang and slice them into squares for serving.
Expert Tips for Cherry Oat Bars
-
Use Fresh Cherries: Fresh cherries yield the best flavor and texture. If using frozen or canned, drain excess liquid to maintain consistency.
-
Let Cool Completely: Allowing the bars to cool completely in the pan ensures they hold their shape when cut. Patience here will pay off!
-
Check Bake Time: Keep an eye on the baking process, as ovens vary. Look for a light golden top and bubbling filling to ensure perfect Cherry Oat Bars.
-
Experiment with Fillings: Don’t hesitate to try different fruit fillings, like blueberries or peaches, for exciting flavor variations that everyone will love.
-
Proper Storage: To maintain freshness, store the bars in an airtight container. They’ll stay delicious for up to a week in the fridge!
How to Store and Freeze Cherry Oat Bars
Room Temperature: Keep your Cherry Oat Bars in an airtight container at room temperature for up to 3 days to maintain their soft texture.
Fridge: Store the bars in the refrigerator for up to a week. Ensure they are in an airtight container to prevent them from drying out.
Freezer: For longer storage, wrap bars tightly in plastic wrap and place them in an airtight container or freezer bag. They can be frozen for up to 3 months.
Reheating: To enjoy warm, simply microwave a bar for 15-20 seconds, or heat in the oven at 350°F (175°C) for about 5 minutes.
Cherry Oat Bars Variations & Substitutions
Feel free to get creative with these Cherry Oat Bars and make them your own with simple tweaks and delicious twists!
-
Gluten-Free: Substitute all-purpose flour with your favorite gluten-free flour blend to make these bars suitable for gluten-sensitive friends.
-
Nutty Delight: Add chopped nuts like walnuts or almonds to the crumb mixture for a delightful crunch that complements the chewy oats beautifully.
-
Fruit Fusion: Swap out cherries for blueberries, raspberries, or even diced apples to create a whole new flavor experience with each batch!
-
Choco-Lovers: Mix in chocolate chips or chunks into the topping for a sweet surprise that pairs wonderfully with the fruity filling.
-
Extra Cozy Flavor: Replace the lemon juice in the filling with almond extract for a toasty, warm flavor that’ll make your kitchen feel like home.
-
Vegan Option: Substitute butter with coconut oil or vegan butter, and use a flax egg or applesauce in place of any egg for a completely plant-based treat.
-
Heating It Up: Want some spice? Add a dash of cinnamon or nutmeg to the dry ingredients to give an aromatic kick that enhances the overall flavor profile.
-
Crowd-Pleasing Combo: Serve these bars warm with a scoop of vanilla ice cream, transforming them into a luxurious dessert that’s bound to impress! For more scrumptious ideas, check out my Chewy Peanut Butter bars for a nutty twist or dive into the irresistible flavors of Butterfinger Cheesecake Bars!
So, are you ready to craft your perfect Cherry Oat Bars? Enjoy the process of customizing your recipe!
Make Ahead Options
These Cherry Oat Bars are perfect for meal prep enthusiasts looking to save time during busy weeks! You can prepare the cherry filling up to 24 hours in advance; simply store it in an airtight container in the refrigerator. Additionally, the dry ingredients can be mixed and stored separately for up to 3 days to keep them fresh. When you’re ready to bake, just combine the butter with the dry mixture and layer the bars as directed. This way, you’ll enjoy delightfully chewy Cherry Oat Bars that taste just as delicious, with minimal fuss right before serving!
What to Serve with Cherry Oat Bars
There’s something comforting about pairing these delightful treats with complementary flavors and textures.
-
Vanilla Ice Cream: A scoop of creamy vanilla ice cream adds a delightful contrast to the tart cherries in the bars, enhancing the overall indulgence.
-
Whipped Cream: Light, airy whipped cream balances the chewy texture of the bars, perfect for dolloping on top for that extra bliss.
-
Fresh Fruit Salad: Bright, fresh fruit like strawberries and blueberries offers a refreshing side that complements the rich cherry filling beautifully.
-
Tea or Coffee: A warm cup of tea or freshly brewed coffee is the ideal beverage to accompany these bars, creating a cozy dessert experience.
-
Chocolate Drizzle: A simple drizzle of melted chocolate over the bars adds a decadent touch, elevating their flavor profile for chocoholics.
-
Nuts on the Side: A handful of toasted almonds or walnuts brings an inviting crunch that contrasts perfectly with the soft, chewy bars.
-
Caramel Sauce: Drizzling warm caramel sauce over the top creates a luscious, sweet addition that pairs impeccably with the cherries.
-
Cheese Platter: Accompany your bars with soft cheeses like Brie or cream cheese for a sweet and savory delight!
Cherry Oat Bars Recipe FAQs
How do I choose ripe cherries for the filling?
Absolutely! Look for cherries that are plump, firm, and have a deep, vibrant color. Avoid any that show dark spots all over or feel too soft. The taste will be much better with fresh, ripe cherries for your Cherry Oat Bars!
What’s the best way to store Cherry Oat Bars?
For short-term storage, keep your Cherry Oat Bars in an airtight container at room temperature for up to 3 days. If you want to enjoy them longer, place them in the refrigerator where they can last up to a week, ensuring they remain soft and delicious.
Can I freeze Cherry Oat Bars?
Certainly! To freeze your Cherry Oat Bars, wrap them tightly in plastic wrap and then place them in an airtight container or freezer bag. They can be stored in the freezer for up to 3 months. When you’re ready to enjoy, just thaw at room temperature or reheat in the microwave for a quick sweet treat!
What should I do if my bars crumble when cutting?
Very frustrating, I know! If your Cherry Oat Bars crumble, it’s likely they didn’t cool completely before cutting. Make sure to let them cool in the pan for a full hour (or until they feel firm) before using the parchment paper to lift them out for slicing. This will help maintain their structure!
Are Cherry Oat Bars safe for people with allergies?
Absolutely! Just be mindful of any specific ingredient allergies. You can swap regular flour for gluten-free flour and use coconut oil instead of butter for a dairy-free option. Always ensure that any additional ingredients, like nuts or chocolate, are allergy-friendly for those you’re serving.
Can I use frozen cherries for the filling?
Yes, you can! If using frozen cherries, be sure to thaw and drain them thoroughly to avoid excess moisture that can affect the filling. I often recommend simmering the thawed cherries in a saucepan with cornstarch and sugar to help them hold together beautifully in your Cherry Oat Bars.
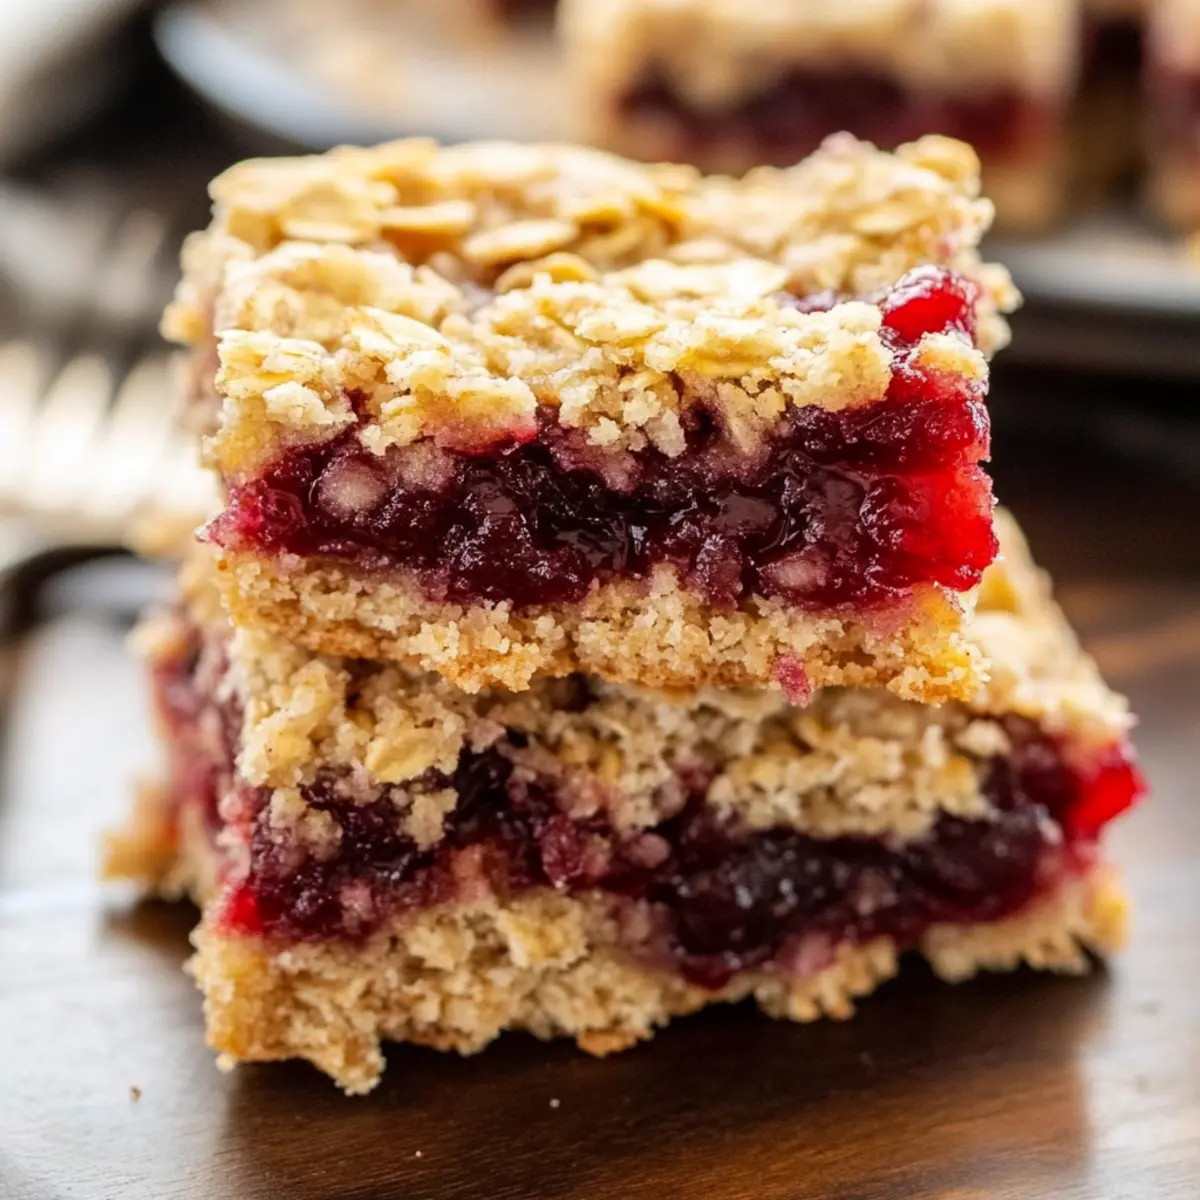
Cherry Oat Bars That Will Make Your Taste Buds Dance
Ingredients
Equipment
Method
- In a medium saucepan, combine the pitted cherries, sugar, lemon juice, and cornstarch. Cook over medium heat for about 10 minutes until mixture thickens.
- Line a 9x13-inch or 9x9-inch baking pan with parchment paper and spray lightly with cooking spray.
- In a large mixing bowl, combine the flour, quick oats, rolled oats, brown sugar, baking powder, and salt. Stir until blended.
- Add the room temperature butter and mix until the mixture resembles coarse crumbs.
- Press two-thirds of the crumb mixture into the prepared pan, pour the cooled cherry filling over it, and top with the remaining crumb mixture.
- Preheat oven to 350°F (175°C), bake for 30-35 minutes until golden brown and bubbly.
- Allow cooling completely in the pan on a wire rack before slicing into squares.