
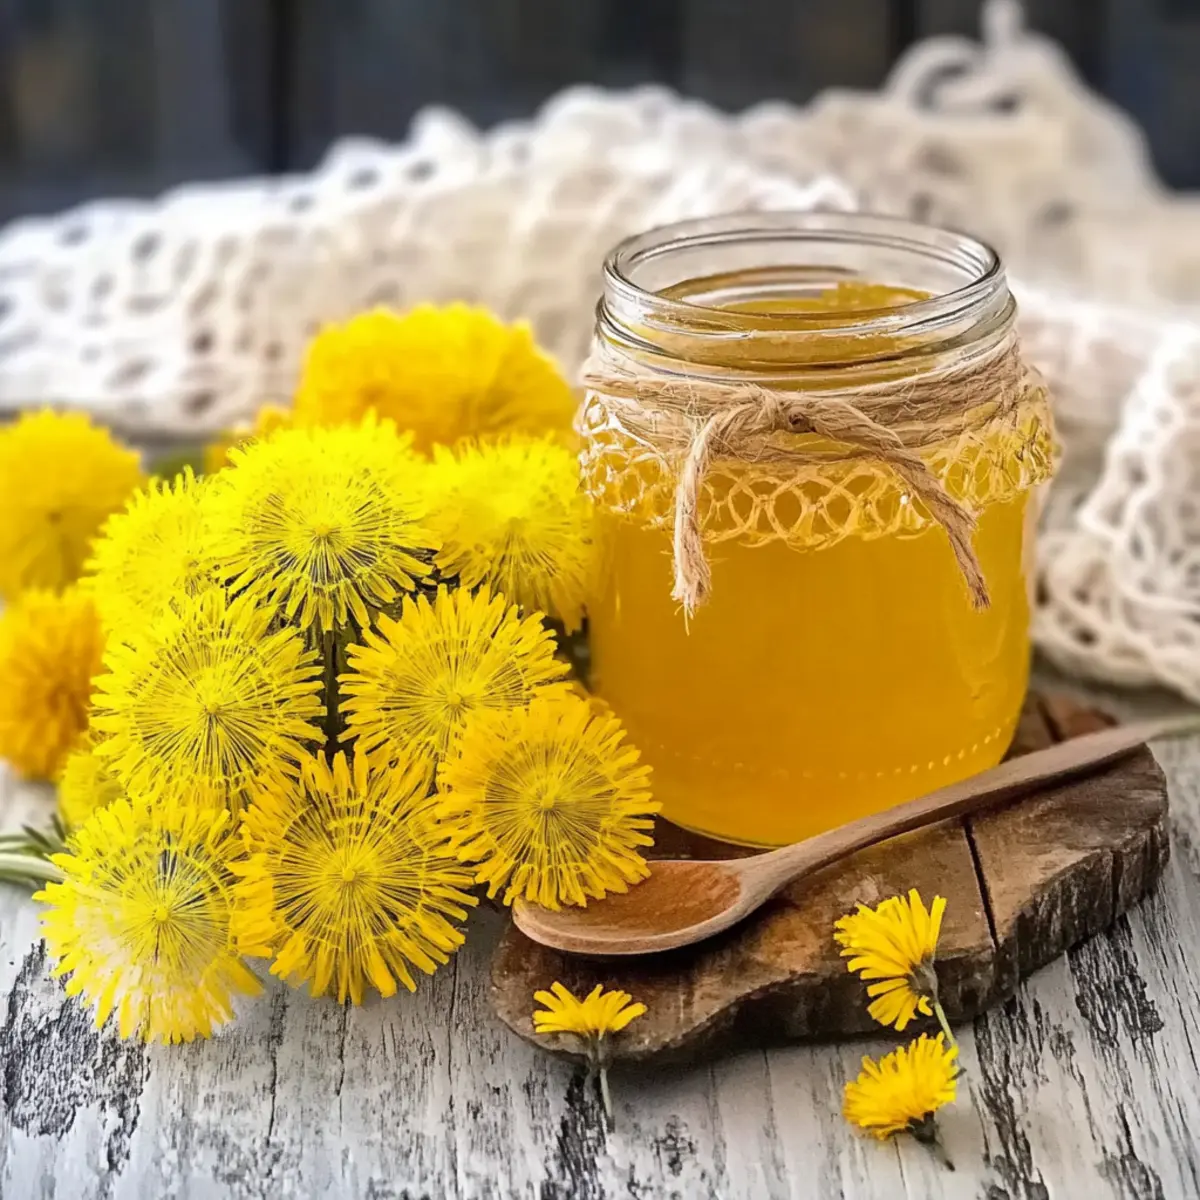
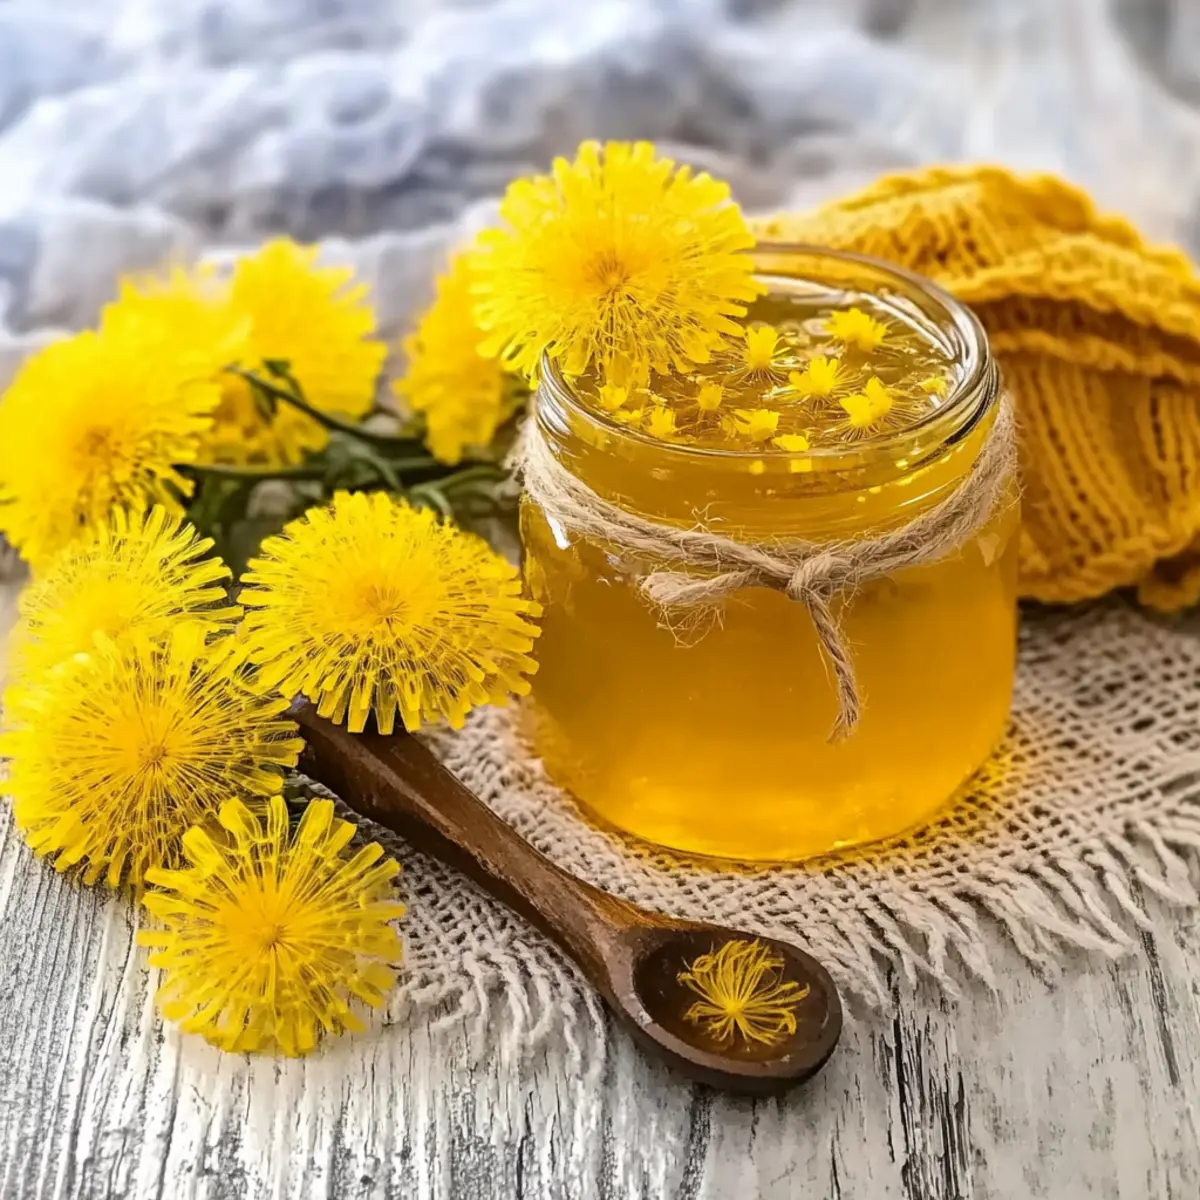
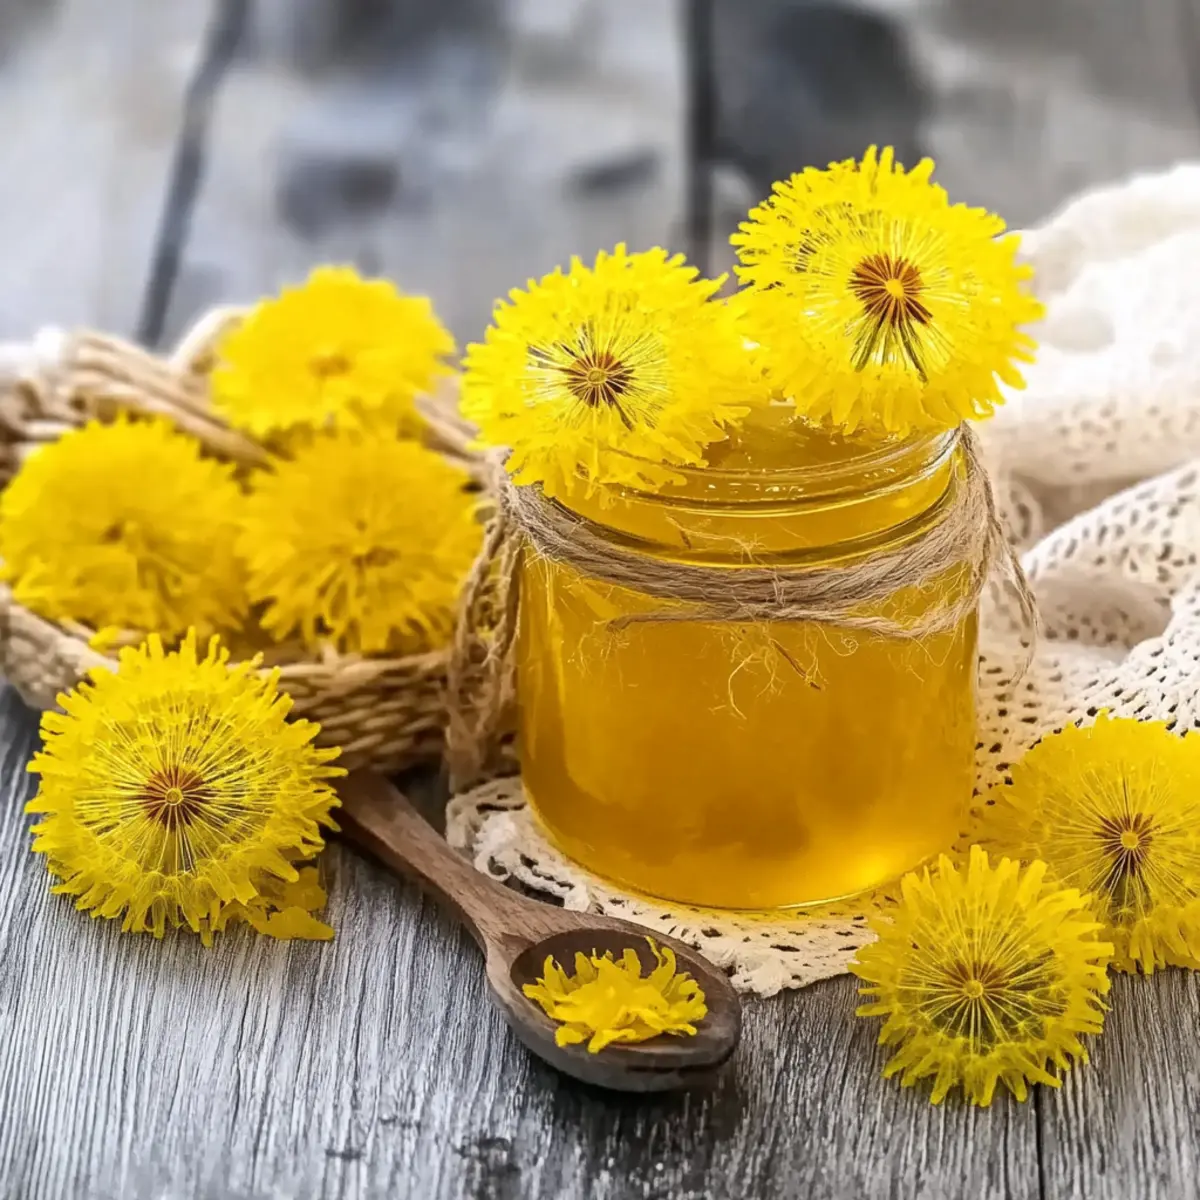
Spring has arrived, and with it comes a treasure trove of golden dandelions just waiting to be transformed into something special. I love the thrill of turning a simple, overlooked flower into a jar of homemade Dandelion Jelly, bursting with vibrant floral flavors. This organic recipe is not only a delightful way to celebrate the season but also incredibly easy to whip up – perfect for both novice and seasoned home chefs. Imagine spreading this lush, sweet jelly over warm toast or using it as a unique appetizer that sparks conversation at your next gathering. Plus, it’s a sustainable choice that helps reduce waste while bringing a bit of nature to your kitchen. I can’t wait for you to discover the charm of this delightful treat—are you ready to join me in creating the magic of Dandelion Jelly?
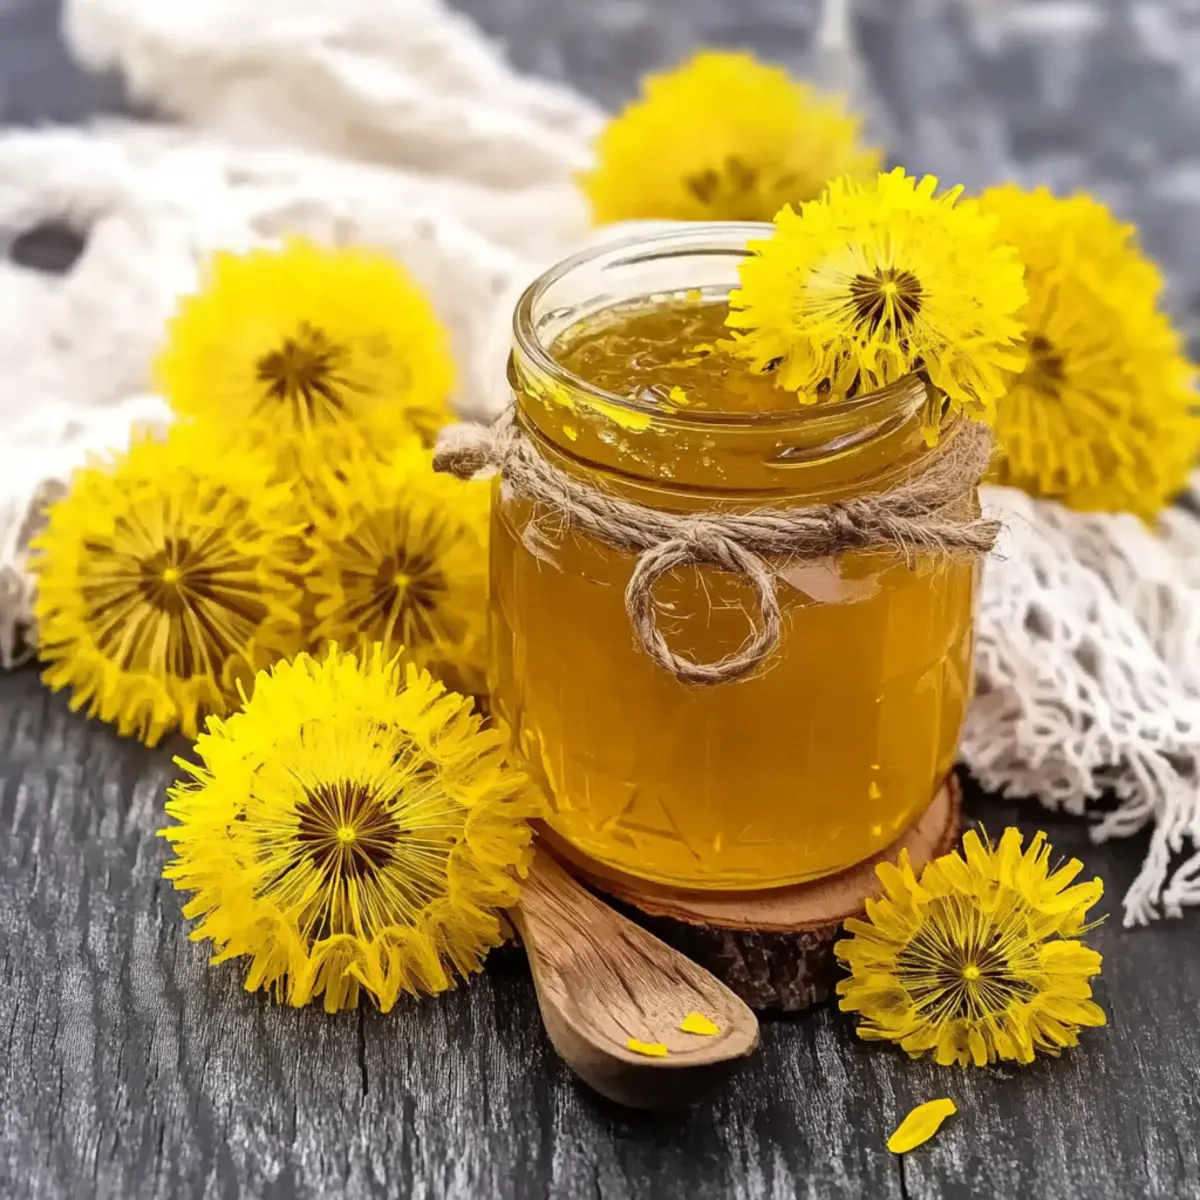
Why is Dandelion Jelly a Must-Try?
Unique Ingredient: Dandelions are often overlooked, yet their vibrant flavor transforms into a jar of sunshine.
Sustainable Choice: By foraging these natural blooms, you’re embracing a waste-free kitchen and celebrating seasonal eating.
Easy to Make: Even novice cooks can master this jelly with just a few ingredients and simple steps—no fancy equipment needed!
Versatile Uses: Spread it on toast, use it in desserts, or create charming appetizers with cream cheese and crackers. For more delicious spreads, you might enjoy the Peanut Butter Jelly recipe or a delightful Jellycat Birthday Cake.
Crowd-Pleaser: This delightful jelly sparks joy and conversation at gatherings, with a flavor profile that impresses everyone.
Dandelion Jelly Ingredients
• Discover the simple ingredients that make this vibrant treat shine!
For the Jelly Base
- Dandelion Petals – These flower petals provide the sweet, floral essence that defines Dandelion Jelly.
- Boiling Water – Used to steep dandelion petals and release their flavors, creating a fragrant infusion.
- Lemon Juice – Adds a necessary tang and acidity that balances the sweetness; it also aids in setting the jelly.
- Sugar – Sweetens the jelly and acts as a preservative, ensuring a tasty and long-lasting treat.
- Certo Liquid Fruit Pectin – Helps achieve that perfect jelly-like consistency through its gelling properties.
Optional Enhancers
- Yellow Food Coloring – Enhance the jelly’s visual appeal, making it a vibrant centerpiece for your table.
- Honey – Substitute for sugar to introduce a natural sweetness, adding a lovely depth to your flavor profile.
Savor the charm of making Dandelion Jelly with these simple and wholesome ingredients!
Step‑by‑Step Instructions for Dandelion Jelly
Step 1: Harvest Dandelions
Begin by collecting 2 cups of fresh dandelion petals, ensuring that only the bright yellow parts are used and avoiding any green bits. This vibrant flower will serve as the base for your delightful Dandelion Jelly. For easy harvesting, use clean scissors and gather dandelions from chemical-free areas—preferably in the morning when they are fully open and fresh.
Step 2: Steep
Once you have your petals, place them in a heat-proof bowl and pour 2 cups of boiling water over them. Allow this mixture to steep for up to 24 hours; this time will help extract rich flavors from the dandelion petals. After steeping, let it cool, then refrigerate the mixture until you’re ready to strain it—the infusion should have a lovely golden color.
Step 3: Strain
Using a fine mesh strainer or cheesecloth, strain the dandelion-infused liquid into a large pot, discarding the solid petals. The liquid you collect will be the flavorful base of your jelly. Make sure to press on the petals to extract all the juice, as this will enhance the final taste of your Dandelion Jelly.
Step 4: Mix Ingredients
In the pot with the strained liquid, add 1/4 cup of freshly squeezed lemon juice and 4 cups of granulated sugar. Stir the mixture well until the sugar is fully dissolved. The lemon juice not only balances the sweetness but also supports the gelling process, preparing your Dandelion Jelly for its perfect texture.
Step 5: Boil
Bring the mixture to a rolling boil over medium-high heat, stirring continuously to prevent sticking. Once bubbling vigorously, add the 1 package of Certo Liquid Fruit Pectin, stirring well to combine. Boil for another minute to activate the pectin, which will help your jelly achieve that wonderful spreadable consistency.
Step 6: Boil Again
Continue boiling the mixture for an additional two minutes while stirring constantly. This critical step ensures that your Dandelion Jelly reaches the correct temperature for setting, resulting in a smooth texture. Pay close attention as it boils—it should become vibrant and aromatic, filling your kitchen with delightful spring scents.
Step 7: Skim Foam
If any foam develops on the surface of the jelly, gently skim it off with a spoon. While optional, skimming will ensure that your final product has a beautiful, clear appearance. This step is all about achieving that stunning visual quality, making your homemade Dandelion Jelly not just tasty but also pleasing to the eye.
Step 8: Color (optional)
If you’d like to enhance the visual appeal of your Dandelion Jelly, this is the time to add a few drops of yellow food coloring, stirring gently to incorporate. This step is entirely optional, but it can intensify the cheerful color of your jelly, making it an inviting addition to any table setting.
Step 9: Prepare Jars
Prepare your canning jars by pouring hot water over the seals to sterilize them. Using a ladle, carefully fill each jar with the hot Dandelion Jelly, leaving about 1/4 inch of headspace at the top. This headspace allows for the jelly to expand as it sets, ensuring a proper seal and prolonging the shelf life of your delicious creation.
Step 10: Seal & Cool
Once filled, place the sterilized seals on the jars and secure them with metal rings. Allow the jars to cool at room temperature for a full 24 hours. For longer storage, consider processing the jars in a water bath for 10 minutes—this ensures your Dandelion Jelly is shelf-stable and ready for gifting or enjoying whenever the mood strikes!
Variations & Substitutions for Dandelion Jelly
Feel free to get creative and tailor this Dandelion Jelly recipe to suit your taste preferences!
-
Lime Juice: Swap lemon juice for fresh lime juice to infuse a zesty twist into your jelly. This adds a refreshing brightness that’s simply irresistible.
-
Herbal Infusion: Experiment by adding fresh herbs like mint or basil during the steeping process for a unique flavor profile. Just remember to strain them out before cooking for a delightful surprise in every bite!
-
Honey Sweetening: Switch granulated sugar for honey to create a more natural sweetness. The honey adds a rich depth that beautifully complements the floral notes of the dandelions.
-
Spiced Variation: Stir in a pinch of cinnamon or a dash of ginger during the boiling process. These warming spices will elevate your jelly, adding a comforting touch that’s perfect for cozy gatherings.
-
Fruit Fusion: Combine dandelion petals with fruits like strawberries or raspberries for a delicious twist. Just make sure to adjust the sugar based on the sweetness of the fruit; this will make your jelly vibrant and fruity.
-
Vegan Option: For a vegan-friendly jelly, use agar-agar instead of pectin. This plant-based alternative will help your jelly set beautifully while keeping it completely dairy-free.
-
Heat It Up: Feeling adventurous? Incorporate a hint of crushed red pepper or jalapeño to give your jelly a spicy kick. This unexpected twist will certainly ignite a burst of flavor with every spread!
-
Colorful Options: If you want to add a fun twist, consider using natural colorants like beet juice or turmeric to further enhance the visual appeal. Vibrant colors make for a stunning presentation!
Let these variations spark your culinary imagination as you craft your own unique version of Dandelion Jelly! For more ideas on delightful spreads, check out the scrumptious Peanut Butter Jelly or the whimsical Jellycat Birthday Cake.
How to Store and Freeze Dandelion Jelly
Fridge: Store your Dandelion Jelly in the refrigerator where it can stay fresh for up to 6 months. Use airtight containers or properly sealed jars to maintain its flavor.
Freezer: For long-term storage, transfer jelly to freezer-safe containers, leaving space at the top for expansion. Dandelion Jelly can be frozen for up to 1 year.
Reheating: To use frozen jelly, simply thaw it in the refrigerator overnight. It’s perfect for spreading on warm toast or as a topping for desserts!
Canning: If you’ve canned your Dandelion Jelly, it can be stored in a cool, dark place for up to a year. Always check seals before opening.
What to Serve with Homemade Dandelion Jelly
Bring the taste of spring to your table with vibrant accompaniments that enhance the unique flavor of this delightful jelly.
- Warm Toast: The perfect canvas for Dandelion Jelly, warm toast allows its floral sweetness to shine bright.
- Cream Cheese: Spread some cream cheese on crackers or bread— the rich creaminess offsets the jelly’s sweet notes beautifully.
- Fresh Fruit: Pair it with sliced strawberries or fresh peaches for a refreshing contrast and extra sweetness on a morning platter.
- Charcuterie Board: Add Dandelion Jelly to your next charcuterie board—it brings a unique twist that pairs well with cured meats and cheeses.
- Pancakes or Waffles: Drizzle over fluffy pancakes or waffles, elevating your breakfast with a pop of color and flavor.
Imagine a brunch setting where each savory bite is balanced with that sweet, floral jelly, making every spoonful a cherished experience.
Make Ahead Options
Dandelion Jelly is a fantastic choice for meal prep, making it perfect for busy home cooks! You can harvest and steep the dandelion petals in boiling water up to 24 hours in advance, storing the mixture in the refrigerator until you’re ready to proceed with the recipe. Once infused, strain the dandelion liquid, and mix in the lemon juice and sugar—this mixture can also sit in the fridge for about 3 days before boiling. Just remember to stir it before proceeding to ensure everything is combined well. To finish making your Dandelion Jelly, bring the mixture to a rolling boil, add the pectin, and continue as directed. You’ll have flavorful, vibrant jars of jelly ready in no time, just as delicious as if made fresh!
Expert Tips for Dandelion Jelly
• Choose Wisely: Ensure you harvest dandelions from chemical-free areas to avoid pesticides. Only use bright yellow petals for optimal flavor.
• Steeping Time: For the best taste, steep dandelion petals for up to 24 hours; longer steeping extracts more floral notes.
• Jelly Consistency: Keep an eye on the boiling mixture; it should bubble vigorously and reach a rolling boil to ensure proper gel formation in your Dandelion Jelly.
• Skimming Foam: Don’t skip skimming foam, as this creates a clearer final product, enhancing the visual appeal of your jelly.
• Storage Precision: Always leave 1/4 inch of headspace when filling jars to prevent overflow and ensure a proper seal during the cooling process.
Dandelion Jelly Recipe FAQs
What should I look for when harvesting dandelions?
Absolutely! When harvesting dandelions, ensure you only pick bright yellow flower petals while avoiding any green parts. This guarantees that you’ll get the best flavor for your jelly. Make sure to gather them from areas that haven’t been treated with chemicals. Morning is the ideal time to collect them when they are at their freshest and most vibrant!
How long can I store Dandelion Jelly in the fridge?
Very! Homemade Dandelion Jelly can be stored in the refrigerator for up to 6 months. Just be sure to use airtight containers or properly sealed jars to preserve its delightful flavors. Storing it properly will keep it fresh, ready for you to enjoy whenever you crave that sweet, floral goodness.
Can I freeze Dandelion Jelly?
Absolutely! To freeze your Dandelion Jelly, transfer it to freezer-safe containers, leaving a little space at the top for expansion. It can be stored in the freezer for up to 1 year. When you’re ready to use it, simply thaw it overnight in the refrigerator. This preserves its taste, making it just as delightful as when you first made it!
What should I do if my Dandelion Jelly doesn’t set?
If your jelly doesn’t set as you expected, don’t be discouraged! You can reprocess it. Simply pour the jelly back into a pot, add another package of Certo Liquid Fruit Pectin, and bring it back to a rolling boil for 1-2 minutes while stirring. Make sure to follow all the initial steps again for an optimal texture. This will help it achieve that perfect jelly-like consistency you’re aiming for!
Is Dandelion Jelly safe for pets or those with allergies?
Very! Dandelion jelly is generally safe for pets but always check with a vet before sharing homemade treats. If someone in your household has allergies, it’s wise to check for any potential sensitivities to dandelions or other ingredients like pectin or sugar. The natural ingredients in this jelly are also vegan and gluten-free, making it a mindful option for many dietary needs.
Delicious Dandelion Jelly: A Springtime Homemade Delight
Ingredients
Equipment
Method
- Harvest 2 cups of fresh dandelion petals, using only the bright yellow parts.
- Place the petals in a heat-proof bowl and pour 2 cups of boiling water over them. Steep for up to 24 hours.
- Strain the dandelion-infused liquid into a large pot, discarding the solid petals.
- Add 1/4 cup lemon juice and 4 cups sugar to the strained liquid, stirring until dissolved.
- Bring the mixture to a rolling boil over medium-high heat and add 1 package of Certo. Boil for 1 more minute.
- Continue boiling for 2 more minutes while stirring constantly.
- Skim off any foam that develops on the surface of the jelly.
- If desired, stir in yellow food coloring to enhance the jelly's color.
- Pour hot jelly into sterilized jars, leaving 1/4 inch headspace.
- Seal jars and allow to cool at room temperature for 24 hours.