
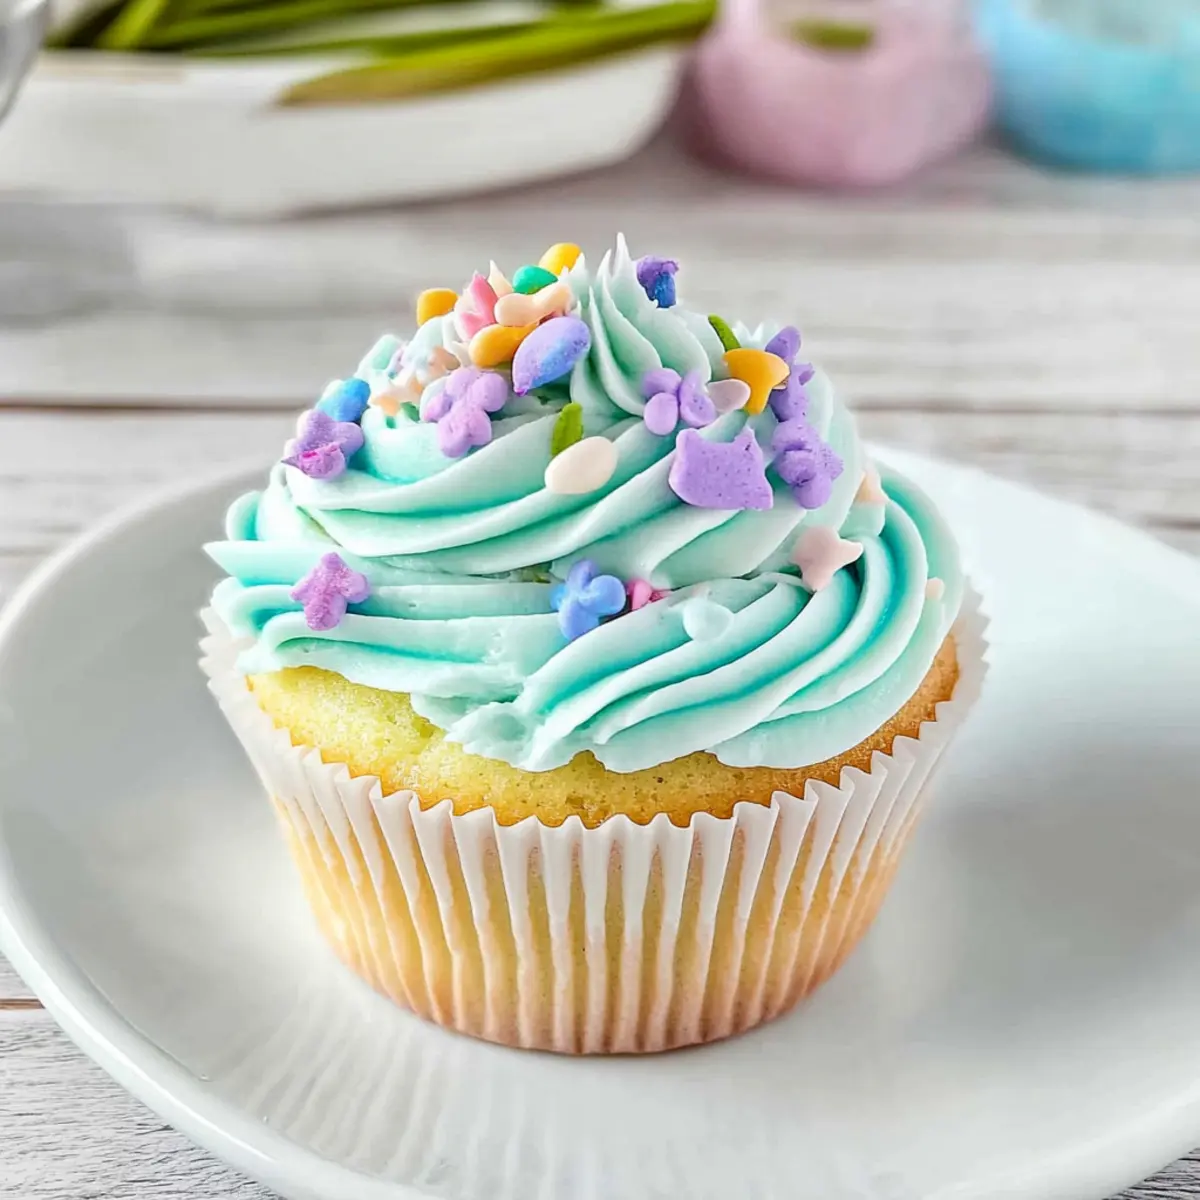
“Is that vanilla I smell?” I overheard a friend ask as I whipped up a batch of gluten-free vanilla cupcakes in my kitchen. The anticipation of spring filled the air, and these delightful treats were the perfect companion for the season’s celebrations. With a tender, fluffy texture and an enticing sprinkle of pastel frosting, these Gluten-Free Vanilla Cupcakes not only please the eye but also cater to those looking for comforting desert options that are free of gluten and dairy. They’re a breeze to make, making them ideal for both novice bakers and seasoned culinary enthusiasts. Whether you’re crafting them for a special occasion or simply indulging in a little sweetness at home, these cupcakes are sure to bring smiles to everyone at the table. Curious about how to make these irresistible treats your own? Let’s get started!
Why Make Gluten-Free Vanilla Cupcakes?
Irresistible Flavor: These cupcakes deliver a classic vanilla taste that everyone loves, making them the perfect dessert for any celebration.
Easy to Bake: With simple ingredients and a straightforward process, they’re great for bakers of all levels.
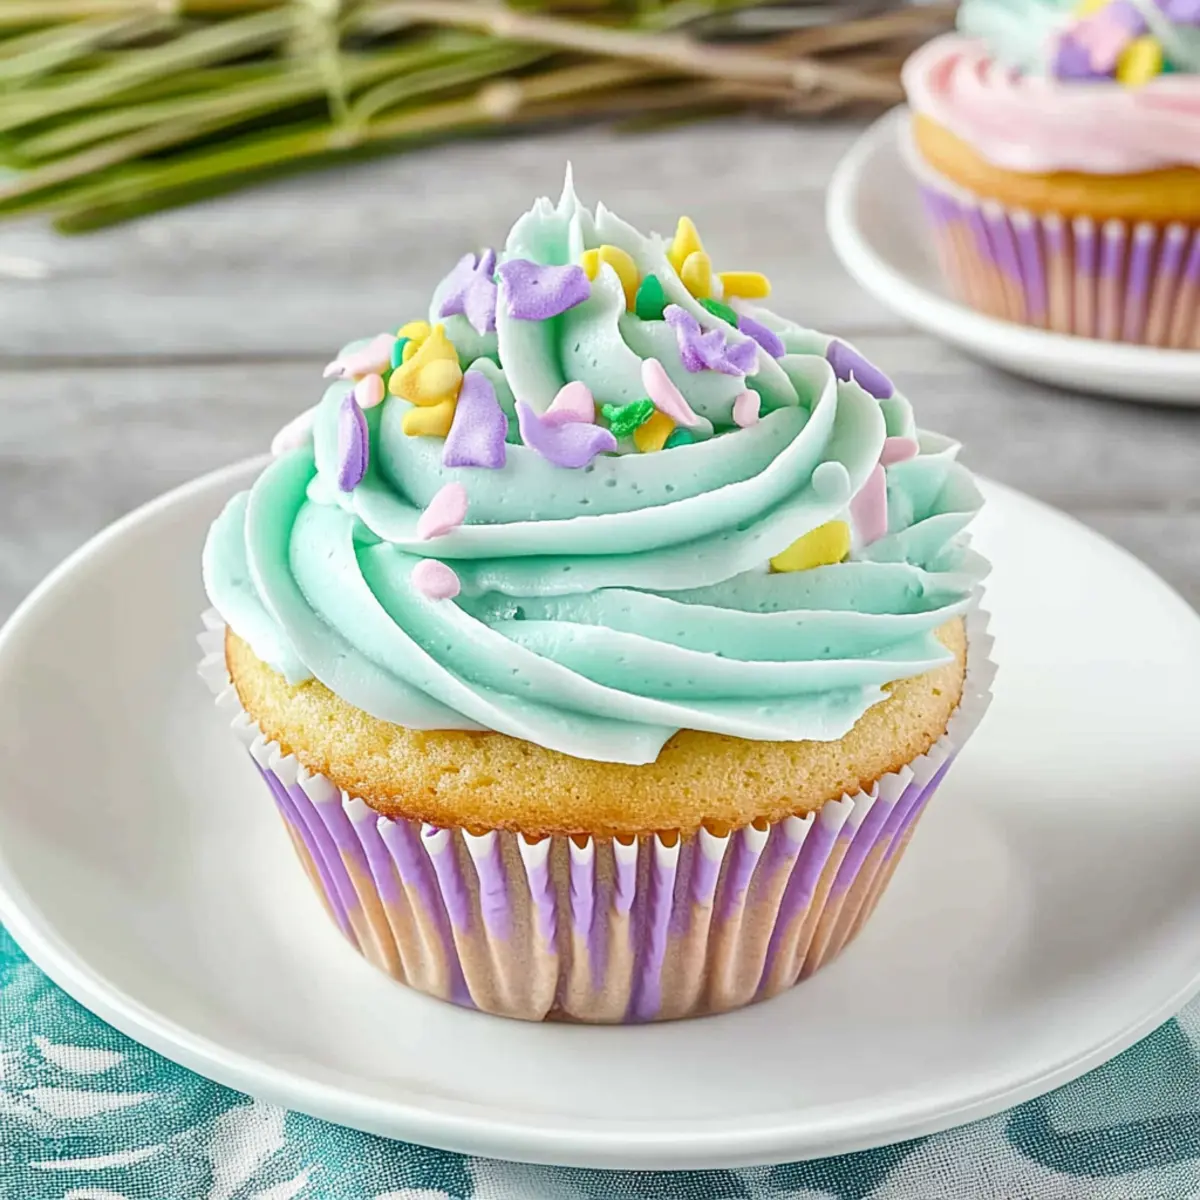
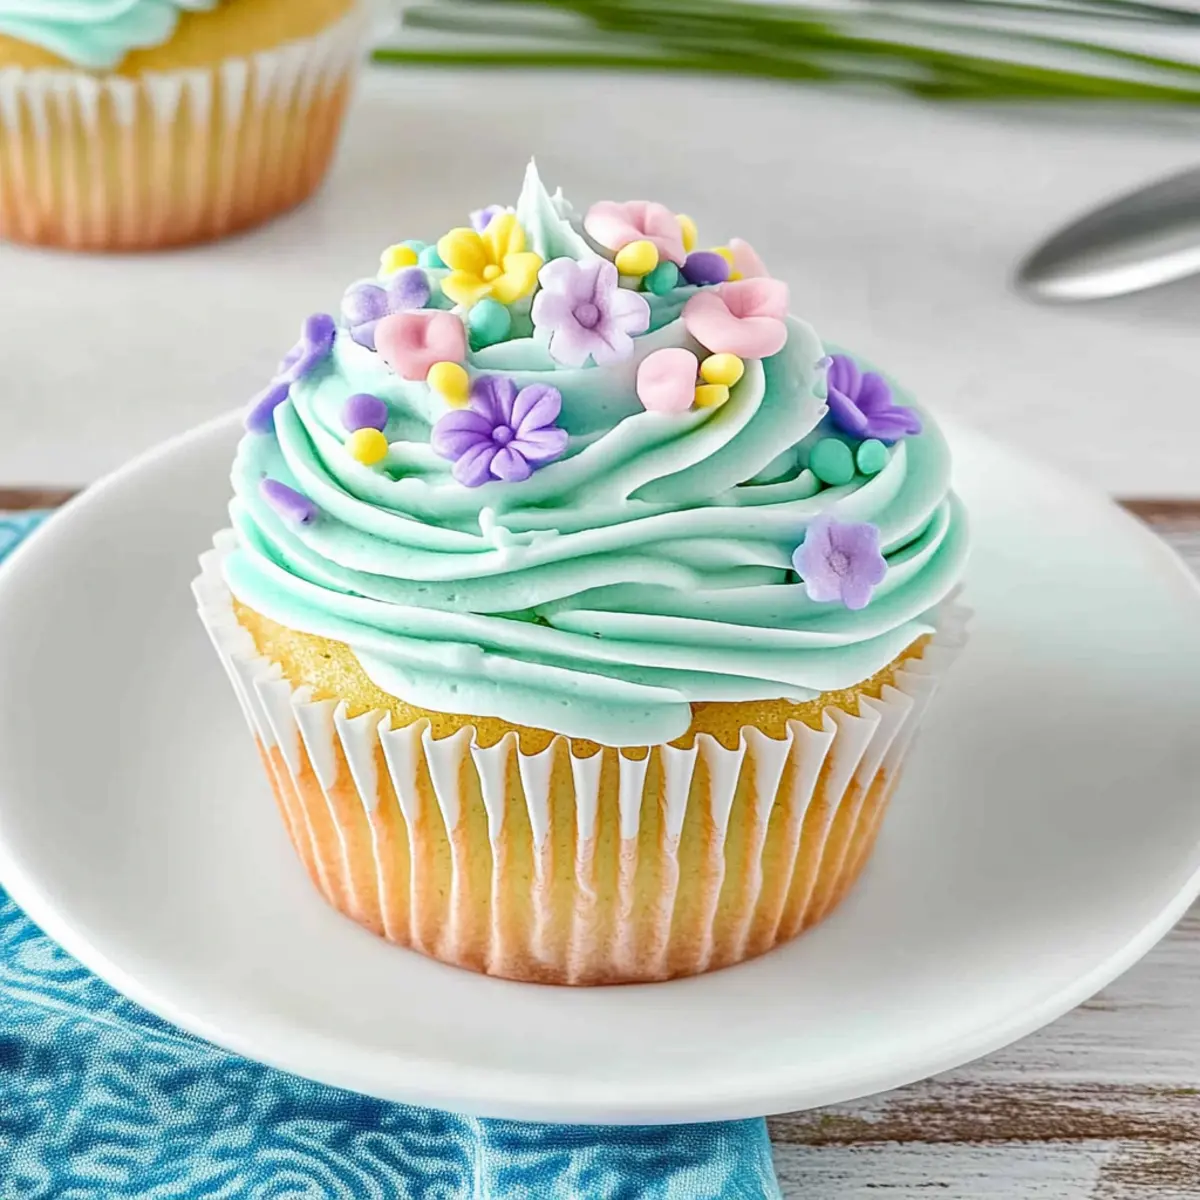
Decorative Delight: Customize with colorful frosting and edible flowers for a stunning presentation at your next gathering.
Diet-Friendly: Consciously crafted, these cupcakes are both gluten-free and dairy-free, ensuring all your guests can indulge without worries.
Versatile Options: Feel free to experiment by adding chocolate chips or fruit purees to switch things up! Additionally, these delightful treats pair wonderfully with a fresh fruit salad or a side of Raspberry Cookies Sweet, enhancing your dessert spread.
Gluten-Free Vanilla Cupcake Ingredients
For the Cupcakes
• Avocado Oil – Provides moisture and richness; substitute with any neutral oil like sunflower or canola.
• Granulated Sugar – Adds sweetness and aids in texture; coconut sugar can be used but may alter the cupcake’s texture slightly.
• Eggs (2 large) – Essential for structure and fluffiness; for a vegan option, use flax eggs or aquafaba.
• Gluten-Free All-Purpose Flour Blend (1 ¼ cups) – Gives structure to the cupcakes; choose a blend with xanthan gum for best results.
• Salt (¼ teaspoon) – Enhances flavor; no substitutes needed.
• Baking Powder (1 ¾ teaspoons) – Provides necessary leavening; ensure it’s gluten-free for a successful rise.
• Plant-Based Milk (½ cup) – Adds moisture; coconut or almond milk can serve as alternatives.
• Vanilla Extract (2 teaspoons) – Imparts the rich vanilla flavor; vanilla bean paste can enhance the flavor profile even further.
For the Frosting
• Plant-Based Butter (½ cup) – Used to create a creamy frosting; Earth Balance works well, or use coconut cream for vegan frosting.
• Powdered Sugar (3 cups) – Sweetens and thickens the frosting; erythritol can be used as a low-sugar alternative.
• Plant-Based Milk (2 tablespoons) – Adjusts the frosting consistency; add more if you prefer a runnier frosting.
• Food Coloring/Sprinkles – Optional for decoration; adds a fun, vibrant touch to your cupcakes.
These gluten-free vanilla cupcakes are a delightful way to celebrate any occasion while catering to dietary preferences. Enjoy!
Step‑by‑Step Instructions for Gluten-Free Vanilla Cupcakes
Step 1: Preheat and Prepare
Preheat your oven to 350°F (180°C) while lining a muffin tin with paper liners to make the baking process seamless. This will ensure your Gluten-Free Vanilla Cupcakes rise beautifully. As the oven heats, gather all your ingredients for easy access, creating a tidy workspace that will help your baking adventure flow smoothly.
Step 2: Mix the Wet Ingredients
In a spacious mixing bowl, whisk together the avocado oil and granulated sugar until you achieve a smooth, glossy mixture, which should take about 1-2 minutes. The combination should feel creamy and look well-blended, laying the foundation for your cupcakes’ tender texture. Take a moment to enjoy the sweet aroma as you add the eggs and beat them in until the mixture appears slightly fluffy.
Step 3: Combine the Dry Ingredients
In a separate bowl, combine the gluten-free all-purpose flour blend, salt, and baking powder. Gently mix the dry ingredients to ensure even distribution. Gradually fold in the plant-based milk and vanilla extract, mixing until just combined. Avoid overmixing to preserve the light, fluffy texture that makes these Gluten-Free Vanilla Cupcakes so delightful, stopping when no dry flour remains.
Step 4: Fill the Liners
Spoon the prepared batter into the lined cupcake liners, filling each about two-thirds full to allow room for rising. This will give your cupcakes a nice dome shape as they bake. Use a small ice cream scoop or two spoons for even distribution, ensuring that each cupcake receives a generous amount of batter for a perfect end result.
Step 5: Bake to Perfection
Pop the cupcake-filled muffin tin into the preheated oven and bake for 18-20 minutes. You’ll know they are done when the edges turn a lovely golden brown, and the centers spring back lightly when touched. While they bake, your kitchen will be filled with an irresistible vanilla scent, making it hard to resist anticipating the delicious treats that await.
Step 6: Cool and Transfer
Once baked, remove the muffin tin from the oven and let it cool for 5 minutes. After they have slightly cooled, gently transfer the cupcakes to a wire rack to cool completely. This step is crucial for allowing the cupcakes to settle in their fluffy glory, creating the perfect canvas for your spring frosting.
Step 7: Prepare the Frosting
For the frosting, in a mixing bowl, beat the plant-based butter and vanilla extract until smooth and creamy, which should take about 2-3 minutes. Gradually mix in the powdered sugar and plant-based milk, adjusting the amount of milk as needed to reach your desired spreadable consistency. Taste and adjust sweetness to your liking for those dreamy Gluten-Free Vanilla Cupcakes.
Step 8: Frost and Decorate
Once the cupcakes have cooled completely, generously frost each with your prepared frosting using a piping bag or an offset spatula. Feel free to get creative with sprinkles or edible flowers for a delightful finishing touch, turning each cupcake into a festive masterpiece perfect for any spring celebration.
What to Serve with Gluten-Free Vanilla Cupcakes?
Treat yourself and your guests to a delightful spring feast that beautifully complements these fluffy, sweet cupcakes.
-
Fresh Fruit Salad: A vibrant mix of seasonal fruits balances the sweetness, adding freshness and color to your dessert table.
-
Herbal Tea: A soothing chamomile or mint tea pairs wonderfully with the vanilla flavor, enhancing the whole experience.
-
Coconut Whipped Cream: This light and airy topping offers a creamy contrast, making each bite of the cupcakes even more indulgent.
-
Chocolate-Dipped Strawberries: The rich chocolate and sweet strawberries create a delightful flavor combination that guests will love.
-
Lemonade or Iced Tea: Bright, citrusy drinks refresh the palate and add a celebratory touch, perfect for spring gatherings.
-
Chocolate Chip Cookies: Adding a classic favorite like cookies creates a comforting dessert spread guests will dive into joyfully.
This array of pairing options will create a cozy atmosphere, making your gathering memorable and satisfying!
How to Store and Freeze Gluten-Free Vanilla Cupcakes
Room Temperature: Store cupcakes in an airtight container at room temperature for up to 2 days to maintain their fluffy texture and flavor.
Fridge: For extended freshness, refrigerate cupcakes for up to 5 days. Ensure they are covered well to prevent drying out.
Freezer: Freeze gluten-free vanilla cupcakes without frosting for up to 3 months. Wrap each cupcake tightly in plastic wrap before placing them in a freezer bag.
Reheating: To enjoy frozen cupcakes, allow them to thaw at room temperature, then warm them briefly in the microwave for about 10 seconds for a delightful fresh taste.
Make Ahead Options
These Gluten-Free Vanilla Cupcakes are perfect for meal prep enthusiasts! You can mix the batter up to 24 hours in advance, storing it in an airtight container in the refrigerator to maintain freshness. For even more convenience, bake the cupcakes ahead of time and store them at room temperature for up to 2 days or refrigerate them for up to 5 days; just ensure they’re in an airtight container to keep them moist. When ready to serve, frost the cooled cupcakes just before your gathering to keep the frosting fresh and vibrant. This way, you’ll have delightful, homemade treats ready with minimal effort, bringing joy to your busy weeknights!
Expert Tips for Gluten-Free Vanilla Cupcakes
- Room Temperature Ingredients: Make sure all ingredients are at room temperature for optimal blending, leading to lighter, fluffier Gluten-Free Vanilla Cupcakes.
- Avoid Overmixing: Gently fold in the dry ingredients to prevent dense cupcakes; overmixing can ruin their delicate texture.
- Check Oven Temperature: Ovens can vary, so start checking for doneness a few minutes early to avoid overbaking and drying out the cupcakes.
- Cool Completely: Allow cupcakes to cool fully before frosting to prevent melting and ensure the perfect frosting consistency.
- Experiment with Flavors: Don’t hesitate to swap vanilla for lemon or almond extract for delightful variations that keep your cupcakes exciting!
Gluten-Free Vanilla Cupcake Variations
Feel free to unleash your creativity and customize these delightful cupcakes to suit your tastes!
- Lemon Zest: Add the zest of one lemon to the batter for a bright, citrusy twist that pairs perfectly with the vanilla.
- Almond Extract: Substitute vanilla extract with almond extract for a delightful nutty flavor that’s simply irresistible.
- Chocolate Chips: Fold in dairy-free chocolate chips into the batter for a decadent surprise in each bite of your cupcakes.
- Fruit Purees: Mix in fruit purees like raspberry or strawberry for a lively flavor infusion. These options add a beautiful color and taste that’s refreshing.
- Frosting Flavors: Experiment with different frosting flavors by adding vanilla bean paste or cocoa powder for a rich chocolate twist. Each variation brings a new level of delightful sweetness.
- Sprinkles & Edible Flowers: Decorate with colorful sprinkles or fresh edible flowers to make these cupcakes perfect for any occasion. Not only do they look pretty, but they also add a touch of spring to your dessert table!
- Dairy-Free Cream Cheese Frosting: For a tangy twist, make a dairy-free cream cheese frosting using coconut cream or cashew cream as a base. It adds a creamy, luscious touch to your cupcakes.
- Spiced Variations: Add a pinch of cinnamon or nutmeg to the batter for a warm, comforting flavor that pairs beautifully with the vanilla.
With so many variations to explore, your Gluten-Free Vanilla Cupcakes can transform into an array of delightful treats any time you whip them up, just like how delightful Raspberry Cookies Sweet can brighten up your dessert tray!

Gluten-Free Vanilla Cupcakes Recipe FAQs
How do I choose the right gluten-free flour blend?
Absolutely! When selecting a gluten-free flour blend for your cupcakes, look for one that includes xanthan gum, as it helps create the structure needed for light, fluffy results. I often use blends specifically labeled for baking, as they combine various flours to achieve the best texture. Avoid single flours like almond or coconut on their own unless you’re comfortable experimenting, as they can yield dense cupcakes.
What’s the best way to store my gluten-free vanilla cupcakes?
For optimal freshness, store your cupcakes in an airtight container at room temperature for up to 2 days. If you want them to last longer, refrigerate for up to 5 days. Just make sure they’re well-covered to avoid drying out. I recommend adding a slice of bread to the container to help keep them moist!
Can I freeze gluten-free vanilla cupcakes?
Yes, you can freeze your gluten-free vanilla cupcakes! To do this, wrap each cupcake tightly in plastic wrap after they have cooled completely, and then place them in a freezer bag. They can be frozen without frosting for up to 3 months. When you’re ready to enjoy, thaw them in the fridge overnight or at room temperature for a sweet treat that’s just like fresh!
What should I do if my cupcakes don’t rise properly?
If your cupcakes didn’t rise, it could be due to the leavening agent not being fresh. Baking powder loses potency over time, so always check the expiration date before using it. Also, ensure you’re not overmixing the batter, as that can lead to dense cupcakes. If they’re still flat, another tip is to fill the cupcake liners only to about two-thirds full for the best dome shape.
Are there any allergens I should be aware of with these cupcakes?
Very! This recipe is gluten-free and dairy-free, making it a great option for those with specific dietary restrictions. However, keep in mind that ingredients like plant-based butter and almond milk may contain allergens. Always check labels and consult with guests regarding their allergies before serving. Additionally, if you’re baking for pets, ensure none of your substitutions are harmful to them.
How can I modify these cupcakes for a vegan option?
To make your gluten-free vanilla cupcakes vegan, simply replace the 2 large eggs with flax eggs or aquafaba. For flax eggs, combine 1 tablespoon of ground flaxseed with 3 tablespoons of water; let it sit for 5 minutes to thicken. This substitution works beautifully and keeps your cupcakes moist while staying plant-based!
Irresistible Gluten-Free Vanilla Cupcakes for Every Celebration
Ingredients
Equipment
Method
- Preheat your oven to 350°F (180°C) and line a muffin tin with paper liners.
- In a mixing bowl, whisk together the avocado oil and granulated sugar until smooth, then add the eggs and mix until fluffy.
- In another bowl, combine gluten-free flour blend, salt, and baking powder, then fold in plant-based milk and vanilla until just combined.
- Spoon the batter into the liners, filling each about two-thirds full.
- Bake for 18-20 minutes until golden and centers spring back when touched.
- Let the cupcakes cool for 5 minutes in the tin, then transfer to a wire rack.
- For the frosting, beat plant-based butter and vanilla until smooth, mix in powdered sugar and milk to desired consistency.
- Frost cooled cupcakes and decorate with sprinkles or edible flowers to serve.