
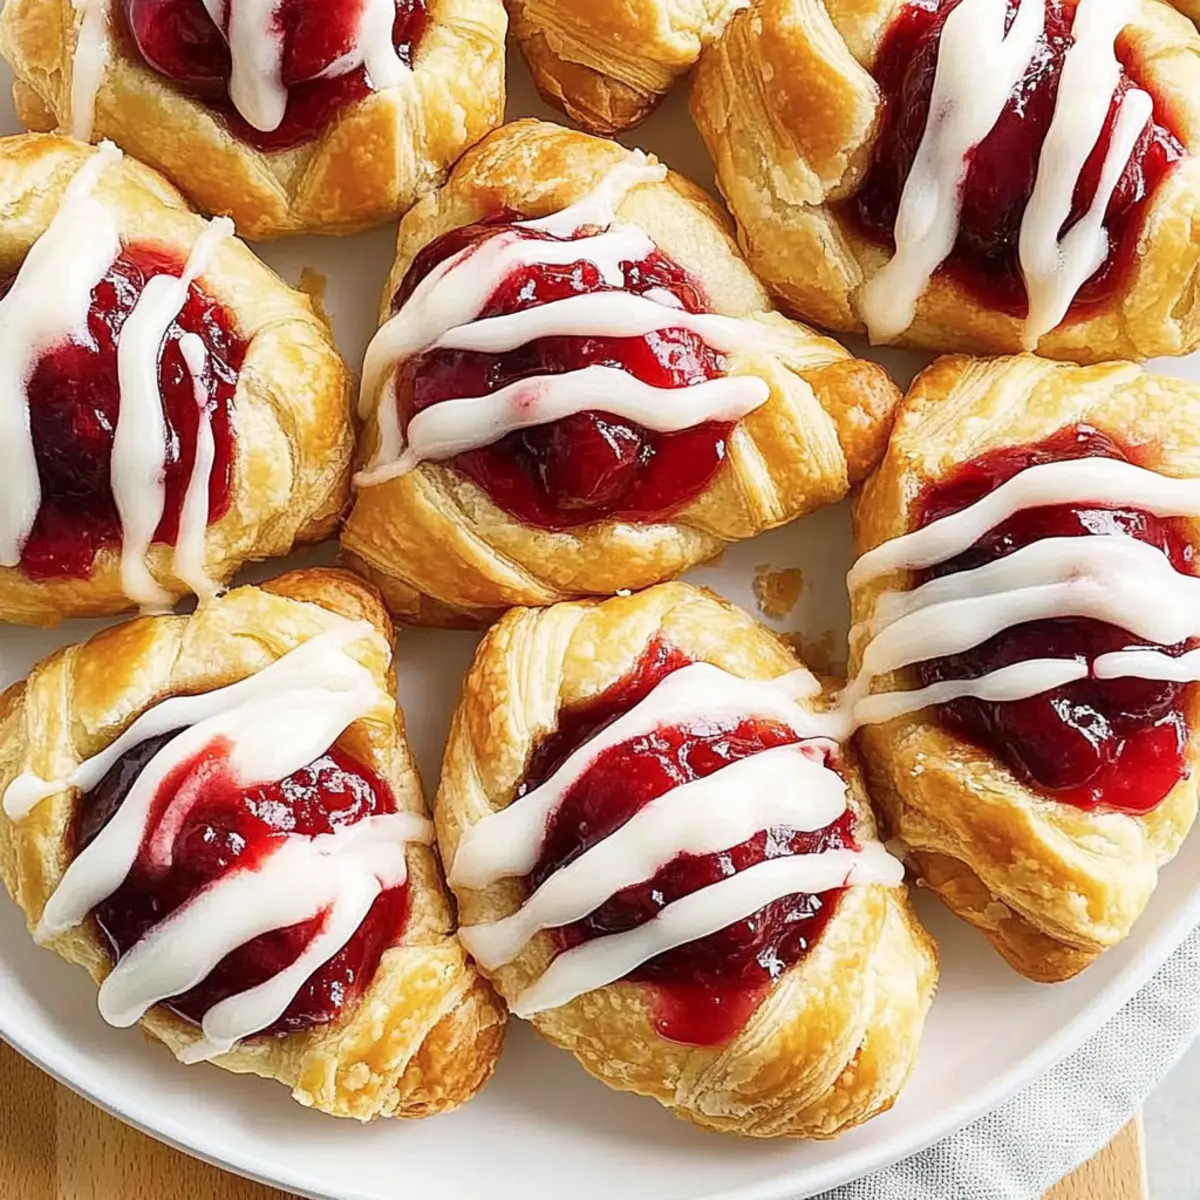
“Just wait until you try these homemade cherry Danishes—your kitchen will be filled with sweetness and warmth!” That’s what I thought as I pulled my first batch from the oven, the glossy cherry filling glistening invitingly. With a perfect combination of flaky dough and tangy cherries, these pastry delights are a treat for any occasion, whether it’s a leisurely breakfast or a comforting afternoon snack. Best of all, this easy homemade cherry Danishes recipe fits seamlessly into your busy life, requiring minimal hands-on effort thanks to an overnight rise. You can even use store-bought dough to make it even simpler! So, are you ready to unfold a little magic in your baking adventure?
Why is homemade cherry Danish the best?
Convenience at Its Finest: You can prepare these delicious homemade cherry Danishes with minimal effort, thanks to the overnight rise, giving you more time to relax and enjoy your mornings.
Flavor Explosion: The tangy cherry filling paired with a buttery, flaky crust offers a treat that’s hard to resist.
Customizable for All Tastes: Not a fan of cherries? No problem! Substitute with your favorite fillings like blueberries or even cream cheese.
Perfect for Any Occasion: Whether it’s breakfast, brunch, or a sweet treat with your afternoon tea, these pastries easily fit into any setting.
Crowd-Pleaser: Impress family and guests alike with a delightful homemade treat that tastes just like your favorite bakery items! Don’t forget to serve them warm with a cup of coffee or tea for a heavenly experience.
Homemade Cherry Danishes Ingredients
For the Dough
- Active Dry Yeast – A fermentation agent for rising; ensure it’s fresh for the best results.
- Warm 2% Milk – Activates yeast; should be between 110° to 115°F for optimal activation.
- All-Purpose Flour – Provides structure; can substitute with gluten-free flour for a gluten-free version.
- Sugar – Adds sweetness; brown sugar can be used for a deeper flavor.
- Salt – Balances flavors and controls yeast activity; essential for dough strength.
- Cold Butter (cubed) – Creates flaky layers; must be kept cold to maintain texture.
- Warm Half-and-Half Cream – Adds richness and contributes to the dough’s moisture.
- Large Egg Yolks – Enhances dough richness and color; room temperature yolks yield better emulsification.
For the Filling
- Cherry Pie Filling (canned) – Sweet filling for Danishes; can substitute with other fruit fillings (e.g., blueberry, peach).
For the Icing
- Confectioners’ Sugar – Provides sweetness and texture for icing; ensure it’s sifted for smooth consistency.
- Butter – Adds richness to the icing; softened for easy mixing.
- Vanilla Extract – Flavor enhancer; can use almond extract for a different note.
- Dash of Salt – Balances sweetness; a little goes a long way.
- Half-and-Half Cream – Adjusts icing consistency; add more for a thinner icing or less for a thicker one.
Embrace the warm, flaky delight of homemade cherry Danishes that will surely bring happiness to your kitchen!
Step‑by‑Step Instructions for Homemade Cherry Danishes
Step 1: Prepare the Dough
Start by dissolving active dry yeast in warm milk, ensuring the temperature is between 110° to 115°F. In a large mixing bowl, combine all-purpose flour, sugar, and salt. Cut in the cold, cubed butter until the mixture resembles coarse crumbs. Next, mix in the yeast mixture, warm half-and-half, and room-temperature egg yolks to form a sticky dough. Cover the bowl with plastic wrap and refrigerate overnight for the best results.
Step 2: Shape the Danishes
After the dough has chilled overnight, punch it down gently to release air. Divide the dough into four equal portions, rolling each into an 18″ x 4″ rectangle. Cut these rectangles into 1-inch strips. Taking two strips at a time, twist them together, shape the twisted strips into rings, and pinch the ends to secure. Place the shaped Danishes on greased baking sheets, leaving space between each for spreading.
Step 3: Rise
Cover the shaped cherry Danishes with a clean kitchen towel and let them rise in a warm place for about 45 minutes. The dough should double in size during this time, becoming puffy and airy. This crucial step guarantees a light and flaky texture for your homemade cherry Danishes, so be patient and keep the warmth consistent.
Step 4: Bake
Preheat your oven to 350°F. Once the dough has risen beautifully, make a small indentation in the center of each Danish using your fingertip or a wooden spoon handle, which will help contain the cherry filling. Carefully fill each indentation with cherry pie filling. Place the baking sheets in the preheated oven and bake for 14-16 minutes, or until the Danishes are lightly golden brown on top.
Step 5: Prepare the Icing
While the Danishes are baking, prepare the icing by mixing sifted confectioners’ sugar, softened butter, vanilla extract, a dash of salt, and half-and-half cream in a medium bowl. Whisk until the mixture is smooth and you achieve the desired consistency—add more cream for a thinner icing or less for a thicker. This luscious icing will enhance the flavor of your homemade cherry Danishes.
Step 6: Drizzle and Serve
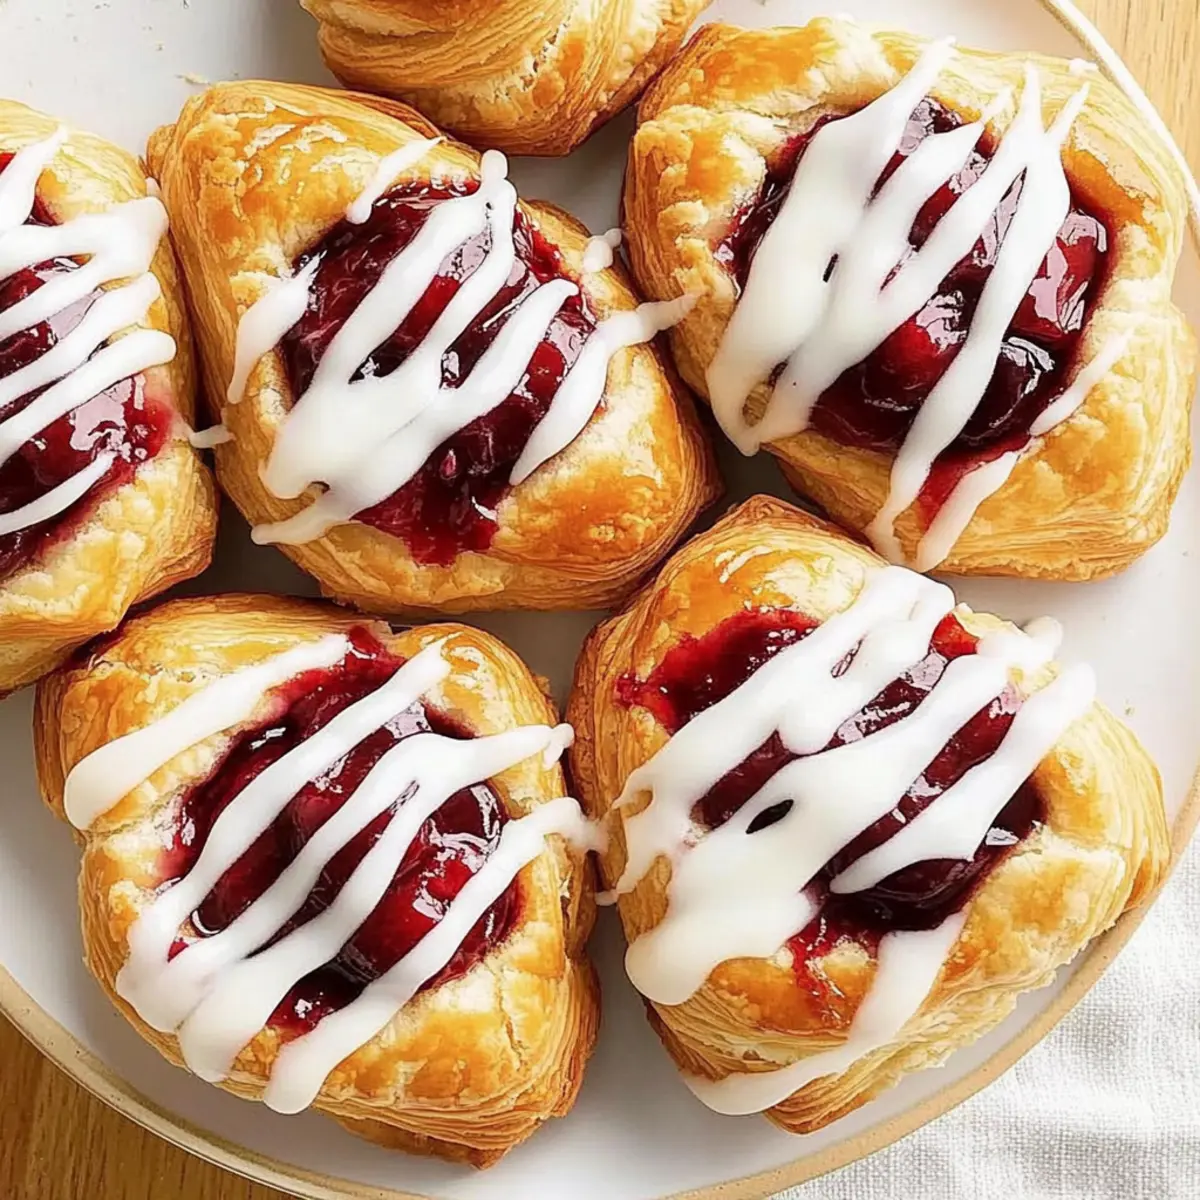
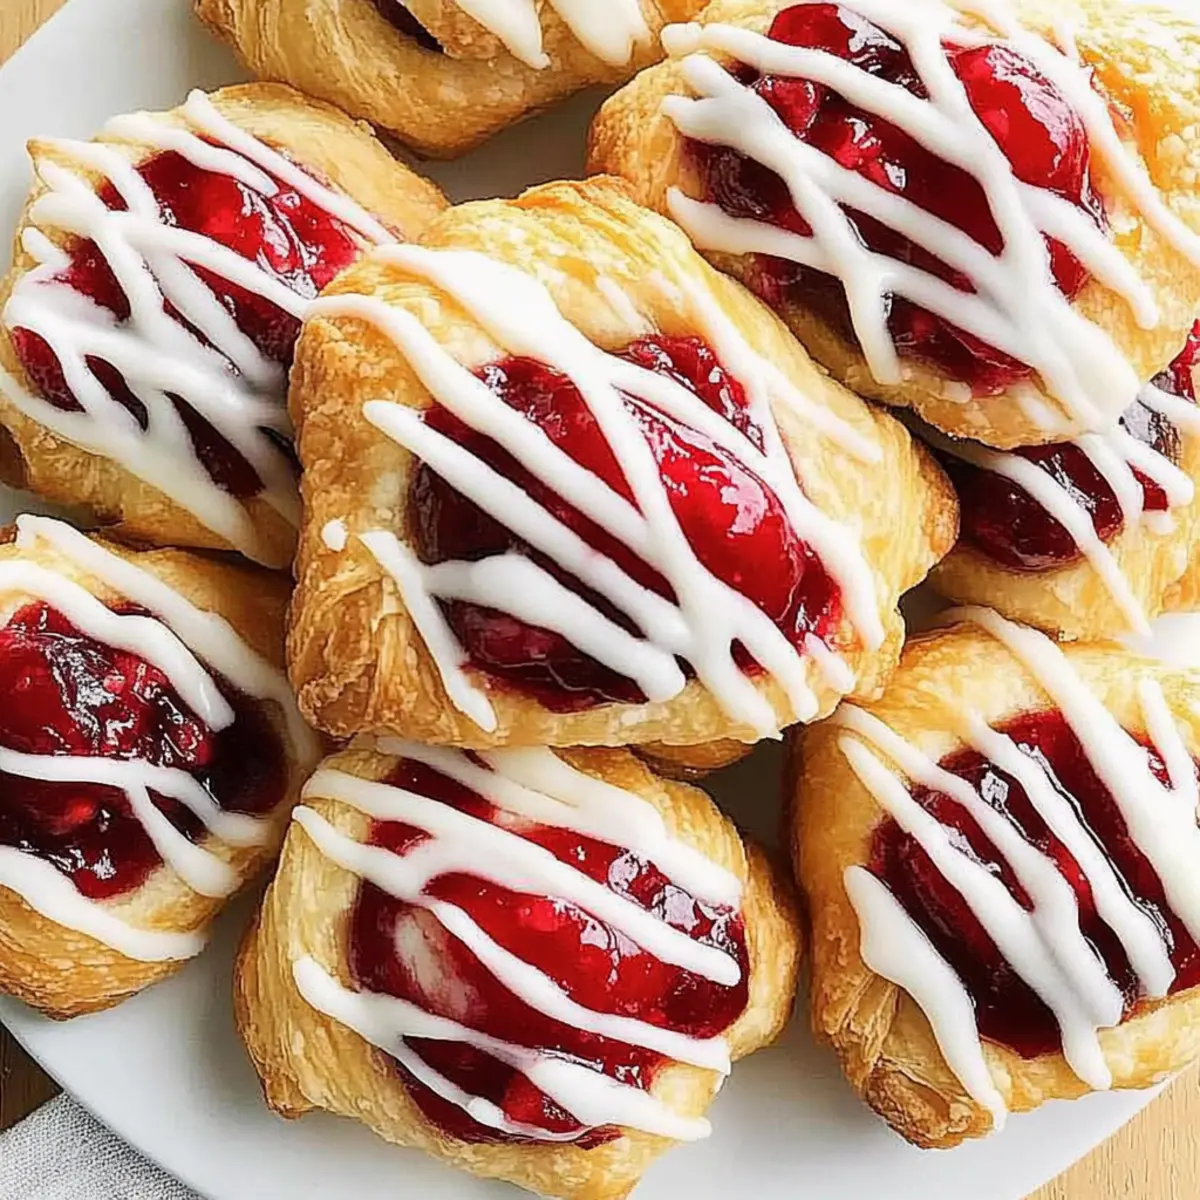
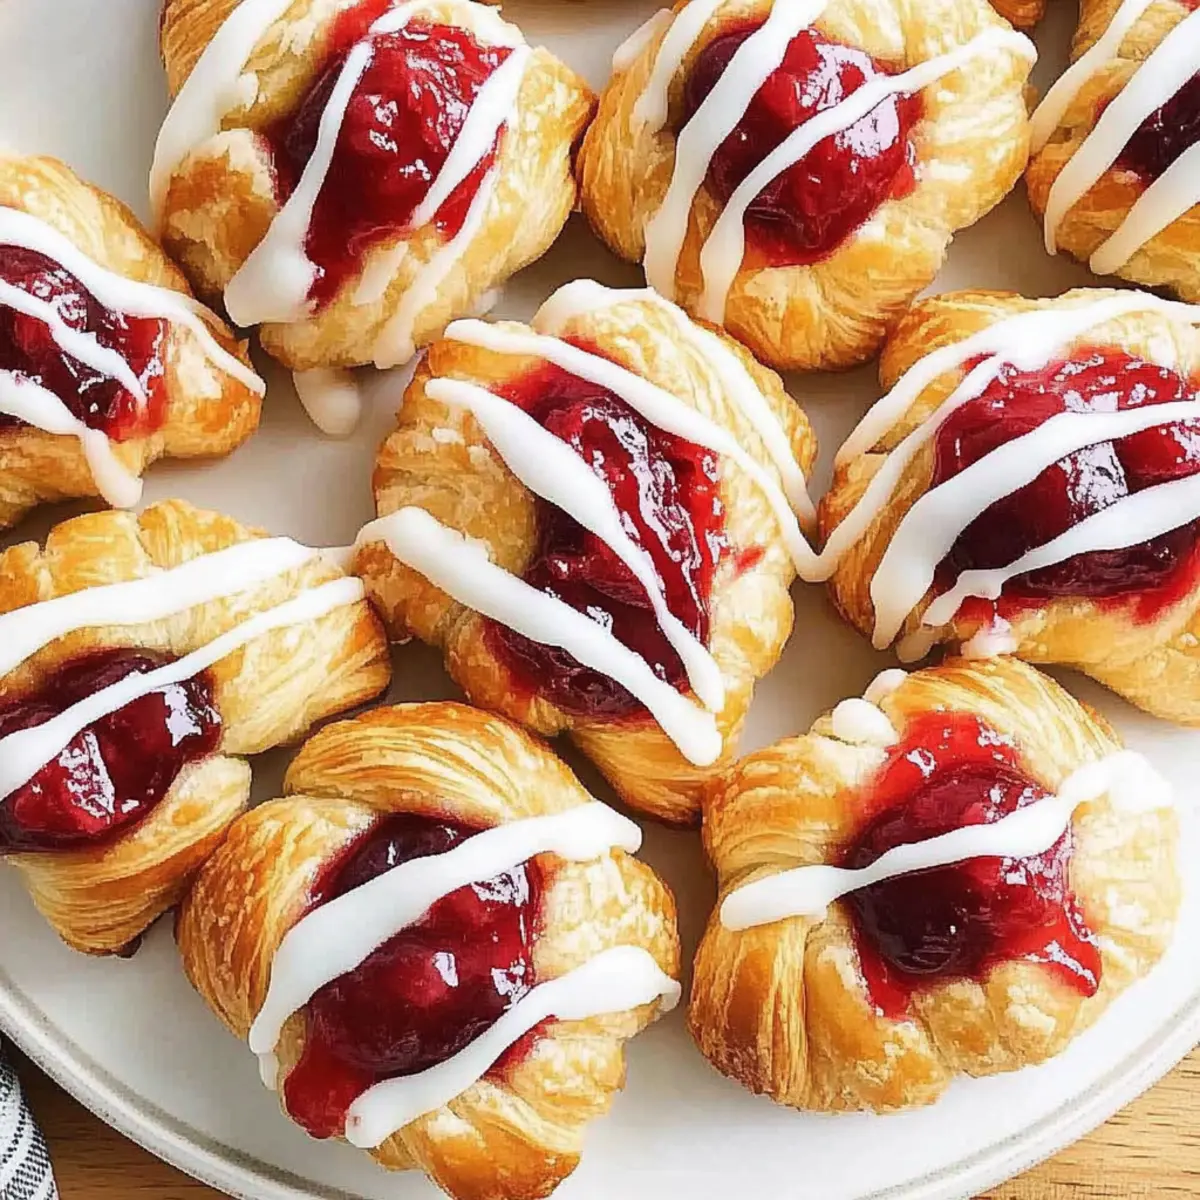
Once baked, remove the cherry Danishes from the oven and allow them to cool on wire racks for a few minutes. Once cooled, drizzle the creamy icing over the top of each Danish. This sweet finish adds an irresistible charm to your pastries, making them perfectly delectable. Serve your homemade cherry Danishes warm with coffee or tea for a delightful treat!
How to Store and Freeze Homemade Cherry Danishes
-
Room Temperature: Store unfrosted Danishes in an airtight container at room temperature for up to 3 days to maintain their flaky texture.
-
Fridge: If not eaten within 3 days, refrigerate the Danishes in an airtight container; they can last up to a week but may lose some flakiness.
-
Freezer: Wrap each Danish individually in plastic wrap and place them in a freezer bag for up to 3 months. Only frost after thawing to keep the icing fresh.
-
Reheating: To enjoy your homemade cherry Danishes again, reheat in a preheated oven at 350°F for about 10 minutes until warmed through.
What to Serve with Homemade Cherry Danishes
Enjoying these delightful pastries can be even more special when paired with the perfect accompaniments!
- Fresh Fruit Salad: A vibrant mix of seasonal fruits brings a refreshing contrast to the rich sweetness of the Danishes, making for a light and healthy balance.
- Rich Coffee or Tea: A steaming cup of your favorite coffee or tea enhances the buttery pastry, creating a cozy, comforting experience for breakfast or afternoon tea.
- Yogurt Parfait: Layering creamy yogurt with granola and berries adds a nutritious twist, complementing the pastry’s sweetness with creaminess and crunch.
- Creamy Scrambled Eggs: Fluffy scrambled eggs provide a protein boost, balancing the sweet pastry and making for a delightful brunch spread.
- Savory Quiche: For a heartier meal, serve a slice of quiche alongside your Danishes to contrast the sweet fruit filling with savory flavors, creating a satisfying brunch option.
- Chocolate Drizzle: Elevate the Danishes with a drizzle of melted chocolate for an indulgent touch that contrasts beautifully with the tangy cherry filling.
- Vanilla Ice Cream: For a decadent dessert option, warm Danishes topped with a scoop of vanilla ice cream create a deliciously irresistible treat!
- Sparkling Water or Lemonade: A refreshing drink like sparkling water or a zesty lemonade cuts through the richness of the Danishes and keeps the palate fresh.
- Honey Butter: Serve warm Danishes with whipped honey butter for an extra layer of flavor; this sweet creaminess adds luxury to every bite.
- Cheese Plate: Pair with mild cheeses like brie or cream cheese to create a cheese board that balances the sweetness with creamy and savory elements.
Expert Tips for Homemade Cherry Danishes
-
Fresh Yeast Is Key: Use fresh active dry yeast to ensure proper dough rise. Old yeast results in dense pastries.
-
Don’t Rush Chilling: Allowing the dough to chill overnight is crucial for creating the flakiness in homemade cherry Danishes. Patience pays off!
-
Indentations Matter: Make even indentations for the cherry filling to prevent overflow while baking. A wooden spoon handle works perfectly for this.
-
Space Them Out: When placing the shaped Danishes on the baking sheet, leave enough room between them to allow for rising and baking without sticking together.
-
Icing Consistency: Adjust the icing’s thickness to your liking by adding more half-and-half for a drizzling sauce, or less for a thicker coating.
-
Experiment with Fillings: Feel free to try different pie fillings like blueberries or peaches if cherry isn’t your favorite. Enjoy the versatility!
Make Ahead Options
These homemade cherry Danishes are perfect for meal prep, allowing you to enjoy bakery-fresh pastries with minimal morning effort! You can prepare the dough up to 24 hours in advance by following the initial steps and refrigerating it overnight. Simply shape the Danishes the night before, cover them tightly, and let them rise for about 45 minutes in a warm area the next morning before baking. Additionally, the cherry filling can be added up to 3 days ahead—just store it in an airtight container in the refrigerator. This way, you’ll have delicious homemade cherry Danishes ready in no time, delivering the same satisfying taste and texture as freshly made treats!
Homemade Cherry Danishes Variations
Feel free to personalize your homemade cherry Danishes with these delightful twists or substitutions!
-
Berry Bliss: Swap out cherry pie filling for blueberries or strawberries to create a fruity explosion. The sweetness of berries adds a fresh touch to your pastries.
-
Citrus Twist: Enhance the flavor by mixing lemon or orange zest into the dough. This will infuse your Danishes with a refreshing citrusy aroma that perfectly complements the sweet filling.
-
Cream Cheese Filling: Use a dollop of cream cheese instead of fruit filling for a rich and creamy alternative. Mix it with a bit of powdered sugar for added sweetness.
-
Chocolate Surprise: Drizzle melted chocolate over the finished Danishes or add chocolate chips to the filling for a decadent dessert. Chocolate and cherry are a match made in heaven!
-
Nutty Crunch: Sprinkle chopped nuts, like almonds or walnuts, atop the icing for added texture and crunch. Their richness balances the sweetness beautifully.
-
Spice Things Up: Include a pinch of cinnamon or nutmeg in the dough for a warm, spiced flavor. This cozy addition will make your kitchen smell like a bakery.
-
Gluten-Free Option: Substitute all-purpose flour with a gluten-free blend to enjoy the same delicious taste without the gluten. Ensure your pie filling is also gluten-free.
-
Maple Icing: Replace vanilla with maple extract in your icing for a unique flavor twist. This will add a delightful maple sweetness that pairs well with cherries!
For more enjoyable homemade treats, don’t miss our recipes for delicious Samoa Cookies Homemade or try whipping up something savory like Homemade Ciabatta Rolls. Embrace the creativity and make these cherry Danishes your very own!
Homemade Cherry Danishes Recipe FAQs
What type of cherries should I use for the filling?
Absolutely! For a classic taste, canned cherry pie filling works beautifully. However, if you prefer fresh cherries, just wash and pit them, then toss them with a bit of sugar and cornstarch to thicken. You can also experiment with other fruits like blueberries or peaches for a different flavor!
How should I store leftover Danishes?
I often recommend storing unfrosted cherry Danishes in an airtight container at room temperature for up to 3 days. If you have any left after that time, you can refrigerate them in the same container for up to a week, although they may become slightly less flaky.
Can I freeze my homemade cherry Danishes?
Yes, you can! To freeze them, wrap each Danish individually in plastic wrap and place them in a freezer-safe bag. They will stay fresh for about 3 months. When you’re ready to enjoy them again, simply thaw in the refrigerator overnight and frost them after they’re warmed through.
What should I do if my dough doesn’t rise?
Very! If your dough isn’t rising, it might be due to old yeast. To ensure proper activation, be sure to use warm milk (between 110° to 115°F) when dissolving the yeast. If you suspect your yeast is old, a simple test is to mix a teaspoon of yeast with a teaspoon of sugar and warm water; if it becomes frothy after about 10 minutes, it’s still good to use!
Are there any dietary concerns with these cherry Danishes?
Definitely! If you’re making these pastries for someone with allergies, be mindful of the ingredients. The recipe contains gluten (from the flour) and dairy (in the butter and half-and-half). You can make them gluten-free by using gluten-free flour and opting for dairy-free butter and milk alternatives to cater to those with dietary restrictions. Just feel free to ask for specific substitutes if needed!
How long can I keep my cherry Danishes in the fridge?
For sure! If stored properly in an airtight container, your cherry Danishes can last in the refrigerator for up to a week. However, be aware that they may become less flaky. To reshape them before serving, simply pop them in a warm oven for a few minutes!
Homemade Cherry Danishes That Taste Like Bakery Magic
Ingredients
Equipment
Method
- Dissolve active dry yeast in warm milk. Combine all-purpose flour, sugar, and salt in a bowl. Cut in butter until coarse crumbs. Mix in the yeast mixture, warm half-and-half, and egg yolks to form sticky dough. Cover and refrigerate overnight.
- After chilling, punch down the dough. Divide into four portions, roll each into an 18" x 4" rectangle, and cut into 1-inch strips. Twist two strips together to form rings. Place on greased baking sheets.
- Cover shaped Danishes with a towel and let them rise in a warm place for about 45 minutes until doubled in size.
- Preheat oven to 350°F. Indent centers of each Danish and fill with cherry pie filling. Bake for 14-16 minutes until golden brown.
- Prepare icing by mixing confectioners’ sugar, softened butter, vanilla extract, salt, and half-and-half until smooth. Adjust thickness as desired.
- Once cooled, drizzle icing over Danishes. Serve warm with coffee or tea.