
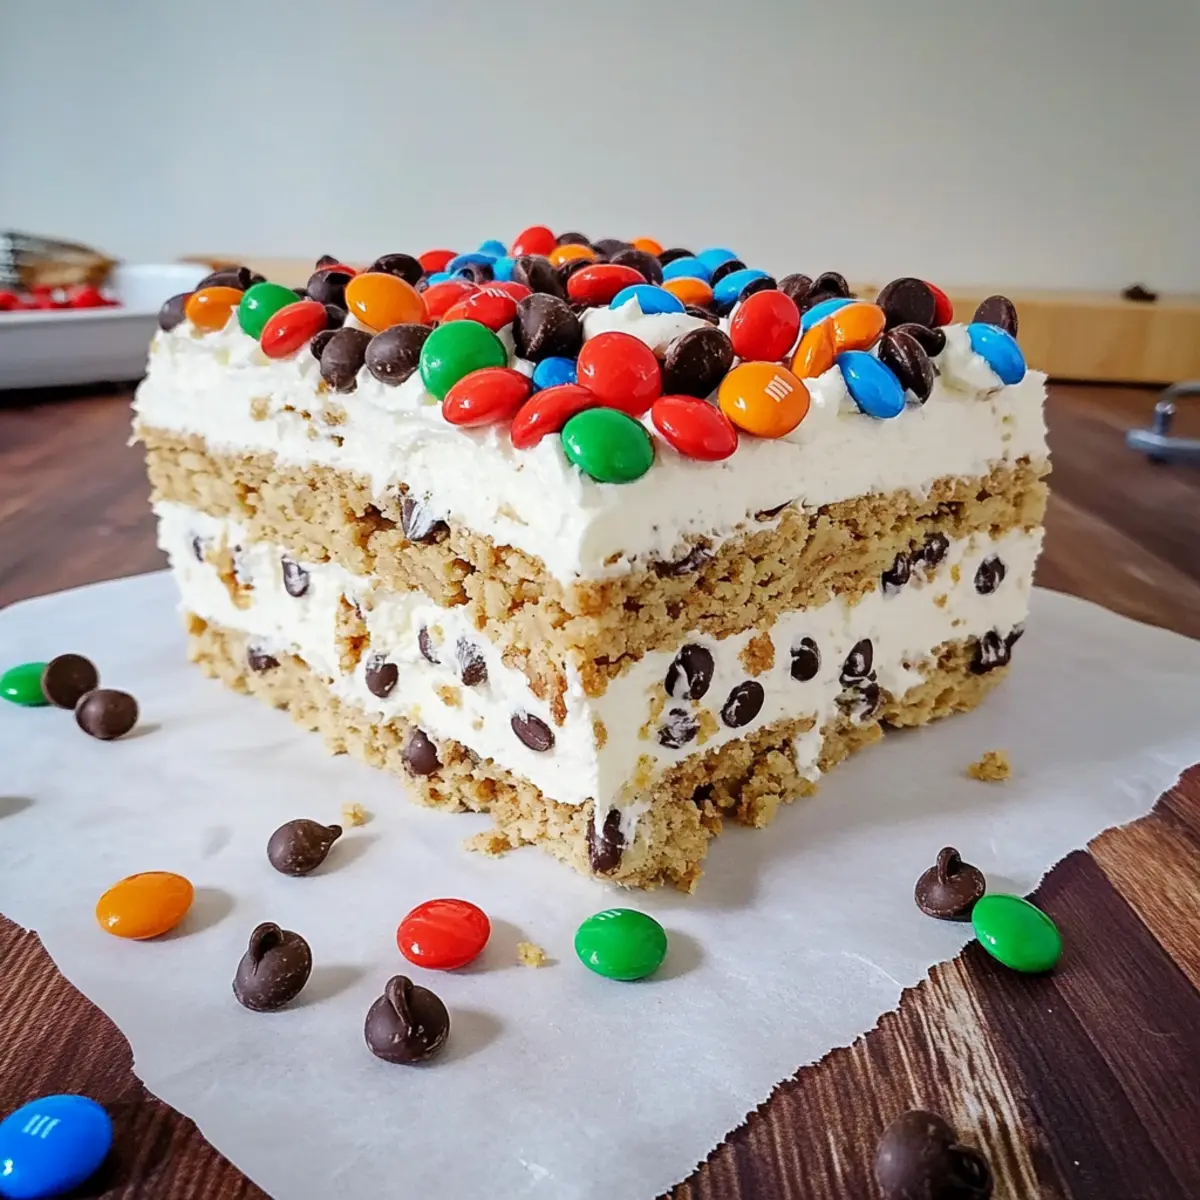
As I stood in my kitchen on a sweltering summer day, the thought of turning on the oven made me wince. That’s when inspiration struck—what if I could create a delightful, no-bake dessert that captures the essence of my favorite childhood cookies? Enter the Monster Cookie Icebox Cake, a creamy marvel layered with peanut butter, chocolate chips, and an unbeatable cookie crunch. In just 10 minutes and with only seven simple ingredients, this indulgent cake brings together flavors that evoke summer gatherings and sweet nostalgia, all while being completely egg-free. It’s the ideal make-ahead treat that will impress at any BBQ or family get-together. Curious about how to whip this cooling treat up? Let’s dive into the delicious details!
Why Is This Cake a Summer Must-Have?
No-Bake Convenience: This Monster Cookie Icebox Cake takes just 10 minutes to prepare, making it a perfect option during hot summer days.
Nostalgic Flavors: Each bite is a delightful throwback to childhood treats, featuring peanut butter, chocolate chips, and cookie goodness.
Egg-Free Delight: Suitable for everyone, the recipe is completely egg-free, making it a guilt-free indulgence for your gatherings.
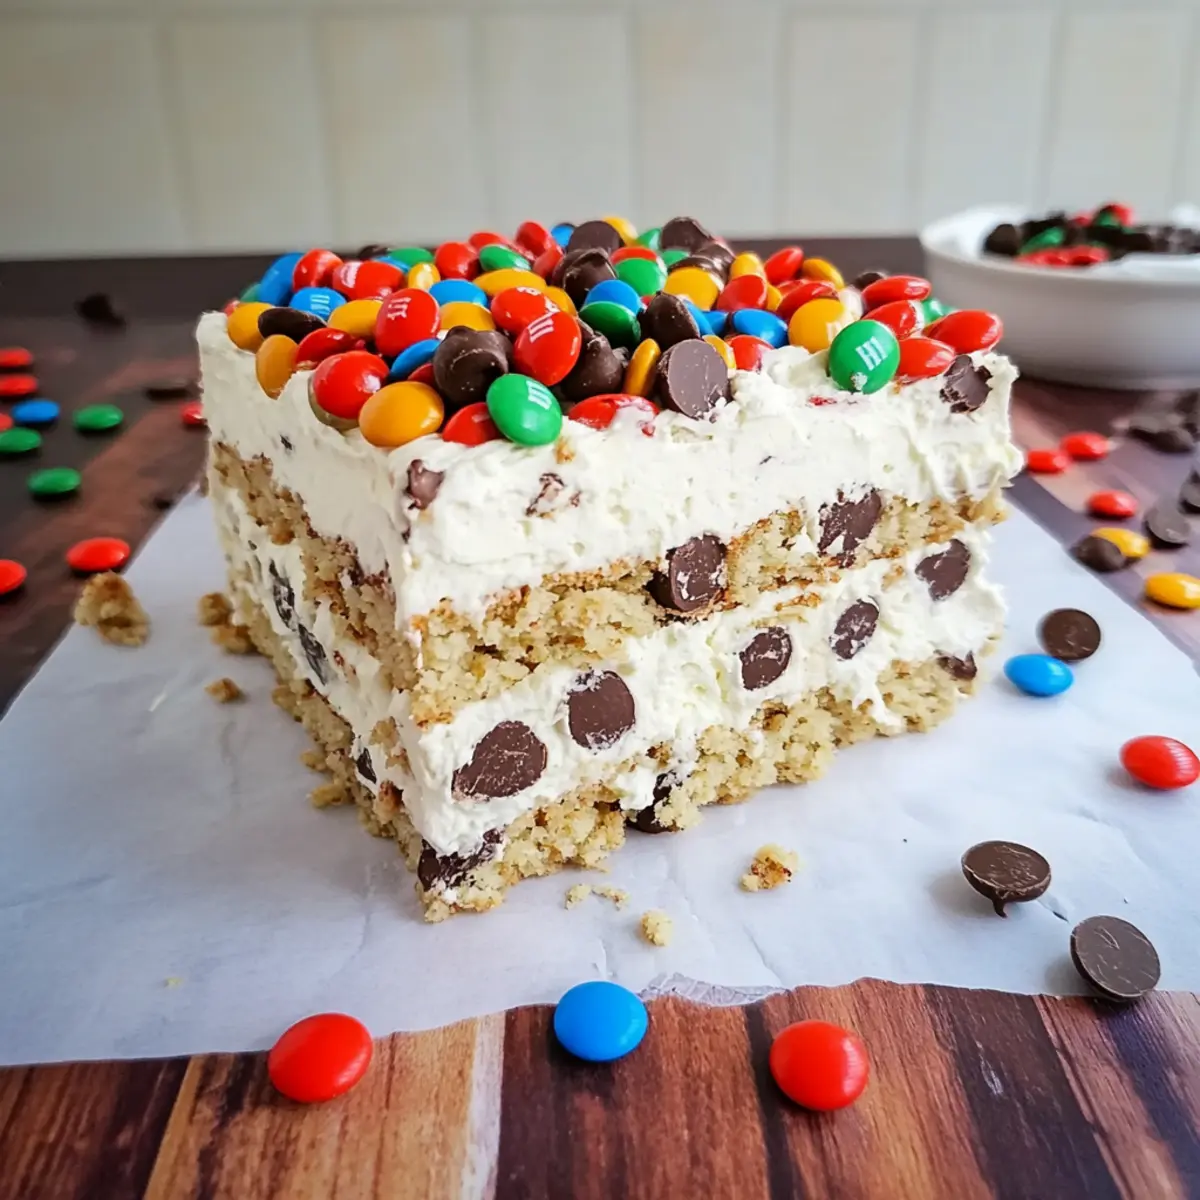
Layered Texture Satisfaction: Enjoy the perfect combination of creamy whipped topping and crunchy cookie layers that will keep everyone coming back for seconds.
Easy Customization: Feeling adventurous? You can easily swap oatmeal cookies for chocolate chip or graham crackers for a new twist.
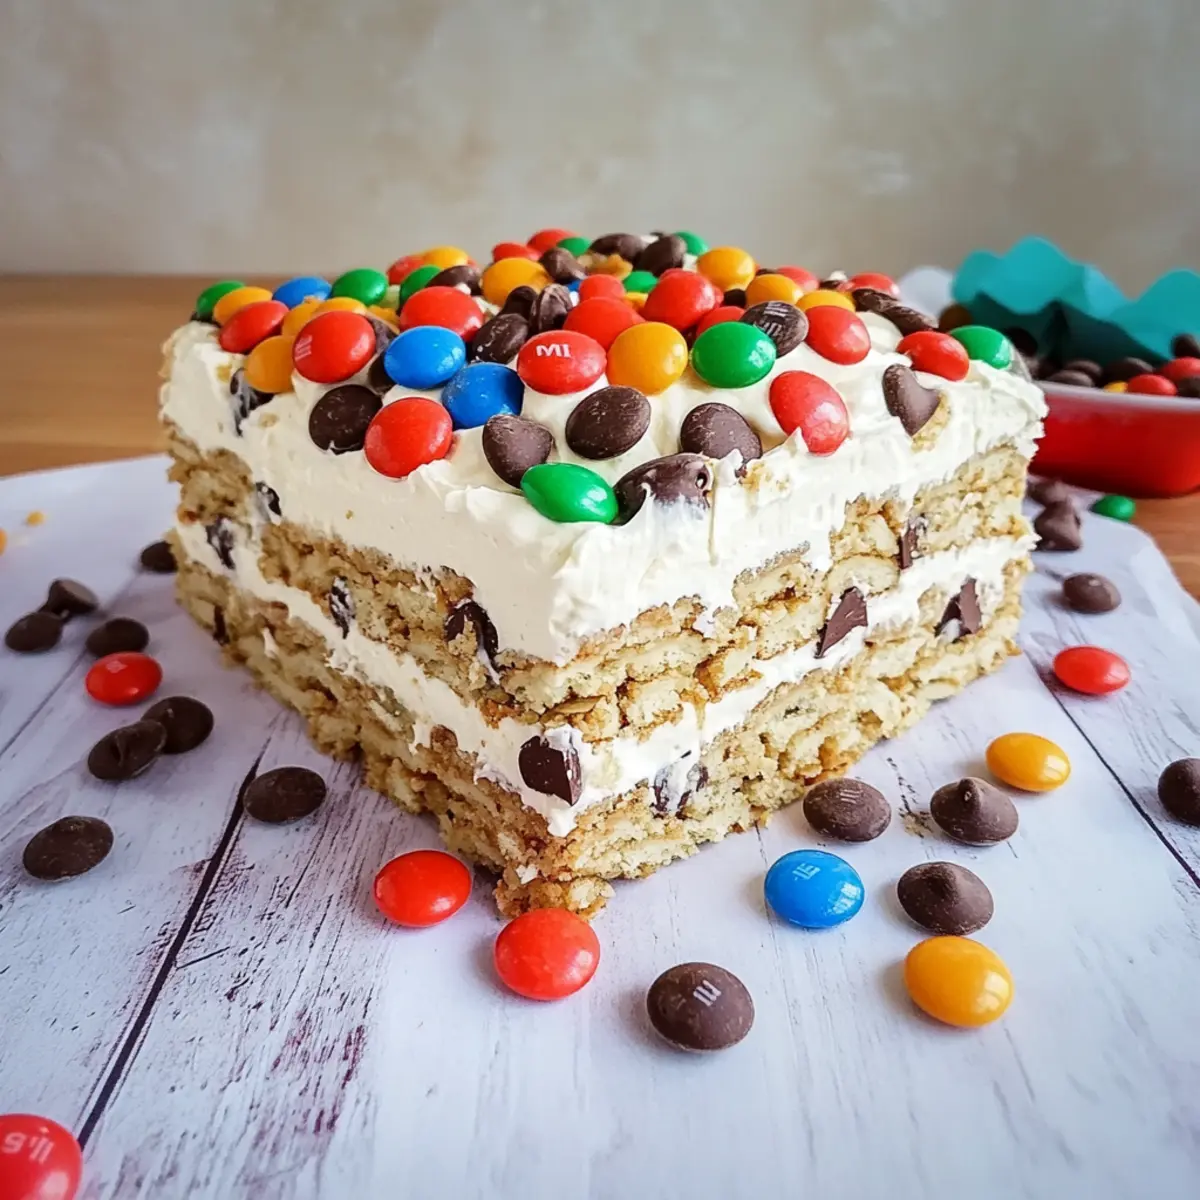
Crowd-Pleasing Appeal: This cake is sure to be a hit at summer BBQs and family events, easily impressing guests with minimal effort. Pair it with a scoop of ice cream or a slice of Cinnamon Roll Cake for the ultimate dessert experience!
Monster Cookie Icebox Cake Ingredients
For the Whipped Cream
• Whipping Cream – Adds a rich, creamy texture; use heavy cream chilled for the best results.
• Icing Sugar – Sweetens and stabilizes the whipped cream; feel free to swap with powdered sugar if needed.
For the Cake Layers
• Creamy Peanut Butter – Provides that signature taste and creaminess; use regular peanut butter for optimal texture.
• Oatmeal Cookies – Forms the cake’s base; about 16 cookies are needed, ensuring they are egg-free for dietary needs.
• Whole Milk – Moistens cookies for easy layering; any milk alternative works if you prefer non-dairy options.
For the Mix-Ins
• Mini Semi-Sweet Chocolate Chips – Adds delightful chocolate flavor; you can substitute with dark chocolate or skip this if preferred.
• Mini M&Ms – Brings sweetness and vibrant color; alternative options can include chopped nuts or other fun candies.
This Monster Cookie Icebox Cake is your no-bake solution for a refreshing summer dessert that everyone will rave about!
Step‑by‑Step Instructions for Monster Cookie Icebox Cake
Step 1: Whip the Cream
Begin by pouring cold heavy whipping cream into a mixing bowl. Using an electric mixer, whip the cream on medium speed until soft peaks form, which should take about 2-4 minutes. Gradually add icing sugar while continuing to whip until the mixture reaches stiff peaks and is fluffy. This creamy base will elevate the delicious flavors of your Monster Cookie Icebox Cake.
Step 2: Incorporate the Peanut Butter
Gently warm your creamy peanut butter in the microwave for about 15-20 seconds, just until it’s slightly pourable, not hot. Fold the peanut butter into the whipped cream with a spatula, mixing slowly until fully combined. The mixture should be smooth and creamy, making it the perfect filling for your layers in the Monster Cookie Icebox Cake.
Step 3: Prepare the Pan
Take a 9×5 loaf pan and line it with cling wrap or parchment paper, extending the edges for easy removal later. This step is crucial for ensuring your Monster Cookie Icebox Cake comes out neatly. Make sure the lining is well-fitted to avoid sticking and to maintain the cake’s shape during assembly.
Step 4: Layer the Cookies
Quickly dip each oatmeal cookie into whole milk, ensuring they’re moistened but not soggy. Lay the dipped cookies in a single layer at the bottom of the prepared loaf pan. This forms the base of your Monster Cookie Icebox Cake, providing a delightful contrast against the creamy filling you will create.
Step 5: Add the Filling
Spread one-third of the peanut butter whipped cream mixture over the first layer of cookies, smoothing it out evenly with a spatula. Sprinkle one-third of the mini semi-sweet chocolate chips and mini M&Ms on top, allowing their sweetness to blend into the cream. This combination of flavors and textures is what makes the Monster Cookie Icebox Cake so irresistible.
Step 6: Repeat the Layers
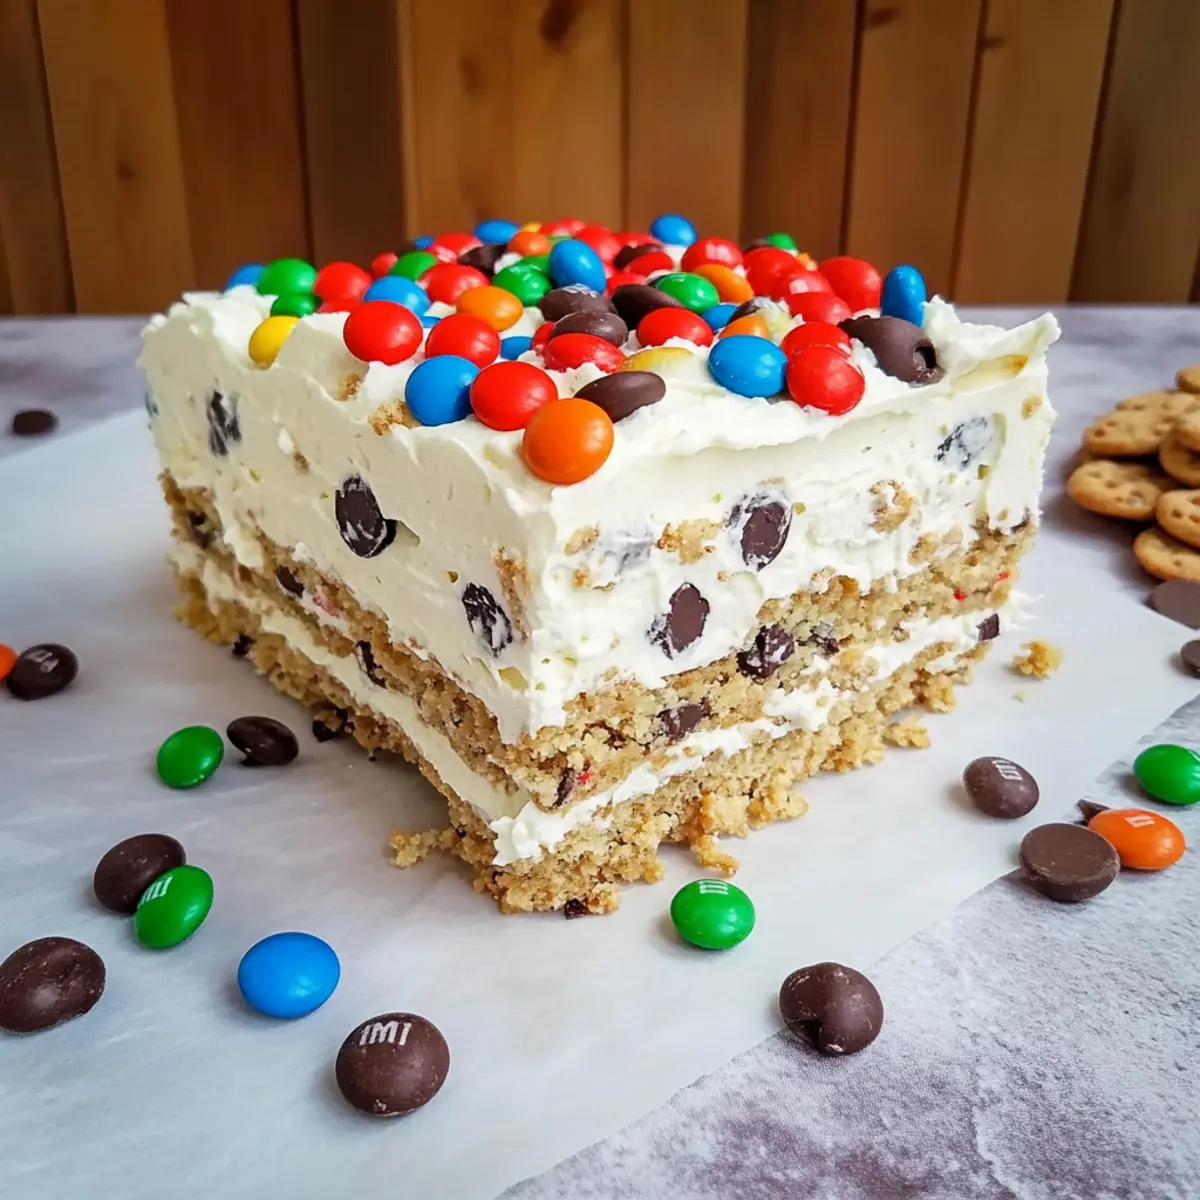
Repeat the layering process two more times, using remaining cookies, peanut butter whipped cream, and the chocolate chips and M&Ms. Ensure each layer is evenly distributed to create a balanced treat. Finish with a final layer of whipped cream on top, which will be the star of your chilled dessert.
Step 7: Refrigerate the Cake
Cover the assembled Monster Cookie Icebox Cake securely with plastic wrap or a lid. Refrigerate the cake for at least 4 hours to set. Alternatively, for a firmer texture, freeze it for about 2 hours. Allowing it to rest ensures the flavors meld beautifully, creating a creamy and dreamy dessert experience.
Step 8: Slice and Serve
After chilling, remove the cake from the pan using the overhanging cling wrap or parchment paper. If frozen, let the cake sit at room temperature for about 5 minutes for easier slicing. Cut with a sharp knife and serve chilled. The layers should look stunning, showcasing the delicious cookies and creamy filling of your Monster Cookie Icebox Cake.
What to Serve with Monster Cookie Icebox Cake
Elevate your dessert experience with delightful sides that complement the rich, creamy layers of your indulgent treat.
-
Vanilla Ice Cream: A classic pairing that adds extra creaminess and balances the cake’s sweetness. The cold, smooth texture contrasts beautifully with the crunchy cookie layers.
-
Fresh Berries: Serve with a handful of mixed berries like strawberries or blueberries for a burst of color and freshness. Their tartness will pop against the sweetness of the cake.
-
Chocolate Sauce: Drizzle warm chocolate sauce over slices of cake for an extra decadent touch. This adds a luscious, gooey element that chocolate lovers will adore.
-
Peanut Butter Drizzle: For peanut butter enthusiasts, a light drizzle of warm peanut butter sauce can enhance the cake’s flavor and create a delightful nutty topping.
-
Homemade Whipped Cream: Keep it simple with a dollop of freshly whipped cream, providing a light and airy contrast that enhances every bite of the cake’s rich layers.
-
Fruit Salad: A colorful mix of seasonal fruits adds a refreshing burst of flavor and a beautiful presentation. It’s a light counterpart that makes your dessert table feel festive.
-
Mint Iced Tea: Serve alongside a glass of cool mint iced tea to refresh your palate. Its subtle sweetness and minty notes make for a lovely pairing on a warm summer day.
-
Lemon Sorbet: For a citrusy counterbalance, consider a scoop of lemon sorbet. Its zingy flavor is perfect for cleansing the palate between bites of the sweet cake.
Expert Tips for Monster Cookie Icebox Cake
- Cold Cream: Ensure your whipping cream is well-chilled before whipping; this helps achieve the perfect fluffy texture for your Monster Cookie Icebox Cake.
- Peanut Butter Warmth: Warm the peanut butter gently and only until it’s pourable, avoiding overheating that can deflate your whipped cream.
- Layering Technique: For a denser cake, adjust the number of cookie layers; more cookies create a rich texture in your Monster Cookie Icebox Cake.
- Soggy Cookies: Dip oatmeal cookies briefly in milk to prevent sogginess; aim to moisten them without making them fall apart.
- Chill Time: Don’t rush the chilling process; refrigerate for at least 4 hours to allow flavors to meld and achieve optimal firmness for slicing.
How to Store and Freeze Monster Cookie Icebox Cake
Fridge: Keep the Monster Cookie Icebox Cake covered in the fridge for up to 3 days. This will maintain its creamy texture and delicious flavors for a short duration.
Freezer: If you want to extend its life, freeze the cake wrapped tightly in plastic wrap or in an airtight container for up to 1 week. It’s a great make-ahead option for gatherings!
Thawing: When ready to enjoy, thaw the cake in the fridge overnight or at room temperature for about 30 minutes before serving, ensuring it retains its delightful creaminess.
Reheating: This cake is best enjoyed cold; simply cut and serve as is! For a special touch, consider adding a fresh scoop of ice cream on the side.
Make Ahead Options
These Monster Cookie Icebox Cakes are a lifesaver for busy home cooks looking to save time during festive gatherings! You can prepare the entire cake up to 24 hours in advance; simply assemble it and refrigerate it, allowing the flavors to meld beautifully. If you want to prep even further ahead, the individual components can be made up to 3 days in advance—whip the cream and peanut butter mixture, then store it in an airtight container in the fridge. When ready to serve, layer the cookies and filling as directed, and you’ll have a beautiful dessert ready for your guests that’s just as delicious as if made fresh. Enjoying ease in the kitchen has never been so sweet!
Monster Cookie Icebox Cake Variations
Feel free to mix things up with these fun and tasty twists that add even more character to your Monster Cookie Icebox Cake!
-
Chocolate Chip Cookies: Swap out the oatmeal cookies for chocolate chip cookies for an extra chocolaty vibe that chocolate lovers will adore.
Indulge in that nostalgic flavor that takes you straight back to cookie-baking days with Grandma! -
Crunchy Peanut Butter: Try using crunchy peanut butter instead of creamy for a delightful texture contrast.
This simple switch elevates every bite with added crunch, creating a satisfying experience. -
Graham Crackers: For a different flavor, substitute oatmeal cookies with graham crackers.
Their sweet, toasty notes provide a delightful twist reminiscent of summer s’mores! -
Fresh Banana Slices: Add thin layers of fresh banana slices between the cake layers for a fruity surprise.
Banana pairs beautifully with peanut butter, making every mouthful refreshing and delicious. -
Nutty Pecan Bliss: Toss in some chopped pecans or walnuts with your chocolate chips for a delightful crunch.
The nuttiness introduces a new layer of flavor to your Monster Cookie Icebox Cake that guests will love! -
Caramel Drizzle: Add a drizzle of caramel sauce on top right before serving for an extra touch of indulgence.
It adds a rich, buttery sweetness that takes your cake to the next level of decadence. -
Dairy-Free Switch: Substitute heavy cream with coconut cream and regular milk with a dairy-free alternative for an amazing vegan version.
Enjoy the same beautiful texture and flavor while catering to dairy-free dietary needs. -
Spicy Kick: Introduce a hint of cinnamon or cayenne pepper to your peanut butter whipped cream for a surprising twist.
This spice awakens the flavors and adds a warm depth, making each bite a little more exciting—perfect for adventurous eaters!
Your Monster Cookie Icebox Cake is now a canvas for endless creativity. Or if you’re looking for other delightful cake recipes, consider trying my Cinnamon Roll Cake or the Decadent Caramel Cake. Enjoy experimenting!
Monster Cookie Icebox Cake Recipe FAQs
What are the best oatmeal cookies to use for this cake?
You’ll want to choose oatmeal cookies that are soft and chewy for the best texture. Make sure they are egg-free, especially if you’re catering to allergies or dietary restrictions. I recommend store-bought varieties or homemade cookies, as long as they have a good flavor and won’t crumble too easily during assembly.
How long can I store the Monster Cookie Icebox Cake in the fridge?
This delightful cake can be kept in the fridge for up to 3 days. Just make sure to keep it covered to maintain its creamy texture. If left uncovered, the whipped cream may lose its fluffiness, so it’s best to keep it sealed tight.
Can I freeze Monster Cookie Icebox Cake?
Absolutely! To freeze it, wrap the cake tightly in plastic wrap or place it in an airtight container. It can last in the freezer for up to 1 week. When you’re ready to enjoy it, allow it to thaw in the refrigerator overnight or at room temperature for about 30 minutes before serving.
What should I do if my whipped cream doesn’t reach stiff peaks?
If your whipped cream isn’t thickening, there could be a couple of reasons. First, ensure your whipping cream is very cold. If it’s not achieving stiff peaks, try adding a little more icing sugar and continue whipping; this can help stabilize it. If it’s still soft, you can fold in a tablespoon of instant pudding mix for added thickness.
Is this cake safe for pets or those with peanut allergies?
Since this Monster Cookie Icebox Cake contains peanut butter, it is not suitable for pets, particularly dogs, as chocolate can also be harmful to them. For those with peanut allergies, consider using sunbutter or another nut-free alternative as a substitute for peanut butter. Always check individual ingredients for allergy information before serving.
What if I want to make a dairy-free version of this cake?
You can absolutely make a dairy-free Monster Cookie Icebox Cake! Substitute the heavy whipping cream with coconut cream or a non-dairy whipped cream alternative. Use almond milk, oat milk, or any non-dairy milk in place of whole milk. Just check to make sure all ingredients are dairy-free, and you’ll have a delicious treat everyone can enjoy!
Irresistible Monster Cookie Icebox Cake for Summer Fun
Ingredients
Equipment
Method
- Whip the cream by pouring cold heavy whipping cream into a mixing bowl and whip on medium speed until soft peaks form. Add icing sugar gradually and whip until stiff peaks and fluffy.
- Warm creamy peanut butter in the microwave for 15-20 seconds until pourable. Fold it into the whipped cream until fully combined.
- Prepare a 9x5 loaf pan by lining it with cling wrap or parchment paper, extending edges for easy removal.
- Dip oatmeal cookies quickly into whole milk to moisten. Lay them in a single layer at the bottom of the pan.
- Spread one-third of the peanut butter whipped cream mixture over the first layer of cookies. Sprinkle with mini chocolate chips and mini M&Ms.
- Repeat the layering process two more times, using remaining ingredients. Finish with a layer of whipped cream on top.
- Cover the cake with plastic wrap and refrigerate for at least 4 hours to set or freeze for 2 hours for a firmer texture.
- Remove the cake from the pan using overhanging wrap. If frozen, let it sit for 5 minutes for easier slicing. Cut and serve chilled.