
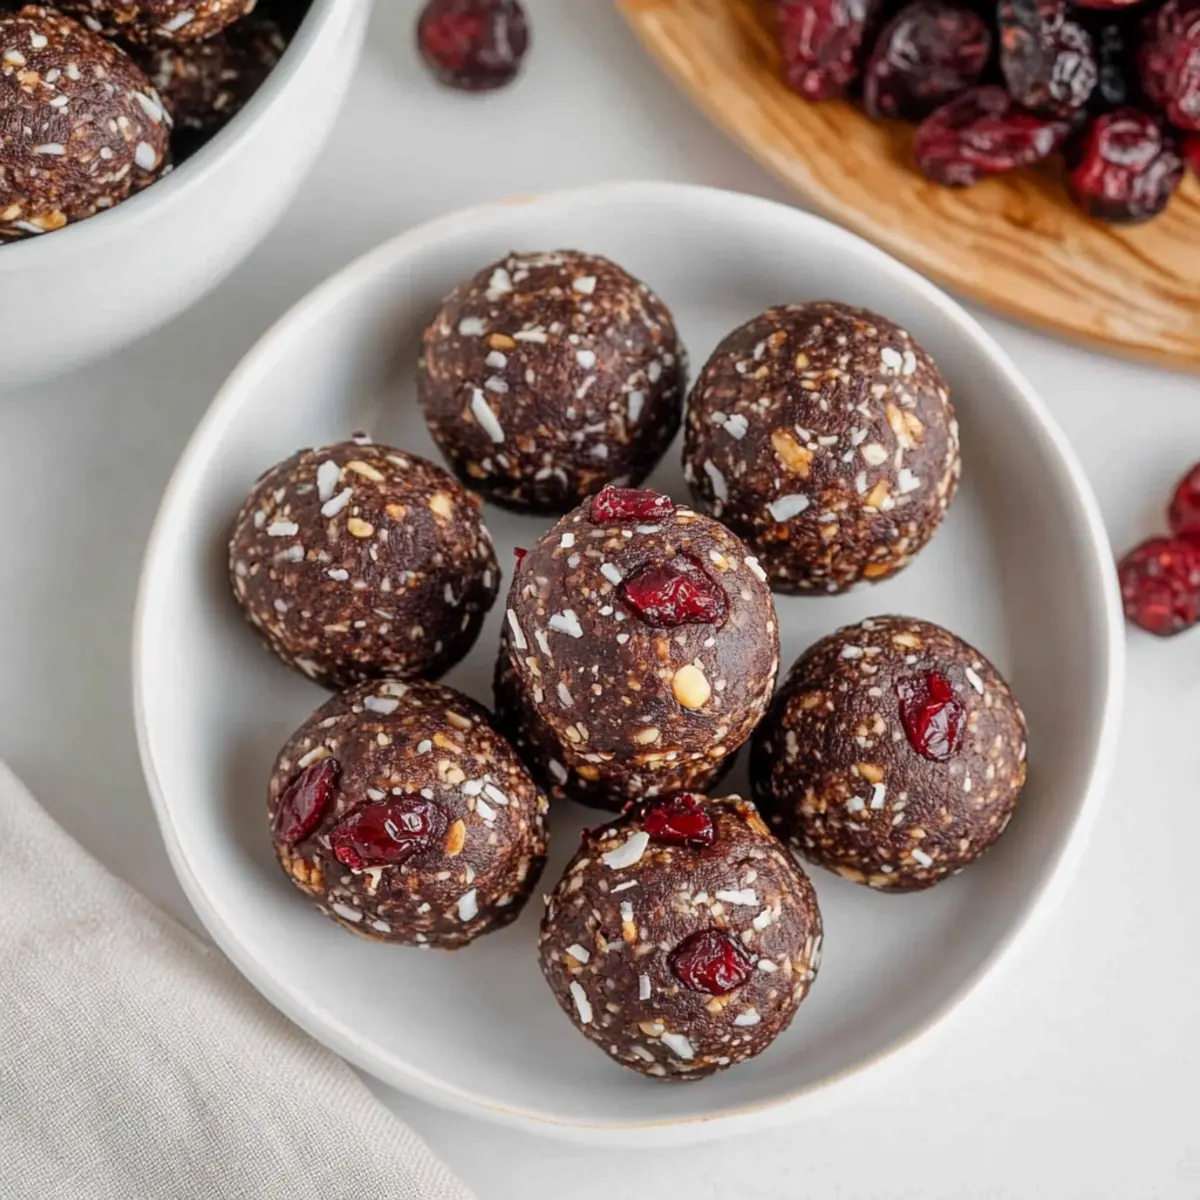
While rummaging through my pantry one afternoon, I stumbled upon a collection of unmatched ingredients just waiting for a dash of creativity. This led me to whip up a batch of my beloved Bliss Balls Recipe—a quick, no-bake delight that requires just six simple ingredients and a mere five minutes of your time. Not only are these bliss balls gluten-free and vegan, but they also serve as a satisfyingly energy-packed snack, perfect for those busy days when you need a boost. The chewy texture paired with a hint of chocolatey sweetness makes them a wholesome alternative to store-bought energy bars, and you can easily personalize them with your favorite nuts or dried fruits. Ready to indulge in a healthier treat that won’t derail your busy lifestyle? Let’s dive into making these delightful bites together!
Why Are These Bliss Balls Irresistible?
Quick and Easy: Ready in just five minutes, these bliss balls require no baking, making them the perfect last-minute snack solution.
Healthy Indulgence: Made with wholesome ingredients, they allow you to satisfy your sweet tooth without guilt.
Customizable: Feel free to switch up the nuts, seeds, or dried fruit based on your preferences! For more toppings ideas, try adding Homemade Ciabatta Rolls on the side for a deliciously varied treat.
Energy Boost: Packed with nutrients, they serve as a great source of energy, ideal for pre- or post-workout fuel.
Diet-Friendly: Naturally gluten-free and vegan, these bliss balls cater to various dietary needs, ensuring everyone can enjoy a tasty snack.
Crowd-Pleaser: Whether you’re sharing with friends, family, or just treating yourself, these bites are sure to impress!
Bliss Balls Recipe Ingredients
For the Base
• Natural Nut Butter (½ cup or 128 grams) – Provides creaminess and binding, helping to create that delightful texture.
• Maple Syrup (⅓ cup or 107 grams) – Adds the perfect touch of sweetness and moisture, but feel free to switch to honey for a non-vegan option.
• Vanilla Extract (1-2 teaspoons) – Enhances flavor; choose pure vanilla for the best taste experience.
For the Chocolate Flavor
• Dutch-Process Cocoa Powder (¼ cup or 29 grams) – Infuses a rich chocolate flavor; regular cocoa powder works in a pinch if needed.
For Structure and Texture
• Quick Oats (1 cup or 92 grams) – Gives structure and chewiness; just ensure they’re certified gluten-free for a perfect fit!
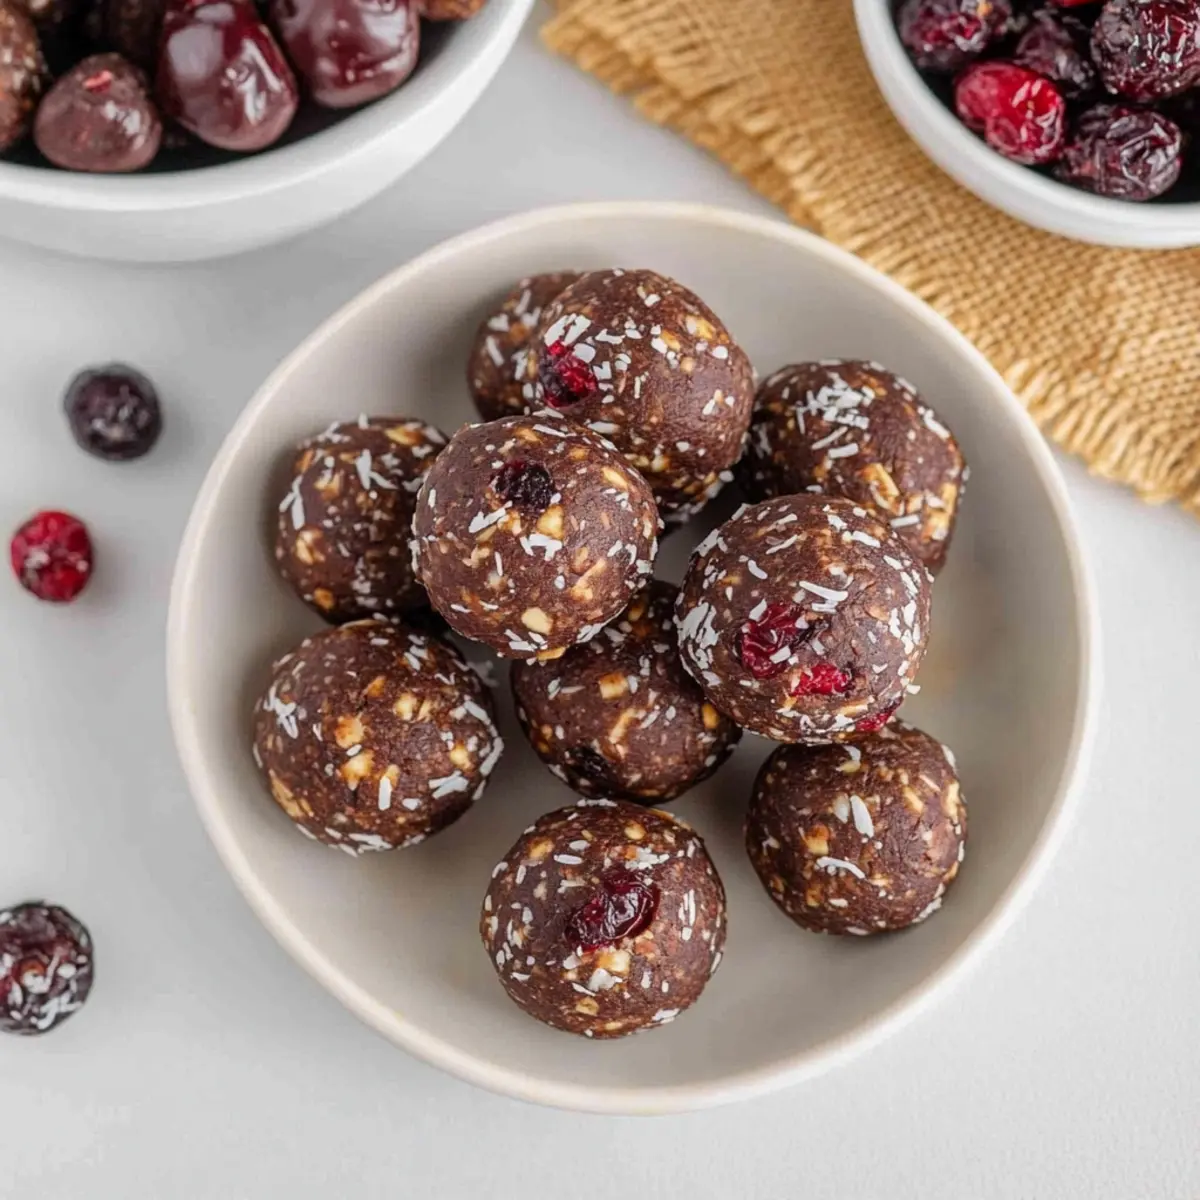
• Unsweetened Shredded Coconut (¾ cup or 64 grams) – Adds a delightful texture and natural sweetness; consider omitting for a lighter option.
For Balance
• Salt (1/8 teaspoon) – Balances out the sweetness; use a bit more if you’re working with unsalted nut butter.
Optional Add-Ins
• Dried Cranberries (¼ cup or 43 grams) – Offers fun bursts of tartness; feel free to substitute with any dried fruit or chopped nuts you love.
These bliss balls are not just a treat, but a wonderful way to savor a guilt-free snack. Happy preparing!
Step‑by‑Step Instructions for Easy No-Bake Chocolate Bliss Balls
Step 1: Mix Base
In a large mixing bowl, combine ½ cup of natural nut or seed butter, ⅓ cup of maple syrup, and 1 teaspoon of vanilla extract. Using a spatula, mix these ingredients thoroughly until you achieve a smooth and creamy consistency. This forms the delicious base for your bliss balls.
Step 2: Combine Dry Ingredients
Next, add ¼ cup of Dutch-process cocoa powder, 1 cup of quick oats, ¾ cup of unsweetened shredded coconut, and ⅛ teaspoon of salt to the wet mixture. Stir gently until everything is well incorporated, ensuring the dry ingredients are evenly distributed throughout the mixture. You should have a thick, sticky batter.
Step 3: Add Add-Ins
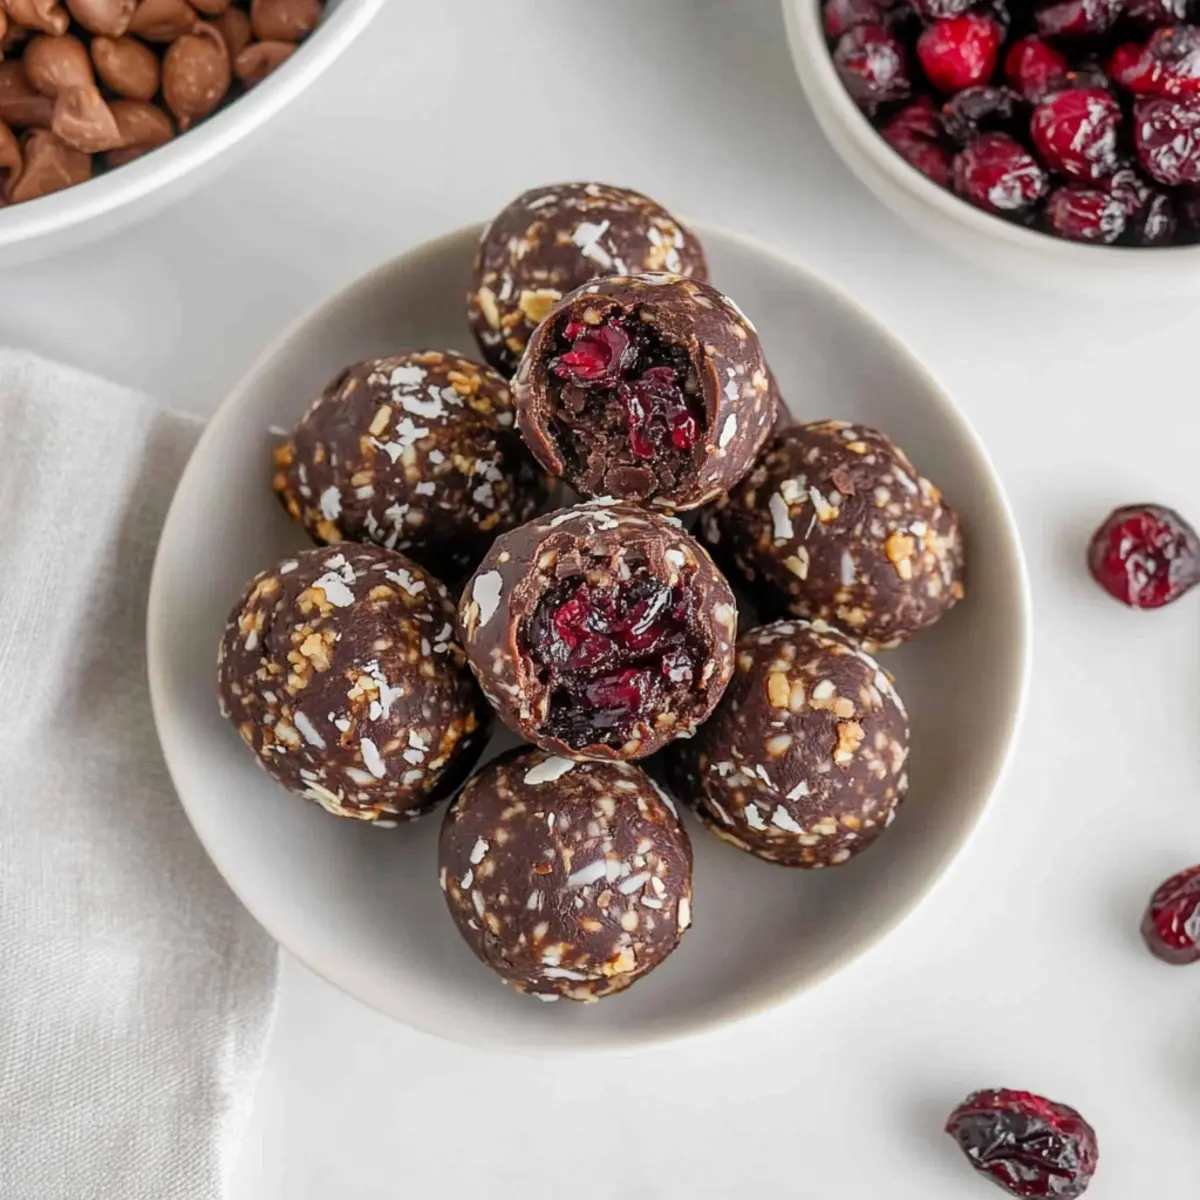
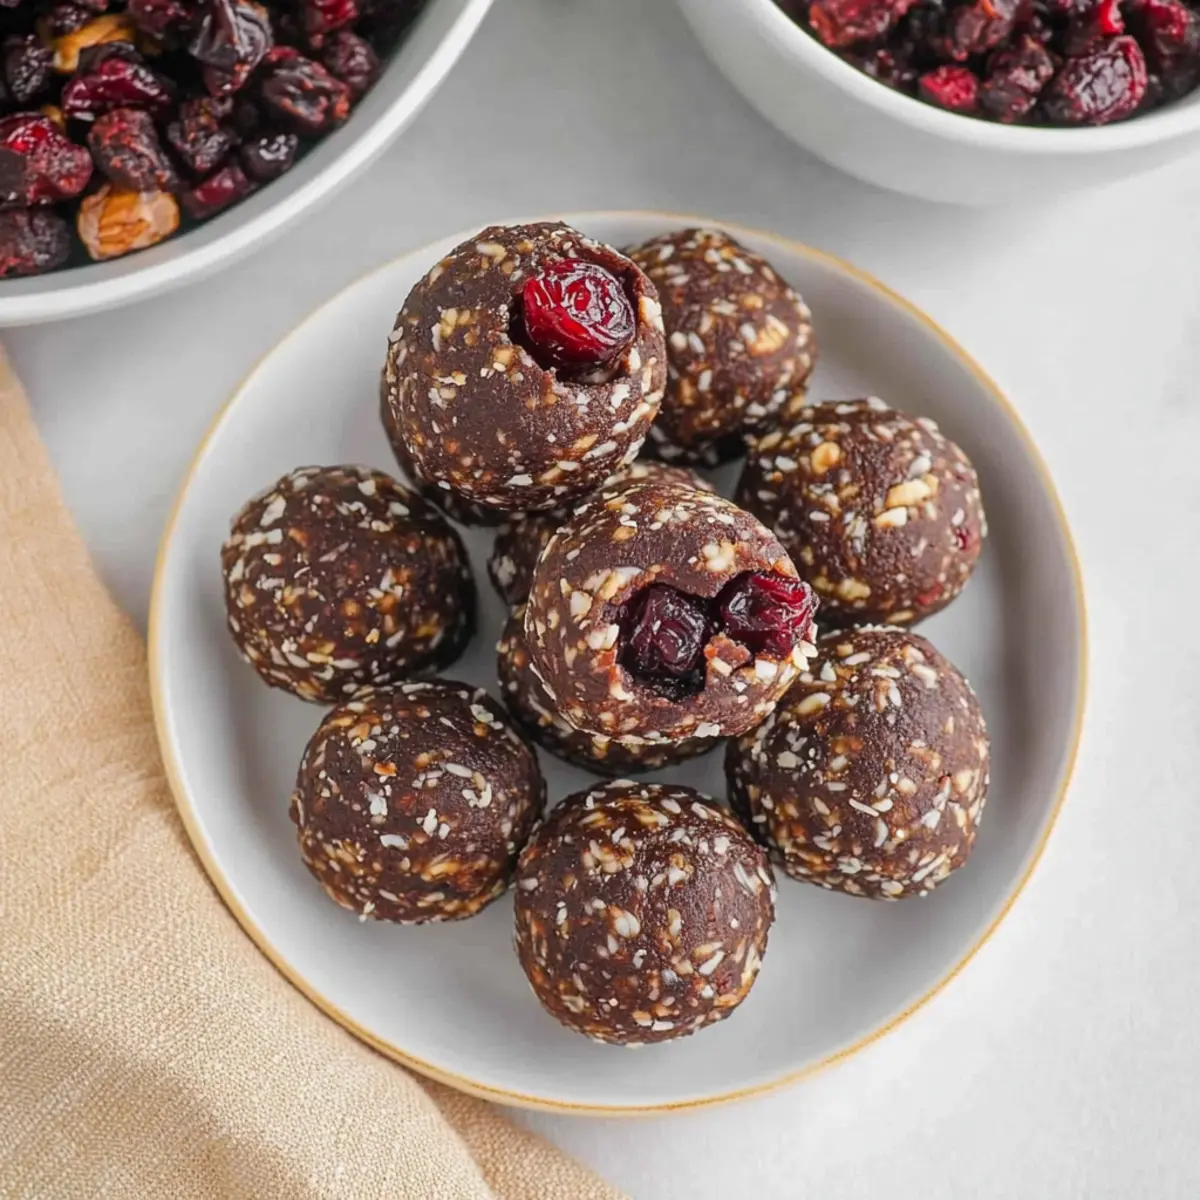
If you’re using optional ingredients, now is the time to fold in ¼ cup of dried cranberries or any other dried fruit and chocolate chips of your choice. Gently mix them in until they are evenly distributed throughout the bliss balls mixture. This will add flavorful bursts in each bite of your chocolate bliss balls.
Step 4: Form Balls
If your mixture feels too sticky to handle, let it chill in the refrigerator for about 10 minutes. Once slightly firm, take small portions of the mixture and roll them into 1-inch balls using your hands. Aim for a smooth exterior, which gives your bliss balls an appealing look and a delightful texture.
Step 5: Storage
Place your bliss balls on a parchment-lined baking sheet or in an airtight container. You can store them at room temperature for up to a week or freeze them for several months. When you’re ready for a snack, simply take one out and enjoy the rich, chewy texture of these delightful treats!
Expert Tips for Bliss Balls Recipe
-
Choose Quality Ingredients: Use natural nut or seed butter without added sugars or oils for a smooth and creamy consistency in your bliss balls.
-
Adjust Liquid Wisely: If your mixture is too dry, add more vanilla extract a teaspoon at a time to achieve the right texture without compromising flavor.
-
Pulse Your Oats: For better texture, consider pulsing rolled oats in a food processor to create quick oats if that’s what’s available to you.
-
Chill for Easier Rolling: If the mixture is too sticky to handle, refrigerate it for about 10 minutes. This makes it much easier to roll them into smooth balls.
-
Customize with Favorites: Experiment with different nuts, seeds, or dried fruits based on your taste preferences; this bliss balls recipe is highly adaptable!
-
Storage Matters: Keep your bliss balls in an airtight container at room temperature for up to a week or freeze them for extended freshness and convenience.
How to Store and Freeze Bliss Balls
Room Temperature: Keep bliss balls in an airtight container for up to 1 week; they’ll stay fresh and delightful for your snacking pleasure.
Fridge: For extended freshness, refrigerate bliss balls for up to 2 weeks. Ensure they’re in a sealed container to prevent drying out.
Freezer: Freeze bliss balls for up to 3 months in an airtight container or freezer bag. Label them with the date for easy access!
Reheating: Enjoy bliss balls straight from the fridge or freezer; no need to heat. For a warm treat, let them sit at room temperature for about 10 minutes before enjoying.
Bliss Balls Recipe Variations
Feel free to personalize these bliss balls for a delightful twist that suits your taste buds and dietary needs!
-
Nut-Free: Substitute natural nut butter with sunflower seed butter to enjoy a nut-free version that everyone can love.
-
Sweetness Swap: Replace maple syrup with agave syrup for a different flavor profile, or honey if you’re okay with non-vegan options.
-
Extra Chocolatey: Mix in some chocolate chips or cacao nibs for added chocolate depth—because who doesn’t love more chocolate?
-
Fruity Flair: Experiment with dried fruits like apricots or raisins instead of cranberries for a unique burst of flavor in every bite.
-
Oat-Free Option: Swap out oats for ground almonds or almond flour to create a low-carb bliss ball that’s still delightful.
-
Spiced Up: Add a dash of cinnamon or nutmeg to the mixture for warming spices that give a lovely aromatic twist.
-
Protein Boost: Stir in your favorite protein powder to transform these into a power-packed snack that fuels your day.
These bliss balls are more than just a treat, they’re a canvas for your culinary creativity! If you want to pair them with something delightful, consider serving them alongside homemade popcorn chicken or for a fun contrast, whip up some no-bake cookie balls for an irresistible dessert experience!
What to Serve with Easy No-Bake Chocolate Bliss Balls?
These bliss balls make for a delightful snack on their own, but why not elevate your snacking experience by pairing them with complementary flavors and textures?
-
Creamy Almond Yogurt: This adds a rich, creamy texture and pairs beautifully with the chocolate flavor, enhancing the overall taste sensation.
-
Fresh Berries: The tartness of strawberries or raspberries adds a bright pop of flavor, balancing the richness of the bliss balls perfectly.
-
Chia Seed Pudding: A light and nutritious pudding, its creaminess contrasts with the chewy texture of the bliss balls for a delightful treat.
-
Raw Veggies & Hummus: For a savory contrast, serve crispy carrot and cucumber sticks with a zesty hummus dip—this transition from sweet to savory is sure to intrigue your taste buds.
-
Matcha Latte: This earthy drink complements the chocolate bliss balls and brings a soothing interlude to your snack time, perfect for a quiet afternoon break.
-
Iced Coconut Coffee: The tropical flavors of coconut mixed with coffee create a refreshing drink that pairs wonderfully with the chocolatey bliss ball bites.
-
Gluten-Free Granola: The crunchiness of granola adds a delightful textural contrast, making it a crispy sidekick to the chewy bliss balls.
-
Nutty Trail Mix: A handful of trail mix can provide extra energy and crunch, perfect for a mid-afternoon boost alongside your bliss balls.
These pairings will transform your bliss ball experience into a full-blown snack affair, making each bite even more enjoyable!
Make Ahead Options
These Easy No-Bake Chocolate Bliss Balls are perfect for meal prepping, allowing you to enjoy a nutritious treat with minimal effort! You can prepare the mixture up to 24 hours in advance by following the first three steps: combine the base, mix in the dry ingredients, and add any optional items like dried cranberries. Store the mixture in an airtight container in the refrigerator until you’re ready to roll them into balls. When you’re set to enjoy, simply form them into 1-inch balls and let them chill for about 10 minutes to help maintain their shape and texture. They’ll be just as delicious as if made fresh, making busy weeknights a breeze!
Easy No-Bake Chocolate Bliss Balls Recipe FAQs
How do I choose the right nut butter for my bliss balls?
Absolutely! For the best results, select natural nut butter without added sugars or oils. This ensures a creamy texture and rich flavor in your bliss balls. Almond butter, peanut butter, or sunflower seed butter are all great options. If you’re looking for a nut-free version, go with sunflower seed butter.
How long do bliss balls last in storage?
Very! You can keep your bliss balls in an airtight container at room temperature for up to 1 week. If you want to extend their freshness, refrigerate them for up to 2 weeks. Just make sure they’re well-sealed to avoid drying out!
Can I freeze bliss balls, and how?
Definitely! To freeze your bliss balls, place them in an airtight container or freezer bag, ensuring there’s as little air as possible inside. They can be stored in the freezer for up to 3 months. When you’re ready to enjoy some, simply take them out and let them sit at room temperature for about 10 minutes.
What should I do if the mixture for my bliss balls is too sticky?
If you find your mixture is too sticky to roll, don’t worry! Refrigerate it for about 10 minutes. This chilling time helps firm it up, making it easier to handle and shape into perfect little balls. If it’s still problematic, add a bit more oats or a touch of cocoa powder, one tablespoon at a time.
Are there any dietary considerations for those with allergies?
Absolutely! To make these bliss balls suitable for various dietary needs, you can omit the nuts or replace them with seeds if nut allergies are a concern. Additionally, check the labels on any add-ins like dried fruit to ensure they meet your dietary requirements. These bliss balls can easily cater to gluten-free, vegan, and nut-free diets based on your ingredient choices!
Simple Bliss Balls Recipe for a Guilt-Free Chocolate Treat
Ingredients
Equipment
Method
- In a large mixing bowl, combine ½ cup of natural nut or seed butter, ⅓ cup of maple syrup, and 1 teaspoon of vanilla extract. Mix until smooth and creamy.
- Add ¼ cup of Dutch-process cocoa powder, 1 cup of quick oats, ¾ cup of unsweetened shredded coconut, and ⅛ teaspoon of salt. Stir gently until well incorporated.
- Fold in ¼ cup of dried cranberries or other optional ingredients until evenly distributed.
- Chill mixture for 10 minutes if too sticky. Roll into 1-inch balls.
- Store bliss balls on a parchment-lined baking sheet or in an airtight container.