
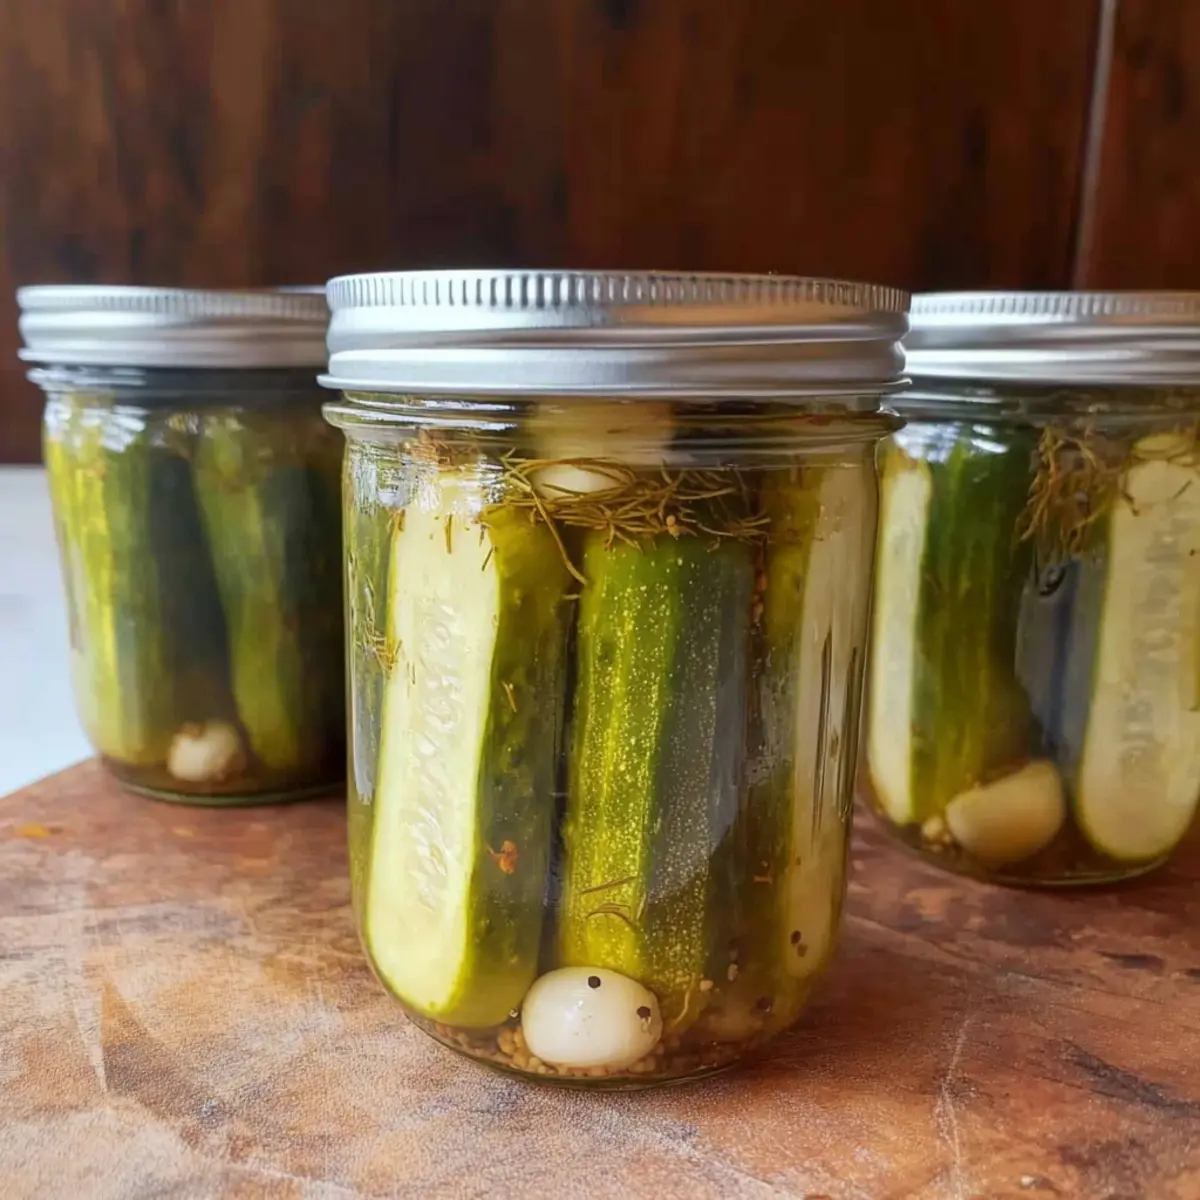
As I stood in my kitchen, the crisp sound of cucumbers slicing echoed like a nostalgic melody, conjuring memories of summer evenings spent on my grandma’s porch. I love transforming fresh, crunchy veggies into Homemade Crispy Dill Pickles, and let me tell you, this isn’t just any pickle. This easy canning recipe captures the essence of Southern charm by infusing bright dill and bold spices right into each jar. The best part? Not only are these pickles a delightful snack that’ll elevate your sandwiches, but they also allow you to preserve the vibrant flavors of summer all year round. Why settle for store-bought when you can create a jar of homemade goodness? Ready to dive into the art of pickling? Let’s get those jars filled!
Why are these Dill Pickles irresistible?
Crunchy, Fresh Taste: These pickles offer an unbeatable crunch, thanks to careful canning techniques that maintain that just-picked texture.
Endless Versatility: Enjoy them as a snack, or use them to add zing to burgers, sandwiches, or charcuterie boards, making them a perfect addition to any meal.
Simple Canning Process: With straightforward steps, even beginner canners can master these homemade delights.
Customize Your Flavor: Adjust the spices based on your taste; add hot peppers for a kick or go with traditional dill for familiar comfort.
Enjoy All Year: Preserve the bright flavors of summer in every crunchy bite, so you can savor these pickles long after the season ends.
Once you master these, you might also want to try making some irresistible Chicken Chimichangas Treat or savory Air Fryer Flavorful options to complement your culinary adventures!
Crispy Dill Pickle Ingredients
• Gather the essentials for perfect crispy dill pickles.
For the Brine
- Apple Cider Vinegar – Offers a tangy kick; white vinegar can be used as an alternative but may change the color.
- Water – Ensures the brine balance; stick with plain water for optimal results.
- Canning Salt – Preserves flavor and texture; if unavailable, kosher salt can substitute, but avoid iodized salt.
For the Pickles
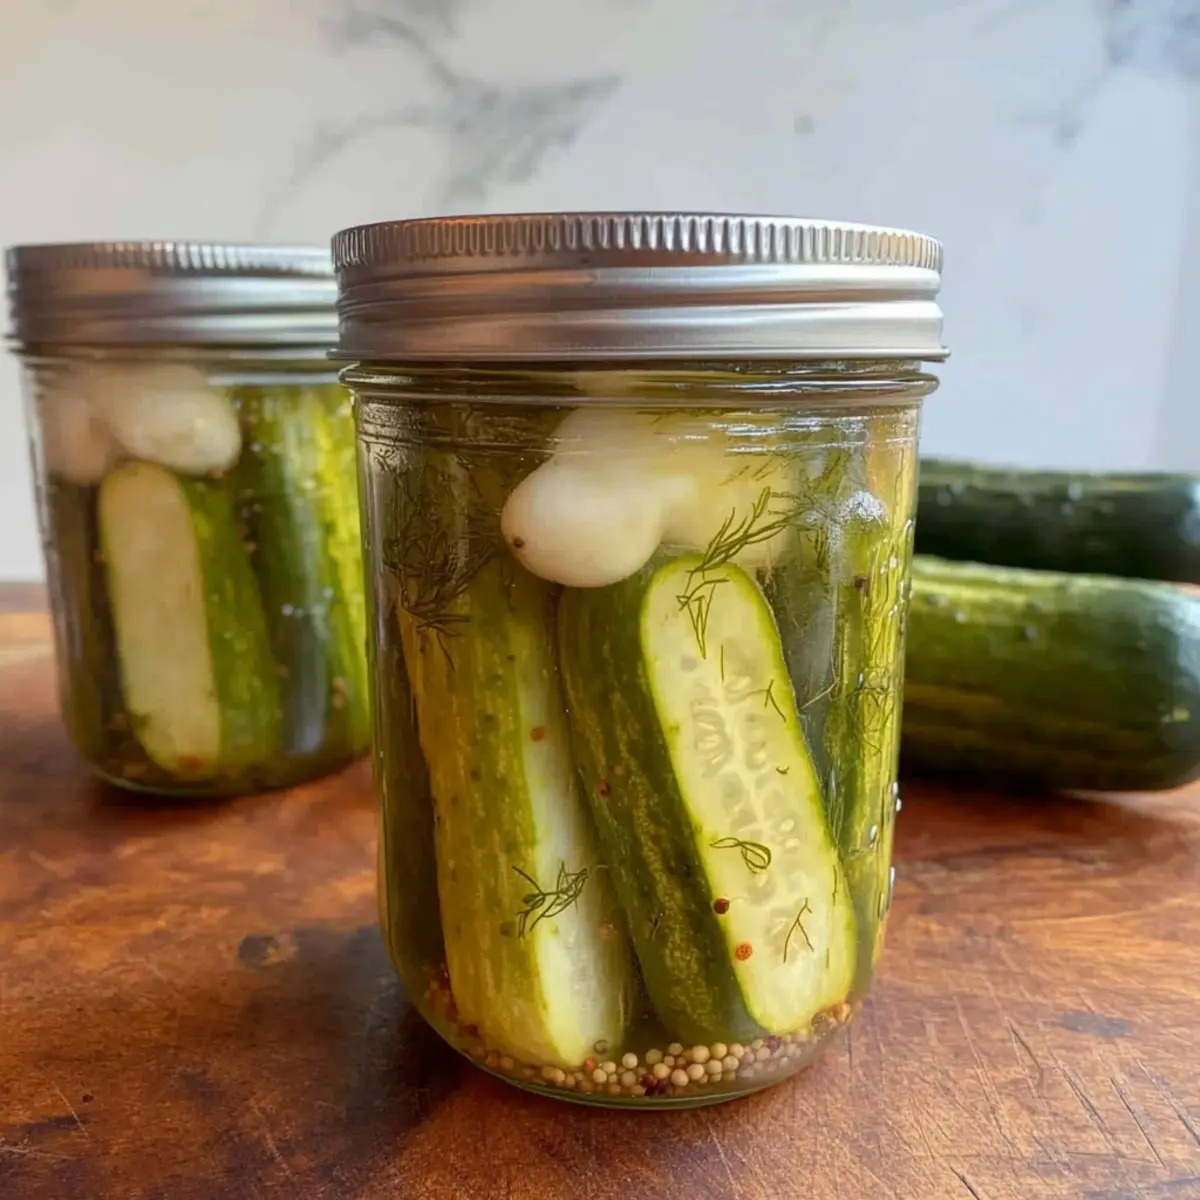
- Cucumbers – The star ingredient; opt for Kirby or Boston Pickling varieties for that perfect crunch.
- Fresh Dill/Dill Seeds – Imparts the distinctive dill flavor; fresh is best, but dried seeds will work in a pinch.
- Garlic Cloves – Enhances brine flavor; feel free to add 2-3 cloves per jar based on your preference.
Optional Flavor Enhancements
- Celery Seeds – Adds a subtle earthy flavor; adjust based on personal preference.
- Mustard Seeds – For a touch of heat and complexity; these are optional but highly recommended.
- Black Peppercorns – Introduces spice; can be left out if you prefer milder pickles.
- Red Chili Flakes – For those who dare to spice things up; see how much heat you like!
With these crispy dill pickle ingredients, you’re all set to embark on a canning journey that will fill your pantry with delightful homemade goodness!
Step‑by‑Step Instructions for Crispy Dill Pickles
Step 1: Prepare Ingredients
Start by rinsing your cucumbers under cold water and patting them dry with a clean towel. Ensure you gather all necessary ingredients, including apple cider vinegar, water, canning salt, fresh dill, garlic cloves, and any optional spices you’d like to incorporate. This organized prep sets the stage for making your crispy dill pickles.
Step 2: Make the Brine
In a medium-sized pot, combine equal parts water and apple cider vinegar along with the canning salt. Heat the mixture over medium-high heat until it comes to a rolling boil, stirring occasionally to dissolve the salt. Once bubbling, reduce heat and let it simmer gently for about 5 minutes; this will intensify the brine’s flavors for your crispy dill pickles.
Step 3: Pack Jars
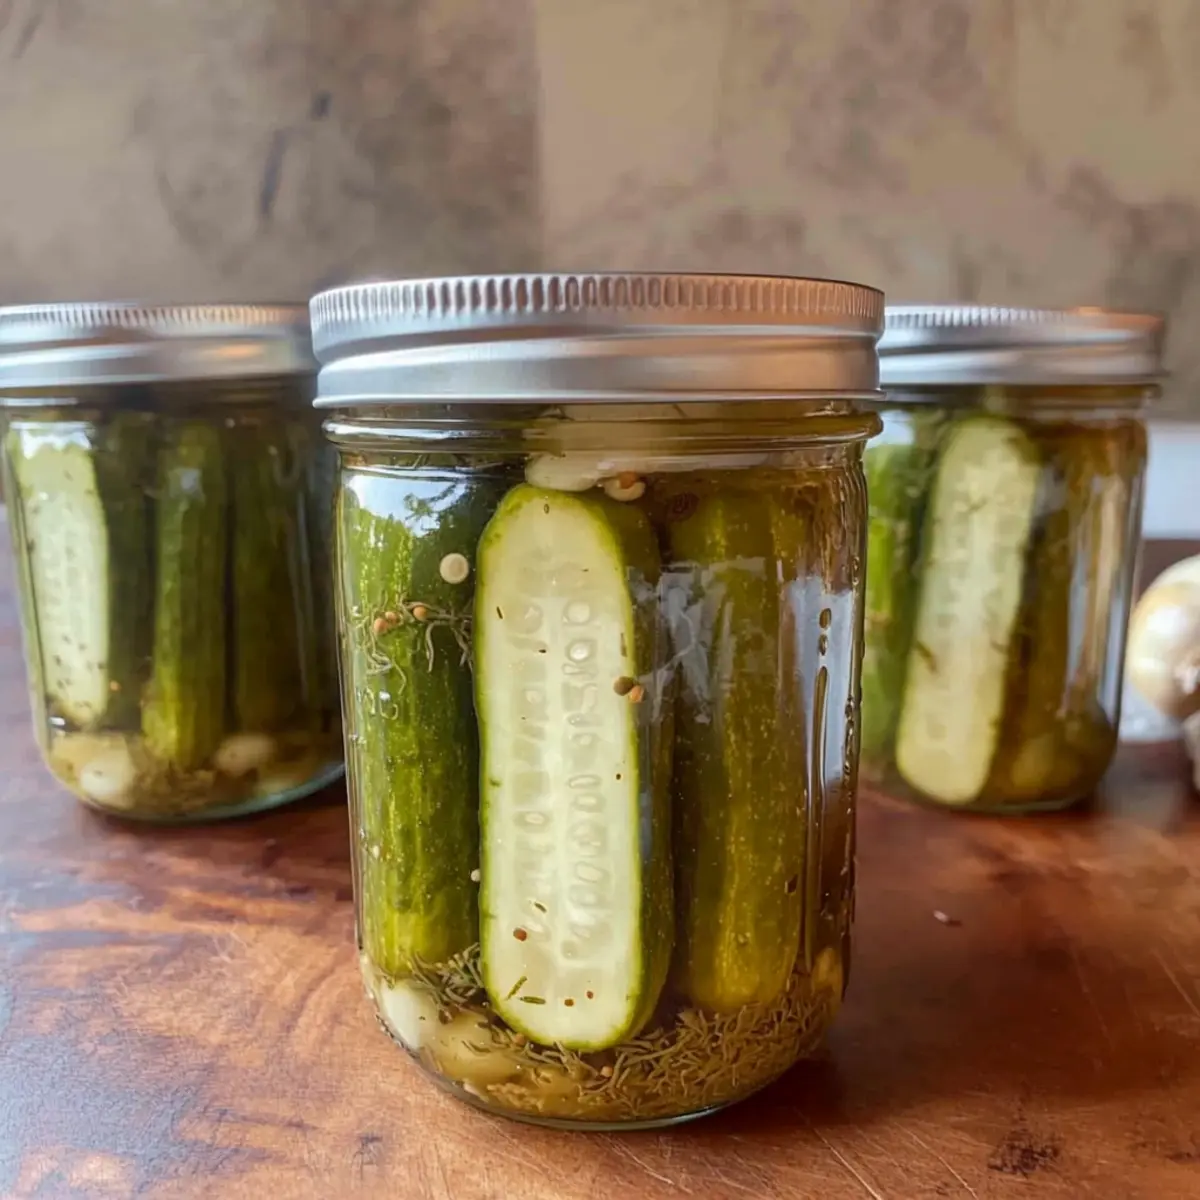
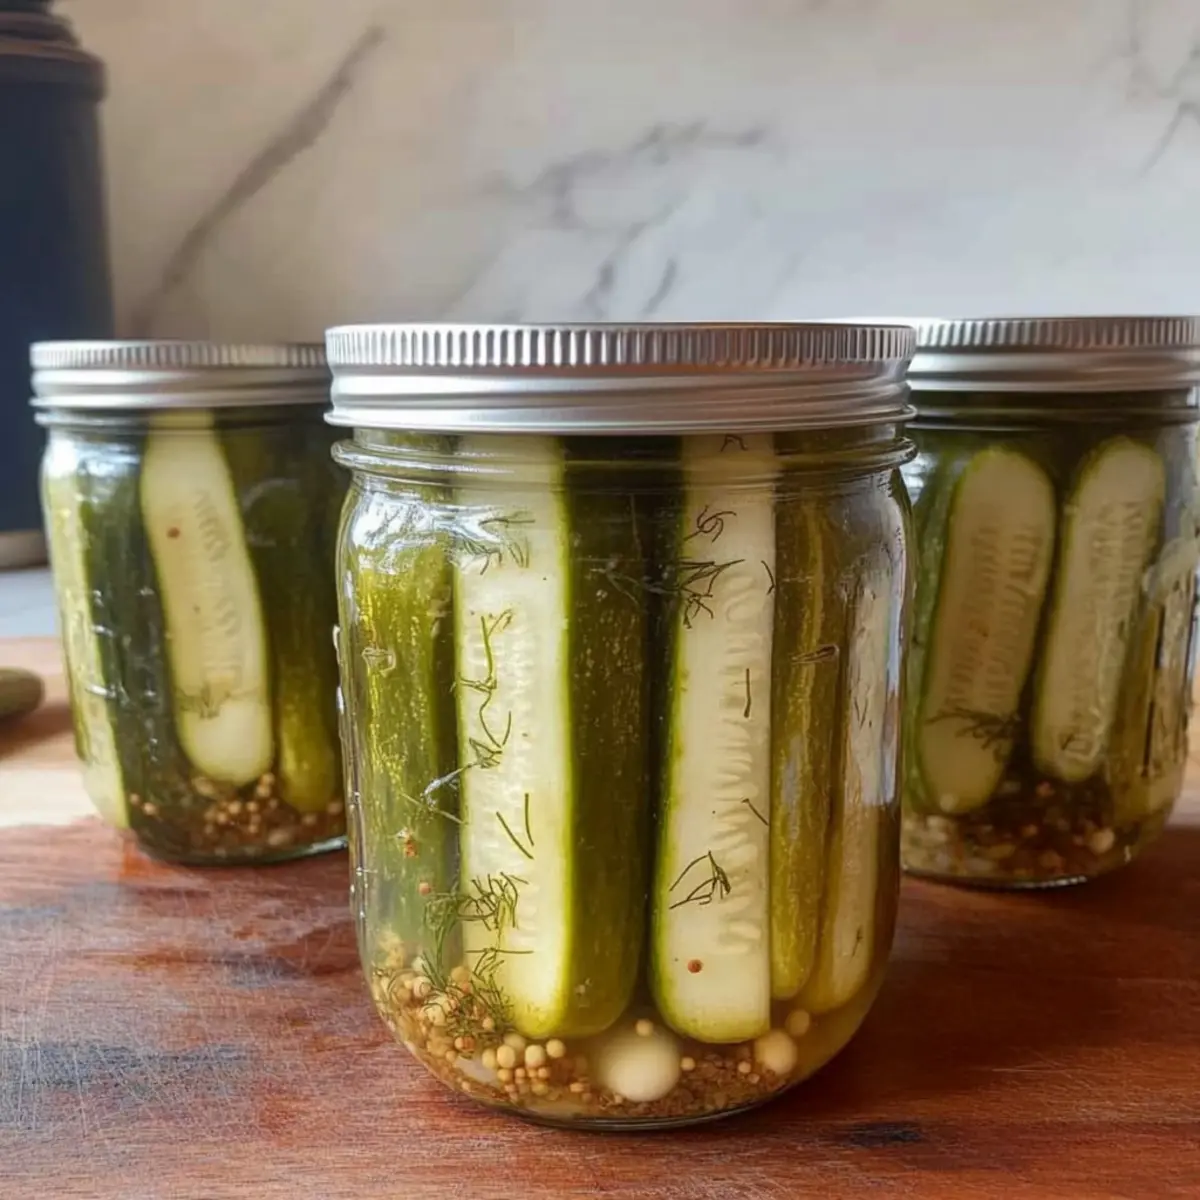
While the brine simmers, prepare your pint jars by ensuring they are clean and sterilized. Begin packing the jars with the cucumbers, standing them upright, while adding fresh dill and peeled garlic cloves between layers. If using additional spices like mustard seeds or black peppercorns, sprinkle them inside the jars for extra flavor. Aim to leave about half an inch of headspace at the top.
Step 4: Add Brine
Once the brine is ready, carefully pour the hot liquid over the packed cucumbers in each jar. Make sure the brine completely covers the cucumbers, leaving the designated headspace to ensure proper sealing. You’ll want to see those vibrant colors of your crispy dill pickles come to life as the brine settles around them.
Step 5: Seal Jars
Grab a clean cloth and wipe the rims of each jar to eliminate any residue that might prevent a proper seal. Place the lids on top and screw the metal rings down until they are fingertip-tight. It’s crucial for achieving a good seal, especially when canning your crispy dill pickles for long-term storage.
Step 6: Process Jars
Fill a water bath canner with water and bring it to a gentle boil. Submerge the filled jars in the boiling water, ensuring they are covered by at least an inch of water. Process the jars for about 10-15 minutes, depending on your altitude, to guarantee your crispy dill pickles are safely sealed and preserved for later enjoyment.
Step 7: Cool
Once the processing time is complete, carefully lift the jars from the water using a jar lifter, and allow them to cool on a clean kitchen towel or cooling rack. Let them sit undisturbed for 12-24 hours, allowing the seals to form. After cooling, check the seals by pressing the center of each lid; if it doesn’t pop back, the jar is sealed perfectly, ready for pantry storage!
Crispy Dill Pickles Variations & Substitutions
Feel free to shake things up with these delightful variations to suit your taste buds and pantry!
-
Spicy Twist: Add sliced jalapeños or crushed red pepper flakes for those who like an extra kick. The heat beautifully balances the tangy flavor of the pickles.
-
Sweet Treat: Include a touch of sugar or honey in the brine to create a sweet and tangy version. This is especially delicious with fried dishes or as a party snack.
-
Herb Infusion: Experiment with fresh herbs like rosemary or thyme for a unique flavor profile. These herbs can add a fragrant twist that pairs wonderfully with summer salads.
-
Onion Zest: Toss in thin slices of red or yellow onions to the jars for a flavorful boost. They infuse a nice sweetness that complements the pickles wonderfully.
-
Other Veggies: Instead of cucumbers, try pickling green beans, asparagus, or carrots for a crunchy snack. Each offers a different flavor and texture, making it fun to customize your pantry.
-
Garlic Lovers: Ramp up the garlic by adding extra cloves or use roasted garlic for a mellow, sweet flavor. This adds depth and enhances the wholesome taste of your pickles.
-
Vinegar Variety: While apple cider vinegar shines in this recipe, you could substitute it with rice vinegar for a milder option or malt vinegar for a richer flavor profile.
Once you master these variations, don’t forget to pair your pickles with a delicious Chicken Chimichangas Treat or some crispy Air Fryer Flavorful dishes for a complete meal!
How to Store and Freeze Crispy Dill Pickles
Room Temperature: Unopened jars of crispy dill pickles can be stored at room temperature for up to a year. Keep them in a cool, dark place away from direct sunlight to maintain freshness.
Fridge: Once opened, store your crispy dill pickles in the refrigerator. Consume them within four weeks for the best flavor and crunch.
Freezer: While it’s not ideal to freeze pickles due to potential texture changes, if necessary, place them in an airtight container and freeze for up to 6 months. Thaw slowly in the fridge for the best results.
Reheating: If your pickles lose crunch after thawing, try serving them alongside warm dishes or as a tangy topping on cooked meats to revive their flavor.
Make Ahead Options
These Crispy Dill Pickles are perfect for busy home cooks looking to add more homemade goodness to their meals! You can easily prepare the brine and pack the jars with cucumbers, dill, and garlic up to 24 hours in advance. Simply refrigerate the packed jars to maintain their crispness, preventing any loss of texture or flavor. When you’re ready to finish the recipe, just heat the brine, pour it over the packed ingredients in the jars, seal, and then process them as directed. This way, you can ensure fresh and tasty pickles with minimal effort, making your meal prep a breeze!
Expert Tips for Crispy Dill Pickles
-
Choose Firm Cucumbers: Use small, firm cucumbers like Kirby or Boston Pickling for the best texture. Avoid overripe cucumbers, as they may yield mushy pickles.
-
Proper Brine Ratio: Ensure you’re using a balanced ratio of vinegar and water to create the perfect tangy flavor while maintaining proper acidity for safe canning.
-
Sterilize Jars: Always sterilize your jars before use. A quick boil in water will prevent contamination and ensure your crispy dill pickles stay fresh longer.
-
Leave Headspace: Don’t forget to leave about half an inch of headspace in your jars when adding brine. This space helps create a proper seal when processing.
-
Monitor Seals: After cooling, inspect each jar for a proper seal. If the lid pops when pressed, it hasn’t sealed correctly—refrigerate those jars and use them first.
-
Experiment with Spices: Feel free to add spices gradually; sometimes less is more. Adjust flavors according to your preference while making sure they blend well with your crispy dill pickles.
What to Serve with Crunchy Homemade Dill Pickles?
Elevate your meals with perfect pairings for these delightful, tangy bites that bring a crunch to every dish.
- Classic Cheeseburgers: Juicy burgers topped with crispy dill pickles create a satisfying contrast that enhances each savory bite.
- Charcuterie Board: Add these pickles to a spread of meats, cheeses, and nuts for a burst of flavor and a pleasing crunch alongside rich elements.
- Potato Salad: Spoon crispy dill pickles chopped into creamy potato salad for an unexpected tang that perks up the traditional dish.
- Grilled Cheese: The crispiness of the dill pickles cuts through the richness of melted cheese, providing a delightful textural balance.
- Bloody Mary: Garnish this brunch favorite with a pickle spear for a zesty kick that complements the cocktail’s savory flavors perfectly.
- Wine Spritzer: Pair with a refreshing spritzer; the bright, tangy pickles enhance the crisp, fruity notes of your drink for a delightful experience.
- Piggyback on BBQ: Serve alongside barbecue dishes; the acidity of dill pickles cuts through the smoky richness, refreshing your palate.
- Crunchy Tacos: Add pickles to taco fillings for a zesty crunch that takes your favorite Mexican dish to a new level of flavor.
- Deviled Eggs: Elevate traditional deviled eggs with a touch of pickle juice in the filling, creating a creamy treat with a tangy twist.
Crispy Dill Pickles Recipe FAQs
What type of cucumbers should I use for the best crispy dill pickles?
I recommend using small, firm varieties like Kirby or Boston Pickling cucumbers for that perfect crunch. These types have fewer seeds and thicker skin, which help maintain the texture. Avoid overripe cucumbers, as they can lead to mushy pickles.
How should I store my homemade crispy dill pickles once they’re canned?
Properly sealed jars can be stored at room temperature for up to a year. Keep them in a cool, dark place, ideally away from direct sunlight. Once opened, transfer the jar to the refrigerator and consume within four weeks for the best flavor and crunch.
Can I freeze my crispy dill pickles?
Freezing is not typically recommended as it can change the texture of the pickles. However, if you need to, place them in an airtight container and freeze for up to 6 months. When you’re ready to enjoy them, thaw slowly in the fridge for the best results. You can also try serving them with warm dishes to help regain some of their flavor.
What should I do if my pickling jars don’t seal properly?
If the lids don’t pop down after cooling, it means they didn’t seal correctly. Don’t panic! You can reprocess the jars by placing them back in boiling water for another 10-15 minutes. If the seal still doesn’t hold, refrigerate the jars and consume those pickles first. Always inspect seals before storing them away for the long term.
Are these pickles safe for those with dietary restrictions?
Absolutely! You can adjust the recipes to accommodate various dietary preferences. For example, use kosher salt instead of canning salt for lower sodium options and ensure to choose vinegar compatible with your dietary needs. Always be mindful of ingredient substitutions to avoid allergens, particularly with optional spices.
Crispy Dill Pickles: Your Easy Guide to Perfect Canning
Ingredients
Equipment
Method
- Prepare your ingredients by rinsing cucumbers and patting them dry.
- Make the brine by combining water, apple cider vinegar, and canning salt in a pot and boiling until salt dissolves.
- Pack jars with cucumbers, dill, and garlic, then add optional spices.
- Pour hot brine over cucumbers in jars, ensuring brine covers them and leaves headspace.
- Seal jars with clean lids and screw down caps until fingertip-tight.
- Process jars in a boiling water bath for 10-15 minutes.
- Cool jars for 12-24 hours and check seals before storage.