
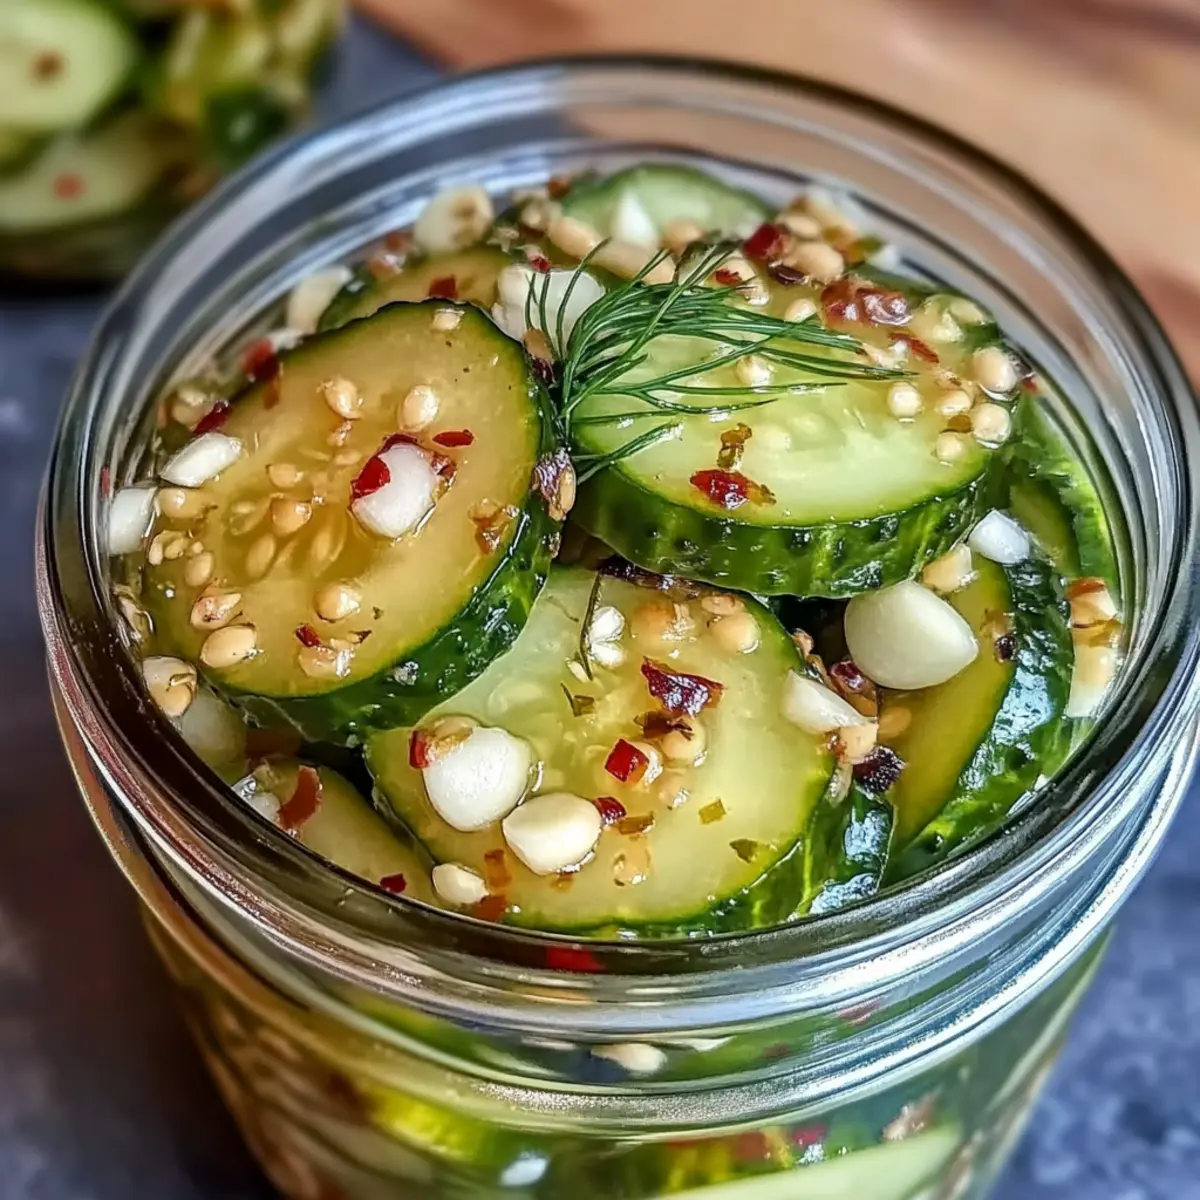
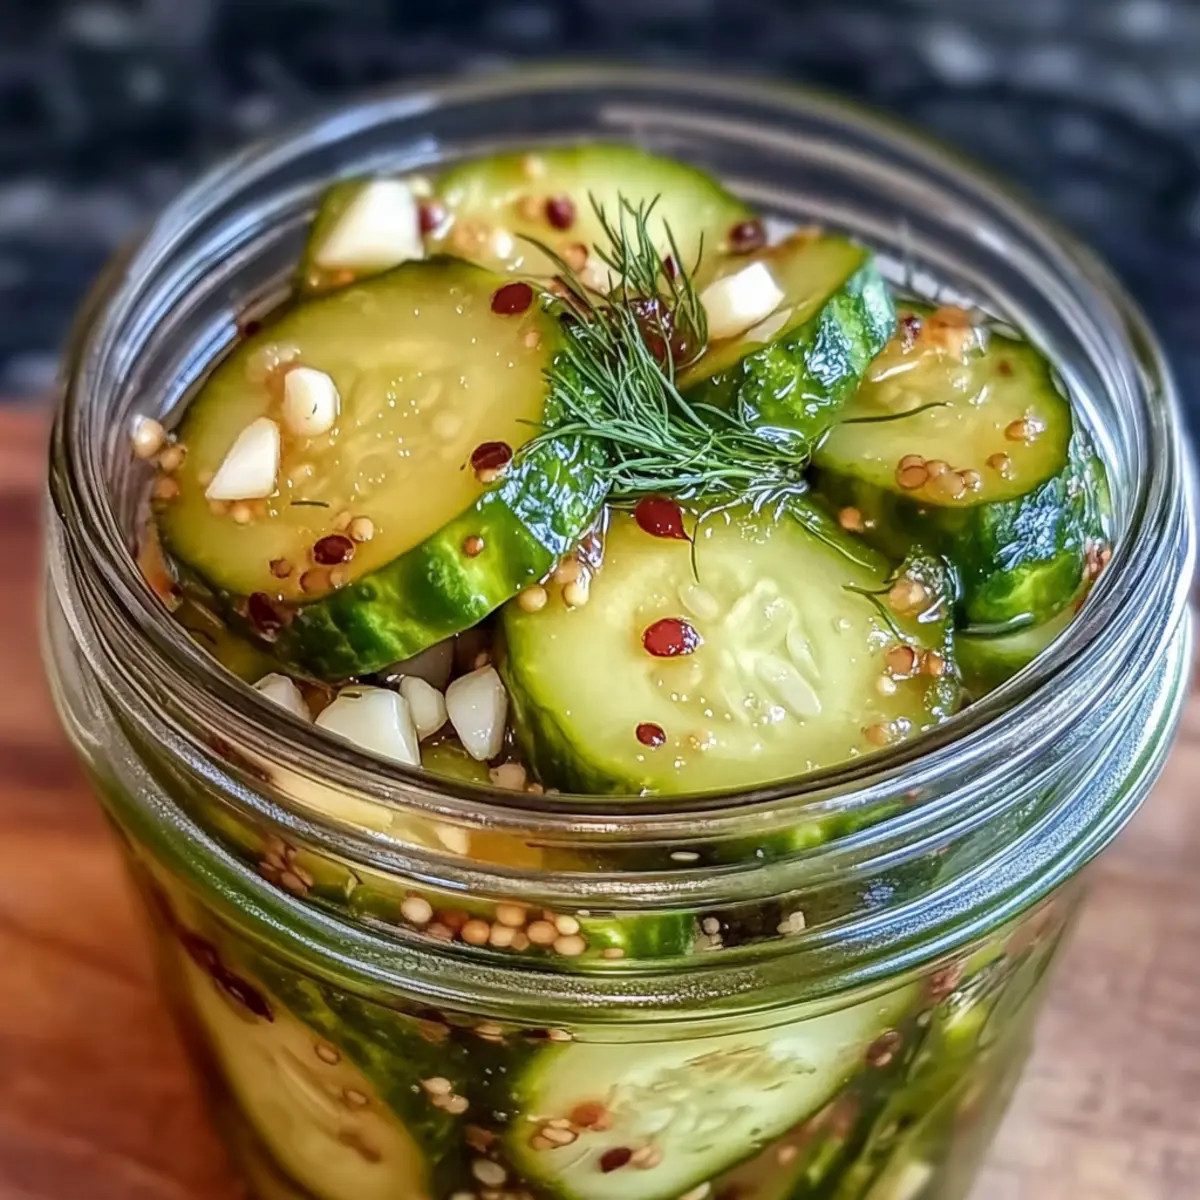
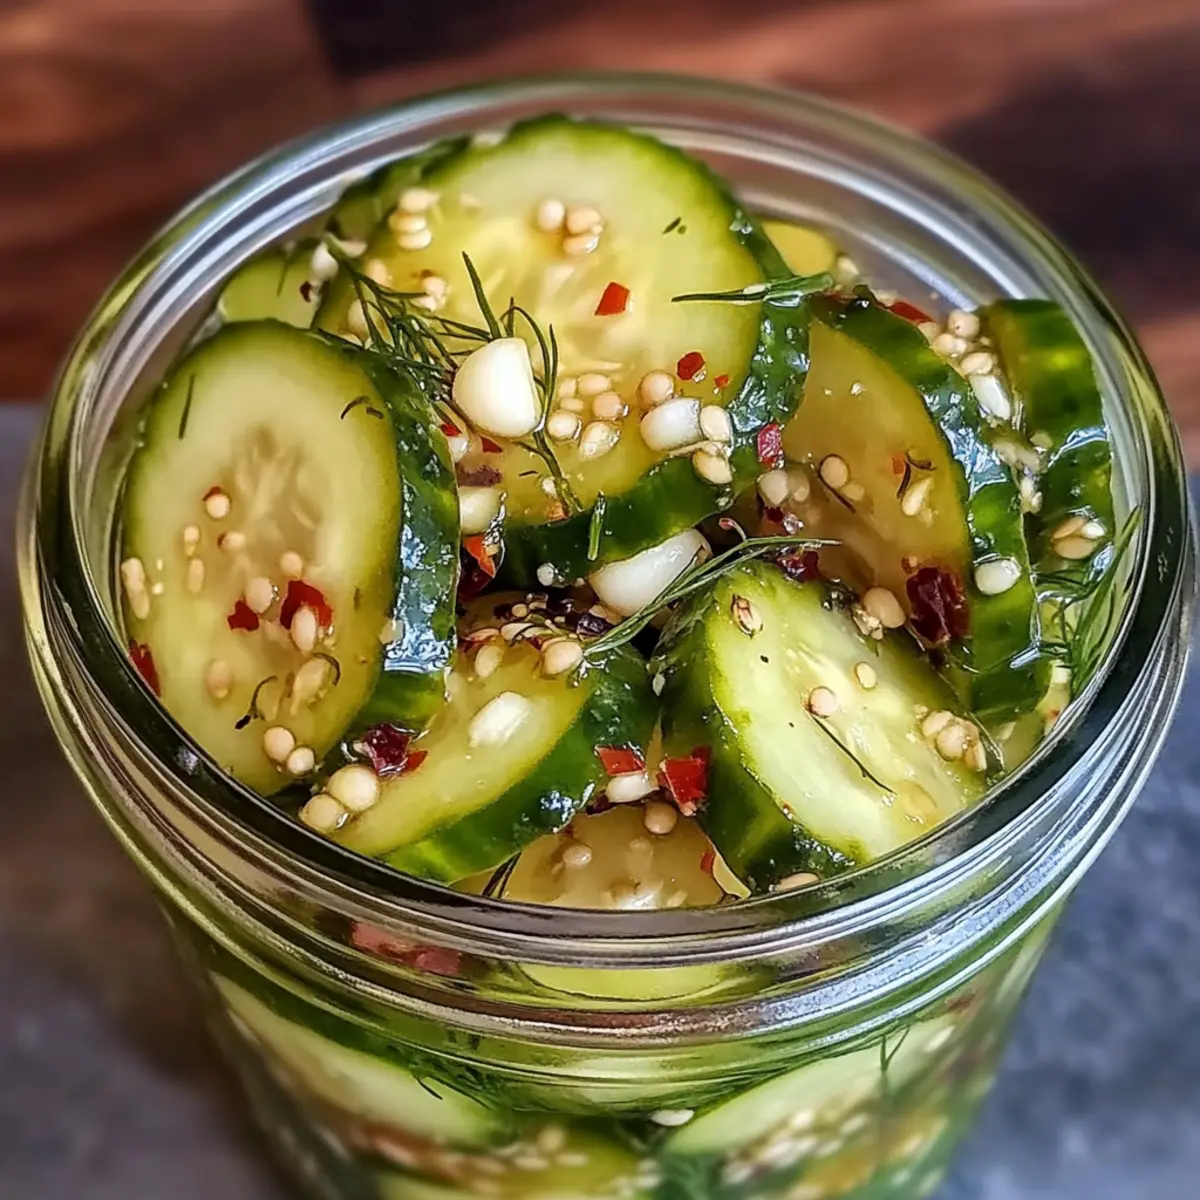
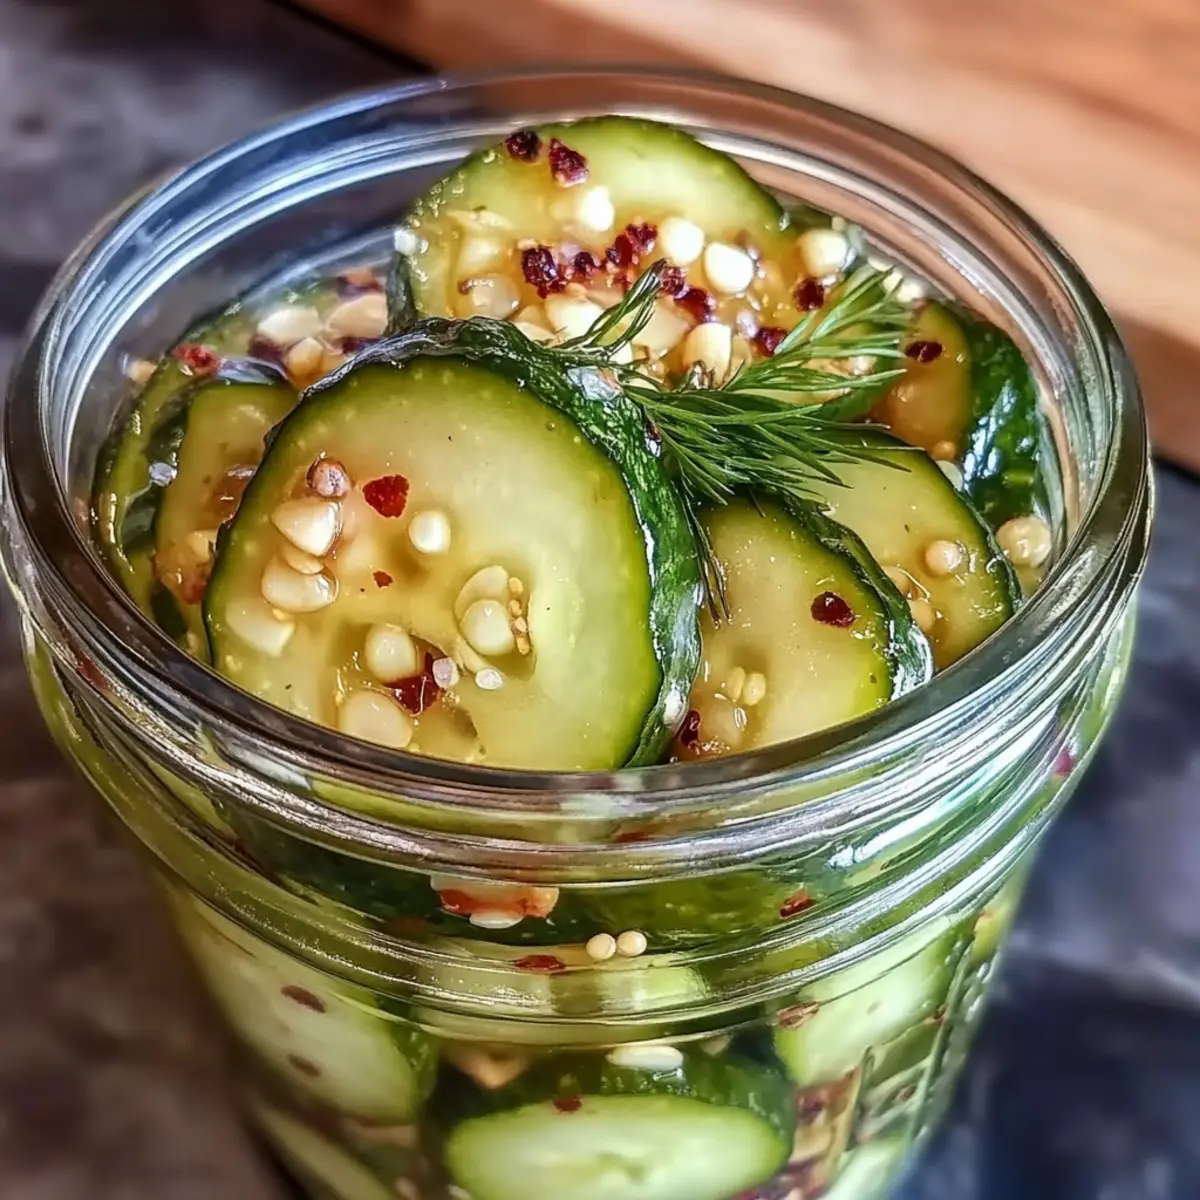
As I prepared for a summer get-together, the thought of homemade pickles danced in my mind. These Quick Refrigerator Dill Pickles transformed my kitchen into a sanctuary of tangy delights, and the best part? They’re ready in just 30 minutes! No canning hassle here—just vibrant, crisp cucumber slices soaking in a seasoned brine that elevates any dish. Perfect for snacking straight from the jar or adding a zesty crunch to sandwiches and salads, these dill pickles are sure to charm your dinner guests and spice up your meals. Plus, they’re incredibly easy to make, allowing you to savor the satisfaction of homemade goodness without hours of fuss. So, are you ready to dive into the world of refrigerator pickles? Let’s get started!
Why Make Refrigerator Dill Pickles?
Quick and Easy: You won’t believe how simple it is—just 30 minutes and minimal prep for these tangy delights!
Vibrant Flavors: The harmony of fresh dill, garlic, and vinegar brings out a burst of taste that complements any dish.
Perfect for Snacking: Enjoy them straight from the jar as a crunchy snack, or elevate your sandwiches with their zesty goodness.
No Canning Required: Say goodbye to the complex canning process. These pickles are ready to relish quickly and effortlessly!
Versatility at Its Finest: Whether you prefer them plain or with a spicy kick from red pepper flakes, create a unique twist to match your palate.
Dive into the joy of homemade flavor with these easy refrigerator pickles—you’ll never want to go back to store-bought again!
Refrigerator Dill Pickle Ingredients
• Perfect your pickle game with these essential ingredients!
For the Brine
- White Vinegar – Adds the essential tangy flavor for pickling while helping with preservation.
- Water – Balances the brine’s flavor, ensuring that your pickles aren’t too salty.
- Kosher Salt – Enhances the taste and keeps the brine clear; avoid using table salt for best results.
- Sugar – Softens the vinegar’s acidity, creating a balanced and nuanced flavor profile.
For the Pickles
- Cucumbers – Kirby cucumbers are ideal for crunchiness; slice English cucumbers as a substitute if needed.
- Dill Sprigs – Infuse a fresh herbal sweetness that defines these refrigerator dill pickles.
- Garlic Cloves – Smashed cloves give a mellow, aromatic touch without overpowering the pickles.
- Black Peppercorns – Add a gentle warmth without stealing the show from the dill.
- Red Pepper Flakes (optional) – Add a spicy kick for those who like a little heat in their pickles.
These simple ingredients come together to create vibrant refrigerator dill pickles that will charm your palate and enhance your meals!
Step‑by‑Step Instructions for Refrigerator Dill Pickles
Step 1: Soak the Cucumbers
Start by slicing your cucumbers into rounds or spears, then place them in a large bowl filled with ice water. Let the cucumbers soak for 30 minutes to ensure they stay nice and crunchy. If you’re short on time, a minimum of 15 minutes will suffice. This soaking step is critical for achieving the perfect texture in your refrigerator dill pickles.
Step 2: Prepare the Brine
In a medium saucepan, combine equal parts white vinegar and water, along with kosher salt and sugar. Heat the mixture over medium heat, stirring gently until the salt and sugar are fully dissolved, but do not bring it to a boil. This will create a flavorful brine that will infuse your pickles with tanginess while ensuring they’re perfectly balanced.
Step 3: Assemble the Jars
While the brine cools, prepare clean, quart-sized jars. Begin stacking the jars with fresh dill sprigs, smashed garlic cloves, and black peppercorns. If you like a bit of spice, feel free to sprinkle in some red pepper flakes. This combination of aromatics will elevate the flavor of your refrigerator dill pickles, creating depth and richness.
Step 4: Pack the Cucumbers
Once the cucumbers have soaked and the brine has cooled to room temperature, drain the cucumbers and pack them tightly into the prepared jars. Ensure they are snugly positioned over the bottom layer of aromatics. This packing method is essential for maximizing flavor absorption and achieving scrumptious refrigerator dill pickles.
Step 5: Add the Brine
Pour the cooled brine carefully into each jar, making sure the cucumbers are fully submerged. Leave about half an inch of headspace at the top of the jars. Seal the jars with their lids and give them a gentle shake to mix in the spices. This will ensure that every bite of your pickles has that unforgettable tangy flavor.
Step 6: Chill and Enjoy
Place the jars in the refrigerator and allow them to chill for at least 30 minutes. For the best flavor, let the refrigerator dill pickles sit for a few hours or even overnight. This resting time allows the cucumbers to absorb the brine fully, resulting in crisp, tangy, and delicious pickles ready to enjoy with your favorite meals!
Make Ahead Options
These Refrigerator Dill Pickles are a fantastic meal prep solution for busy home cooks! You can prepare the brine and soak the cucumbers up to 24 hours in advance, ensuring they maintain the perfect crunch. To do this, follow the soak and brining steps, then pack the cucumbers in jars and fill with cooled brine, sealing them tightly. When you’re ready to enjoy these tangy delights, simply refrigerate the pickles for at least 30 minutes before serving; flavors will deepen if allowed to rest for up to 3 days. This way, you save time while still achieving that delicious homemade taste everyone loves!
Expert Tips for Refrigerator Dill Pickles
-
Crispier Cucumbers: Soak cucumbers in ice water for the full 30 minutes to achieve that satisfying crunch. Skipping this step may lead to sogginess.
-
Brine Balance: Ensure your brine is properly balanced—too much kosher salt can overwhelm the flavor. Always use the recommended measurements for the best results.
-
Fresh Ingredients: Use fresh dill and quality cucumbers. The flavor of your refrigerator dill pickles relies heavily on the ingredients; freshness matters!
-
Flavor Variations: Feel free to experiment with spices like mustard seeds or coriander for unique versions of your pickles. Customize to suit your taste preferences!
-
Storage Secrets: Store pickles in airtight jars in the refrigerator for optimal freshness. Consume within two weeks for the best flavor, though they can last up to a month.
How to Store and Freeze Refrigerator Dill Pickles
Fridge: Keep your refrigerator dill pickles in sealed jars for optimal freshness. They are best enjoyed within 2 weeks but can last up to a month if stored properly.
Make-Ahead: These quick pickles make for fantastic make-ahead snacks. Prepare them a day or two ahead of your gathering to allow the flavors to develop beautifully.
Freezer: It’s not recommended to freeze refrigerator dill pickles, as the texture may turn mushy upon thawing. They are best enjoyed fresh and crisp!
Reheating: No need to reheat these pickles. Enjoy them directly from the jar as a crunchy snack or complement to any dish!
Variations & Substitutions for Refrigerator Dill Pickles
Feel free to unleash your creativity with these delightful variations—each spin adds a unique twist to your homemade pickles!
-
Sweet Pickles: Increase the sugar in the brine for a delightful sweetness that balances the tang. Consider pairing them with sandwiches for a surprising flavor kick!
-
Spicy Kick: Add sliced jalapeños or crushed red pepper flakes to the jar for a spicier variation. This heat can elevate everything from burgers to salads.
-
Herb Swaps: Substitute dill with fresh herbs like thyme or oregano for a different herbal profile. Experimenting with herbs opens a new world of flavors!
-
Garlic Lovers: Increase the number of smashed garlic cloves for a richer, more aromatic pickle. This variation pairs wonderfully with grilled meats.
-
Smoky Flavor: Incorporate smoked paprika or a few drops of liquid smoke into the brine for a smoky twist. These pickles would shine on a charcuterie board.
-
Curried Pickles: Add curry powder to the brine for an exotic flavor profile that brings a delightful twist. This savory option is perfect for adding to wraps or salads.
-
Flavor Boost: Infuse the brine with mustard seeds or coriander for an additional layer of flavor. These spices will create depth and complexity, enhancing every bite.
Feel inspired? Let your palate be the guide, and don’t hesitate to check out Mustard Seed Variation and Curry Powder Option for additional flavor ideas!
What to Serve with Quick Refrigerator Dill Pickles?
Nothing elevates your meal quite like a side of delicious homemade pickles.
-
Creamy Potato Salad: The rich creaminess contrasts beautifully with the tangy crunch of the pickles, adding a delightful balance to your plate. This pairing is perfect for summer barbecues or picnics.
-
Grilled Hamburgers: Juicy patties topped with these quick refrigerator dill pickles add an irresistible crunch and zesty brightness, transforming your burgers into a flavor explosion. The pickles cut through the richness of the meat perfectly.
-
Charcuterie Board: Incorporate these vibrant pickles to enhance a selection of meats and cheeses. Their sharpness complements the savory elements and refreshes the palate between bites, making every nibble even more enjoyable.
-
Tuna Salad Sandwiches: Layering diced quick refrigerator dill pickles into your tuna salad adds a burst of flavor and a crunchy texture. This tangy bite brings the classic sandwich to new heights, making it a go-to lunch option.
-
Roasted Veggies: Pair your pickles with warm, roasted vegetables for an enticing contrast in temperature and texture. The acidity of the pickles brightens the earthy flavors of the veggies, creating a well-rounded side dish.
-
Spicy Chicken Tacos: Add quick refrigerator dill pickles as a zesty topping for your tacos. Their crunch and tang complement the spices beautifully, adding a refreshing element to your meal.
-
Margaritas: Sip on a classic margarita alongside your pickles for an extra zing. The citrus notes of the drink harmonize with the pickles’ tanginess, creating a fabulous culinary experience.
With these delightful pairings, your quick refrigerator dill pickles will shine and enhance a variety of meals!
Refrigerator Dill Pickles Recipe FAQs
What type of cucumbers should I use for making refrigerator dill pickles?
Absolutely! Kirby cucumbers are the best choice for making refrigerator dill pickles due to their crispness and firm texture. However, if Kirby cucumbers are unavailable, you can use sliced English or garden cucumbers. Just ensure you soak them properly to maintain their crunch!
How should I store my refrigerator dill pickles?
To keep your refrigerator dill pickles fresh, store them in airtight jars in the fridge. They are best consumed within 2 weeks for optimal flavor, but you can enjoy them for up to a month if kept sealed and refrigerated. Just check for any signs of spoilage before indulging!
Can I freeze refrigerator dill pickles?
I wouldn’t recommend freezing refrigerator dill pickles, as freezing causes the cucumbers to lose their delightful crunch and become mushy when thawed. For the best taste and texture, enjoy your pickles fresh from the fridge instead!
What can I do if my pickles taste too salty?
If you find your pickles too salty, don’t worry! You can quickly rinse them under cold water to reduce the saltiness. Simply place the pickles in a colander and run cold water over them for a few seconds—this will help balance the flavor while still allowing you to enjoy that crunchy delight.
Are refrigerator dill pickles safe for pets?
Definitely! While the cucumbers themselves are safe for dogs in moderation, the brine contains a significant amount of salt and vinegar, which aren’t suitable for pets. It’s best to keep these pickles as a delight for you and your family and avoid sharing them with your furry friends!
How long should I let the pickles sit before enjoying them?
For the best flavor, allow your refrigerator dill pickles to chill in the fridge for at least 30 minutes before serving. However, if you can wait a few hours or even overnight, the flavors will deepen and the pickles will be even tastier. Enjoy your homemade refrigerator dill pickles!
Crisp Refrigerator Dill Pickles Ready in Just 30 Minutes
Ingredients
Equipment
Method
- Start by slicing your cucumbers into rounds or spears, then place them in a large bowl filled with ice water. Let the cucumbers soak for 30 minutes to ensure they stay nice and crunchy.
- In a medium saucepan, combine equal parts white vinegar and water, along with kosher salt and sugar. Heat the mixture over medium heat, stirring gently until the salt and sugar are fully dissolved, but do not bring it to a boil.
- While the brine cools, prepare clean, quart-sized jars. Begin stacking the jars with fresh dill sprigs, smashed garlic cloves, and black peppercorns.
- Once the cucumbers have soaked and the brine has cooled to room temperature, drain the cucumbers and pack them tightly into the prepared jars.
- Pour the cooled brine carefully into each jar, making sure the cucumbers are fully submerged. Seal the jars with their lids and give them a gentle shake to mix in the spices.
- Place the jars in the refrigerator and allow them to chill for at least 30 minutes. For the best flavor, let the refrigerator dill pickles sit for a few hours or even overnight.