
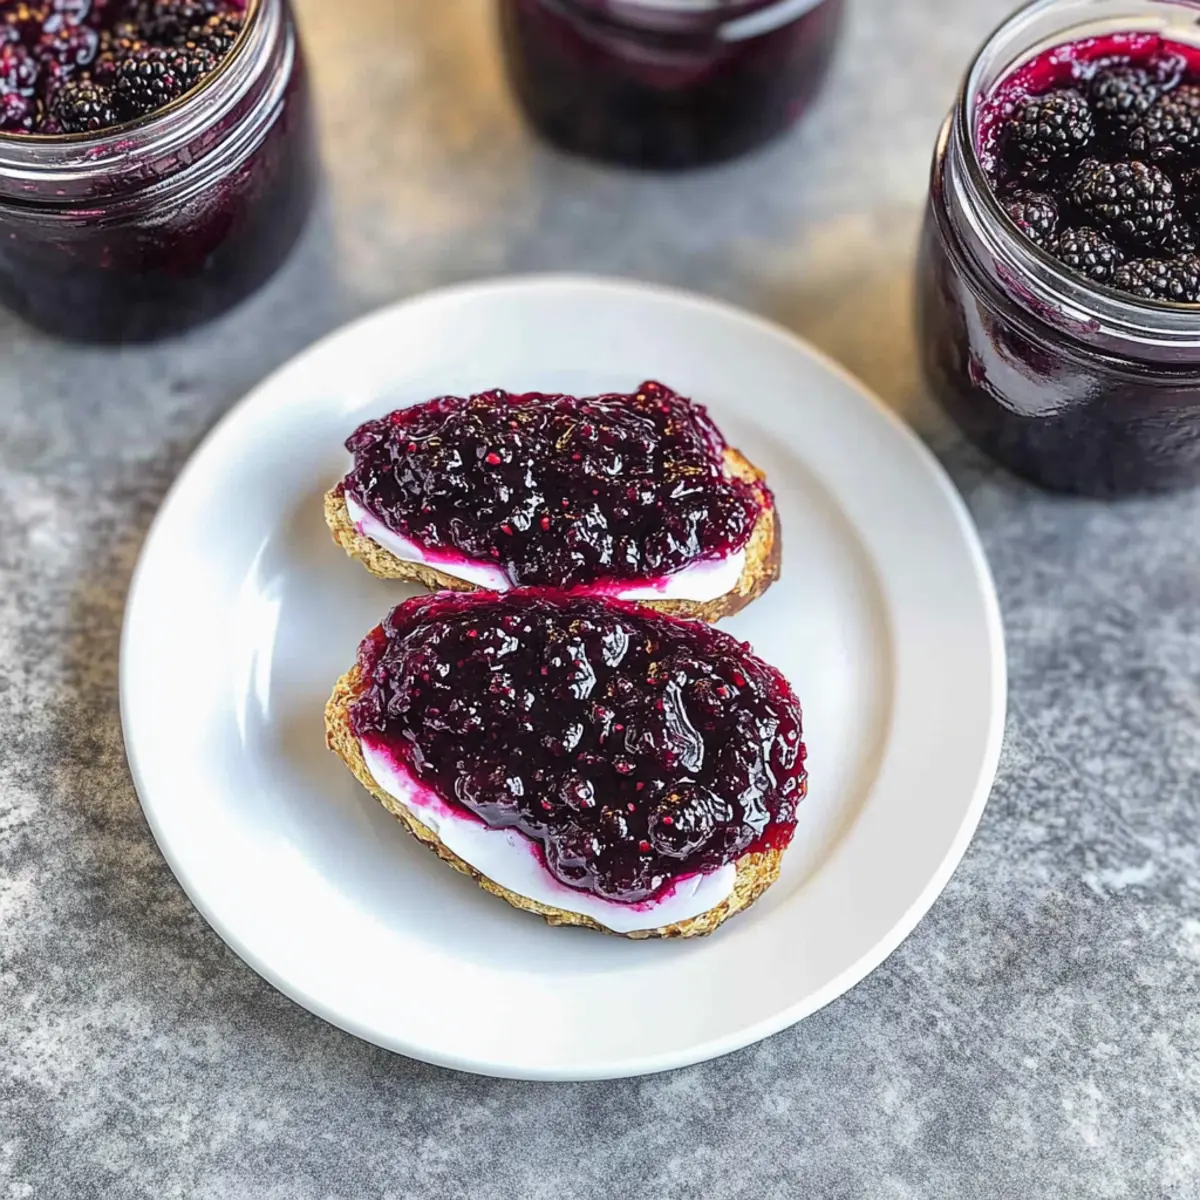
The aroma of simmering blackberries fills my kitchen, instantly transporting me to lazy summer afternoons spent berry-picking under the warm sun. Today, I’m thrilled to share my recipe for homemade blackberry jam with a low-sugar twist that maintains the luscious essence of the fruit while being kinder to our waistlines. Not only is this recipe perfect for beginners eager to dip their toes into canning, but it also allows you to savor the vibrant taste of ripe blackberries year-round. Imagine spreading this delightful jam over warm toast or stirring it into yogurt for an elevated breakfast treat. With just a few simple steps, you’ll have a scrumptious, guilt-free jam to enjoy or gift! Ready to dive into the juicy goodness? Let’s get started!
Why Make Homemade Blackberry Jam?
Homemade blackberry jam is a divine way to enjoy the taste of summer anytime!
Low-Sugar Twist: With a low-sugar recipe, you’ll enjoy the natural berry flavor without the guilt.
Easy Canning: Perfect for beginners, canning this jam is a simple process that rewards you with delicious spreads.
Versatile Treat: Use it on toast, swirl it in yogurt, or drizzle it over desserts for a delightful twist.
Healthier Alternative: By making your own, you control the ingredients, avoiding preservatives and excess sugar.
Gift-Worthy: Share jars of this beautiful jam with friends and family for a thoughtful homemade gift! For even more delightful homemade treats, check out my Samoa Cookies Homemade or explore Homemade Green Bean.
Homemade Blackberry Jam Ingredients
• Get ready to create a deliciously sweet spread!
For the Jam
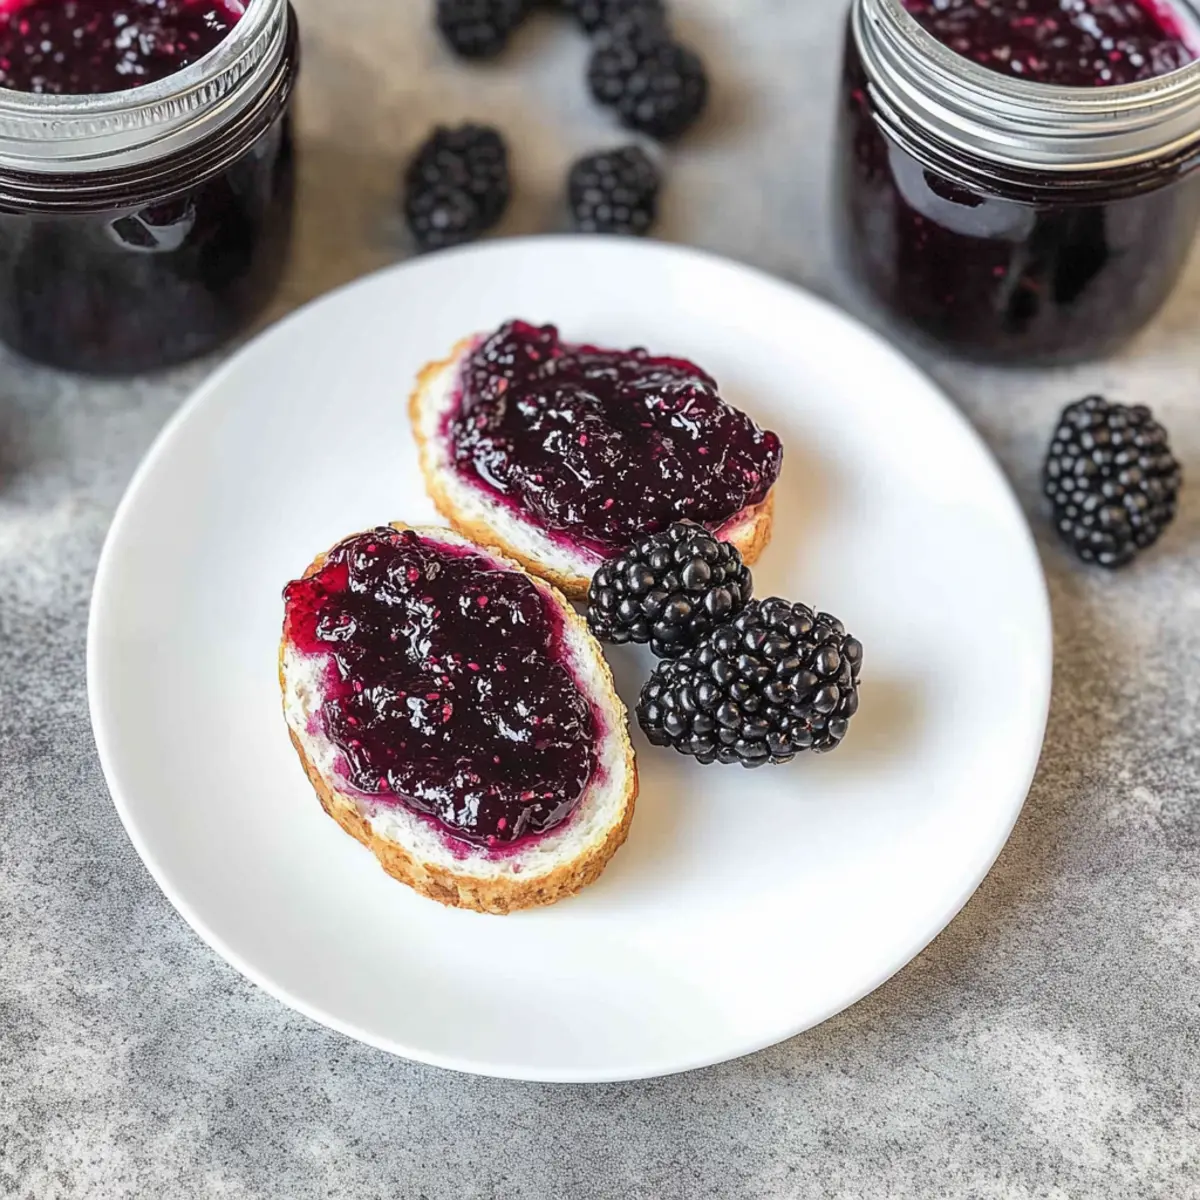
- Fresh Blackberries – Essential for flavor, opt for ripe, crushed blackberries for the best results.
- Water – Adds moisture to cook the jam; you can substitute with white grape juice or apple juice for a hint of extra sweetness.
- Fresh Lemon Juice – Helps adjust pH for setting the pectin while adding a refreshing tang.
- Low or No-Sugar Needed Pectin – Crucial for helping the jam set without excessive sugar; make sure to use the low-sugar variety!
- Granulated Sugar – Offers sweetness and aids in thickening; avoid using liquid sweeteners in this homemade blackberry jam.
- Half-Pint Mason Jars – Necessary for safe storage and preserving your jam securely.
Step‑by‑Step Instructions for Homemade Blackberry Jam
Step 1: Sanitize the Jars
Start by sterilizing your half-pint mason jars to ensure safe canning. Submerge the clean jars in a large pot of boiling water for 10 minutes. Once done, let them air dry while you prepare the other ingredients. Keeping the jars warm will help prevent breakage when you add the hot blackberry jam later.
Step 2: Prepare the Blackberries
Rinse fresh blackberries under cool running water, removing any debris. Using a food mill or potato masher, crush the blackberries until they are a chunky purée. If you prefer a smoother jam, feel free to blend the berries further. This step highlights the natural sweetness in your homemade blackberry jam.
Step 3: Combine Ingredients
In a large stockpot, mix the crushed blackberries, water, and fresh lemon juice. Stir in the low or no-sugar-needed pectin thoroughly to avoid clumps. Set your stove to medium-high heat and bring the mixture to a rolling boil, observing it closely until it bubbles vigorously and the colors deepen, about 5-7 minutes.
Step 4: Add Sugar and Boil
Once boiling, stir in granulated sugar gradually, ensuring it dissolves completely. Maintain the boil for an additional minute while stirring continuously to incorporate everything. The mixture should become thick and glossy, signaling that your homemade blackberry jam is nearing completion.
Step 5: Fill the Jars
Carefully ladle the hot jam into your pre-warmed mason jars, leaving about 1/4 inch of headspace at the top. Wipe the rims of the jars with a clean cloth to ensure a proper seal. This care in presentation helps your jam last longer and stay fresh.
Step 6: Process in Water Bath
Process the jars in a boiling water bath for 10 minutes. Make sure the water covers the jars by at least an inch. This crucial step helps create a vacuum seal and preserves your homemade blackberry jam for long-term storage.
Step 7: Cool and Check Seals
After processing, carefully remove the jars from the water bath and set them on a rack to cool completely, ensuring they are spaced apart. Once cool, check each lid by pressing the center; it should not pop back. This indicates that your seals are tight, securing the lovely jam inside.
Homemade Blackberry Jam Variations
Feel free to customize your homemade blackberry jam with these fun and friendly variations! Let your kitchen creativity shine as you explore new flavors and twists.
-
Berry Mix: Combine blackberries with raspberries or blueberries for a delightful berry medley. Each fruit adds its unique sweetness and depth, creating a jam that’s bursting with flavor.
-
Citrus Zest: Add a teaspoon of orange or lemon zest for a refreshing zing. The added zest brightens up the jam, enhancing its fruity character and giving it a delightful aroma.
-
Spicy Kick: Incorporate a pinch of cayenne pepper or red pepper flakes for a mild heat. This unexpected addition adds warmth and a savory layer, making it a standout spread.
-
Herb Infusion: Try adding a hint of fresh basil or thyme to the cooking process. The herbal notes elevate the jam’s unique flavor profile, creating a sophisticated treat that’s perfect for gourmet cheese boards.
-
Vanilla Delight: Stir in a splash of vanilla extract just before filling the jars. This adds a creamy undertone that pairs perfectly with the tartness of the blackberries, making every bite irresistible.
-
Lower Sugar: Reduce the sugar content a bit more if you prefer an ultra-low-sugar jam. Just note that this might affect the jam’s consistency; monitor it closely for setting.
-
Jelly Variation: For a jelly instead of jam, simply strain out the seeds and pulp after crushing the blackberries. This creates a smooth, velvety spread that’s just as enjoyable.
-
Add-Ins: Consider blending in some chia seeds for a nutritious boost. They add fiber and help further thicken the jam naturally, offering a delightful texture.
Feel inspired yet? Now that you’ve explored these variations, don’t forget to serve your delectable homemade jam on toast, scones, or even atop a scoop of ice cream for an indulgent treat. Speaking of treats, if you’re looking for an exciting dessert to try alongside, consider making some Homemade Ciabatta Rolls for the perfect jam pairing! Enjoy your jam-making adventure!
Expert Tips for Homemade Blackberry Jam
-
Choose Ripe Berries: Use only ripe blackberries for the best flavor and sweetness in your homemade blackberry jam. Overripe or unripe berries can affect the texture and taste.
-
Precise Measurements: Stick to exact measurements of ingredients, especially pectin and sugar, to ensure proper setting of the jam. Too little pectin can lead to a runny consistency.
-
Maintain Cleanliness: Ensure all utensils and jars are sanitized to avoid contamination. This prevents spoilage and ensures your homemade blackberry jam remains fresh longer.
-
Monitor Boiling Time: Keep a close watch when boiling your ingredients. Boil too long, and the jam may become too thick; not enough time, and it may not set properly.
-
Adjust Sweetness Gradually: If you prefer a less sweet flavor, reduce sugar slowly while testing consistency. Remember that sugar plays a role in thickening and preserving your homemade blackberry jam.
-
Experiment with Flavors: Once you master the basic recipe, feel free to blend in spices or other fruits for unique flavors. A dash of cinnamon or a handful of raspberries can elevate your jam superbly!
Make Ahead Options
These homemade blackberry jam recipes are perfect for meal prep enthusiasts! You can prep the crushed blackberries, water, and lemon juice mixture up to 24 hours in advance by storing it in the refrigerator. This not only saves critical time during your busy days but also enhances the flavor since the ingredients meld beautifully overnight. Simply, when you’re ready to cook, bring the mixture to a boil, stir in the pectin and granulated sugar, and follow the remaining steps for canning. For best quality, balance timing to avoid excess moisture in the mixture. Your homemade blackberry jam will taste just as delightful when made ahead, allowing you to savor every bite!
How to Store and Freeze Homemade Blackberry Jam
-
Fridge: Store your homemade blackberry jam in the refrigerator for up to 5-6 days if not canned. Ensure it’s in an airtight container to maintain freshness.
-
Canned Storage: If properly canned, your jam can last up to 1 year in a cool, dark place. Check for any signs of spoilage before use.
-
Freezer: For extended storage, freeze your jam in airtight freezer-safe containers or zip-top bags for up to a year. Leave space at the top for expansion as it freezes.
-
Thawing: When ready to enjoy, thaw the homemade blackberry jam in the refrigerator overnight for the best texture and flavor.
What to Serve with Low-Sugar Blackberry Jam?
Imagine a table spread with delightful treats that enhance the flavorful experience of your homemade jam.
-
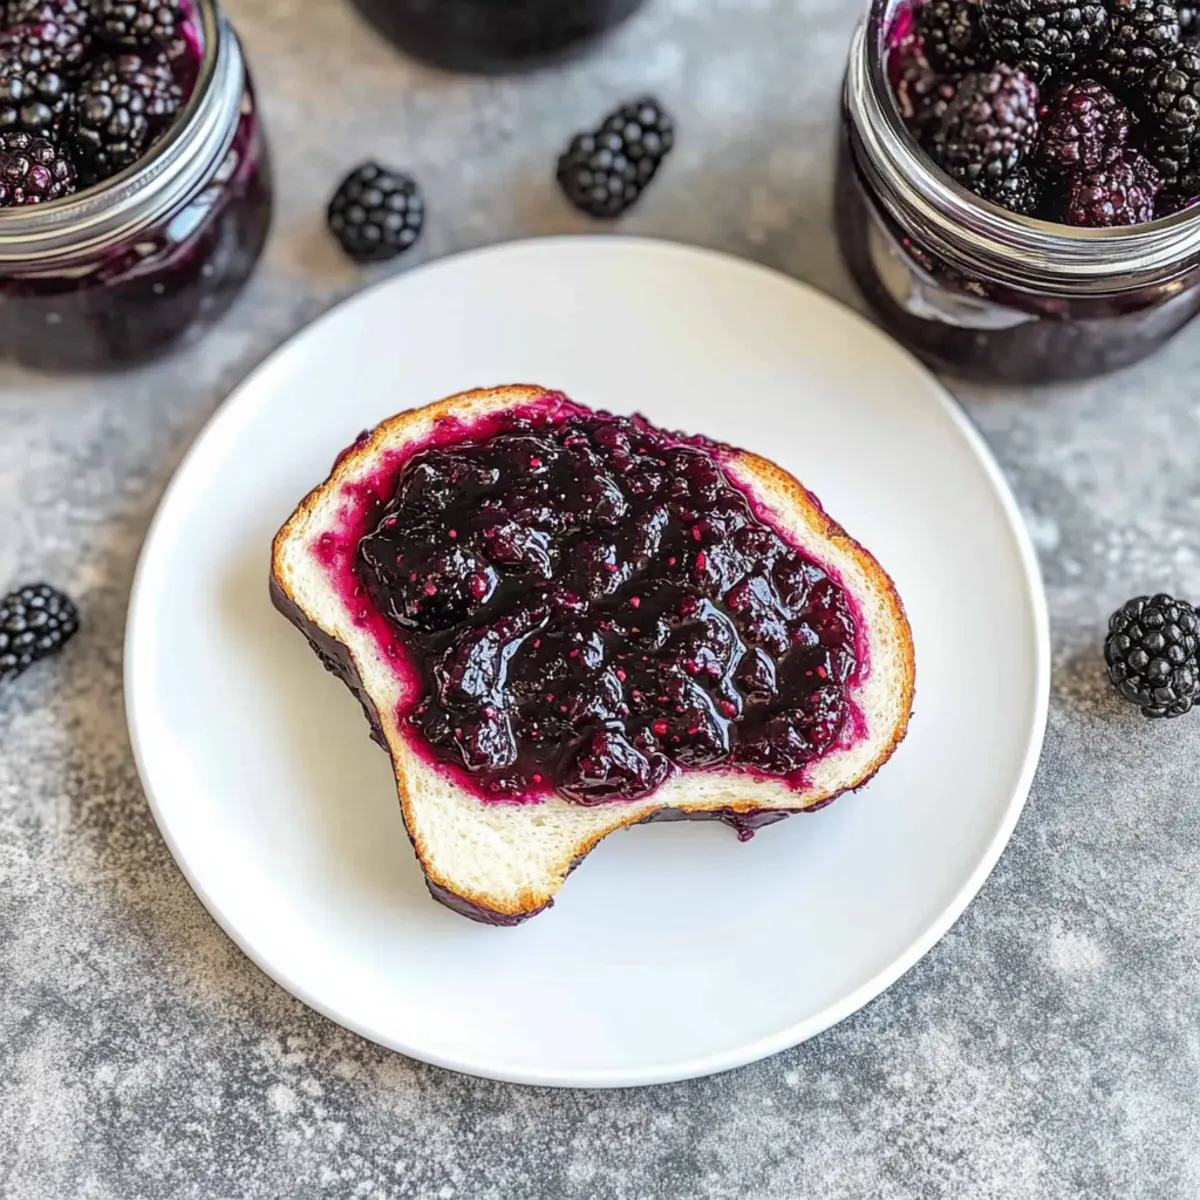
Warm Toast: The classic companion, preferably buttery, allows the rich blackberry flavors to meld beautifully.
-
Creamy Yogurt: Swirl a generous spoonful into thick, creamy yogurt for a refreshing breakfast or snack that sings of summer.
-
Fluffy Pancakes: Drizzle over fluffy pancakes, elevating them to gourmet status; the tartness complements the sweetness perfectly.
-
Scones: Enjoyed freshly baked, warm scones with a generous layer of blackberry jam create a delightful tea-time experience.
-
Cheesecake Topping: A vibrant layer atop cheesecake adds a fruity zing that cuts through the creaminess, bringing balance to each bite.
-
Ice Cream Delight: Serve a scoop of vanilla ice cream with a swirl of your low-sugar jam for a refreshing dessert that satisfies cravings.
-
Savory Cheese Board: Pair with brie or goat cheese on a cheese board for a balanced contrast of creamy and sweet; it’s sure to impress guests.
-
Salad Dressing: Mix with olive oil and vinegar for a unique dressing that enhances salads with a touch of tangy sweetness.
-
Sparkling Water: Add a spoonful to sparkling water for a refreshing drink, adding a twist to your hydration routine.
Low-Sugar Blackberry Jam Recipe FAQs
What kind of blackberries should I use?
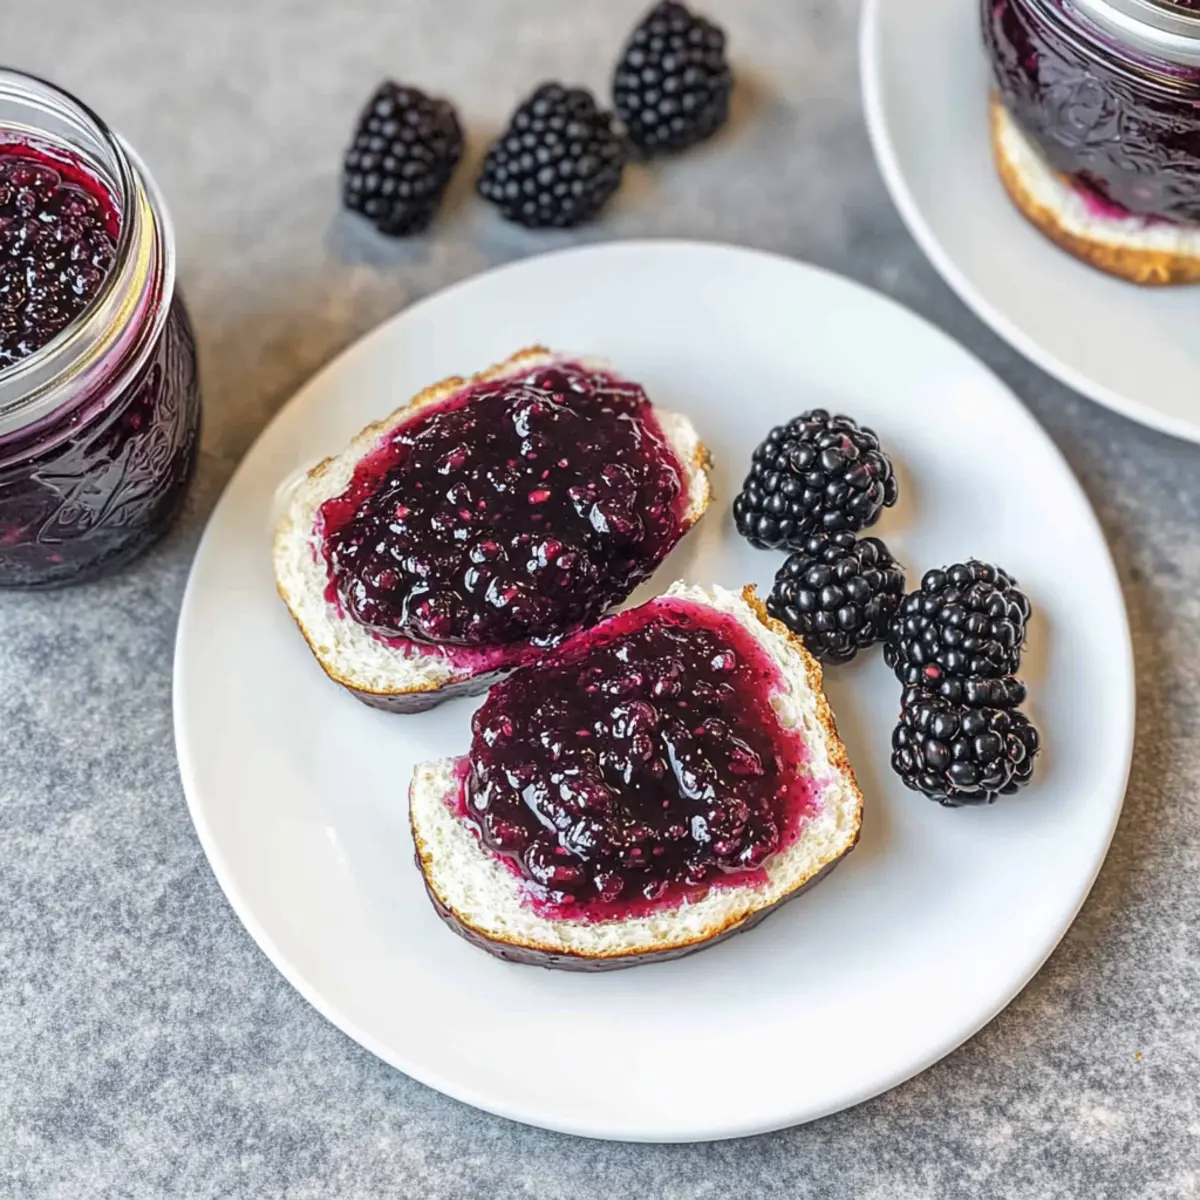
Absolutely, for the best results in your homemade blackberry jam, opt for ripe blackberries. Look for berries that are plump and slightly soft to the touch, as they’ll be sweeter and juicier. Steer clear of overripe ones with dark spots all over, as this can affect the texture and taste of your jam.
How should I store my homemade blackberry jam?
To keep your homemade blackberry jam fresh, store it in the refrigerator for up to 5-6 days if it’s not canned. Make sure it’s in an airtight container to avoid any moisture getting in. If you’ve canned it properly, it can last up to a year when kept in a cool, dark place. Always check for any signs of spoilage, like an off smell or bulging lids, before using.
Can I freeze my blackberry jam?
Yes, you can absolutely freeze your homemade blackberry jam for longer storage! To do so, pour the cooled jam into airtight freezer-safe containers or zip-top bags, leaving a little space at the top for expansion. It can be happily stored in the freezer for up to a year. When you’re ready to enjoy it, just thaw it overnight in the refrigerator to maintain its delicious texture.
What should I do if my jam doesn’t set properly?
If your jam is too thin after cooling, don’t worry! It’s a common issue that can be easily fixed. To remedy this, you can reprocess it by adding additional low or no-sugar needed pectin. Here’s what to do:
- Pour the jam back into a pot.
- Mix in a calculated amount of pectin according to the package instructions.
- Bring the mixture to a rolling boil while stirring constantly for about 1-2 minutes.
- Repeat the canning process to seal it tightly in jars. This should help your jam achieve the desired thickness!
Is this recipe suitable for people with dietary restrictions?
Yes, this homemade blackberry jam is vegan-friendly! Just be cautious with sugars if you have specific dietary concerns, such as diabetes. The recipe uses granulated sugar, but you may explore suitable sugar alternatives that align with low-sugar diets. However, for those that might have allergies, always check labels for any potential cross-contamination in store-bought ingredients like pectin.
Delicious Homemade Blackberry Jam to Savor Year-Round
Ingredients
Equipment
Method
- Sanitize the jars by submerging them in boiling water for 10 minutes, then let them air dry.
- Rinse blackberries under cold water and crush them using a food mill or potato masher.
- In a large stockpot, mix crushed blackberries, water, and lemon juice. Stir in pectin and bring to a rolling boil.
- Gradually stir in sugar until dissolved and maintain the boil for another minute.
- Ladle hot jam into pre-warmed jars, leaving 1/4 inch of headspace, then wipe the rims.
- Process jars in a boiling water bath for 10 minutes.
- Cool the jars completely and check seals by pressing the center of the lids.