
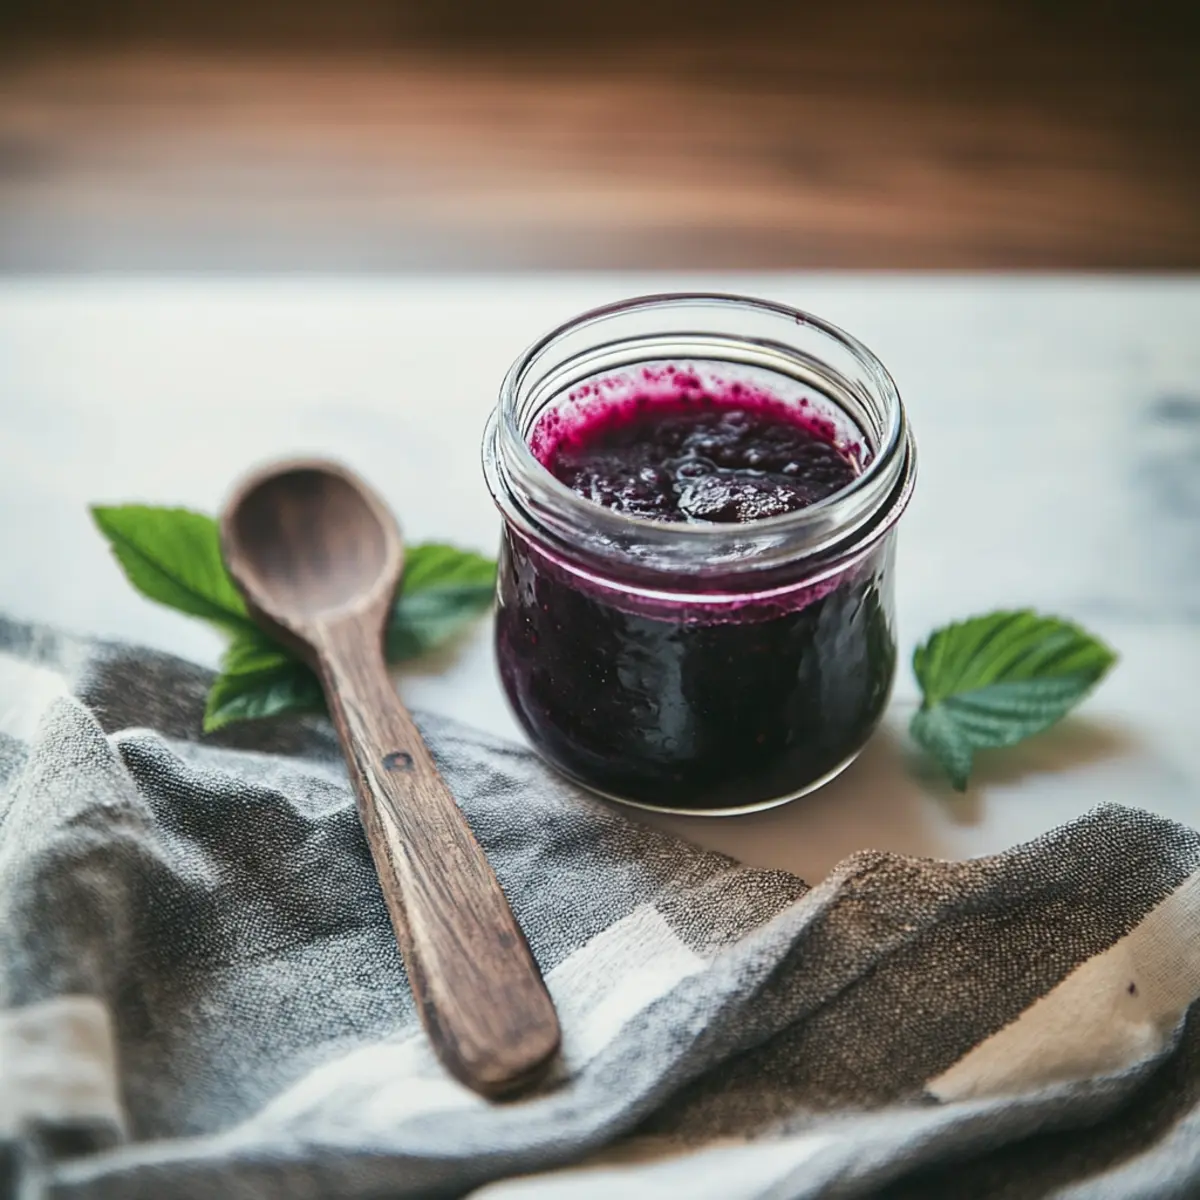
The sweet aroma of fresh blackberries fills the kitchen, transporting me to sunny days spent picking fruit under the warm sun. Today, I’m excited to share my recipe for Less-Sweet Homemade Blackberry Jam—an easy, healthier twist on a classic favorite. This delightful jam captures the vibrant essence of summer, offering a balance of natural fruitiness with just a hint of sweetness, perfect for spreading on toasty bread or dolloping on desserts. With less sugar than traditional recipes, it caters to a range of dietary preferences, making it gluten-free, vegan, and utterly delicious. Whether you’re a passionate home-chef or simply seeking a comforting homemade treat, this jam is sure to hit the spot. Are you ready to dive into a jar of pure berry goodness?
Why is Blackberry Jam a Must-Make?
Homemade Delight: This less-sweet blackberry jam allows you to savor the pure essence of fresh berries, making it a delightful addition to any breakfast table or dessert spread.
Versatile Treat: Whether you’re slathering it on toast, drizzling it over yogurt, or using it in baking, this jam shines in countless dishes!
Healthier Choice: With a lower sugar content, it’s a guilt-free indulgence, perfect for those seeking a nutritious twist on classic jams.
Dietary Friendly: Enjoy peace of mind knowing this jam fits into various dietary lifestyles—it’s gluten-free, vegan, and suitable for everyone.
Culinary Adventure: Embrace creativity and customize your batch! Substitute blackberries with your favorite berries, or add a pinch of spice to elevate your culinary experience.
Nostalgic Vibes: Capture summer memories with every spoonful, as this recipe takes you back to sunny days spent gathering fresh blackberries.
Blackberry Jam Ingredients
For the Jam
• Blackberries – The primary ingredient providing a burst of fruity flavor; use fresh, ripe blackberries for the best taste.
• Crystal Sugar – This sweetener balances the natural tartness of blackberries; feel free to reduce the amount for a less-sweet blackberry jam.
• Lemon Juice – Adds brightness and acts as a natural preservative; always opt for fresh lemon juice for optimal flavor.
For Jars
• Sterilized Glass Jars – Essential for storing your jam safely; ensure they are properly sterilized to prevent spoilage.
With these simple ingredients, you’re just a few steps away from creating a delightful homemade jam that encapsulates summer in a jar!
Step‑by‑Step Instructions for Blackberry Jam
Step 1: Rinse the Blackberries
Begin by rinsing fresh blackberries in a large colander under cold running water. Inspect the blackberries for blemishes and remove any stems or leaves. This step ensures that your less-sweet blackberry jam starts with perfectly clean fruit, ready to burst with flavor.
Step 2: Combine Ingredients
Transfer the clean blackberries into a large pot or jam pan. Sprinkle the crystal sugar evenly over the blackberries, then gently stir to combine. Cover the mixture and let it sit for 2 hours or overnight at room temperature. This resting period allows the sugar to draw out the juices, enhancing the jam’s flavor.
Step 3: Heat the Mixture
After the resting time, place the pot over medium heat. Stir the blackberry and sugar mixture regularly, bringing it to a gentle simmer. Cook for about 30 minutes, allowing the mixture to thicken and bubble. You’ll notice the color deepening, indicating that it’s transforming into a luscious jam.
Step 4: Skim the Foam
As the blackberry jam simmers, you may see some foam or scum forming on the surface. Using a slotted spoon, carefully skim off this foam, discarding it as you go to achieve a smooth texture in your final product.
Step 5: Sterilize the Jars
While the jam is cooking, prepare your glass jars by sterilizing them. Submerge the jars in boiling water for about 10 minutes to eliminate any bacteria. This step is crucial to ensure that your homemade blackberry jam stays fresh and safe for longer.
Step 6: Strain the Jam
Once the jam has thickened, remove it from heat. For a smoother texture, strain the mixture through a fine sieve or cheesecloth to remove excess pulp. Return the strained liquid to the pot and cook for an additional 10 minutes until it reaches your desired thickness.
Step 7: Fill the Jars
Carefully ladle the hot blackberry jam into the sterilized jars, leaving a 1 cm gap at the top. Make sure to work quickly while the jam is still hot to maintain its consistency and safety. Each jar should glisten with the vibrant color of your homemade treat.
Step 8: Seal and Cool
Wipe the rims of the jars with a clean cloth to remove any residue before sealing them. Secure the lids tightly and invert the jars to create a vacuum seal. Allow them to cool completely at room temperature before storing them in a cool, dark place—your homemade blackberry jam is now ready for enjoyment!
How to Store and Freeze Blackberry Jam
Room Temperature: Once sealed, store your jars of blackberry jam in a cool, dark place for up to 1 year. Ensure they are kept away from direct sunlight and heat sources.
Fridge: After opening, keep the jam refrigerated for up to 3 weeks. Use an airtight container to maintain freshness and prevent any spoilage.
Freezer: For long-term storage, freeze your blackberry jam in freezer-safe jars or bags for up to 1 year. Leave a little space at the top of the jar for expansion.
Reheating: To enjoy your frozen jam, thaw it overnight in the fridge or place the jar in warm water. Reheat gently on the stove or in the microwave until warmed through.
Blackberry Jam Variations & Substitutions
Get ready to unleash your creativity in the kitchen with these fun twists and tailor-made substitutions for your blackberry jam!
- Berry Mix: Combine blackberries with raspberries or blueberries for a vibrant flavor medley.
- Sugar Swap: Use honey or maple syrup instead of sugar to introduce a unique sweetness and a hint of cozy flavor.
- Spice It Up: Add a dash of cinnamon or a splash of vanilla extract to warm up the taste and add aromatic depth.
- Zesty Lemon: For a tangy kick, increase lemon juice or add lemon zest to amplify the fresh citrus flavor.
- Chili Heat: Incorporate a pinch of red pepper flakes for a surprising touch of heat that complements the sweetness beautifully.
- Nutty Textures: Stir in some crushed walnuts or pecans just before pouring into jars for an unexpected crunch and nuttiness.
- Celebrate Seasons: Try mixing in seasonal fruits like peaches or apricots for a delightful summer twist, capturing a wonderful fruitiness.
- Infused Flavors: For a unique twist, infuse your jam with herbs like rosemary or thyme for a sophisticated, gourmet jam.
Feel free to explore these ideas, and don’t forget, each jar can tell a different story! For a hearty meal option, consider using your homemade jam in recipes like Jambalaya Flavorful One, giving your dishes that rich, fruity undertone they’ll love. Happy jam-making!
What to Serve with Less-Sweet Homemade Blackberry Jam
Elevate your homemade blackberry jam experience with delightful pairings that complement its rich, fruity flavor.
- Toasted Bread: The crispiness of toasted bread creates a perfect contrast, allowing the jam’s smooth sweetness to shine through.
- Scones: Flaky scones provide a tender base for the jam, making each bite a warm and comforting treat with a hint of nostalgia.
- Greek Yogurt: Creamy Greek yogurt paired with the jam adds a refreshing tang, turning breakfast into a luscious indulgence.
- Cheese Platter: Combining savory cheeses, like brie or goat cheese, with the sweet jam creates a harmonious balance of flavors perfect for gatherings.
- Pancakes or Waffles: Drizzling your blackberry jam over pancakes or waffles transforms a simple meal into a delightful morning feast. Imagine the syrupy sweetness blending with warm, fluffy goodness!
- Chocolate Desserts: A dollop of blackberry jam can elevate chocolate desserts, bringing a burst of fruity brightness to rich, decadent flavors.
- Sparkling Water: For a refreshing drink, mix sparkling water with a splash of blackberry jam, creating a delightful soda that’s both fruity and fizzy.
- Ice Cream: A generous swirl of jam over vanilla ice cream transforms your dessert into a treat that captures the essence of summer.
Expert Tips for Blackberry Jam
• Perfect Ripe Berries: Choose blackberries that are fully ripe for the best flavor. Under-ripe berries can lead to a tart taste that may require more sugar.
• Sugar Adjustments: If you prefer a less-sweet blackberry jam, start with less sugar and gradually add more while tasting to achieve your desired sweetness.
• Watch the Heat: Keep an eye on the cooking temperature; too high can burn the jam, while too low may prevent it from thickening properly.
• Foam Removal: Don’t skip skimming the foam! This will enhance the smooth texture of your jam and give it a more refined look.
• Proper Sterilization: Make sure your jars are properly sterilized by boiling them before filling; this prevents spoilage and ensures your homemade blackberry jam lasts longer.
• Cool and Store: Allow the jars to cool completely after sealing to create a vacuum. Store in a cool, dark place for maximum shelf life.
Make Ahead Options
These blackberry jam preparations are perfect for busy home cooks looking to save time! You can combine the blackberries and sugar, letting the mixture sit for up to 24 hours to extract juices and intensify flavor. Just remember to cover the bowl to prevent any browning. After the resting period, simply heat the mixture and simmer as directed, allowing the jam to cook down for about 30 minutes. Once cooled, store the mixture in the refrigerator for up to 3 days before proceeding to strain and jar your jam. This way, you’ll enjoy homemade blackberry jam without the last-minute rush, ensuring it’s just as delicious as when freshly made!
Blackberry Jam Recipe FAQs
What kind of blackberries should I use for the best flavor?
Absolutely! For the most vibrant and delicious blackberry jam, choose fresh, ripe blackberries. Look for berries that are plump and slightly soft to the touch, bursting with color. Avoid any with dark spots or signs of mold, as these can affect the flavor and quality of your jam.
How should I store my homemade blackberry jam?
Store your sealed jars of blackberry jam in a cool, dark place, and they will last for up to 1 year! Be sure to keep them away from direct sunlight and heat sources to maintain their freshness. Once opened, transfer the jam into an airtight container and refrigerate it for up to 3 weeks for best results.
Can I freeze blackberry jam, and if so, how?
Very! Freezing is a great option for long-term storage. To freeze blackberry jam, simply pour the cooled jam into freezer-safe jars or bags, leaving about 1 inch of space at the top for expansion. Seal tightly and store in the freezer for up to 1 year. When you’re ready to enjoy it, thaw it overnight in the fridge or place the jar in warm water for a quicker thaw.
What should I do if my jam isn’t thickening?
Don’t worry! If your blackberry jam isn’t thickening as it should, it could be due to undercooked berries or insufficient sugar. Make sure you let it simmer long enough—about 30 to 40 minutes normally does the trick. If it’s still runny, you can return it to the stove, boil it for another 5-10 minutes, and add a bit more sugar or lemon juice if necessary. Stir constantly to avoid burning!
Is this blackberry jam safe for my dog?
It’s best to keep this homemade blackberry jam away from your furry friends. While blackberries are safe in moderation for dogs, the added sugar and acidity from the lemon juice can upset their stomachs. Always consult with your veterinarian before sharing any human food with your pets!
How can I tell if my jam has spoiled?
Look out for any odd smells, signs of mold, or changes in color. If the jar seal is broken or if the jam seems to have a fermented scent, it’s wise to discard it. Fresh, properly stored blackberry jam should have a consistent texture and aromatic flavor.
Deliciously Easy Blackberry Jam for a Taste of Summer
Ingredients
Equipment
Method
- Rinse fresh blackberries in a colander under cold running water and remove any stems or leaves.
- Transfer blackberries to a large pot, sprinkle with sugar, stir, cover, and let sit for 2 hours or overnight.
- Place the pot over medium heat and stir regularly, bringing the mixture to a gentle simmer for about 30 minutes.
- Skim off the foam that forms on the surface using a slotted spoon.
- Sterilize the jars by boiling them in water for about 10 minutes.
- Once thickened, strain the mixture through a fine sieve and return to pot, cooking for an additional 10 minutes.
- Ladle hot blackberry jam into sterilized jars, leaving a 1 cm gap at the top.
- Wipe rims, seal tightly, invert jars for a vacuum seal, and allow to cool completely.