
Introduction to Bunny Oreo Balls
Spring is in the air, and with it comes the joy of Easter celebrations! If you’re looking for a delightful treat that’s as fun to make as it is to eat, Bunny Oreo Balls are the answer. These little bites of joy combine the rich flavors of Oreo cookies and cream cheese, all wrapped in a sweet white chocolate coating. Perfect for impressing family and friends, they’re a quick solution for busy days filled with festivities. Plus, who can resist those adorable bunny faces? Let’s hop into this delicious recipe together!
Why You’ll Love This Bunny Oreo Balls
Bunny Oreo Balls are the ultimate no-bake dessert that brings joy without the fuss. They come together in just about an hour, making them perfect for last-minute gatherings or family fun. The combination of creamy, sweet, and crunchy flavors is simply irresistible. Plus, they’re a hit with kids and adults alike, ensuring smiles all around. Trust me, these little treats will become a staple in your Easter celebrations!
Ingredients for Bunny Oreo Balls
Gathering the right ingredients is the first step to creating these delightful Bunny Oreo Balls. Here’s what you’ll need:
- Oreo cookies: The star of the show! Their rich chocolate flavor provides the perfect base.
- Cream cheese: This adds a creamy texture and balances the sweetness of the Oreos.
- Vanilla extract: A splash of this enhances the overall flavor, making it even more delicious.
- White chocolate chips: These are melted to coat the balls, giving them a sweet and smooth finish.
- Coconut oil: This helps the chocolate melt smoothly and adds a subtle richness.
- Green sprinkles: These are for decoration, resembling grass and adding a festive touch.
- Mini chocolate chips: Perfect for creating cute little eyes on your bunny balls.
- Pink candy melts or pink frosting: Use these for the adorable bunny noses, adding a pop of color.
For those looking to mix things up, consider using flavored Oreo cookies, like mint or peanut butter, for a fun twist. You can also roll the balls in crushed nuts or shredded coconut instead of sprinkles for a different texture. Exact measurements for each ingredient can be found at the bottom of the article, ready for printing!
How to Make Bunny Oreo Balls
Creating Bunny Oreo Balls is a fun and straightforward process. Follow these simple steps, and you’ll have a delightful treat ready for your Easter celebrations in no time!
Step 1: Prepare the Mixture
Start by grabbing a large mixing bowl. Combine the crushed Oreo cookies, softened cream cheese, and vanilla extract. Use a spatula or your hands to mix everything together until it’s smooth and well-blended. The mixture should be thick and slightly sticky, perfect for rolling into balls.
Step 2: Form the Balls
Once your mixture is ready, it’s time to roll! Take a small amount of the mixture and shape it into 1-inch balls. Place each ball on a baking sheet lined with parchment paper. This step is crucial, as it prevents sticking. After rolling all the balls, pop them in the refrigerator for at least 30 minutes. This will help them firm up, making the next steps easier.
Step 3: Melt the Chocolate
While the balls chill, it’s time to melt the white chocolate chips. In a microwave-safe bowl, combine the white chocolate chips and coconut oil. Heat in 30-second intervals, stirring in between until the mixture is smooth and creamy. Be careful not to overheat, as burnt chocolate can ruin the coating.
Step 4: Coat the Balls
Once the chocolate is melted, take the chilled Oreo balls out of the fridge. Dip each ball into the melted chocolate, ensuring it’s fully coated. Allow any excess chocolate to drip off before placing them back on the parchment-lined baking sheet. This step is where the magic happens, transforming simple balls into a sweet, chocolatey delight!
Step 5: Decorate
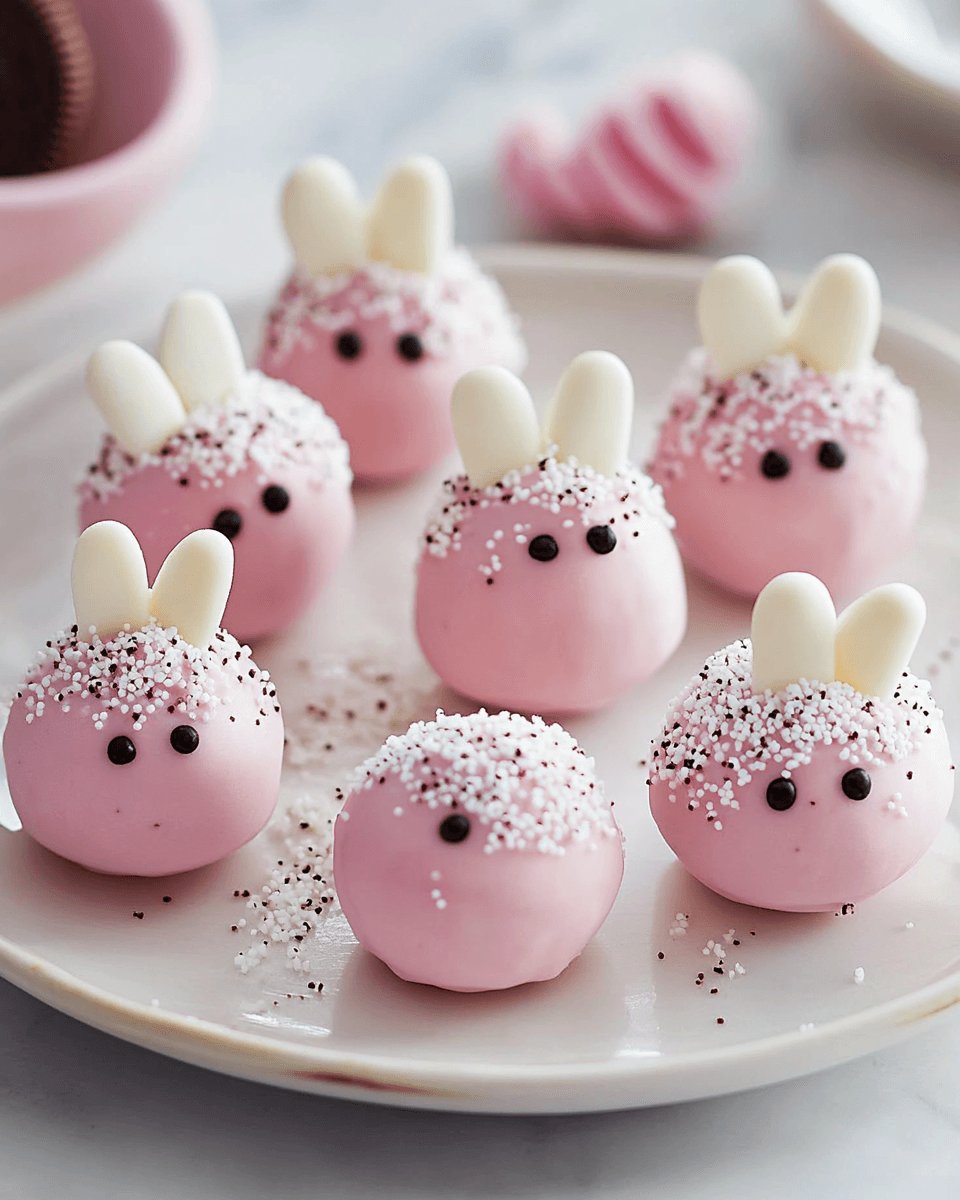
Now comes the fun part—decorating! While the chocolate is still wet, sprinkle green sprinkles on top to resemble grass. Use mini chocolate chips to create adorable eyes, and add a small piece of pink candy melt or a dot of pink frosting for the nose. Get creative! Each bunny can have its own personality.
Step 6: Set and Serve
Let the chocolate coating set at room temperature for a bit, or pop them in the fridge for about 15 minutes until firm. Once set, your Bunny Oreo Balls are ready to be served! These treats are sure to bring smiles and joy to your Easter gatherings.
Tips for Success
- Make sure your cream cheese is softened for easy mixing.
- Chill the balls long enough to prevent them from falling apart during coating.
- Use a fork to dip the balls in chocolate for a cleaner finish.
- Experiment with different sprinkles or toppings for unique designs.
- Store any leftovers in an airtight container in the fridge for up to a week.
Equipment Needed
- Mixing bowl: A large bowl for combining ingredients. A sturdy plate can work in a pinch.
- Spatula: For mixing. A wooden spoon is a great alternative.
- Baking sheet: To hold the balls. Any flat surface will do.
- Parchment paper: Prevents sticking. Aluminum foil can be used instead.
- Microwave-safe bowl: For melting chocolate. A small saucepan works too.
Variations
- Flavored Oreos: Swap regular Oreos for mint, peanut butter, or even birthday cake-flavored Oreos for a unique twist.
- Nutty Crunch: Roll the balls in crushed nuts like almonds or walnuts for added texture and flavor.
- Coconut Delight: Use shredded coconut instead of sprinkles for a tropical vibe.
- Vegan Option: Substitute cream cheese with a vegan alternative and use dairy-free chocolate chips.
- Gluten-Free: Opt for gluten-free Oreo cookies to make this treat suitable for gluten-sensitive friends.
Serving Suggestions
- Pair Bunny Oreo Balls with a refreshing glass of iced tea or lemonade for a delightful contrast.
- Serve them on a colorful platter surrounded by pastel-colored candies for a festive look.
- For a fun twist, add a small basket of fresh fruit alongside for a balanced treat.
- Consider using decorative cupcake liners to elevate their presentation.
FAQs about Bunny Oreo Balls
As you dive into making Bunny Oreo Balls, you might have a few questions. Here are some common queries that can help you along the way:
Can I make Bunny Oreo Balls ahead of time?
Absolutely! These no-bake treats can be made a day or two in advance. Just store them in an airtight container in the fridge until you’re ready to serve.
What can I use instead of cream cheese?
If you’re looking for a dairy-free option, try using a vegan cream cheese alternative. It works just as well and keeps the texture creamy!
How do I store leftover Bunny Oreo Balls?
Keep any leftovers in an airtight container in the fridge. They’ll stay fresh for up to a week, but I doubt they’ll last that long!
Can I freeze Bunny Oreo Balls?
Yes, you can freeze them! Just make sure they’re in a single layer on a baking sheet first, then transfer to a freezer-safe container. They’ll keep for about a month.
What other toppings can I use for decoration?
Get creative! You can use crushed nuts, sprinkles, or even edible glitter for a fun twist. The possibilities are endless!
Final Thoughts
Making Bunny Oreo Balls is more than just a recipe; it’s an experience filled with laughter and creativity. As you roll those little balls and decorate them into adorable bunnies, you’ll find joy in the process. These treats are perfect for sharing, sparking smiles at any gathering. Whether you’re hosting an Easter brunch or simply indulging with family, Bunny Oreo Balls bring a festive spirit to the table. So, gather your loved ones, unleash your inner artist, and enjoy the sweet rewards of your efforts. Trust me, these delightful bites will become a cherished tradition in your home!
Bunny Oreo Balls: Discover a Sweet Easter Delight!
Ingredients
Method
- In a large mixing bowl, combine the crushed Oreo cookies and softened cream cheese. Add the vanilla extract and mix until well combined and smooth.
- Roll the mixture into 1-inch balls and place them on a baking sheet lined with parchment paper. Refrigerate for at least 30 minutes to firm up.
- While the balls are chilling, melt the white chocolate chips and coconut oil together in a microwave-safe bowl, heating in 30-second intervals and stirring until smooth.
- Remove the chilled Oreo balls from the refrigerator. Dip each ball into the melted white chocolate, allowing any excess to drip off. Place them back on the parchment-lined baking sheet.
- Immediately sprinkle green sprinkles on top of each ball to resemble grass. Use mini chocolate chips to create eyes and a small piece of pink candy melt or a dot of pink frosting for the nose.
- Let the chocolate coating set at room temperature or refrigerate for about 15 minutes until firm.
Nutrition
Notes
- For a fun twist, try using flavored Oreo cookies, such as mint or peanut butter.
- You can also roll the balls in crushed nuts or shredded coconut instead of sprinkles for a different texture.