
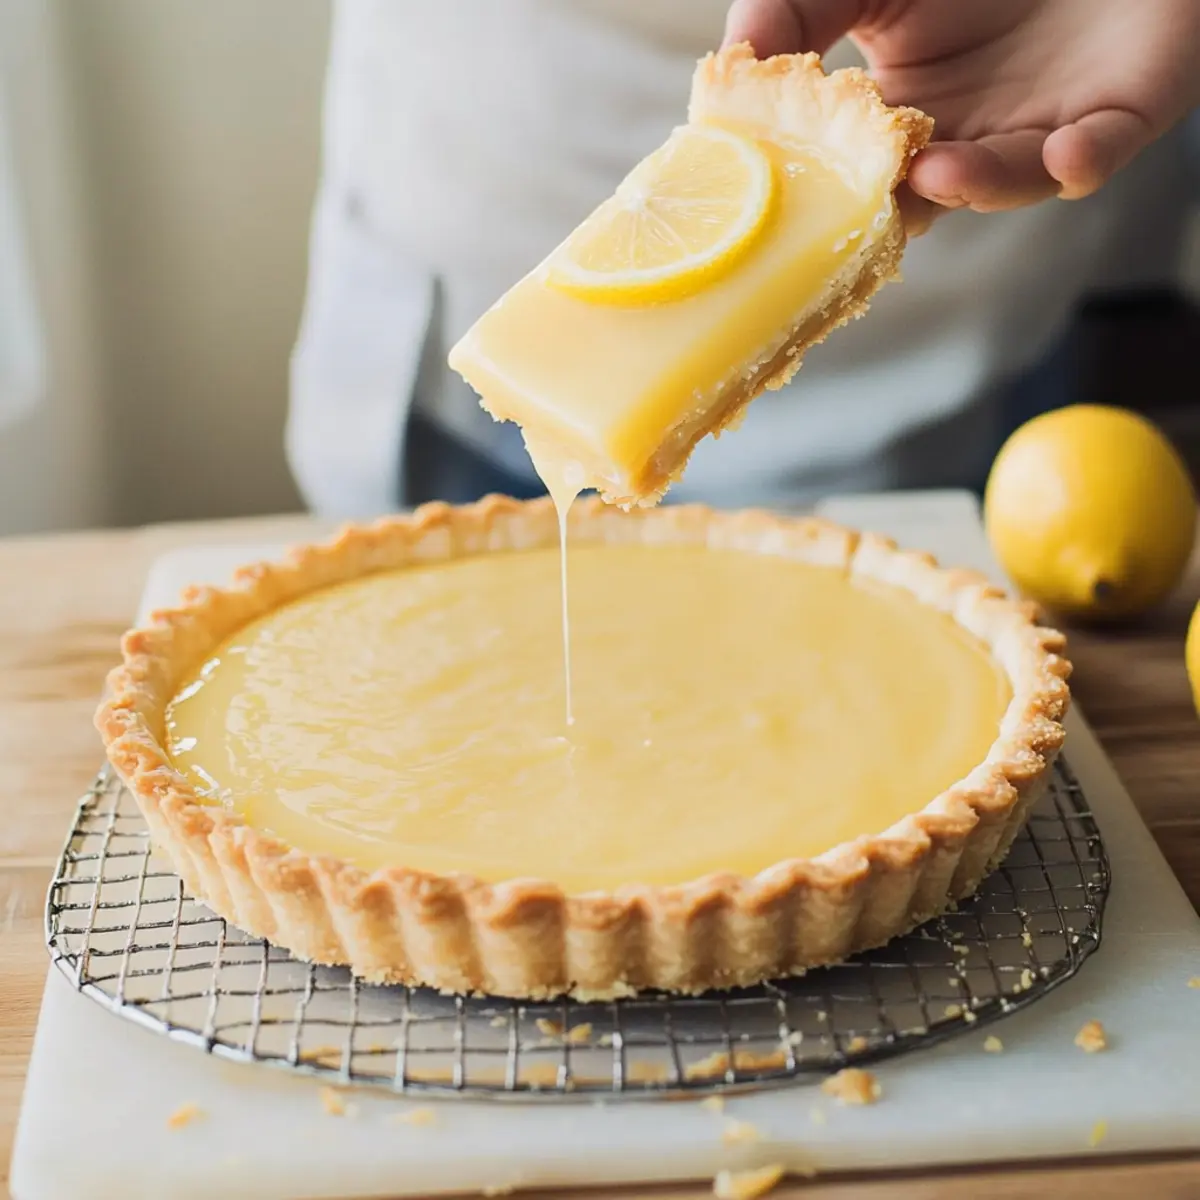
As I pulled the creamy, lemony tart from the refrigerator, a wave of nostalgia washed over me—reminding me of my last trip to a quaint Parisian café, where the air was filled with citrus and sweetness. Today, I’m thrilled to share my version of the Classic Lemon Tart Recipe, a delightful concoction that captures the essence of French patisserie right in your kitchen! Not only does this recipe offer a simple yet elegant way to impress family and friends, but it also combines the joyful experience of baking with the rewarding taste of a rich, creamy filling nestled in a buttery crust. Whether you serve it at a gathering or simply want to elevate your dessert game, this tart promises to satisfy your sweet tooth while giving you a moment of culinary triumph. Curious about how to create this masterpiece? Let’s dive into the delicious world of lemon tart making!
Why is this lemon tart so special?
Creamy Indulgence: The rich, velvety filling is the star of this tart, blending the perfect amount of sweetness and tang for a delectable experience.
So Simple: You can whip it up with just a handful of ingredients, making it an ideal treat for both novice and seasoned bakers.
Versatile Flourish: Customize your tart by experimenting with optional ingredients like heavy cream or lime zest for a unique twist, just like in my Lemon Zucchini Heaven recipe!
Perfect Presentation: The elegant appeal of the beautifully baked tart is sure to impress guests at any occasion, and it pairs wonderfully with whipped cream or fresh berries for a stunning display.
Nostalgic Flavor: With every bite, this tart brings you right back to the charming cafes of Paris, offering a sweet escape from everyday fast food. Make it your go-to dessert and bask in the joy of baking!
Classic Lemon Tart Recipe Ingredients
For the Tart Crust
• Fully baked tart crust – Provides structure and texture to hold the luscious filling; feel free to use a store-bought option for convenience.
For the Lemon Filling
• 2 large eggs plus 2 egg yolks (or 3 whole eggs) – Sets the filling and adds richness; substituting with cornstarch may change the final texture.
• ¾ cup (150 g) granulated sugar – Sweetens the tart, balancing the tartness of the lemons; reduce sugar for a less sweet filling if desired.
• 1 tablespoon lemon zest – Adds an aromatic lemon flavor; consider lime zest for a refreshing twist.
• ½ cup (120 ml) freshly squeezed lemon juice (from 2-3 lemons) – Provides the necessary acidity and citrus flavor; Meyer lemons will deliver a sweeter essence.
• 2 tablespoons heavy cream (optional) – Enhances creaminess of the filling; replace with milk for a lighter alternative if you like.
• ½ cup (1 stick/115 g) unsalted butter, cut into small pieces – Adds richness and smooth texture to the filling; reducing the amount can lighten the tart.
This Classic Lemon Tart Recipe not only promises a delightful culinary experience but also invites you to create a dish that embodies elegance and tradition. So gather your ingredients and let the baking adventure begin!
Step‑by‑Step Instructions for Classic Lemon Tart Recipe
Step 1: Prepare Lemon Curd
In a heatproof mixing bowl, whisk together the eggs, sugar, lemon zest, and freshly squeezed lemon juice until combined. Set this bowl over a saucepan filled with simmering water, creating a bain-marie. Cook the mixture while whisking continuously until it thickens and reaches 170°F (75°C), which should take about 10-20 minutes. Once thickened, strain the mixture through a fine mesh sieve into a clean bowl to ensure a silky texture.
Step 2: Incorporate Butter
With the strained lemon curd still warm, add the small pieces of unsalted butter to the bowl. Whisk vigorously until the butter is completely melted and incorporated into the lemon curd, resulting in a rich and creamy filling. This step ensures that your Classic Lemon Tart Recipe has that delightful smoothness, blending the tangy flavors beautifully with the buttery richness.
Step 3: Assemble the Tart
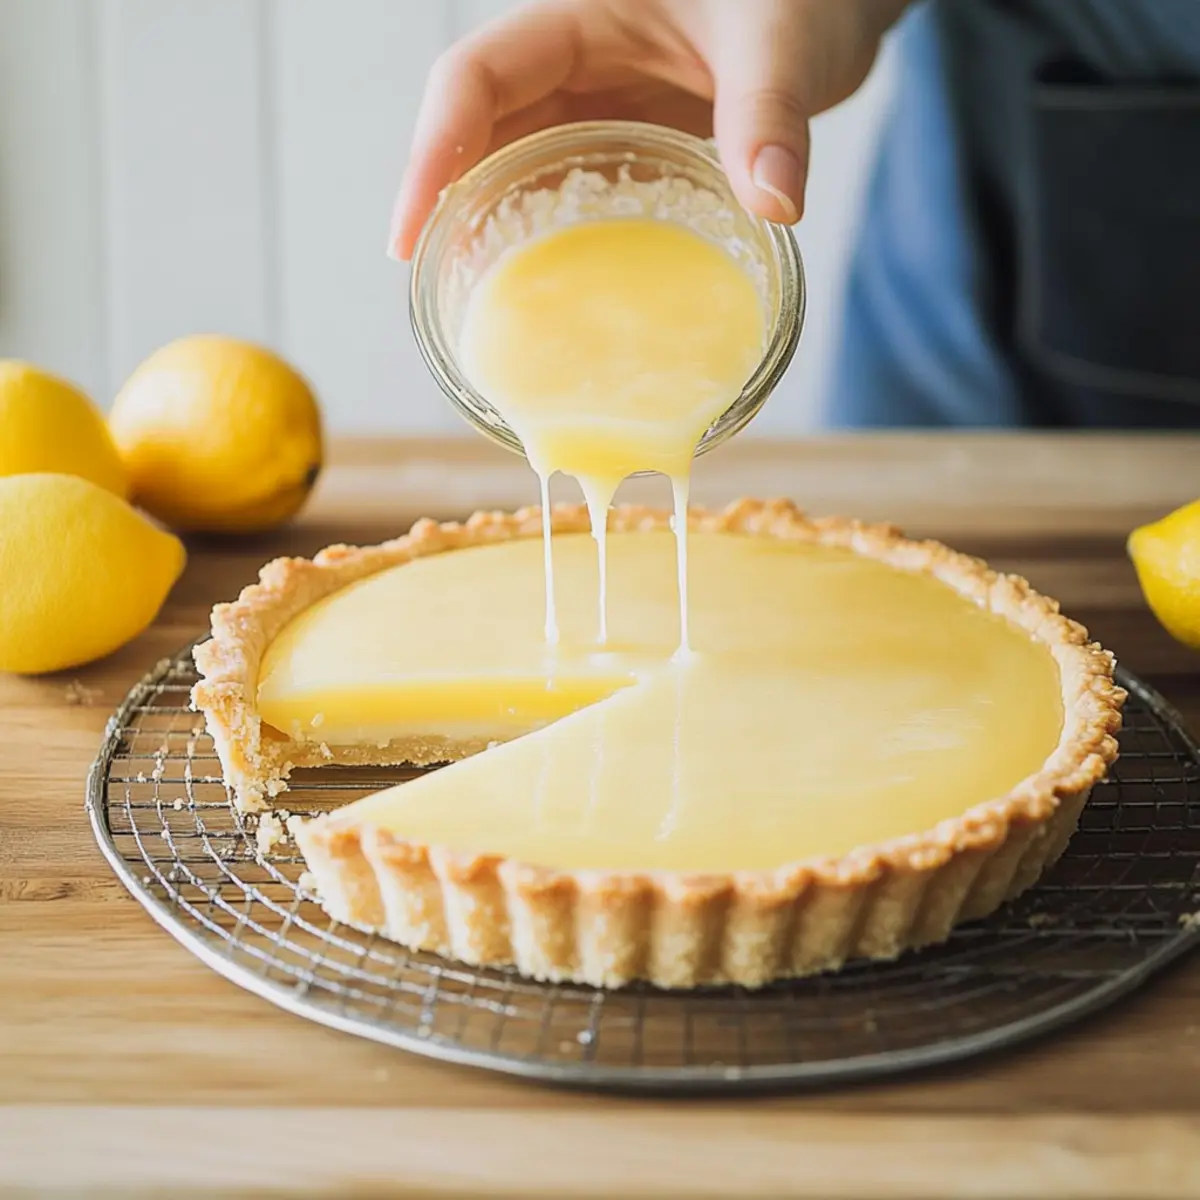
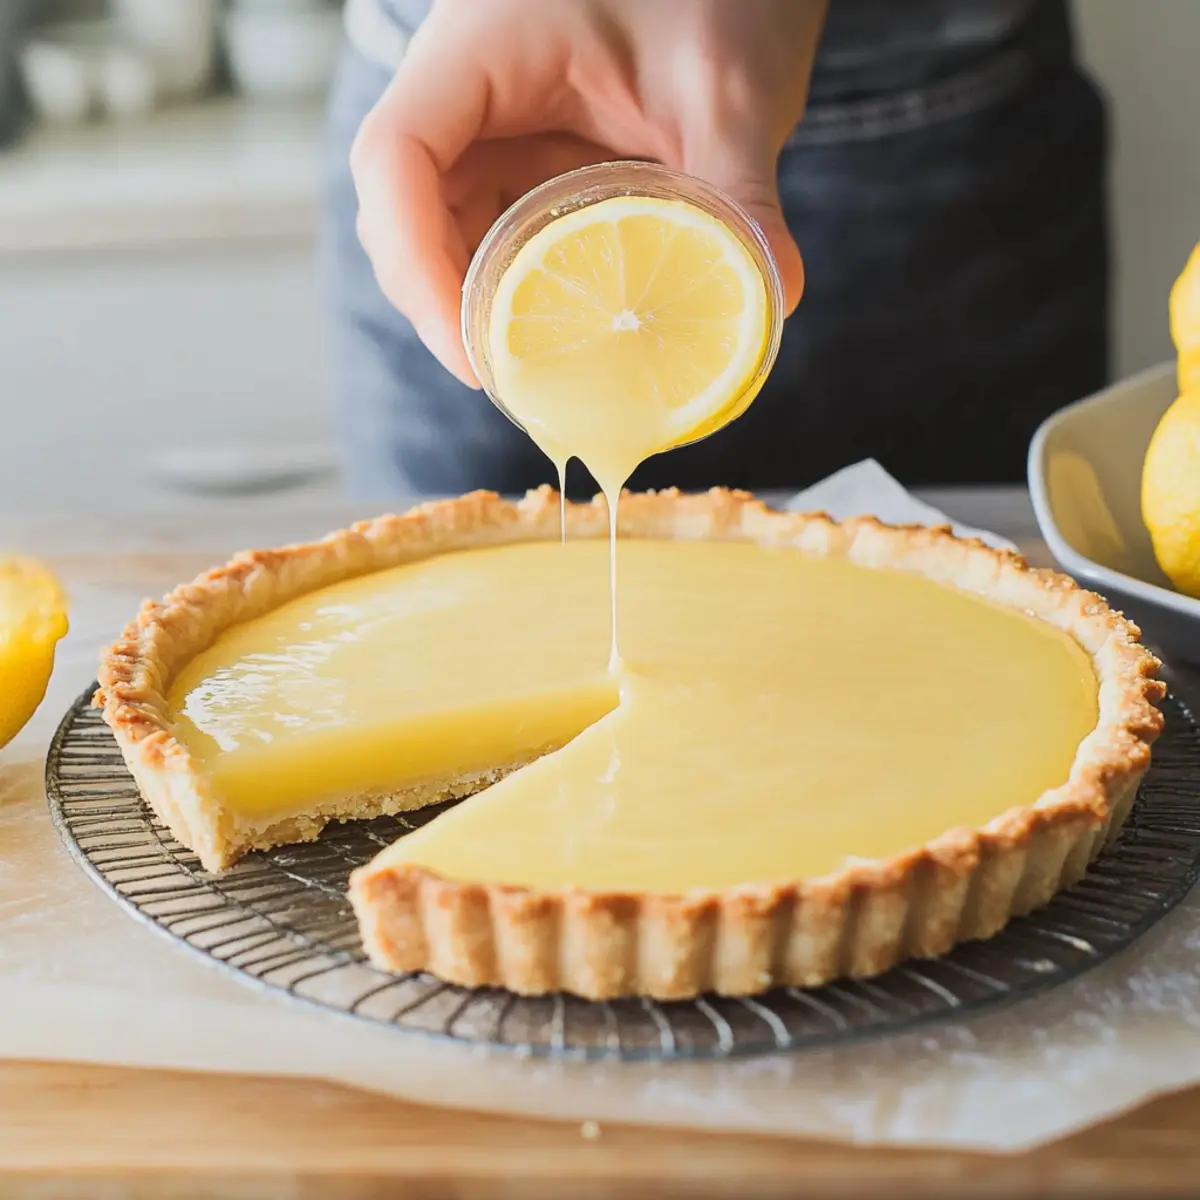
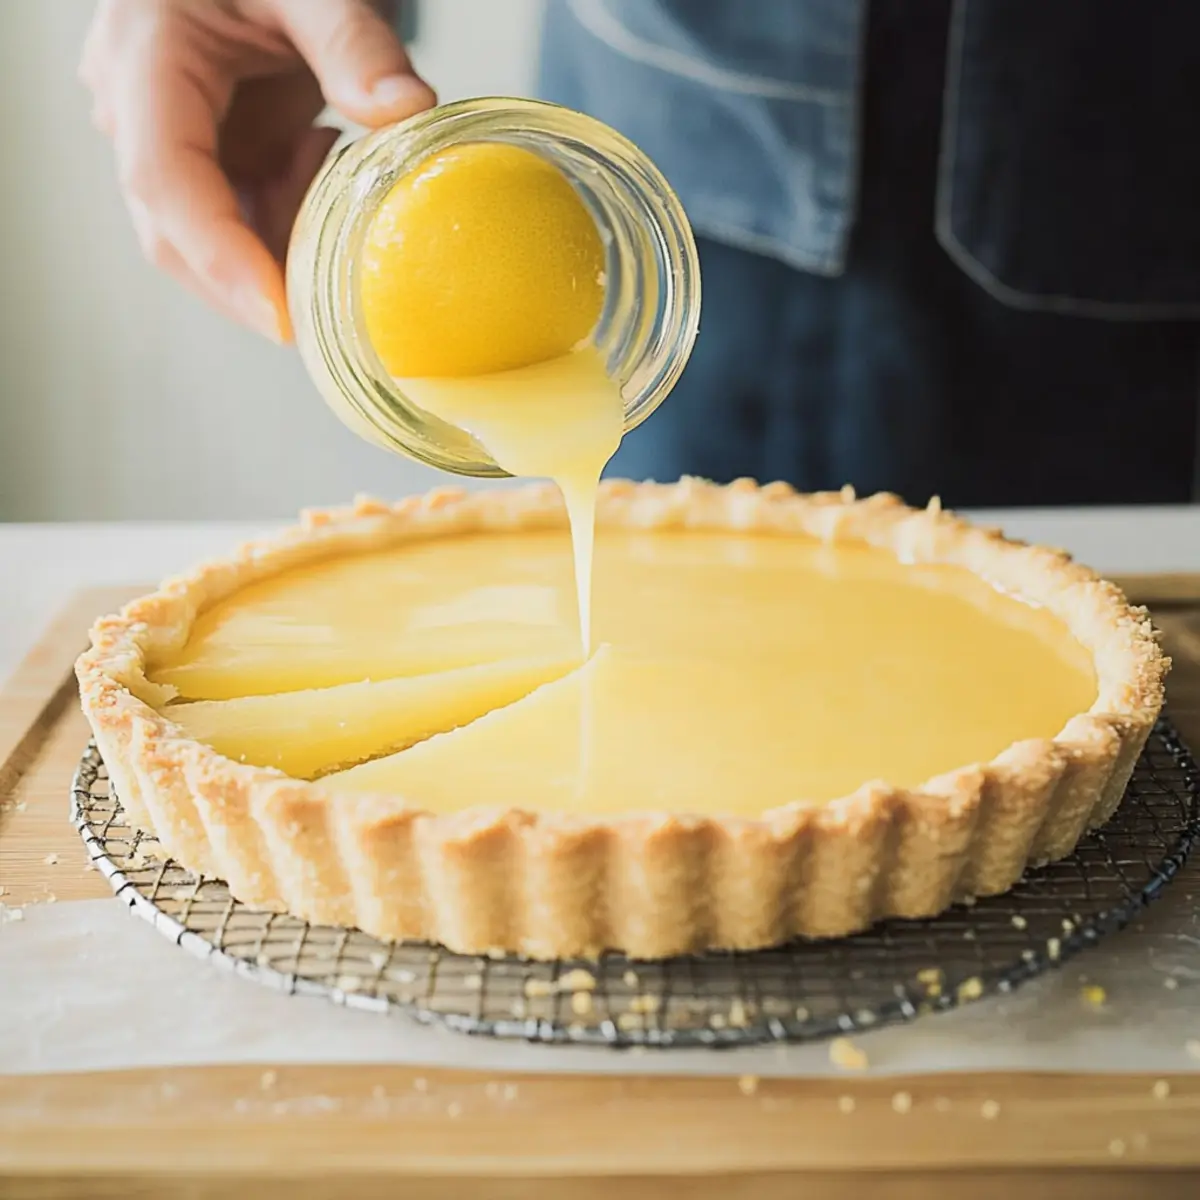
Once the lemon curd is prepared, take the fully baked tart crust and pour the lemon filling into it, ensuring an even distribution. Use a spatula to smooth the top for a polished finish. The tart crust should be cool to the touch, providing a sturdy base for the luscious filling as you prepare to chill it.
Step 4: Chill to Set
Cover the assembled tart with plastic wrap and place it in the refrigerator to chill for at least 4 hours, or ideally overnight. This chilling process allows the filling to set properly, resulting in a firm yet creamy texture that’s perfect for slicing. As it chills, the flavors will meld beautifully, making your Classic Lemon Tart even more delicious.
Step 5: Serve Your Tart
Once the Classic Lemon Tart has set, remove it from the fridge and uncover. If desired, garnish with fresh berries, a dollop of whipped cream, or a light dusting of powdered sugar for that extra flair. Slice the tart carefully using a sharp knife, enjoying the moment as its creamy, tangy filling is revealed within the buttery crust—ready to impress family and friends alike!
What to Serve with Classic Lemon Tart Recipe
Indulge in a delightful meal experience by complementing your zesty lemon tart with these scrumptious pairings that will tantalize your taste buds.
-
Whipped Cream: A fluffy dollop of fresh whipped cream adds a light and airy contrast to the rich filling, enhancing each bite’s flavors. It creates a beautiful presentation, making your dessert even more inviting.
-
Fresh Berries: Serving the tart with a mix of juicy strawberries, blueberries, and raspberries introduces a burst of color and a tangy-sweet flavor that perfectly balances the lemon’s tartness. The fruit adds freshness and liveliness to your plate.
-
Mint Leaves: Garnishing with a few sprigs of fresh mint not only provides a pop of green but also adds a refreshing herbal note that elevates the overall taste. This simple addition makes for an elegant touch.
-
Lemon Sorbet: For those who adore citrus, pairing your slice with a scoop of lemon sorbet offers a cool, refreshing contrast. The icy texture complements the creamy tart while enhancing its lemony flavor profile.
-
Iced Tea: A glass of lightly sweetened iced tea infused with lemon creates a harmonious drink pairing that echoes the flavors of the tart. This combination is ideal for picnics or casual gatherings.
-
Almond Biscotti: Crunchy almond biscotti offers a delightful textural contrast when enjoyed alongside the smooth lemon filling. Dip the biscotti in your tart’s filling for an indulgent bite that melds flavors beautifully.
-
Champagne: Celebrate special moments with a flute of chilled champagne; its bubbly effervescence and acidity beautifully complement the tangy richness of the lemon tart, creating a luxurious pairing.
These delightful accompaniments will transform your Classic Lemon Tart Recipe into an unforgettable dessert experience, elevating your dining occasion to new heights. Enjoy!
Expert Tips for Classic Lemon Tart Recipe
• Use Fresh Lemons: Freshly squeezed lemon juice is key for optimal flavor. Avoid bottled juices, as they can be bitter and less aromatic.
• Control Thickness: Keep an eye on the temperature while cooking the lemon curd; whisk continuously to prevent the eggs from scrambling and achieve a smooth filling.
• Chill Wisely: Allow the tart to chill for at least 4 hours—or overnight if possible. This helps the filling set perfectly, making for easier slicing and a more enjoyable texture.
• Don’t Rush Baking: Ensure the tart crust is fully baked before adding the filling to avoid a soggy base. A golden brown crust adds flavor and structure.
• Test Variations Gently: If experimenting with heavy cream or other additions, do so in moderation, as more liquid can change the overall texture of your Classic Lemon Tart Recipe.
How to Store and Freeze Classic Lemon Tart
Fridge: Keep the tart covered in plastic wrap or in an airtight container for up to 2 days. It’s best enjoyed within 24 hours for maximum freshness and flavor.
Freezer: For longer storage, slice the tart and wrap each piece tightly in plastic wrap, then place in a freezer-safe container. It can be frozen for up to 1 month.
Reheating: If enjoying after freezing, thaw the slices in the fridge overnight, and serve chilled or at room temperature for a delightful taste experience.
Classic Lemon Tart Recipe Variations
Feel free to jazz up your lemon tart with these delightful twists that will keep your taste buds dancing!
-
Dairy-Free: Substitute butter with coconut oil and replace heavy cream with coconut cream for a tropical flair. This variation retains the rich flavor while catering to dairy-free diets.
-
Citrus Medley: Experiment with blood oranges or grapefruits for a vibrant color and unique flavor twist. The unexpected citrus combination will add an exciting new layer!
-
Herbed Infusion: Toss in a few sprigs of fresh thyme or rosemary in the lemon curd while it cooks. Remove before straining to infuse delightful herbal notes that beautifully complement the lemon.
-
Nutty Crust: Swap the tart crust with a crushed almond or hazelnut crust for added crunch and earthiness. This change will create an unexpected texture and flavor harmony.
-
Berry Burst: Top the tart with fresh mixed berries or a berry compote for an extra pop of sweetness and visual vibrancy. The tartness of the lemon paired with juicy berries creates a delightful medley!
-
Spicy Kick: Add a pinch of cayenne pepper to the filling for a surprising spicy twist that enhances the citrus flavor. A hint of heat can elevate the taste experience to the next level.
-
Meringue Topping: Once the filling is set, add a fluffy layer of meringue on top before baking it for a golden, toasted finish. The combination of the creamy filling with the sweet meringue is simply divine!
Feel inspired? Elevate your dessert game just like I did with my Lemon Cheesecake Truffles. Let your creativity shine while you savor each delicious bite of your very own Classic Lemon Tart!
Make Ahead Options
These Classic Lemon Tart Recipe components are perfect for meal prep, allowing you to enjoy this delicious treat with minimal last-minute effort! You can prepare the lemon curd up to 3 days in advance; simply store it in an airtight container in the refrigerator to ensure freshness. The fully baked tart crust can also be made ahead and kept refrigerated for up to 2 days—just wrap it securely in plastic wrap to prevent it from drying out. When you’re ready to serve, pour the chilled lemon curd into the crust and refrigerate it for at least 4 hours or overnight to set. By prepping ahead, you’ll have a delightful dessert that’s just as fresh and zesty!
Classic Lemon Tart Recipe FAQs
How do I select the best lemons for my tart?
Absolutely! Opt for lemons that are firm with smooth skin, avoiding those with dark spots or dull spots. Ripe lemons will feel heavy for their size and yield slightly to pressure, indicating juiciness. Meyer lemons are a wonderful alternative if you’re seeking a sweeter flavor!
What’s the best way to store my lemon tart?
Very! Store your Classic Lemon Tart in the refrigerator tightly covered with plastic wrap or in an airtight container. It will stay fresh for up to 2 days, but I highly recommend indulging within the first 24 hours for the best taste and texture.
Can I freeze leftover slices of my lemon tart?
Absolutely! To freeze, slice the tart and wrap each piece tightly in plastic wrap. Place the wrapped slices in a freezer-safe container, and they will keep for up to 1 month. When ready to enjoy, simply thaw them in the refrigerator overnight. They are delightful chilled or at room temperature!
What can I do if my lemon curd isn’t thickening?
Very! If your lemon curd isn’t thickening, make sure to whisk continuously while cooking, as this helps stabilize the eggs. If it still doesn’t set properly, consider returning it to the heat and whisking for another minute or so. If you’re still unsure, adding a tablespoon of cornstarch dissolved in water can help thicken it, just gradually whisk it in as your curd cooks.
Are there any dietary considerations for this tart?
Absolutely! This Classic Lemon Tart contains eggs and dairy, making it unsuitable for those with egg or lactose allergies. For a vegan alternative, you could experiment with flax eggs and coconut cream, keeping in mind that the texture and flavor may vary from the traditional recipe. Always check ingredients for potential allergens before serving!
What do I do if my crust shrinks while baking?
Very! For avoiding pastry shrinkage, be sure to chill your tart crust before baking. Using pie weights or dried beans during baking can also help maintain the shape. If your crust does shrink, don’t fret! You can still fill it and serve it as a rustic tart, and no one will mind a bit.
Classic Lemon Tart Recipe - A Slice of Citrus Bliss
Ingredients
Equipment
Method
- In a heatproof mixing bowl, whisk together the eggs, sugar, lemon zest, and freshly squeezed lemon juice until combined. Set over a saucepan filled with simmering water and cook while whisking continuously until thickened, about 10-20 minutes.
- With the strained lemon curd still warm, add the small pieces of unsalted butter and whisk until fully melted and incorporated.
- Pour the lemon filling into the fully baked tart crust, ensuring even distribution, and smooth the top with a spatula.
- Cover the tart with plastic wrap and chill in the refrigerator for at least 4 hours, or ideally overnight, to allow filling to set.
- Once set, remove from the fridge, garnish if desired, and slice carefully to serve.