
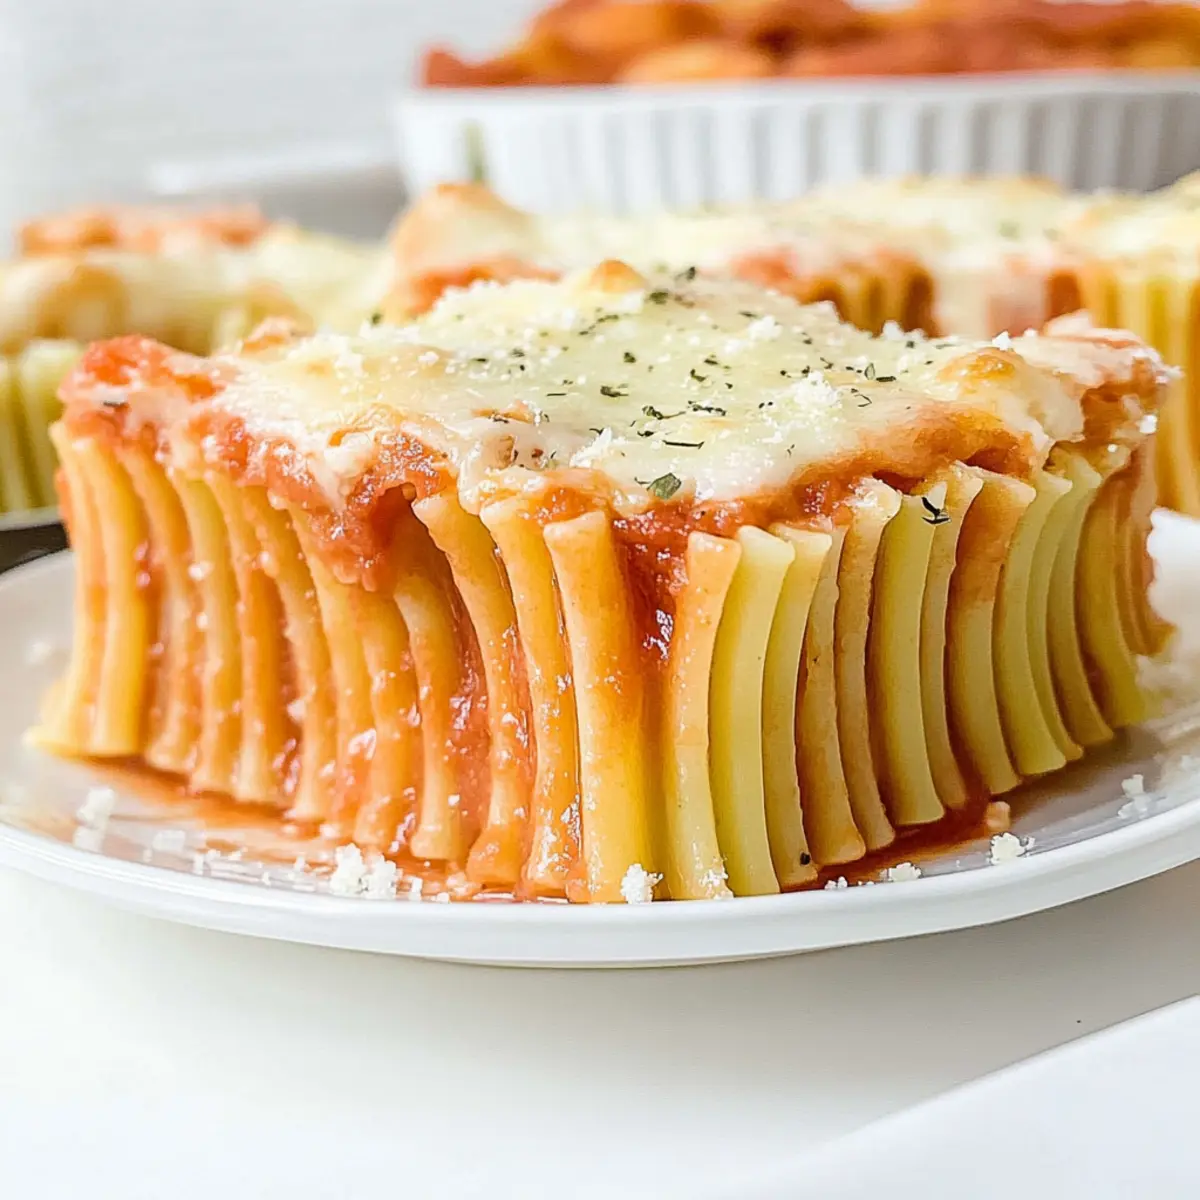
As I stood in my kitchen, the aroma of simmering marinara wafted through the air, instantly soothing my weekday stress. It’s moments like these that remind me why I love cooking so much. Today, I’m excited to share my Original Honeycomb Pasta Recipe—a delightful twist on the classic baked ziti that brings not just flavor, but artistry to your dinner table. This dish is a symphony of tender pasta and melting cheese, all wrapped up in a visually stunning presentation that’s sure to impress your family or guests. Plus, it’s quick to make and totally adaptable; whether you stick with ziti or switch things up with other tubular pasta, you’re bound to create a meal that’s comforting and impressive. Are you ready to dive into this delicious adventure together?
Why is Honeycomb Pasta So Special?
Comforting Twist: This Honeycomb Pasta combines familiar flavors with imaginative presentation, making it a delightful twist on baked ziti.
Quick and Easy: With straightforward instructions, you’ll have a stunning main course ready in no time, perfect for busy weeknights.
Versatile Options: Substitute ziti with your favorite tubular pasta or add in sautéed veggies for a personal touch that fits your taste.
Crowd-Pleasing Appeal: This dish isn’t just for family dinners; it’s impressive enough for gatherings, making it a showstopper at any table.
Cheesy Goodness: With layers of gooey mozzarella and Parmesan, each bite is a mouthwatering experience that will leave everyone craving more!
Whether you’re in the mood for a cozy night in or entertaining guests, this hearty meal is sure to satisfy. And if you’re looking for more pasta recipes, check out my Homemade Ciabatta Rolls to pair alongside!
Original Honeycomb Pasta Ingredients
For the Pasta
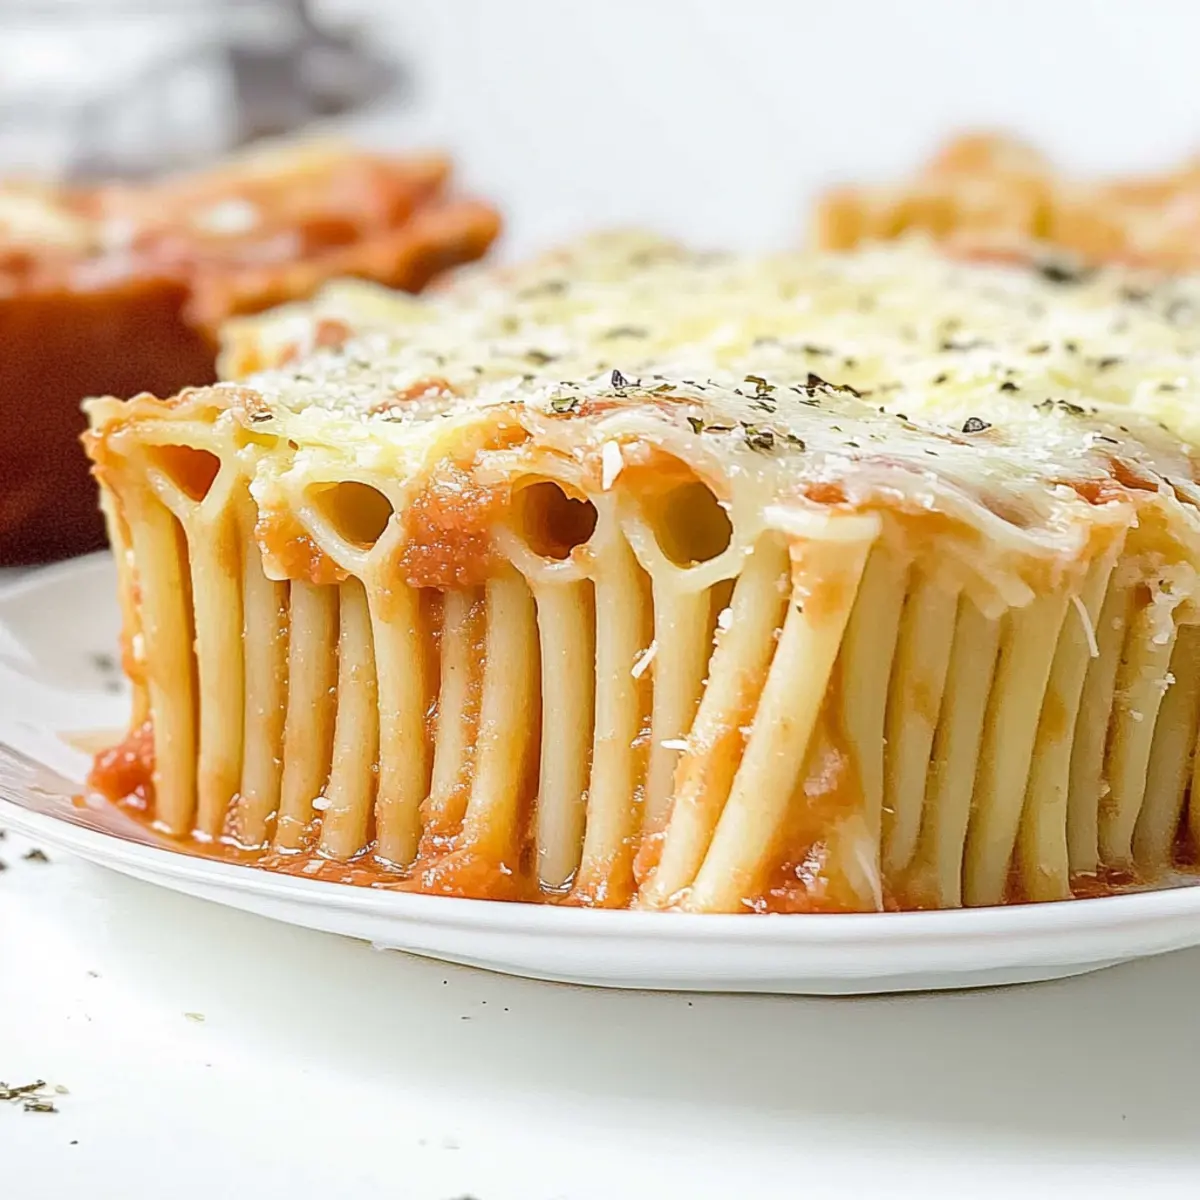
- Ziti (1 pound) – This structural star holds everything together; cook until al dente for the best texture.
For the Sauce and Cheese
- Coarse Kosher Salt (1 tablespoon) – Enhances the natural flavors while cooking the pasta; sea salt can work in a pinch.
- Marinara Sauce (24 ounces) – Provides a luscious, flavorful moisture that’s essential for a rich dish; feel free to use store-bought for ease.
- Low-Moisture Mozzarella Cheese (8 ounces) – Creates that gooey, melty goodness; Italian blend cheese offers a yummy alternative if you prefer.
- Homemade Italian Seasoning (2 teaspoons) – Infuses herby flavors throughout; pre-mixed versions are a convenient substitute.
- Black Pepper (1/2 teaspoon) – Adds a subtle kick; switch to white pepper if you’d like a milder taste.
For Garnishing
- Parmesan Cheese – Sprinkled on top, it gives a delightful flavor boost and an elegant finish to the dish.
For Preparation
- Cooking Spray and Parchment Paper – Essential for preventing sticking and ensuring a smooth serving experience; don’t skip this step!
Now, you’re all set with the ingredients for the Original Honeycomb Pasta Recipe! Get ready to create a comforting, cheesy masterpiece that will delight everyone at your table.
Step‑by‑Step Instructions for Original Honeycomb Pasta Recipe
Step 1: Cook the Ziti
Begin by boiling a large pot of water and adding 1 tablespoon of coarse kosher salt. Once the water reaches a rolling boil, add 1 pound of ziti and cook it until al dente, about 8-10 minutes. Drain the pasta, then let it cool completely for at least 1 hour in the refrigerator to firm up; this step is essential for achieving the perfect structure in your Honeycomb Pasta.
Step 2: Prepare the Pan
While the ziti cools, line the bottom of a 9-inch springform pan with parchment paper to prevent sticking. After lining, liberally spray both the parchment and the sides of the pan with cooking spray. This ensures your Original Honeycomb Pasta easily releases after baking, maintaining its delightful shape and presentation.
Step 3: Preheat the Oven
Set your oven to preheat at 350°F (175°C). This temperature is perfect for baking the Honeycomb Pasta, allowing the cheese to melt and bubble beautifully without burning. Having your oven ready will streamline the assembly process, so you can enjoy a warm dish shortly after finishing your prep.
Step 4: Layer the Cheese and Ziti
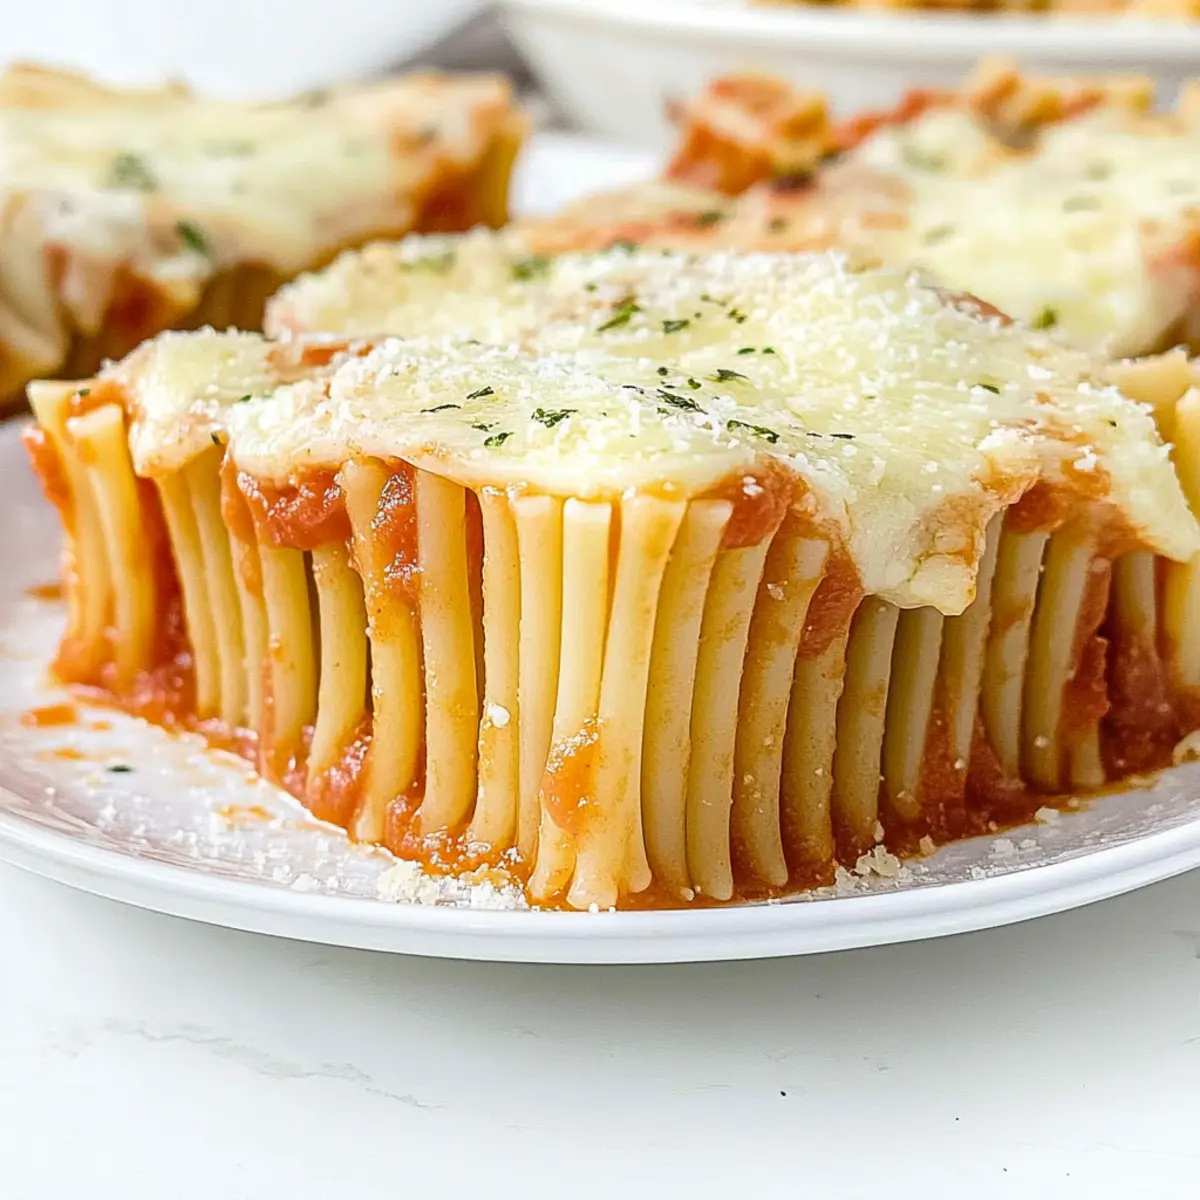
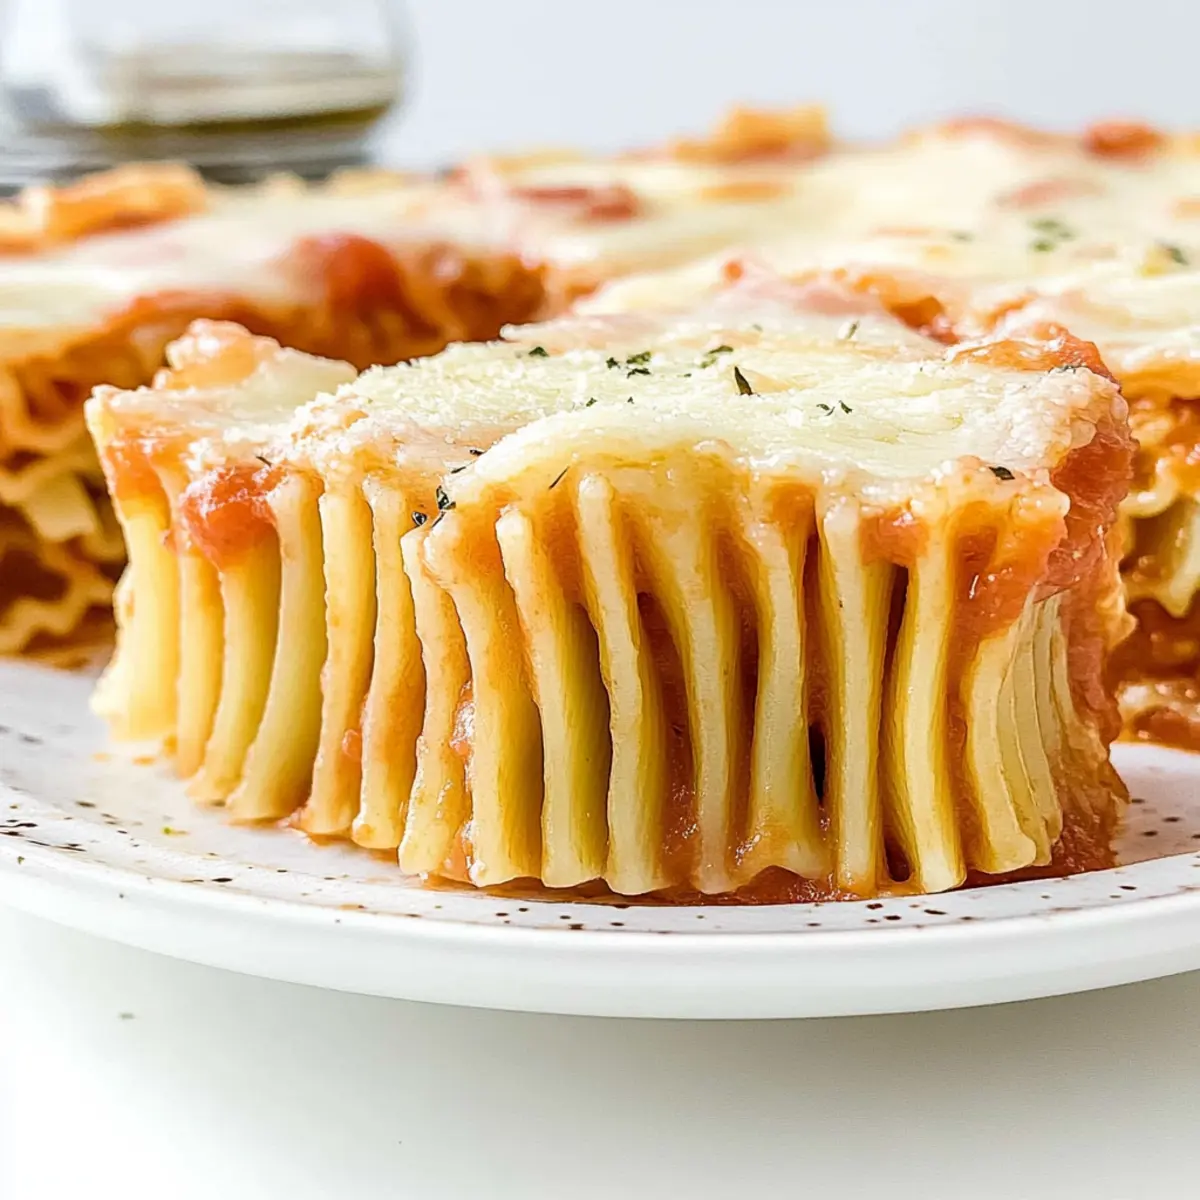
Position the springform pan on its side and start layering by placing a generous layer of low-moisture mozzarella cheese at the bottom. Next, align the ziti pieces snugly along the sides and base of the pan. This arrangement will create the distinctive honeycomb shape, so ensure the ziti is packed tightly and evenly for stability.
Step 5: Build the Layers
Continue the layering process by alternating ziti pieces and cheese. Press down slightly as you go to fill any gaps, making for a cohesive structure. Every couple of layers, sprinkle more mozzarella to enhance the cheesy goodness throughout your Original Honeycomb Pasta, ensuring an indulgent melt in every bite.
Step 6: Add the Marinara Sauce
Once your layers are built, pour in half of the marinara sauce, allowing it to seep between the layers. This step adds moisture and flavor, essential for a rich, comforting dish. After the sauce has been distributed, layer the remaining cheese, sprinkling it generously along with 2 teaspoons of homemade Italian seasoning and 1/2 teaspoon of black pepper for extra zing.
Step 7: Bake Until Golden
Place the assembled Honeycomb Pasta in the preheated oven and bake it uncovered for 15-20 minutes. You’ll know it’s ready when the cheese on top is bubbling and golden, exuding a delicious aroma that fills your kitchen. Keep an eye on it to prevent burning, ensuring that perfect melt.
Step 8: Cool and Serve
After baking, remove the Honeycomb Pasta from the oven and allow it to cool for 10 minutes. This cooling period helps maintain its shape when slicing. Carefully detach the sides of the springform pan, then transfer your glorious creation to a serving platter. Finish with a sprinkle of Parmesan cheese for that gourmet touch before serving.
Make Ahead Options
These Original Honeycomb Pasta preparations are perfect for busy cooks looking to save time! You can cook the ziti and refrigerate it for up to 24 hours before assembling the dish. Additionally, the layers can be prepared in advance, with the finished assembled pasta stored in the refrigerator for up to 3 days. Just tightly cover the springform pan with plastic wrap to maintain its quality and prevent drying out. When you’re ready to serve, bake the prepared Honeycomb Pasta directly from the fridge, adding 5-10 extra minutes to the cooking time to ensure it’s heated throughout. This way, you’ll enjoy your comforting pasta dish with minimal last-minute effort!
Expert Tips for Honeycomb Pasta
-
Cool the Pasta: Make sure the ziti cools completely before layering; this step helps maintain the structure of your Honeycomb Pasta.
-
Pack Tightly: When layering, pack the ziti snugly. This is crucial for preventing the layers from collapsing when your dish is cooked.
-
Layer Experimentation: Don’t be afraid to mix up the layers! While uniformity is aesthetically pleasing, a little creativity adds character and stability to your Honeycomb Pasta.
-
Keep It Fresh: Avoid freezing the dish before baking; it may lose its intended shape and texture. Bake it fresh for the best results.
-
Cheese Choices: Feel free to experiment with different cheeses! Blending mozzarella with provolone or fontina can add delicious flavors to your Honeycomb Pasta.
Storage Tips for Honeycomb Pasta
-
Fridge: Store leftovers in an airtight container for up to 5 days. This helps keep your delicious Honeycomb Pasta fresh while maintaining its cheesy goodness.
-
Freezer: Avoid freezing the cooked dish, as it may lose its appealing shape and texture. Instead, enjoy it fresh for the best experience!
-
Reheating: To reheat, use the oven or microwave. If using the oven, heat at 350°F (175°C) until warmed through to restore that delightful melt.
-
Covering: When reheating in the oven, cover with foil for the first half to keep moisture in, then uncover for the last few minutes to enhance the cheese’s gooey texture.
Variations & Substitutions for Original Honeycomb Pasta
Feel free to let your creativity shine and customize your dish just the way you like it!
- Pasta Swap: Replace ziti with rigatoni or penne for a different pasta shape and texture. Each variety brings its unique charm to the dish!
- Veggie Boost: Add sautéed spinach, bell peppers, or mushrooms for a pop of color and extra nutrients. It’s a delicious way to make your meal even healthier.
- Meat Lover’s Delight: Stir in cooked ground beef, turkey, or Italian sausage between layers for a hearty twist that meat lovers will adore.
- Cheese Variety: Experiment with Italian blend cheese or even a sharp cheddar for a different flavor profile that suits your palate perfectly.
- Spice it Up: Toss in red pepper flakes or a hint of cayenne for an extra kick that elevates the flavor without overpowering the dish.
- Crunchy Top: Sprinkle toasted breadcrumbs on top before baking to create a delightful crunch that contrasts beautifully with the creamy layers below.
- Herb Infusion: Mix in fresh basil or parsley with the marinara sauce for a fragrant, herbal lift that complements the richness of the cheese.
- Decadent Layering: Use a mix of ricotta and mozzarella in your layering for an extra creamy and dreamy interior that melts in your mouth—a sure crowd-pleaser!
Whether you’re whipping up a weeknight dinner or planning an event, there’s a variation here for everyone! And for delightful pairings, serve your Honeycomb Pasta alongside some Homemade Popcorn Chicken or finish your meal on a sweet note with my delicious Carrot Cake Cheesecake. Happy cooking!
What to Serve with Honeycomb Pasta
Pair your Honeycomb Pasta with these delightful sides to create a comforting feast that warms the heart and soul.
-
Garlic Bread: Nothing pairs better with cheesy pasta than golden, buttery garlic bread. It’s perfect for scooping up all that luscious sauce.
-
Caesar Salad: A crisp Caesar salad offers a refreshing contrast to the richness of the Honeycomb Pasta, with crunchy romaine and creamy dressing balancing the flavors beautifully.
-
Italian Sausage: Spicy Italian sausage can bring a satisfying kick to the table. The savory flavors meld seamlessly with the pasta’s comforting ingredients.
-
Roasted Vegetables: Colorful roasted vegetables like zucchini, bell peppers, and asparagus add a splash of freshness and a crunchy texture that complements the dish perfectly.
-
Caprese Salad: A classic Caprese salad with fresh basil, mozzarella, and ripe tomatoes enhances the meal with its bright flavors—a flavor celebration alongside the cheesy goodness.
-
Red Wine: Serve a glass of bold red wine, like Chianti or Sangiovese, to elevate the dining experience, pairing excellently with the hearty flavors of the Honeycomb Pasta.
Feeling inspired? Mix and match these pairings to create your perfect dinner spread, ensuring a delightful time for family and friends!
Original Honeycomb Pasta Recipe FAQs
What type of pasta is best for Honeycomb Pasta?
Absolutely! While ziti is the traditional choice for this recipe due to its straight shape and ability to hold the layers well, you can easily substitute it with rigatoni or penne if you prefer a different pasta type. Just ensure whatever pasta you choose is tubular and can be packed tightly for the right structure.
How should I store leftovers of Honeycomb Pasta?
Very! To keep your Honeycomb Pasta fresh, store any leftovers in an airtight container in the refrigerator for up to 5 days. Make sure it’s completely cooled before sealing to avoid condensation. When you’re ready to enjoy it again, simply reheat in the oven at 350°F (175°C) until warmed through for that perfect cheesy melt.
Can I freeze Honeycomb Pasta?
While many dishes freeze beautifully, I recommend avoiding freezing this Honeycomb Pasta before or after baking. It tends to lose its shape and won’t hold the delightful texture after thawing. Enjoy it fresh for the best taste and presentation!
What if my Honeycomb Pasta doesn’t hold its shape?
If your Honeycomb Pasta collapses while baking, it might be due to insufficient cooling of the ziti before assembling. To prevent this, ensure your cooked ziti is cooled completely, ideally for at least 1 hour in the refrigerator. Tightly packing the pasta layers is also key for maintaining structure, so don’t be afraid to press down gently as you layer!
Is this recipe suitable for vegetarians?
Certainly! The Original Honeycomb Pasta is inherently a vegetarian dish, featuring layers of pasta, marinara sauce, and cheese. However, if you want to customize it, you can add sautéed vegetables or meat substitutes to enhance the flavors without compromising its vegetarian essence.
Can I use store-bought marinara sauce?
Absolutely! While homemade marinara adds a personal touch, using store-bought marinara sauce is perfectly acceptable and saves time. Just make sure to select a quality brand to ensure your Honeycomb Pasta is rich and flavorful!
Original Honeycomb Pasta Recipe That's Cheesy and Cuddly
Ingredients
Equipment
Method
- Boil a large pot of water and add 1 tablespoon of coarse kosher salt. Cook 1 pound of ziti until al dente, about 8-10 minutes. Drain and cool completely in the refrigerator for 1 hour.
- Line a 9-inch springform pan with parchment paper and spray both the parchment and the sides of the pan with cooking spray.
- Preheat your oven to 350°F (175°C).
- Position the springform pan on its side and layer a generous layer of low-moisture mozzarella cheese at the bottom. Align ziti pieces snugly along the sides and base of the pan.
- Continue layering ziti and cheese, pressing down slightly to fill gaps. Sprinkle more mozzarella every few layers.
- Pour half the marinara sauce over the layers, allowing it to seep in. Sprinkle remaining cheese, 2 teaspoons of Italian seasoning, and 1/2 teaspoon of black pepper.
- Bake in the preheated oven for 15-20 minutes until the cheese is bubbling and golden.
- Cool for 10 minutes, then carefully detach the sides of the springform pan and transfer to a serving platter. Finish with a sprinkle of Parmesan cheese.