
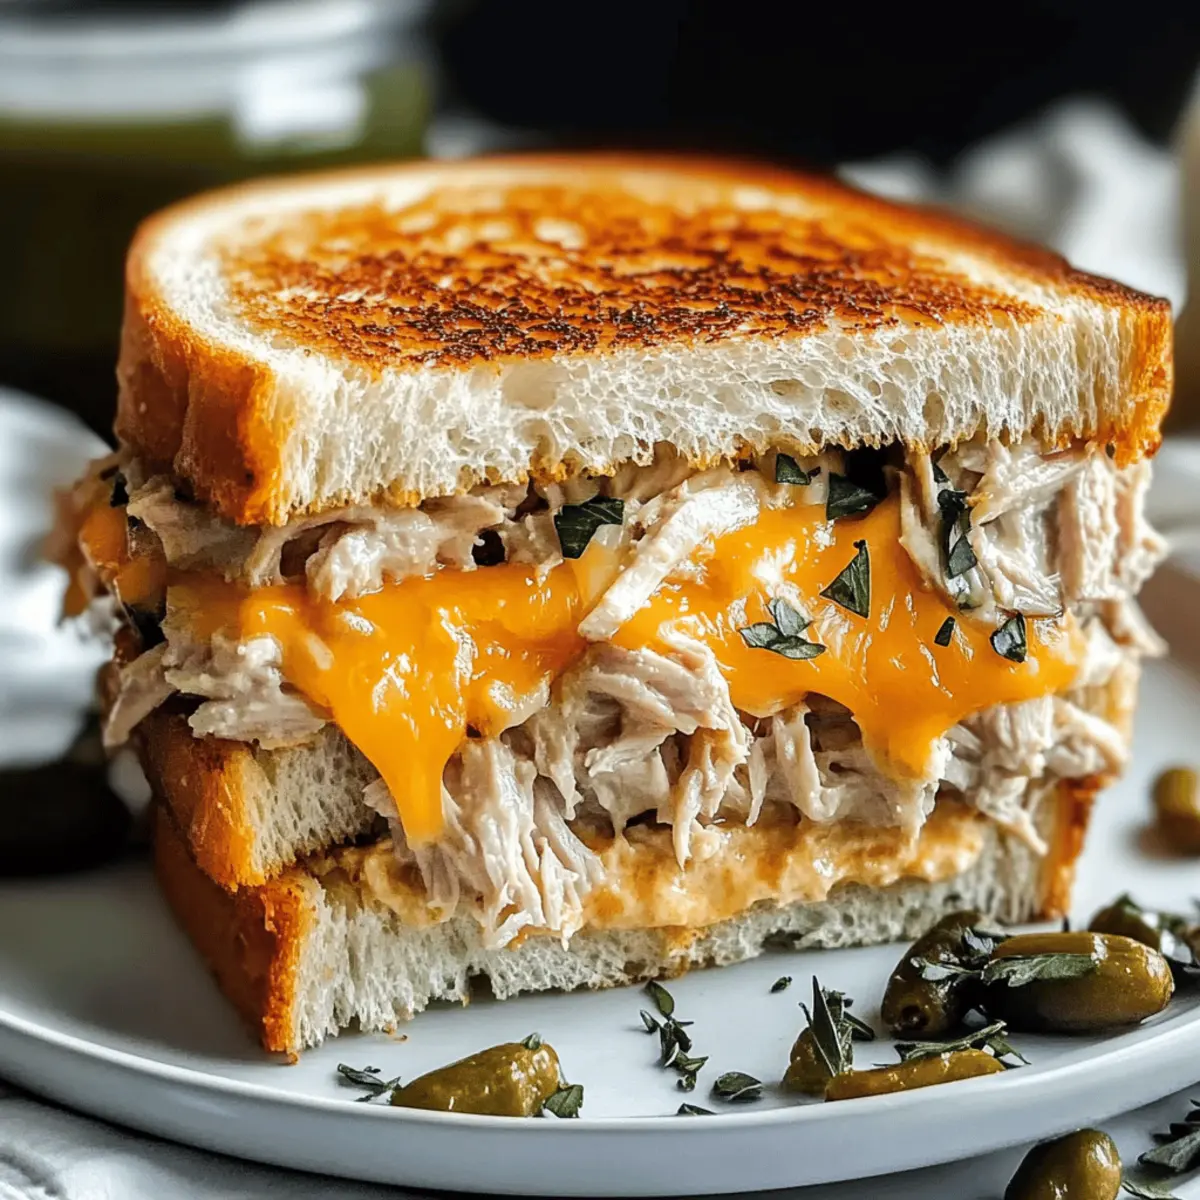
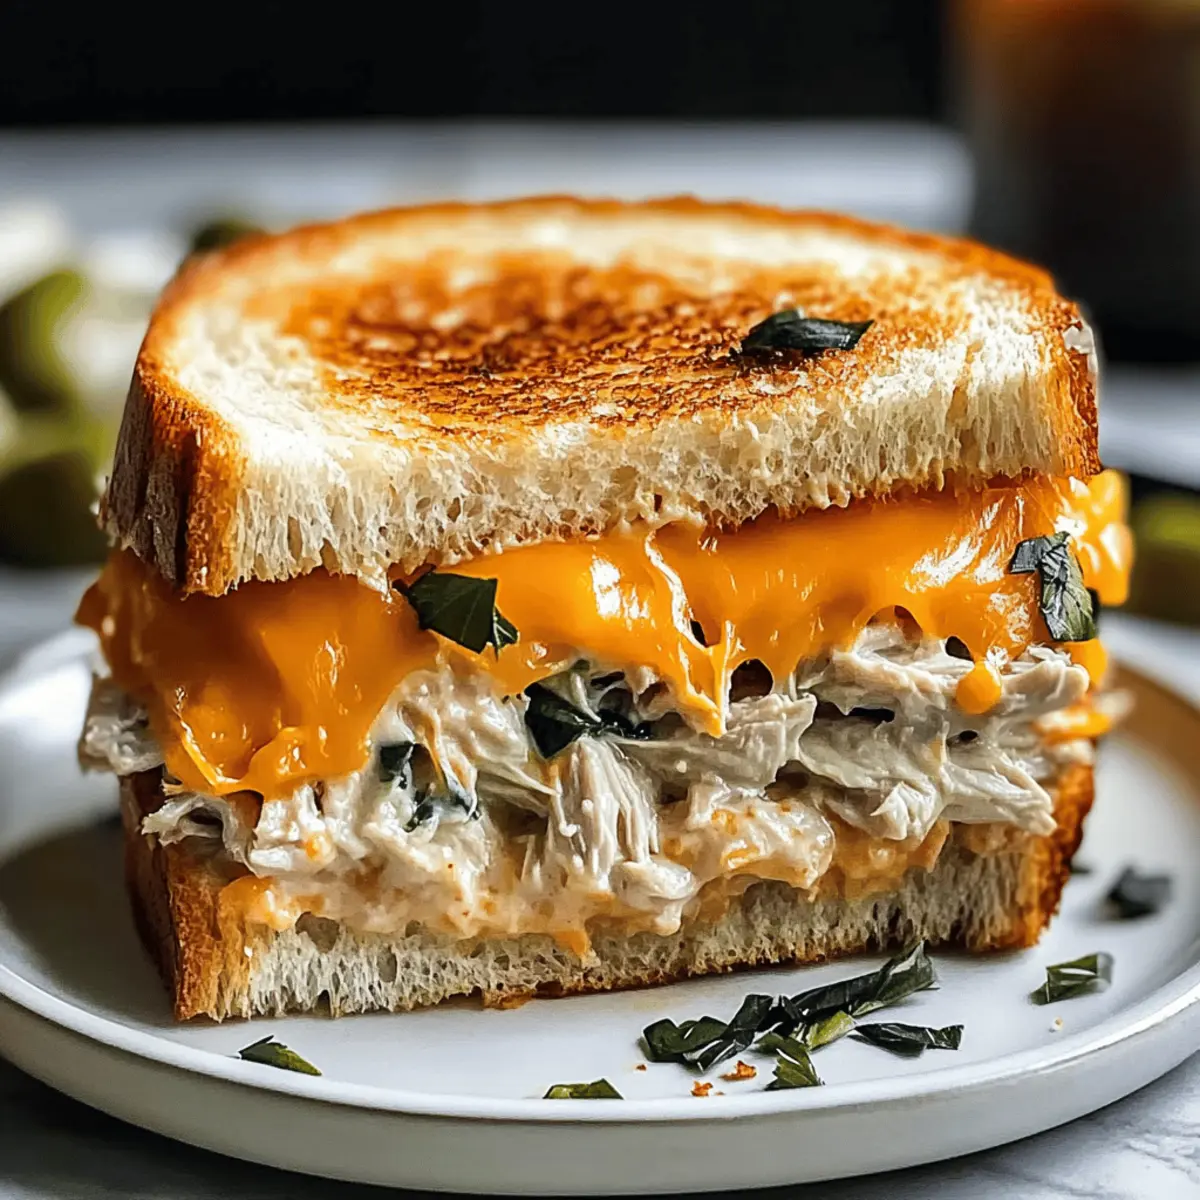
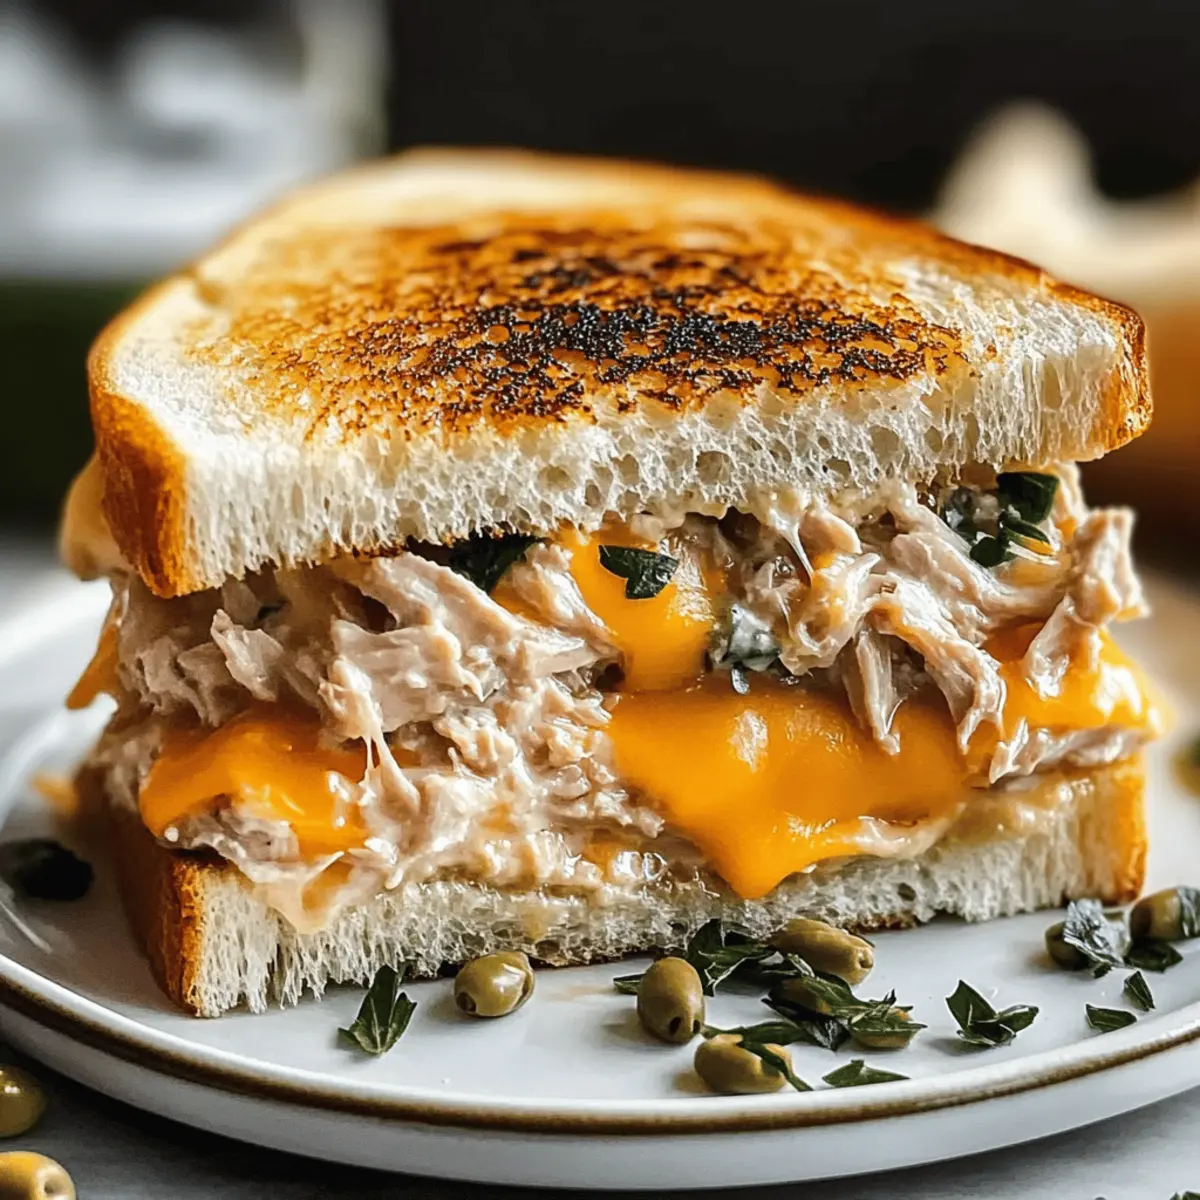
As I stood in the kitchen, the delightful aroma of sizzling butter and melting cheese brought me straight back to my childhood—those cozy afternoons spent savoring a Cheesy Tuna Melt. This quick and easy comfort food wraps together a crunchy, toasted exterior with a creamy tuna filling that’s sure to evoke warmth and nostalgia in every bite. Perfect for both a satisfying snack and a light lunch, these Cheesy Tuna Melts are incredibly customizable, allowing you to swap ingredients to suit your taste and dietary needs. Plus, with a gluten-free option available, you and your loved ones can all enjoy this classic dish. What kind of twist will you give your Cheesy Tuna Melts today?

Why are Cheesy Tuna Melts so beloved?
Unforgettable Nostalgia: Each bite of this Cheesy Tuna Melt transports you back to cherished moments, blending comfort with flavor.
Quick & Easy: Perfect for busy days, this dish comes together in just minutes, making it an ideal choice for a delightful lunch.
Customizable Options: Feel free to adapt the ingredients, whether you’re craving a healthier twist with Greek yogurt or a gluten-free version.
Crowd-Pleasing Delight: Serve these melts alongside a refreshing salad or warm tomato soup, and watch them disappear at your next gathering!
Irresistible Texture: The combination of a crunchy exterior and a gooey, creamy filling is so satisfying, it will leave you wanting more.
Cheesy Tuna Melt Ingredients
For the Tuna Mixture
- Tuna – Make sure to drain properly for better texture and flavor in your Cheesy Tuna Melts.
- Mayonnaise – Adds creaminess; Greek yogurt makes a lighter substitute if desired.
- Herbs (such as parsley or dill) – Enhance flavor and freshness; feel free to use your preferred herbs or omit completely.
For the Sandwich
- Cheddar Cheese – Essential for that gooey, rich texture; consider using Swiss or Monterey Jack for variety.
- Bread – This acts as the base; opt for gluten-free bread for a gluten-free option.
- Butter – Used for grilling, achieving that crispy, golden-brown crust; margarine can be a lighter alternative.
Step‑by‑Step Instructions for Cheesy Tuna Melts
Step 1: Prepare the Tuna Mixture
In a medium bowl, combine well-drained tuna, creamy mayonnaise, and your choice of fresh herbs like parsley or dill. Stir these ingredients together until the mixture is smooth and well blended. This flavorful tuna filling will be the star of your Cheesy Tuna Melts, so ensure everything is evenly incorporated for maximum taste.
Step 2: Assemble the Sandwiches
Take slices of your favored bread and spread a generous layer of the prepared tuna mixture evenly on one side of each slice. Sprinkle shredded cheddar cheese on top of the tuna, creating a rich layer that will melt beautifully. Close the sandwiches with another slice of bread, pressing down gently to hold the filling in place.
Step 3: Heat the Skillet
Place a non-stick skillet over medium heat and add a tablespoon of butter, allowing it to melt and coat the bottom of the pan. As the butter sizzles, it will create the perfect golden crust for your Cheesy Tuna Melts. Keep an eye on the heat to ensure the butter doesn’t burn, as even grilling is key for crispiness.
Step 4: Grill the Sandwiches
Carefully place the assembled sandwiches into the hot skillet, cooking for about 4 minutes until the bottoms are golden brown and the cheese starts to melt. Use a spatula to check the doneness, ensuring a glorious, crunchy exterior. When ready, flip the sandwiches and repeat on the other side for another 4 minutes, keeping an ear out for that satisfying sizzle.
Step 5: Serve and Enjoy
Once both sides are beautifully browned and the cheese is wonderfully gooey, remove the Cheesy Tuna Melts from the skillet. Allow them to cool for a brief moment, then slice them diagonally for a delightful presentation. Serve immediately with a side of crispy potato chips or a comforting bowl of tomato soup for a satisfying meal.
What to Serve with Cheesy Tuna Melts?
There’s nothing quite like savoring a warm Cheesy Tuna Melt alongside delicious sides that complement its comfort and texture.
-
Crispy Potato Chips: The crunchy contrast of potato chips adds a satisfying crunch to your meal, enhancing the overall experience. Their salty flavor pairs wonderfully with the creamy tuna filling.
-
Fresh Garden Salad: A light, crisp salad with mixed greens, cherry tomatoes, and a tangy vinaigrette offers a refreshing balance to the richness of the melt. It’s a delightful way to incorporate freshness into your meal.
-
Tomato Soup: A classic pairing, the rich, warm flavors of tomato soup harmonize beautifully with the gooey, cheesy goodness of the melts. Dip the sandwich into the soup for a cozy and comforting dining experience.
-
Pickles or Pickled Veggies: Adding tangy pickles or a medley of pickled vegetables brings a crisp, zesty element that cuts through the creaminess of the cheesy tuna. Their bright flavors make the dish even more enjoyable.
-
Coleslaw: A tangy coleslaw brings a crunchy texture and zesty flavor that complements the richness of the tuna melt, adding a delightful complexity to each bite.
-
Fruit Salad: Sweet, juicy fruits like pineapple, grapes, or melon serve as a refreshing contrast to the savory melt. The natural sweetness brightens the palate and leaves you feeling satisfied without heaviness.
-
Sparkling Water or Iced Tea: A bubbly drink like sparkling water or a refreshing iced tea can cleanse the palate, ensuring that the rich flavors of the Cheesy Tuna Melts are experienced to their fullest.
-
Chocolate Chip Cookies: For dessert, consider warm chocolate chip cookies. Their chewy texture and sweet flavor are the perfect ending to a delightful meal, evoking a sense of nostalgia reminiscent of childhood treats.
Storage Tips for Cheesy Tuna Melts
Fridge: Store leftover Cheesy Tuna Melts in an airtight container for up to 2 days; this helps maintain their freshness and flavor.
Freezer: If you want to freeze them, individually wrap the sandwiches tightly in plastic wrap, then place them in a freezer-safe bag; they can be frozen for up to 1 month.
Reheating: To reheat, gently warm in a skillet over low heat for about 3-5 minutes, flipping halfway through to preserve the crispy exterior.
Note: Avoid microwaving, as it can result in a soggy sandwich and diminish the delightful texture of your Cheesy Tuna Melts.
Expert Tips for Cheesy Tuna Melts
-
Drain Tuna Properly: Ensure the tuna is well-drained to prevent a soggy Cheesy Tuna Melt; excess moisture can ruin the texture.
-
Pre-toast Bread: Lightly toasting the bread before adding the filling enhances the crunch; this simple step makes a big difference.
-
Monitor Heat Levels: Keep the skillet on medium heat while grilling; too high may cause the bread to burn before the cheese melts.
-
Try Flavor Variations: Don’t hesitate to experiment with different cheeses or add-ins like tomatoes and pickles for an exciting twist on the classic Cheesy Tuna Melt.
-
Timing is Key: Serve the melts immediately after grilling for optimal gooeyness and crispy texture—waiting can make them lose their appeal.
Make Ahead Options
These Cheesy Tuna Melts are perfect for meal prep enthusiasts looking to save time during busy weeknights! You can prepare the tuna mixture and refrigerate it in an airtight container for up to 3 days. Simply combine the drained tuna, mayonnaise, and herbs, and store it until you’re ready to assemble your sandwiches. To maintain quality, keep the bread separate until you’re ready to grill; this prevents sogginess. When it’s time to serve, spread the tuna mixture on the bread, add cheese, and grill as directed for that delightful crunch. With these make-ahead steps, you’ll enjoy a quick and comforting meal that tastes just as delicious!
Cheesy Tuna Melts Variations & Substitutions
Customize your Cheesy Tuna Melts with these delightful twists to make them uniquely yours!
-
Dairy-Free: Substitute cheese with vegan cheese or nutritional yeast for a creamy, dairy-free option that still delivers flavor.
-
Spicy Kick: Add a dash of hot sauce or finely chopped jalapeños to the tuna mixture for a fiery version that warms the soul.
-
Herby Freshness: Mix in fresh basil or cilantro instead of parsley or dill for a fresh burst of flavor that brightens up each bite.
-
Texture Variation: Consider adding diced celery or crunchy pickles to the tuna mixture for a delightful crunch that enhances the overall texture.
-
Flavorful Add-Ins: Incorporate sun-dried tomatoes or olives into your tuna mix for a Mediterranean twist that brings a new depth to your melts.
-
Different Proteins: Swap tuna for canned salmon or shredded chicken for a scrumptious alternative while maintaining that satisfying creaminess.
-
Gluten-Free Option: Use gluten-free bread for a version everyone can enjoy, ensuring that no one misses out on this comfort food classic.
Feeling adventurous? Create a Greek-style Cheesy Tuna Melt by adding feta cheese and black olives for a delicious twist. The variations are endless; let your imagination guide you!
Cheesy Tuna Melts Recipe FAQs
How do I choose the right tuna for my Cheesy Tuna Melts?
Absolutely! When selecting tuna, opt for solid white tuna packed in water or olive oil. Look for cans without dark spots or excessive liquid, which can indicate poor quality. Drain the tuna thoroughly to avoid a soggy filling—this step is crucial for achieving that desirable texture!
What’s the best way to store leftover Cheesy Tuna Melts?
Leftovers can be stored in an airtight container in the fridge for up to 2 days. Make sure to cool them completely before sealing to avoid moisture buildup. When you’re ready to enjoy again, reheat them in a skillet over low heat for 3-5 minutes, flipping to retain that fantastic crunch.
Can I freeze Cheesy Tuna Melts for later?
Yes, you can! To freeze, wrap each sandwich tightly in plastic wrap, ensuring there are no air pockets. Then, place the wrapped sandwiches in a freezer-safe bag. They can remain in the freezer for up to a month. To reheat, simply thaw in the fridge overnight and warm in the skillet as mentioned above.
What should I do if my Cheesy Tuna Melts are soggy?
If you end up with soggy Cheesy Tuna Melts, check to ensure you’ve drained the tuna thoroughly. Additionally, avoid using too much mayonnaise; start with a small amount and adjust to your liking. Lightly toasting the bread before assembling can also help prevent sogginess by creating a barrier!
Are Cheesy Tuna Melts gluten-free?
Yes! To make gluten-free Cheesy Tuna Melts, simply swap regular bread with gluten-free bread. There are various brands available that offer great texture and flavor, so you don’t have to compromise on taste. Enjoy this modification while still relishing the comforting goodness of your favorite recipe!
Can my pets eat tuna from my Cheesy Tuna Melts?
It’s better to avoid giving your pets any tuna mixed with mayonnaise, cheese, or other ingredients, as these can upset their stomachs. If you want to treat them, plain, cooked tuna can be an occasional snack, but always consult your vet first to ensure it’s safe for your furry friends!
Cheesy Tuna Melts: Quick Comfort for Any Hungry Craving
Ingredients
Equipment
Method
- In a medium bowl, combine well-drained tuna, mayonnaise, and fresh herbs. Stir until smooth.
- Spread a layer of the tuna mixture on one side of each slice of bread. Sprinkle with cheddar cheese.
- Heat a non-stick skillet over medium heat and add butter, allowing it to melt.
- Place sandwiches in the skillet and grill for 4 minutes until golden brown. Flip and repeat for another 4 minutes.
- Remove from skillet, let cool slightly, slice diagonally, and serve immediately.