
A delightful aroma wafts through my kitchen as I prepare to whip up a Heavenly No-Bake Banoffee Pie, a dessert that’s about to become a staple in our home. This Banoffee Pie recipe is a game-changer, offering creamy toffee goodness layered with sweet bananas and topped with luscious whipped cream—all without the need for an oven! It’s not just an impressive showstopper for gatherings, but also a quick and versatile treat that allows for customizations to suit any taste, including vegan options. This decadent dessert promises to satisfy cravings while keeping preparation simple and stress-free. Ready to take your dessert game to the next level? Let’s dive into this irresistible creation!
Why is Banoffee Pie so Irresistible?
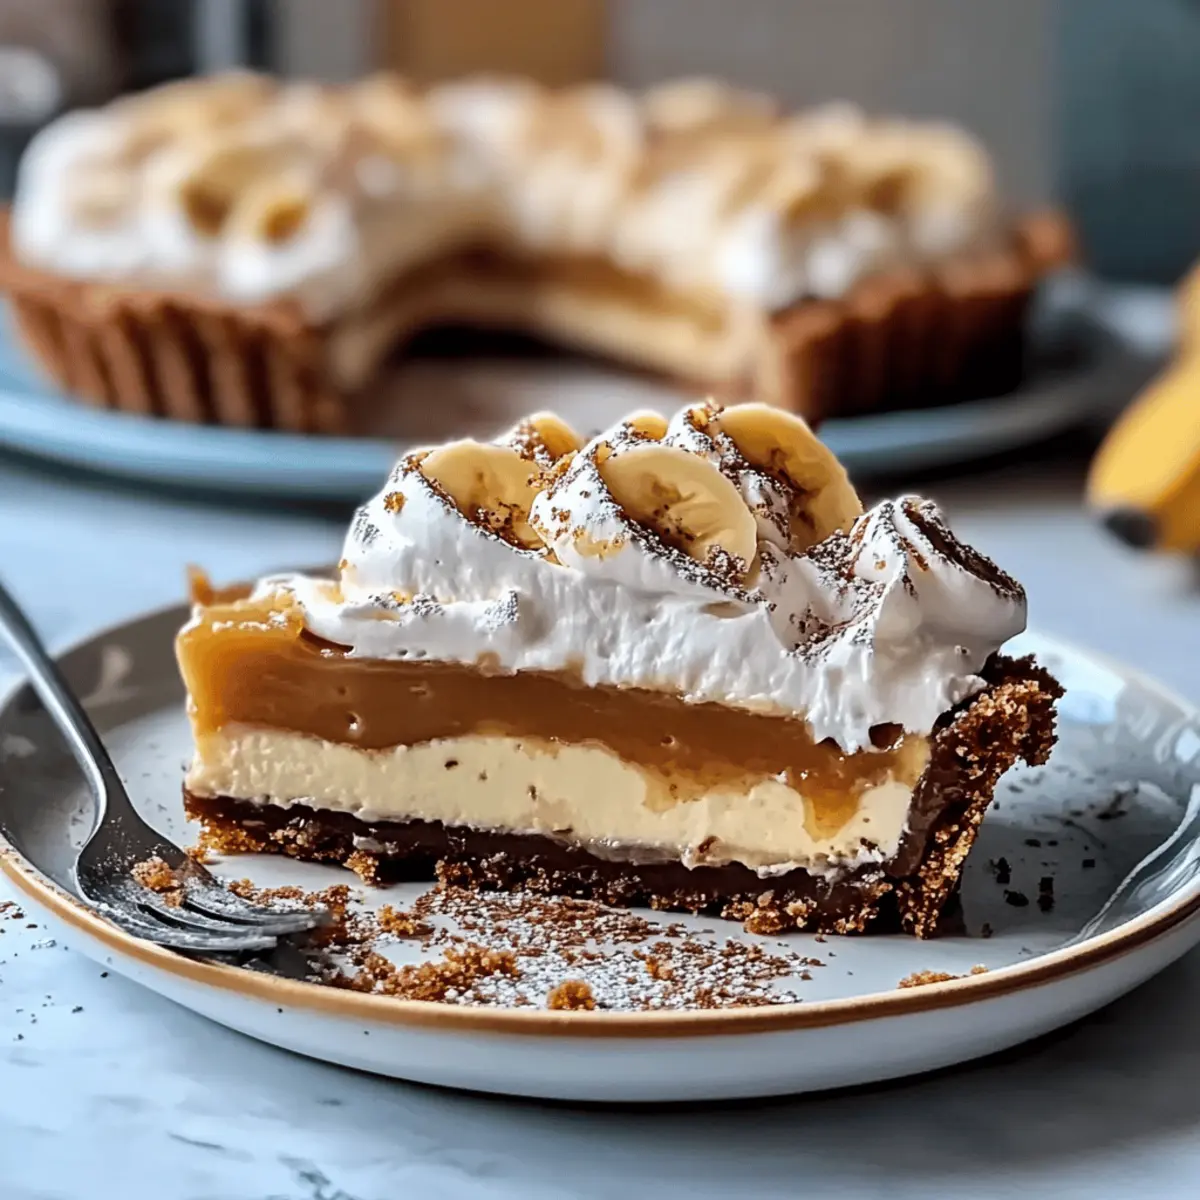
Creamy Layers: This no-bake dessert features rich, creamy toffee paired with sweet, fresh bananas that create a delicious contrast in flavors.
Simple Preparation: You’ll love how effortlessly you can whip it up with just a food processor and a few ingredients!
Customizable Delight: Whether you want to keep it classic or play with flavors by adding nuts or different chocolates, the possibilities are endless!
Crowd-Pleasing Treat: It’s an absolute showstopper for gatherings, guaranteed to impress friends and family alike. Ready to explore more delightful desserts? Check out my Mini Pecan Pie or delicious Carrot Cake Fusion for more inspiration!
Make-Ahead Option: Preparing this Banoffee Pie in advance means you can easily impress guests without last-minute stress.
Banoffee Pie Recipe Ingredients
• Dive into the delectable layers of this Banoffee Pie recipe!
For the Biscuit Base
- Digestive Biscuits – Provides the crunchy base; substitute with graham crackers or any sweet cookie of your choice.
- Melted Butter – Binds the biscuit crumbs for structure; vegan option: use vegan butter or coconut oil.
For the Toffee Layer
- Sweetened Condensed Milk – Forms the creamy toffee layer; can substitute with coconut condensed milk for a dairy-free version.
For the Topping
- Bananas – Adds natural sweetness and freshness; opt for ripe bananas for the best flavor.
- Heavy Cream – Used for the whipped topping; substitute with coconut cream for a non-dairy option.
- Powdered Sugar – Sweetens the whipped cream; regular sugar can be used, but adjust the quantity as needed.
- Vanilla Extract – Enhances the whipped cream flavor; pure vanilla is recommended over imitation.
- Dark Chocolate (optional) – For drizzling on top adds a rich finish; milk chocolate can be used if preferred.
Step‑by‑Step Instructions for Heavenly No-Bake Banoffee Pie
Step 1: Prepare the Base
Begin by crushing 250g of digestive biscuits in a food processor until they resemble fine crumbs. Melt 100g of butter, then combine the melted butter with the biscuit crumbs and mix until well blended. Press this mixture firmly into the base of a 9-inch tart pan to create an even layer. Refrigerate the base for about 1 hour until it sets and hardens.
Step 2: Make the Toffee
In a medium saucepan, pour in one can of sweetened condensed milk and gently heat it over medium-low heat. Stir continuously for about 5-7 minutes until the mixture thickens and turns a golden caramel color. Once the toffee has achieved a smooth and rich consistency, carefully pour it over the chilled biscuit base, spreading it evenly with a spatula. Allow the toffee to cool to room temperature before proceeding.
Step 3: Assemble the Pie
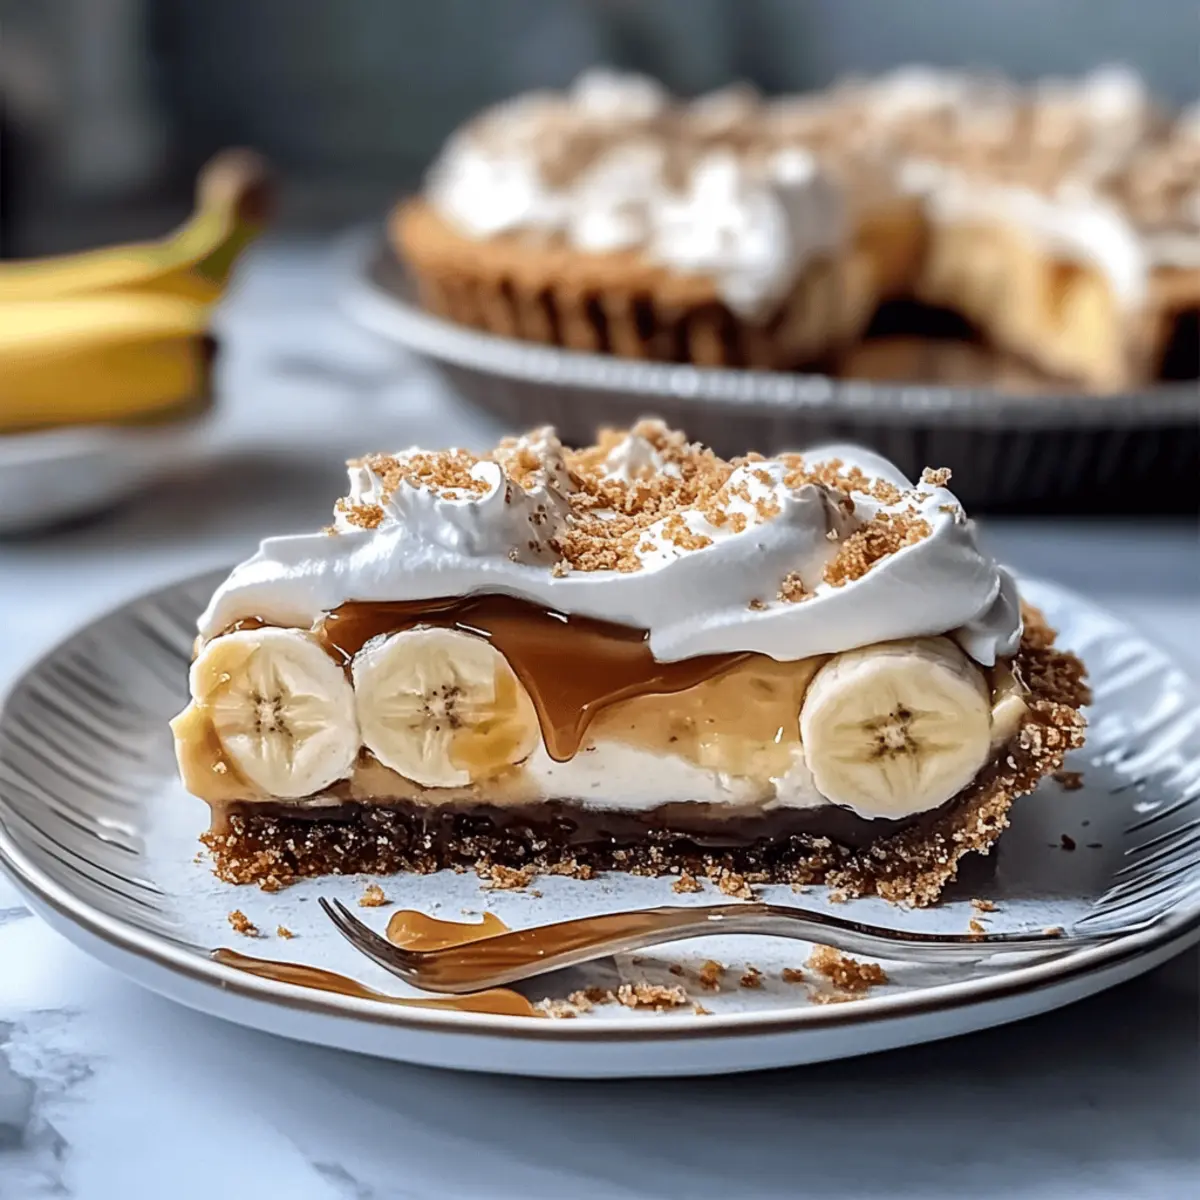
Once the toffee has cooled and set, slice 2 ripe bananas and layer them evenly over the toffee. Arrange the banana slices tightly to ensure every bite of this heavenly no-bake Banoffee Pie has that delightful banana flavor. Feel free to add a second layer if you love bananas as much as we do!
Step 4: Whip the Cream
In a chilled mixing bowl, pour in 300ml of heavy cream along with 2 tablespoons of powdered sugar and a teaspoon of vanilla extract. Use an electric mixer to whip the cream on medium-high speed until it forms soft peaks, which should take about 3-4 minutes. Be careful not to overwhip, as you want the cream to remain fluffy and airy.
Step 5: Finish with Cream
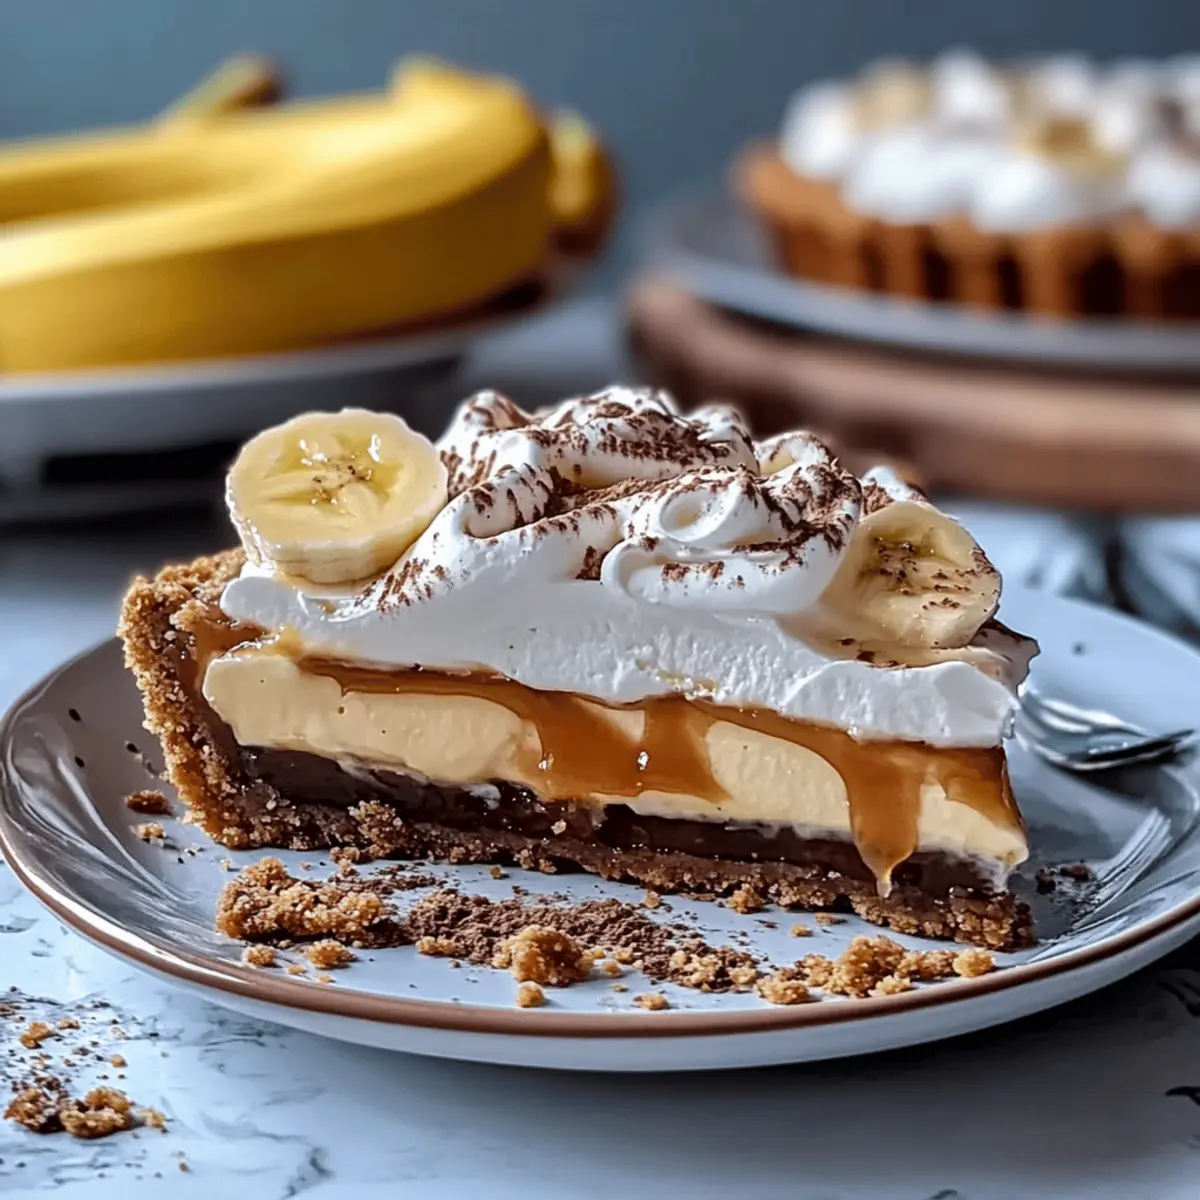
Once whipped to perfection, gently spread the whipped cream over the sliced bananas, creating a fluffy, even layer. You can use a spatula or a piping bag for a decorative finish. For an extra touch of indulgence, feel free to add a sprinkle of cocoa powder or a drizzle of melted dark chocolate on top for a beautiful presentation.
Step 6: Chill Before Serving
Cover the assembled Banoffee Pie with plastic wrap and place it in the refrigerator to chill for at least 2 hours, allowing the flavors to meld together and the cream to firm up. This step is essential, as it gives you a stunning and deliciously creamy pie that will impress your guests.
Step 7: Serve and Enjoy
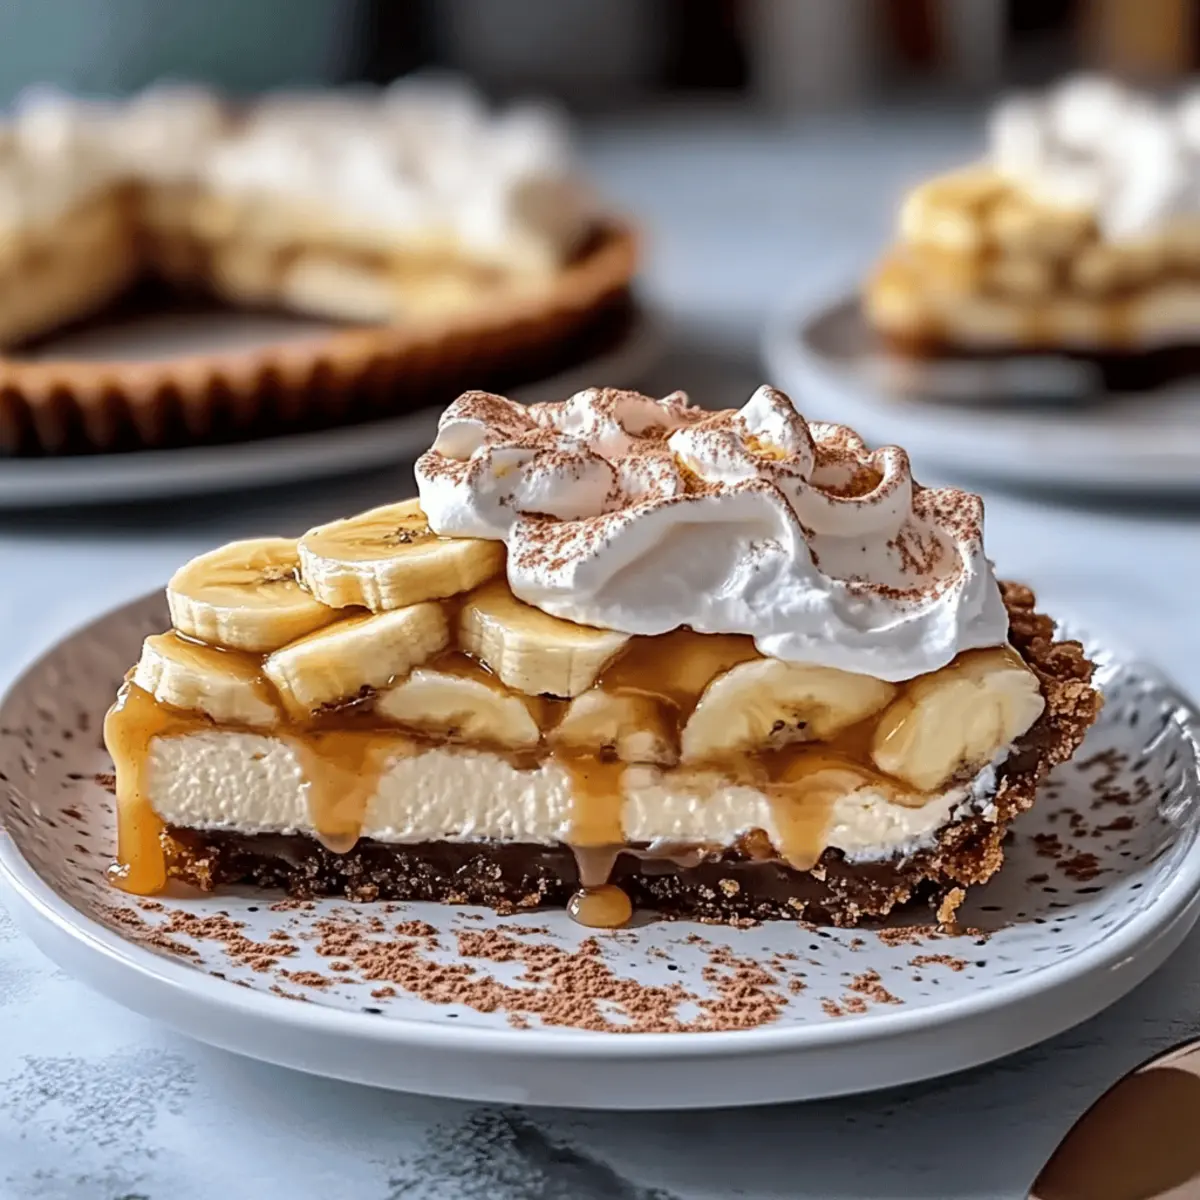
Slice the pie carefully using a sharp knife, ensuring that each piece captures the layers of biscuit, toffee, bananas, and cream. Serve each slice chilled, and watch as your friends and family delight in every bite of this glorious no-bake Banoffee Pie.
Banoffee Pie Recipe Variations
Inviting you to play with flavors and textures, this Banoffee Pie recipe is your canvas for delicious creativity!
- Vegan Delight: Substitute the heavy cream with coconut cream for a creamy topping that’s completely dairy-free.
- Nutty Crunch: Top your pie with crushed walnuts or pecans for an extra layer of satisfying crunch.
- Berry Twist: Replace some banana slices with strawberries or raspberries; the tartness complements the sweetness beautifully.
- Chocolate Lovers: Experiment with milk chocolate or even white chocolate in place of dark chocolate for serving, satisfying differing taste buds.
- Different Cookies: Swap the digestive biscuits for graham crackers or even Oreo cookies to give your base a unique flavor profile.
- Sauce Sensation: Drizzle caramel or chocolate sauce in layers for an extra touch of indulgence between the luscious fillings.
- Spiced Up: Add a pinch of cinnamon or nutmeg to the whipped cream for a warm, cozy flavor that elevates the pie.
- Salted Caramel: Incorporate a bit of sea salt into your toffee layer for a trendy salted caramel twist that’s simply irresistible.
Each of these variations invites you to explore and personalize, much like I enjoy incorporating different takes on my beloved desserts like Homemade Ciabatta Rolls or creating mouth-watering Homemade Popcorn Chicken. Enjoy this sweet adventure in every slice of your delightful Banoffee Pie!
What to Serve with Heavenly No-Bake Banoffee Pie
Indulging in a slice of Banoffee Pie is a delightful experience, but the right accompaniments can transform it into a memorable meal.
-
Fresh Berries: A handful of vibrant raspberries or strawberries adds a refreshing tartness, balancing the pie’s sweetness nicely.
-
Coffee: A robust cup of freshly brewed coffee enhances the rich flavors of the Banoffee Pie, creating a delightful contrast.
-
Vanilla Ice Cream: A scoop of creamy vanilla ice cream brings a deliciously cool and smooth element to each bite, heightening the dessert experience.
-
Chocolate Sauce: Drizzling warm chocolate sauce over the pie can intensify the dessert’s indulgence, making it a chocoholic’s dream.
-
Chopped Nuts: Sprinkle crushed walnuts or pecans on top for a crunchy texture that complements the creaminess of the pie beautifully.
-
Coconut Whipped Cream: For a dairy-free alternative, swap regular whipped cream with coconut whipped cream to enhance the tropical vibe.
-
Mint Leaves: A few sprigs of fresh mint can add a pop of color and a refreshing flavor, elevating the presentation and taste.
-
Sparkling Elderflower Drink: Serve chilled elderflower cordial for a light and floral beverage that contrasts perfectly with the dessert’s richness.
Expert Tips for Banoffee Pie Recipe
-
Cool the Toffee: Allow the toffee to cool completely before assembling. This prevents the bananas from wilting and ensures a beautiful presentation.
-
Whip Wisely: Avoid overwhipping the cream to maintain a light, fluffy texture. Soft peaks are the sweet spot for your whipped cream topping.
-
Layering Bananas: Use ripe bananas for the best flavor. They not only add sweetness but also complement the creamy toffee layer perfectly in your banoffee pie recipe.
-
Customize Toppings: Feel free to play with textures by adding chopped nuts or different chocolate drizzles to make your banoffee pie uniquely yours!
-
Proper Storage: Store any leftovers in an airtight container in the fridge to keep the pie fresh for up to 3 days. Enjoy the indulgence for longer!
How to Store and Freeze Banoffee Pie
Fridge: Store any leftovers in an airtight container for up to 3 days to maintain freshness and flavor.
Make-Ahead: Prepare the Banoffee Pie up to 24 hours in advance. Just keep it chilled until serving for optimal taste.
Freezer: If you want to freeze it, slice the pie and wrap each piece tightly in plastic wrap. It can be stored in the freezer for up to 1 month.
Thawing: To enjoy your frozen Banoffee Pie, place it in the fridge for several hours or overnight to thaw gently before serving.
Make Ahead Options
Preparing this Heavenly No-Bake Banoffee Pie in advance is a true lifesaver for busy home cooks! You can easily make the biscuit base and the toffee layer up to 24 hours ahead. Simply refrigerate the prepared base and let the toffee cool completely in a covered container to preserve its rich flavor and smooth texture. When you’re ready to serve, layer the bananas and whipped cream just before serving to ensure freshness and prevent browning. This way, you’ll enjoy the sweet charm of this Banoffee Pie recipe with minimal effort, leaving you with more time to savor the moment with your loved ones!
Banoffee Pie Recipe FAQs
What type of bananas should I use for the Banoffee Pie?
Absolutely! Opt for ripe bananas as they provide the best flavor and natural sweetness. Look for bananas with a slight softness and yellow skin, preferably before they start developing dark spots.
How do I store leftover Banoffee Pie?
You can store any leftovers in an airtight container in the refrigerator for up to 3 days. Ensure it’s well sealed to prevent the pie from absorbing any other odors from the fridge, keeping that delicious taste intact!
Can I freeze Banoffee Pie?
Yes, you can! To freeze your Banoffee Pie, slice it into individual portions and wrap each piece tightly in plastic wrap. Place the wrapped slices in an airtight container or freezer bag. It can be stored in the freezer for up to 1 month. When you’re ready to enjoy, simply transfer the slices to the refrigerator to thaw for several hours or overnight.
What should I do if my whipped cream doesn’t form stiff peaks?
No worries! If your whipped cream doesn’t form stiff peaks, you may need to reduce the mixing speed and continue whipping gently. Sometimes, it also helps to ensure your bowl and beaters are cold, which can make a considerable difference in achieving the perfect texture.
Can I make this Banoffee Pie recipe vegan-friendly?
Very! To adapt this Banoffee Pie recipe for a vegan diet, substitute the sweetened condensed milk with coconut condensed milk and use dairy-free alternatives for the cream, such as coconut cream. You can also use vegan butter or coconut oil for the biscuit base. The indulgent flavors will still shine through!
How long should the toffee be cooled before assembling?
Let the toffee cool in the saucepan for about 15-20 minutes until it’s at room temperature before adding it to the pie. This cooling period helps prevent the bananas from wilting and keeps the pie looking beautifully layered.
Irresistible Banoffee Pie Recipe Everyone Will Love
Ingredients
Equipment
Method
- Crush the digestive biscuits in a food processor until fine crumbs.
- Melt the butter and mix with the biscuit crumbs, then press into a tart pan.
- Refrigerate the base for about 1 hour until it sets.
- Heat sweetened condensed milk in a saucepan, stirring until thickened.
- Pour the toffee over the chilled biscuit base and cool to room temperature.
- Slice the ripe bananas and layer them evenly over the toffee.
- Whip heavy cream with powdered sugar and vanilla until soft peaks form.
- Spread the whipped cream over the banana layer.
- Chill in the refrigerator for at least 2 hours before serving.
- Slice and serve chilled, enjoying the layers of flavor.