
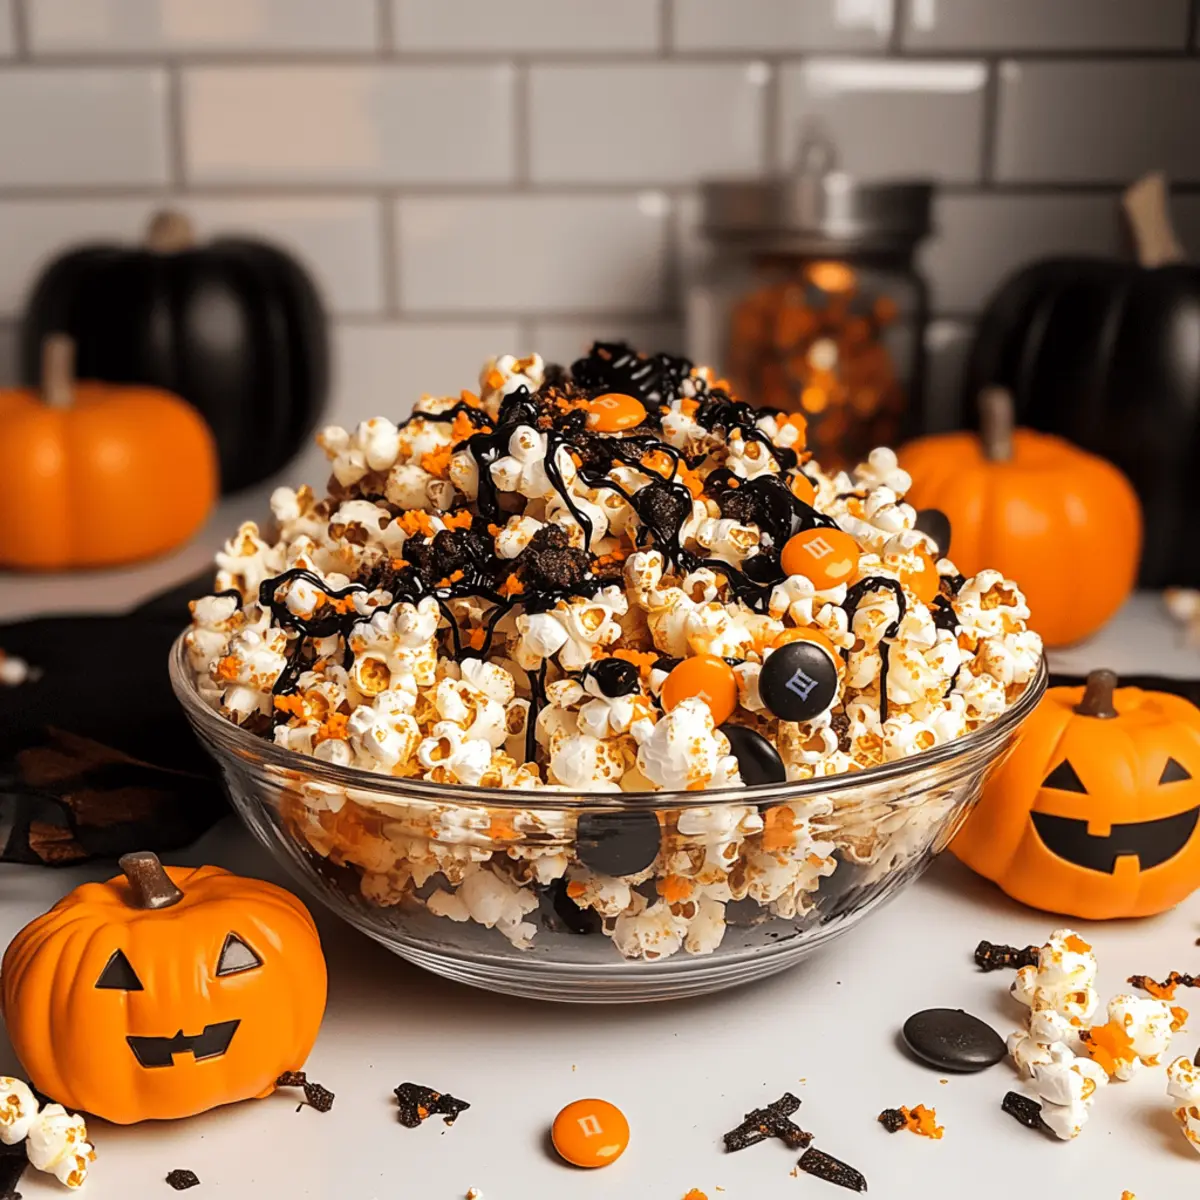
As the crisp air fills with the scents of autumn, my thoughts drift to a delightful, no-bake extravaganza: Customizable Halloween Popcorn. This fun treat bursts with playful flavors, perfect for festive gatherings or cozy movie nights with loved ones. With its crunchy texture and vibrant Halloween colors, it captivates both kids and adults, making it an instant crowd-pleaser. What I love most about this recipe is its adaptability; swap in your favorite popcorn flavors and toppings to create the ultimate customizable surprise. Not only does it save time—no baking required—but it’s also an easy way to bond over creative cooking with your family. Are you ready to bring a touch of spookiness to your snack table? Let’s dive in!
Why Is Halloween Popcorn So Irresistible?
Customization is the name of the game! You can mix and match flavors and toppings to make it uniquely yours. No-Bake Convenience means you can whip it up in no time, perfect for those busy Halloween nights. Vibrant Colors not only catch the eye but also add a festive flair to your celebrations. Family Fun allows everyone to join in on the creative process, making it an enjoyable activity for all ages. Plus, it’s a great Party Snack – who wouldn’t want a festive treat to share? Mix it with other treats like Peanut Butter Brownie cups or Covered Banana Pudding for a spread everyone will love!
Halloween Popcorn Ingredients
Discover what you need for this delightful treat!
For the Popcorn Base
- Popped Popcorn – This is the foundation of your treat; you can use either salted or sweet popcorn for extra flavor.
For the Candy Coating
- Candy Melts (Black and Orange) – These create a festive coating that holds your toppings together; feel free to choose any color to fit your theme.
For the Crunch
- Halloween Oreo Cookies – These add a fun, crunchy texture, but you can swap them out for chocolate cookies if desired.
- Halloween M&Ms – Brighten up the mix with these colorful candies; any chocolate candies can work as a substitute.
For the Decoration
- Halloween Sprinkles – These sprinkles bring a playful look to your popcorn; use any themed sprinkles according to your preference.
Optional Toppings
- Marshmallows – These add a chewy texture to your popcorn; feel free to mix and match with other toppings for variety.
- Halloween Candy – Incorporate your seasonal favorites for an extra sweet surprise!
- Pretzels – Add these for a delightful crunch and salty contrast in flavor.
Embrace the spirit of Halloween with this fun and customizable popcorn treat!
Step‑by‑Step Instructions for Customizable Halloween Popcorn
Step 1: Prepare Your Workspace
Begin by lining a large baking sheet with parchment paper. Ensure the surface is clean and flat for spreading your popcorn later. This step is essential, as it prevents sticking and allows for easy cleanup after making the Customizable Halloween Popcorn.
Step 2: Pop the Corn
Next, pop your popcorn using an air popper or stovetop method, avoiding excess oil if you desire a lighter version. Aim for about 10 cups of popcorn. Once popped, spread the popcorn evenly in a single layer on your prepared baking sheet, making sure all pieces are separated for an even coating later.
Step 3: Melt the Candy Coating
In microwave-safe bowls, combine the black and orange candy melts. Heat them in the microwave in 30-second intervals, stirring after each session until smooth and melted, typically around 1-2 minutes total. The melted candy should be glossy and easily pourable, ready to coat your popcorn.
Step 4: Drizzle the Chocolate
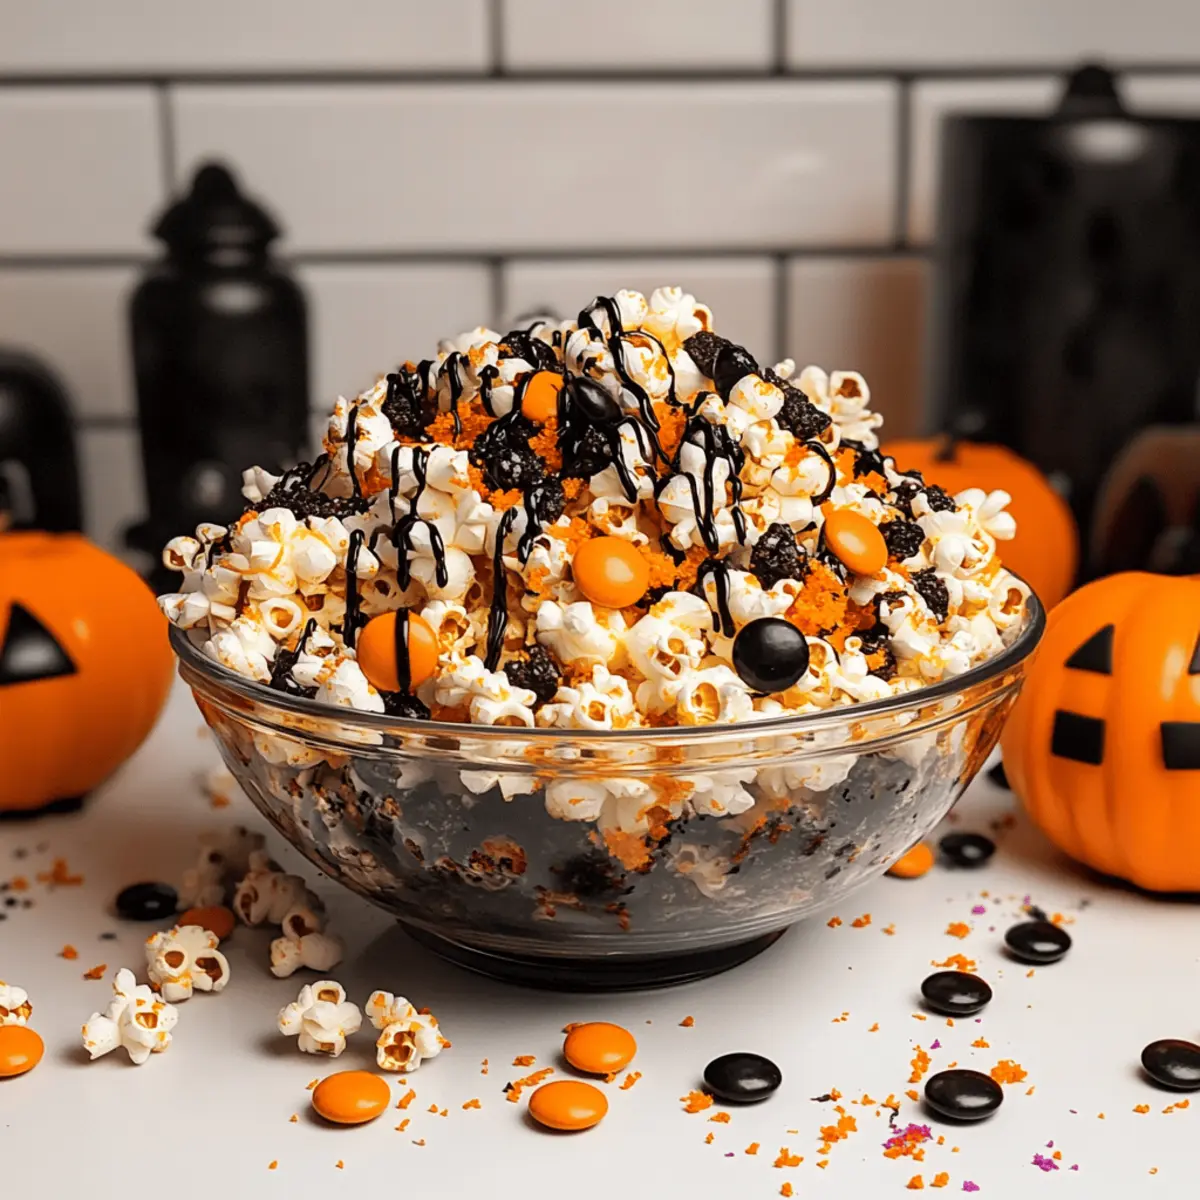
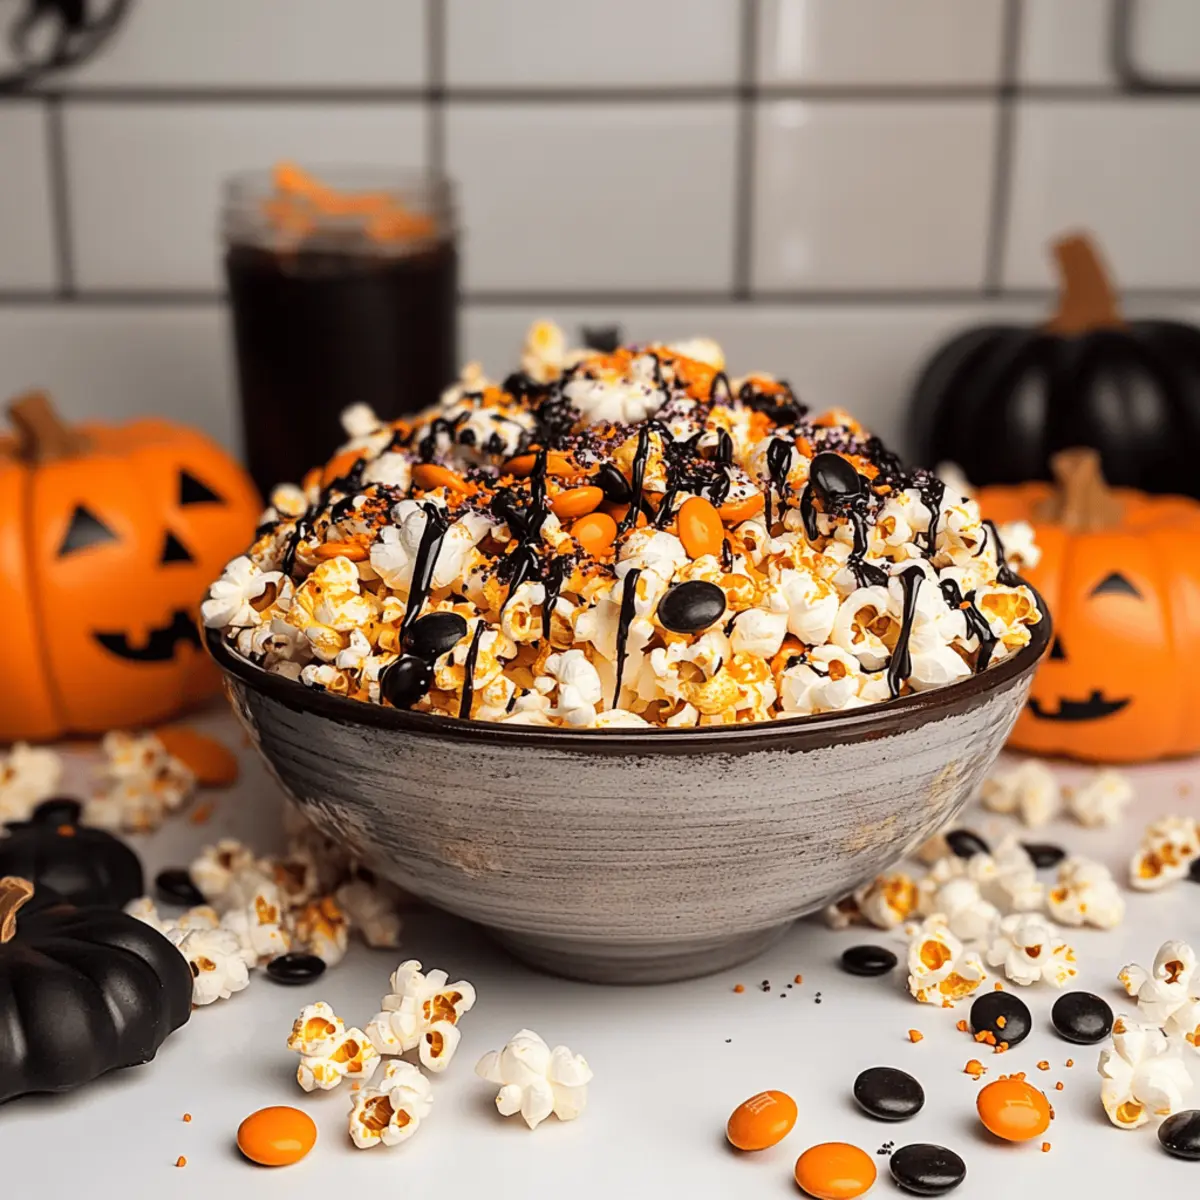
Using a spoon or a pastry bag, drizzle half of the melted chocolate over the popcorn. Move quickly but carefully, ensuring an even distribution over the popcorn. You want to see shiny streaks of chocolate creating a delightful coating for your Customizable Halloween Popcorn.
Step 5: Add Toppings
While the chocolate is still wet, generously sprinkle half of your chosen toppings, such as crushed Halloween Oreo cookies, M&Ms, and sprinkles, over the popcorn. This will ensure that the toppings adhere well to the mixture. Aim for a colorful mix that embodies the spirit of Halloween!
Step 6: Let It Set
Allow the popcorn mixture to dry for about 30-60 minutes at room temperature. It’s ready when the chocolate feels firm to the touch and no longer sticky. This drying stage is crucial for achieving the perfect texture and ensuring each piece maintains its delightful crunch.
Step 7: Repeat the Process
Once the first batch has hardened, gently mix the popcorn and spread it back out on the baking sheet. Repeat the drizzling with the remaining melted chocolate and sprinkle the rest of your toppings, ensuring a thorough and festive coating across all popcorn pieces.
Step 8: Final Drying
Allow the second layer of goodies to dry completely for another 30-60 minutes, ensuring everything is well set before you dive in. This step ensures that your Customizable Halloween Popcorn is perfectly crispy and ready to break into delightful bite-sized pieces.
Step 9: Break and Serve
Finally, once everything has hardened, break the popcorn into clusters or bite-sized pieces. Serve your colorful, festive treat in bowls or bag them up for Halloween giveaways. This Customizable Halloween Popcorn will be a hit at parties or cozy movie nights, bringing joy to everyone!
Variations & Substitutions for Halloween Popcorn
Feel free to let your creativity flourish and transform this Halloween popcorn into your own delightful masterpiece!
- Chocolate Swap: Replace candy melts with any chocolate chips like milk, dark, or white; it gives a deliciously rich flavor. Get inspired by the chocolatey surprises in a Covered Banana Pudding.
- Popcorn Flavor Boost: Try flavored popcorn, such as caramel or cheese, to swap up the base flavor and make it extra special.
- Nutty Addition: Add chopped nuts like pecans or almonds for a crunchy texture; they bring warmth and depth to your treat!
- Spicy Kick: Toss in a pinch of cayenne or chili powder for an unexpected heat element; spicy and sweet is a match made in heaven!
- Gummy Treats: Replace M&Ms with gummy candies for a chewy surprise; gummy worms fit perfectly for a spooky vibe!
- Dried Fruits: Incorporate dried cranberries or raisins for a fruity burst; it’s a festive twist that’s both delicious and nutritious.
- Topping Variation: Mix crushed pretzels for a sweet and salty combo; they’ll add an exciting crunch to your mix.
- Theme Changes: Swap colors of candy melts based on other holidays—red and green for Christmas or pastel colors for Easter!
Consider mixing this delightful treat with other favorites, like Peanut Butter Brownie cups for a sweet spread during your festivities!
Storage Tips for Halloween Popcorn
Fridge: Store your Halloween popcorn in an airtight container in the fridge for up to 1 week to help maintain its freshness.
Room Temperature: At room temperature, this festive treat can last up to 1-2 weeks, provided it’s kept in an airtight container away from humidity to keep it crunchy.
Freezer: For longer storage, freeze your Halloween popcorn in a freezer-safe bag for up to 3 months. Thaw at room temperature before serving.
Reheating: There’s no need to reheat. Just break into pieces and enjoy this delightful, crunchy Halloween popcorn straight from the container!
Make Ahead Options
These Customizable Halloween Popcorn treats are perfect for busy home cooks looking to save time during the festive season! You can prepare the popcorn base and candy melts up to 24 hours in advance. Simply pop the corn, spread it on a baking sheet, and store it in an airtight container at room temperature. The candy melts can be melted beforehand and kept in sealed bowls; just reheat for a few seconds when ready to use. When it’s time to serve, drizzle the melts over the popcorn, add your favorite toppings, and allow the mixture to set. This way, you’ll enjoy a spooky treat that’s just as delicious and colorful, ready to impress your family and friends!
What to Serve with Customizable Halloween Popcorn
As you gather your favorite people for an evening filled with fun and treats, here are some perfect pairings to enhance your celebration.
-
Crispy Apple Slices: The juicy crunch of fresh apples adds a refreshing contrast to the sweet popcorn, providing a touch of healthy goodness between indulgences. Serve them with caramel dip for an irresistible treat!
-
Spooky Sugar Cookies: Soft, decorated sugar cookies add a festive flair to your spread. Their sweetness complements the popcorn beautifully, making them a favorite for kids and adults alike.
-
Chocolate Milkshakes: Creamy and rich, chocolate milkshakes can elevate your Halloween party vibes. The smooth texture contrasts perfectly with the crunchy popcorn, creating a delightful balance.
-
Halloween Fruit Skewers: Colorful fruit skewers featuring seasonal favorites like grapes, oranges, and strawberries not only bring freshness but also create a festive display that catches the eye.
-
Pumpkin Spice Hot Chocolate: Embrace the flavors of fall with a warm cup of pumpkin spice hot chocolate. This cozy drink pairs beautifully with the sweet and crunchy popcorn, making it a perfect movie night treat.
-
Cheddar Cheese Puffs: These savory bites offer a delightful crunch that offsets the sweetness of the popcorn. Their cheesy goodness provides a fun and varied flavor experience for your guests.
-
Cinnamon Sugar Tortilla Chips: Sweet and crunchy, these chips add a unique twist to your snack selection. They are excellent for dipping into chocolate sauce for an added layer of decadence.
-
Ginger Ale or Spooky Mocktails: For a festive touch, serve ginger ale with gummy worms or create spooky mocktails using black and orange juices. These refreshing drinks are sure to be a hit among your partygoers!
With these enticing options, your Halloween gathering will be filled with flavor, fun, and unforgettable moments!
Expert Tips for Customizable Halloween Popcorn
• Keep it Dry: Ensure all your bowls and utensils are completely dry when melting the candy melts; moisture can cause the chocolate to seize and become unusable.
• Color Wisely: For vibrant colors, use oil-based food coloring if you want to tint the melted chocolate. Avoid regular food coloring, as it can make the mixture grainy.
• Layer It Up: For an even coating, consider repeating the drizzling and topping steps multiple times. This ensures every piece of popcorn is deliciously coated in your favorite flavors.
• Topping Choices: Get creative with your toppings! Dried fruits, nuts, or other seasonal treats can add a delightful twist to your Customizable Halloween Popcorn.
• Storage Secrets: Store your popcorn in an airtight container to keep it fresh and crunchy for up to 1-2 weeks, making it a delightful snack for the Halloween season.
Halloween Popcorn Recipe FAQs
How do I choose the right popcorn for this recipe?
Absolutely! For the best results, use freshly popped popcorn whether it’s air-popped or stove-top. Aim for about 10 cups, ensuring there are no unpopped kernels. If you prefer a lighter flavor, go for unbuttered popcorn. Sweet or caramel popcorn can add extra sweetness to contrast the candy coating!
How should I store Halloween popcorn after making it?
Very good question! Store your Halloween popcorn in an airtight container at room temperature for up to 1-2 weeks. This will help keep it crunchy and fresh. If you live in a humid environment, consider popping it in the fridge to avoid moisture. Just make sure to seal it well!
Can I freeze Halloween popcorn?
Yes, you can! To freeze your Halloween popcorn, pack it in a freezer-safe bag and remove as much air as possible to avoid freezer burn. It can last up to 3 months in the freezer! When you’re ready to enjoy it, simply let it thaw at room temperature, and it will be good to go.
What if my chocolate seized while melting?
Oh no! If your chocolate seizes, don’t panic. Try to rescue it by adding a spoonful of vegetable shortening or coconut oil. Stir until smooth; this should help restore its texture. Remember, always ensure your utensils are dry and avoid getting water into the chocolate to prevent this from happening.
Are there any allergy considerations for this popcorn?
Definitely! If anyone has nut allergies, be cautious with toppings like nuts or any brand of candy that may contain traces of nuts. Additionally, always check the labels on your candy melts and sprinkles for allergens, particularly if you’re serving this treat to children or family members with known allergies.
Can I use different toppings in this popcorn recipe?
The more the merrier! This recipe is super versatile. Feel free to get creative by adding your favorite cookies, nuts, dried fruits, or even different themed sprinkles. I often mix in a handful of pretzels for a salty crunch or substitute in seasonal candies to keep things exciting!

Decadent Brownie Dirt Pudding That's a Fun Family Treat
Ingredients
Equipment
Method
- Prepare Your Workspace: Line a large baking sheet with parchment paper for easy spreading.
- Pop the Corn: Pop popcorn and spread in a single layer on the baking sheet.
- Melt the Candy Coating: Combine and melt black and orange candy melts until smooth.
- Drizzle the Chocolate: Evenly drizzle half of the melted chocolate over the popcorn.
- Add Toppings: While chocolate is wet, sprinkle toppings over the popcorn.
- Let It Set: Allow mixture to dry for 30-60 minutes until chocolate is firm.
- Repeat the Process: Mix popcorn, drizzle remaining chocolate, and add toppings.
- Final Drying: Let dry completely for another 30-60 minutes.
- Break and Serve: Break into clusters or pieces and serve.