
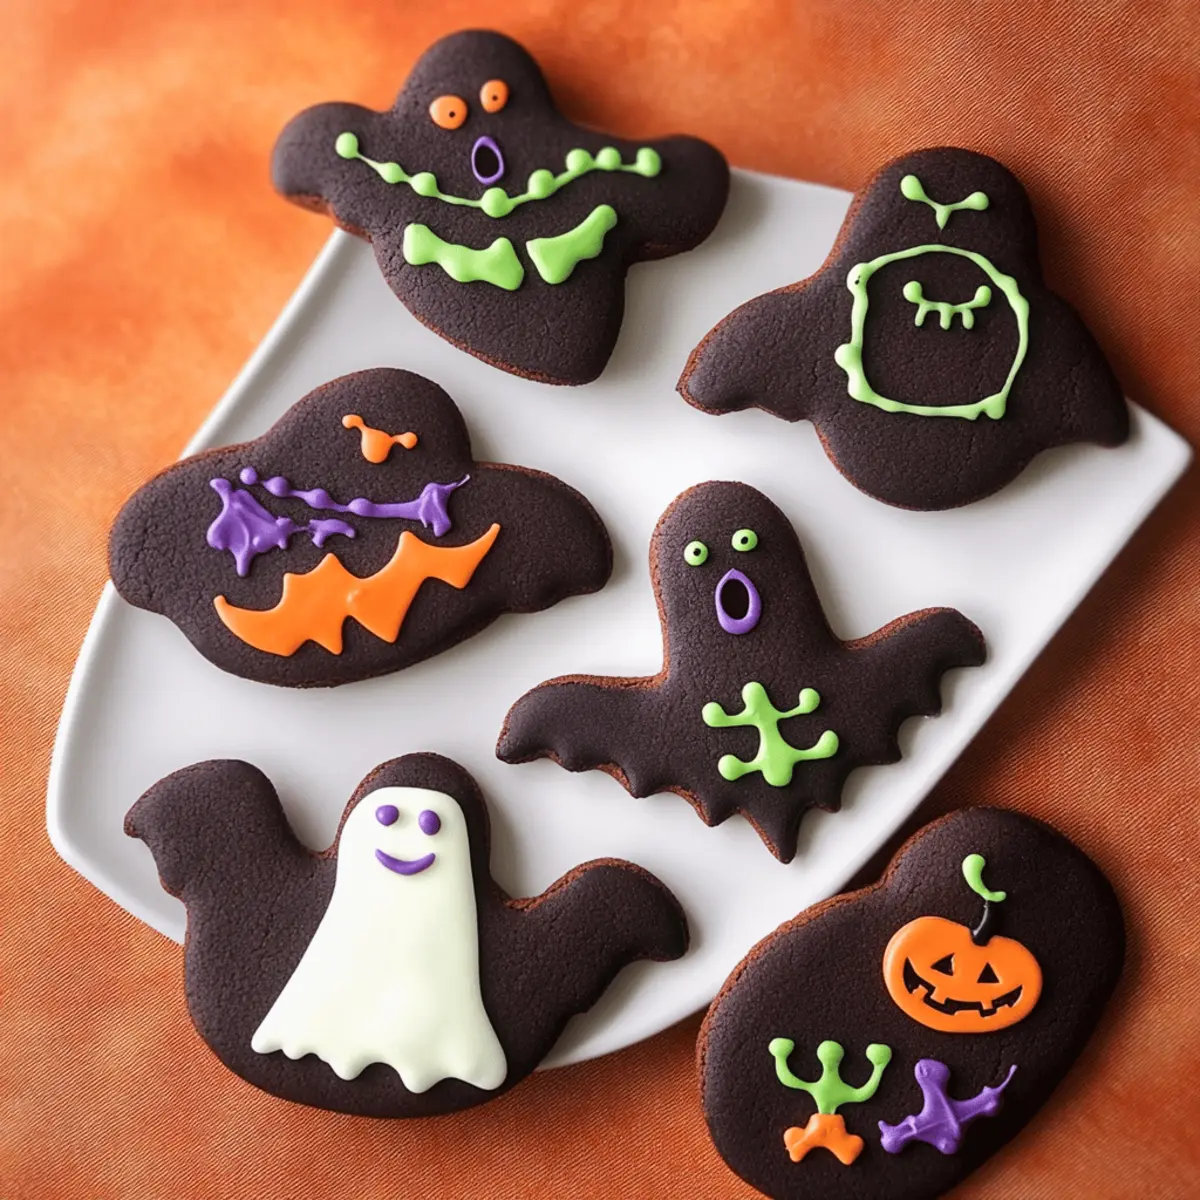
As the chill of autumn settles in, it’s time to gather around the kitchen and whip up some spooky fun! These Spooktacular Halloween Decorated Cookies bring together the rich decadence of chocolate with the thrill of Halloween magic. What makes these cookies special is not just their delightful taste but also the opportunity to make lasting memories with loved ones—perfect for both kids learning to bake and seasoned home chefs looking for a creative outlet. With an easy-to-follow recipe that features variations, you can customize your treats to impress all your goblin guests. Get ready to roll out some delightful cookie dough and let your inner artist shine with royal icing. Are you ready to create the most hauntingly delicious cookies this Halloween?
What Makes Halloween Decorated Cookies Special?
Memorable Moments: Baking these cookies creates wonderful family memories and moments of laughter as everyone gets involved in the decorating process.
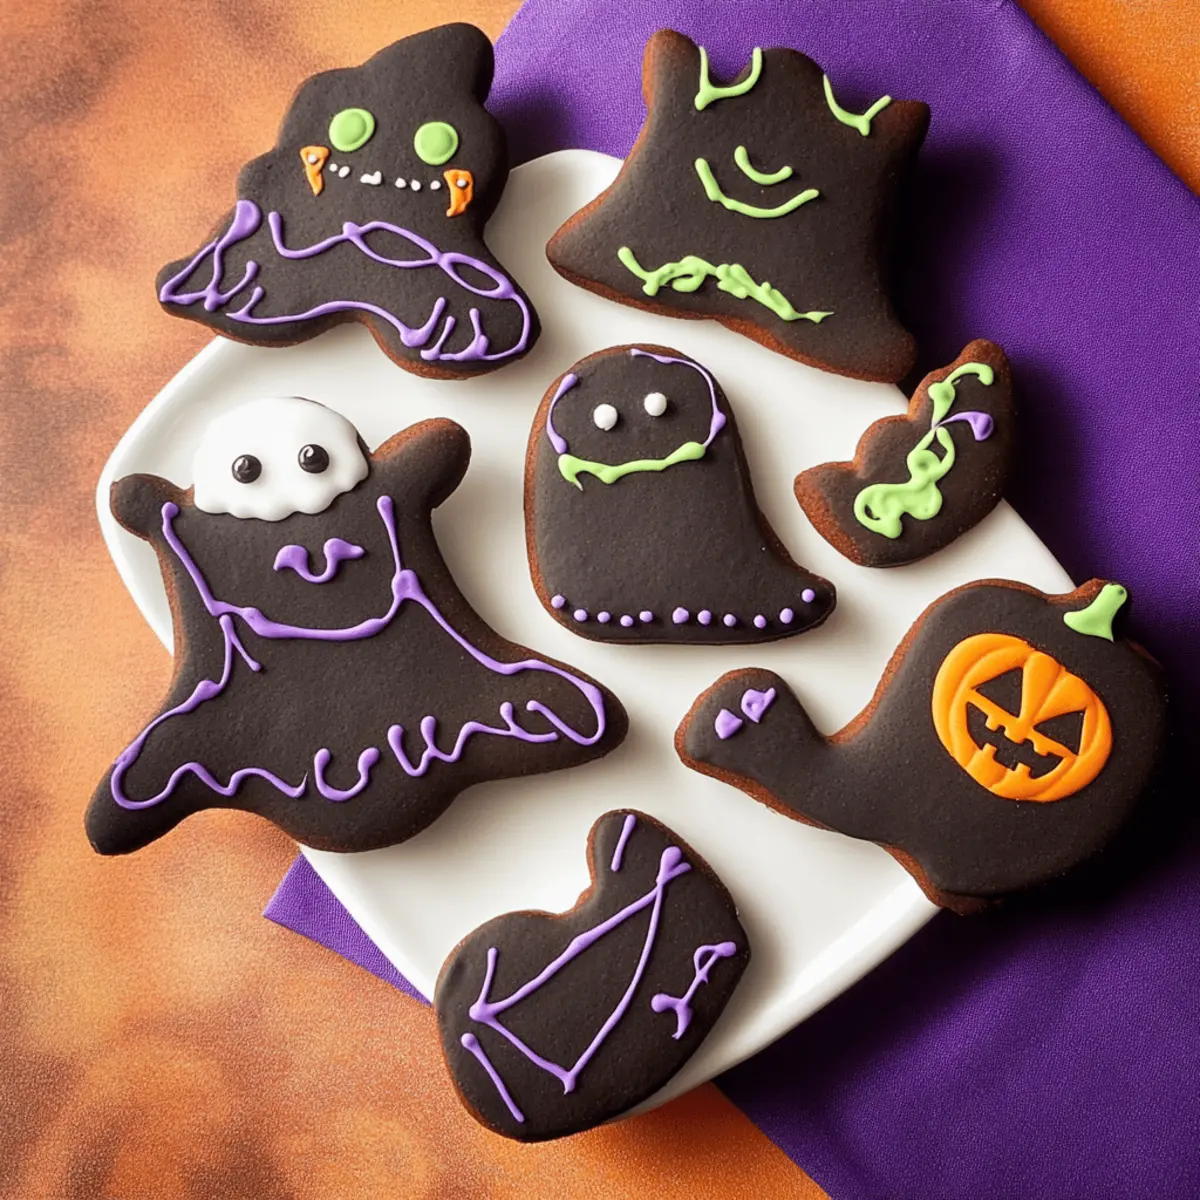
Creative Expression: The opportunity to unleash your inner artist with royal icing allows for unique designs, whether you want classic pumpkins or spooky ghosts.
Deliciously Chocolatey: Every bite features a rich, chocolatey flavor that pairs perfectly with warm drinks like hot cocoa or milk, making them an ideal fall treat.
Easy Variations: Customize your cookies by substituting black cocoa for Dutch process or using store-bought icing, catering to both novice and experienced bakers alike.
Kid-Friendly Fun: Parents will love this recipe for its simplicity and the joy it brings to their children—making it a fantastic Halloween activity!
Embrace the festive spirit and create lasting memories with these delicious Halloween Decorated Cookies that are sure to enchant both kids and adults.
Halloween Decorated Cookies Ingredients
For the Cookie Dough
• Butter – provides richness and moisture; ensure it’s at room temperature for easy creaming.
• Powdered Sugar – sweetens the cookies and royal icing, with a fine texture for smooth blending.
• Egg – acts as a binding agent for structure; make sure it’s room temperature for even mixing.
• All-Purpose Flour – gives the cookie dough structure; measure accurately for the best results.
• Black Cocoa Powder – imparts a deep black color and roasted flavor; substitute with Dutch process cocoa for a milder taste if preferred.
• Dutch Process Cocoa Powder – enhances the chocolate flavor; a perfect alternative if black cocoa is unavailable.
• Salt – balances the sweetness and enhances flavor in the cookie dough.
For the Royal Icing
• Royal Icing – used for decorating; made from egg whites and powdered sugar, can be colored with gel food coloring for fun designs.
Create your own masterpiece with these ingredients and enjoy a batch of Halloween Decorated Cookies that will surely delight!
Step‑by‑Step Instructions for Spooktacular Halloween Decorated Cookies
Step 1: Creaming the Butter
In a stand mixer, beat the room temperature butter on medium speed for about 2 minutes until it becomes creamy and smooth. Gradually blend in the powdered sugar, mixing for another 3–4 minutes until the mixture is light and fluffy. This creates the perfect base for your rich Halloween Decorated Cookies.
Step 2: Incorporating the Egg
Add the room temperature egg to the creamed butter and sugar mixture. Mix on low speed until fully incorporated—take about 1 minute. This binding agent is crucial for your cookie’s structure, ensuring they hold their shape beautifully as they bake.
Step 3: Preparing the Dry Ingredients
In a separate bowl, sift together the all-purpose flour, black cocoa powder, Dutch process cocoa powder, and salt. Gradually add this dry mixture to the wet ingredients in the stand mixer. Mix on low speed until just combined, about 30 seconds, to prevent overworking the dough and ruining the texture of your Halloween Decorated Cookies.
Step 4: Chilling the Dough
Form the cookie dough into a ball and flatten it into a disc shape. Wrap the disc in plastic wrap and chill it in the refrigerator for 30–45 minutes, or up to 2 days for more developed flavors. Chilling helps prevent spreading during baking, leading to perfectly shaped cookies.
Step 5: Rolling and Cutting the Cookies
Once chilled, roll the dough between two sheets of parchment paper to a thickness of about 4 mm. Use cookie cutters to create fun shapes for your Halloween Decorated Cookies. Transfer the cut-out shapes to a baking sheet lined with parchment paper and chill the shaped cookies for 1 hour to keep their form.
Step 6: Baking the Cookies
Preheat your oven to 320°F (160°C) using a fan-assisted setting. Bake the chilled cookies for approximately 10 minutes. Keep an eye on them—the cookies should appear soft and slightly puffed when done, as they will harden as they cool.
Step 7: Cooling the Cookies
After baking, allow the cookies to cool on the baking sheets for about 5 minutes. This resting time ensures they set properly. Then, carefully transfer them to a wire rack to cool completely. Proper cooling is essential before decorating your Halloween Decorated Cookies.
Step 8: Decorating with Royal Icing
Prepare your royal icing using egg whites and powdered sugar, adding food coloring for festive designs if desired. Once the cookies are completely cool, use piping bags or spatulas to decorate them with your royal icing. Allow the icing to dry at room temperature for 3–6 hours to achieve the best results.
Expert Tips for Halloween Decorated Cookies
Chill the Dough: Ensure to chill the dough for at least 30 minutes to prevent cookies from spreading during baking—this helps maintain their festive shapes.
Uniform Shapes: Keep cookie shapes consistent for even baking. Use the same cookie cutter size for all to avoid uneven textures and doneness.
Royal Icing Consistency: Aim for royal icing thick enough to hold peaks, adjusting with water or more powdered sugar as needed—this ensures beautiful decorations.
Watch the Baking Time: Keep a close eye on the cookies while they bake. They should look soft but not undercooked; they harden as they cool.
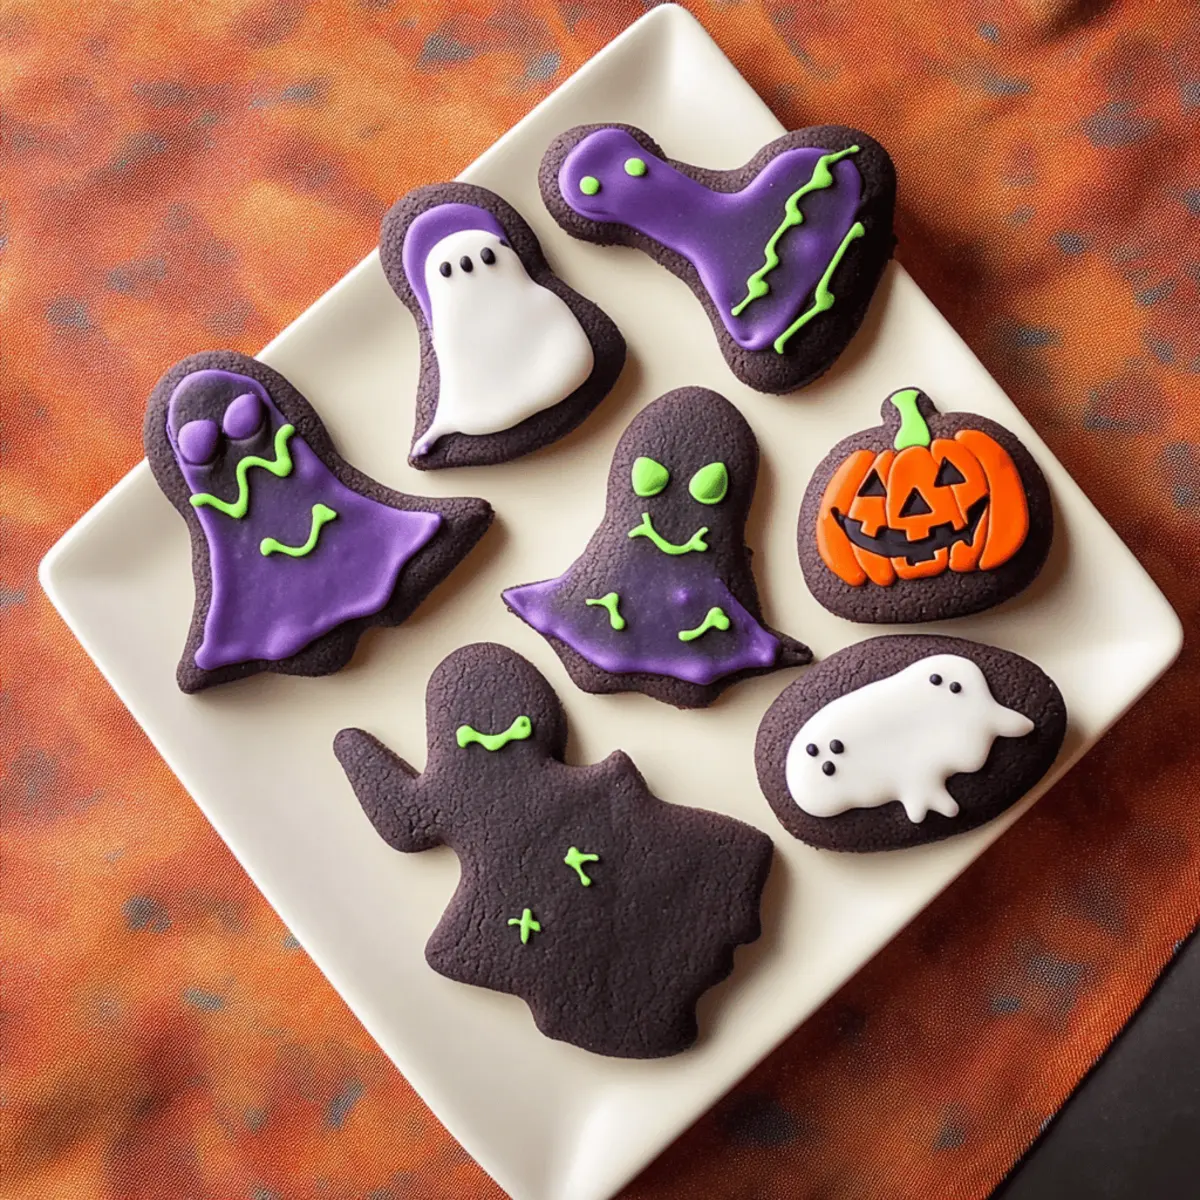
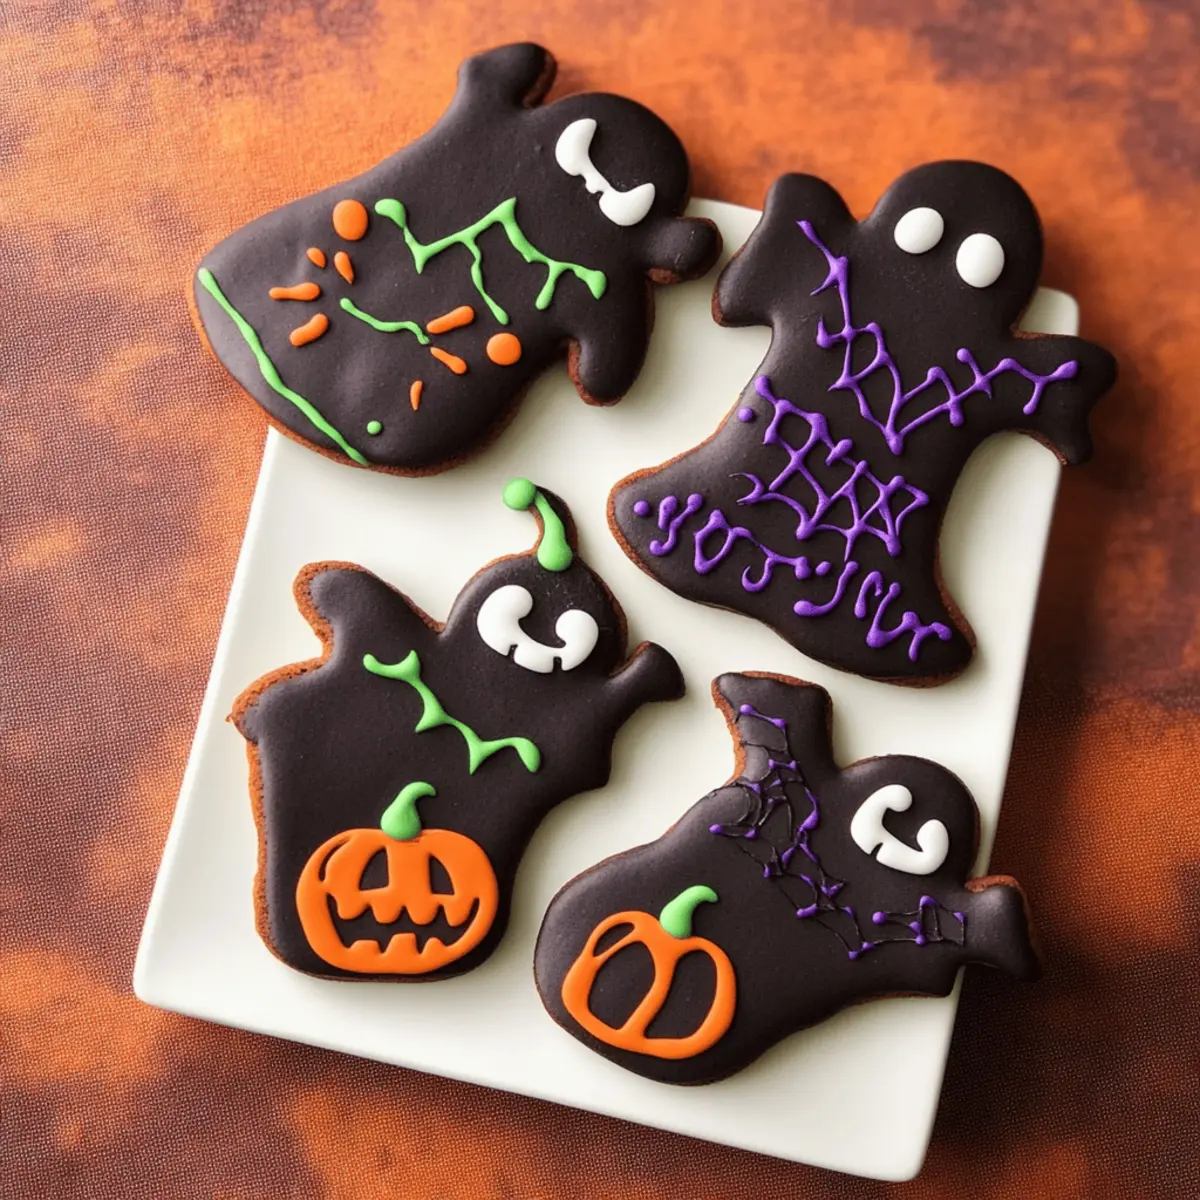
Creative Decorating: Let your imagination flow with colors and patterns when decorating. This is your chance to personalize your Halloween Decorated Cookies!
Store Properly: Store undecorated cookies in an airtight container at room temperature up to a week or freeze decorated ones for up to a month—keep your treats fresh and delicious!
Make Ahead Options
Baking these Halloween Decorated Cookies is a fantastic way to save time during the busy Halloween season! You can prepare the cookie dough up to 2 days in advance; simply chill it wrapped tightly in plastic wrap to keep it fresh. Additionally, after baking, the cookies can be stored in an airtight container at room temperature for up to 1 week, allowing for an easy ahead-of-time sweet treat. When you’re ready to decorate, ensure the cookies are completely cool, then simply use your royal icing to bring them to life—these cookies will turn out just as delicious and festive as if made fresh!
Storage Tips for Halloween Decorated Cookies
Room Temperature: Store undecorated cookies in an airtight container at room temperature for up to 1 week to maintain their soft, chewy texture.
Fridge: If you’ve decorated your Halloween cookies with royal icing, place them in an airtight container in the fridge for up to 1 week, ensuring they are separated with parchment paper to avoid sticking.
Freezer: Freeze decorated cookies for up to 1 month in an airtight container between layers of parchment paper, protecting their intricate designs from damage.
Reheating: To refresh cookies, let them sit at room temperature for a bit before enjoying—this helps bring back their delightful texture, making every bite of your Halloween Decorated Cookies irresistible!
Halloween Decorated Cookies Variations
Feel free to get creative and make these Halloween Decorated Cookies your own—there’s no limit to the fun you can have with flavors and decorations!
- Dutch Cocoa Swap: Use Dutch process cocoa for a milder flavor that still delivers chocolatey delight.
- Flavor Boost: Mix in almond or vanilla extract for an extra layer of flavor; it adds a warmth that complements the cocoa beautifully.
- Colorful Icing Options: Choose vibrant gel colors for the royal icing to create festive designs that pop; think neon greens or spooky purple!
- Add Sprinkles: Toss in spooky sprinkles before baking or after icing to give your cookies a fun finish—perfect for little goblins!
- Nutty Twist: Incorporate finely chopped nuts, like walnuts or pecans, into your dough for added crunch and flavor, balancing the rich chocolate.
- Chill with a Twist: Try chilling the cookie dough with spices like cinnamon or nutmeg for a warm flavor that evokes cozy autumn vibes.
- Less Sugar: For a healthier cookie, reduce the powdered sugar in the dough; pair it with a sweeter royal icing for balance.
- Pumpkin Spice Delight: Add a touch of pumpkin spice to the cookie dough for that quintessential autumn flavor; it pairs wonderfully with chocolate!
These variations let you adjust the recipe with delightful modifications, ensuring your Halloween Decorated Cookies are uniquely yours. If you’re looking for more cookie inspiration, check out these delicious variations like Raspberry Cookies Sweet and Chocolate Blossom Cookies. Happy baking!
What to Serve with Spooktacular Halloween Decorated Cookies
Indulge in a complete Halloween experience by pairing these delightful cookies with spooky yet delicious accompaniments.
- Creamy Hot Chocolate: A rich, velvety hot chocolate enhances the chocolatey goodness of your cookies while adding warmth and coziness perfect for autumn nights.
- Classic Pumpkin Pie: The spiced flavors of pumpkin pie create a wonderful contrast to the sweetness of the cookies, making for a fantastic dessert duo.
- Apple Cider: Serve chilled or warm, this fall favorite with its crisp flavor complements the rich cookies, enhancing the seasonal vibe.
- Whipped Cream Topping: Add a dollop of light, fluffy whipped cream to each cookie for a delightful textural contrast and creamy sweetness that brings smiles.
- Caramel Dipping Sauce: For a fun twist, serve your cookies with a side of warm caramel for dipping; it adds a decadent layer of sweetness.
- Ghostly Vanilla Ice Cream: Scoops of vanilla ice cream topped with chocolate syrup create a fun and indulgent treat that pairs beautifully with the cookies’ rich flavors.
- Bubbly Apple Fizz: Celebrate the season with a bubbly apple soda, its refreshing effervescence balancing the richness of the chocolate in your cookies.
- Candy Corn Snacks: For a festive touch, set out candy corn. Its vibrant colors and sweet flavor make a playful addition alongside your Halloween treats.
Embrace the spooky spirit and create delightful pairings that will make your Halloween Decorated Cookies even more special!
Halloween Decorated Cookies Recipe FAQs
What is the best way to choose cocoa powder for my Halloween Decorated Cookies?
Absolutely! For the richest flavor and the distinctive color in your cookies, I recommend using black cocoa powder. Look for brands that specify “Dutch process” for a smooth taste. If black cocoa isn’t available, Dutch process cocoa is a fine alternative, yielding a deliciously chocolatey cookie without the intense color.
How should I store my cookies once baked?
Store your undecorated Halloween Decorated Cookies in an airtight container at room temperature for up to 1 week to keep them soft and chewy. If you’ve already decorated them with royal icing, they can last in the fridge for a week if kept in an airtight container, making sure to layer parchment paper between cookies to prevent sticking.
Can I freeze decorated cookies, and how should I do it?
Very! You can freeze your decorated cookies for up to 1 month. To do this, place the cookies in a single layer in an airtight container, separated by pieces of parchment paper to avoid sticking. When you’re ready to enjoy them, allow them to thaw at room temperature before serving for the best taste and texture.
What if my cookie dough is too sticky?
If your dough feels too sticky, don’t worry! This can happen sometimes. Simply sprinkle a bit of flour onto your work surface and your hands while rolling out the dough. If it’s still too sticky, chill it in the refrigerator for another 15-30 minutes. This will give it some time to firm up, making it easier to handle and ensuring your Halloween Decorated Cookies hold their shape nicely.
Can I make these cookies gluten-free?
Absolutely! To make gluten-free Halloween Decorated Cookies, simply substitute the all-purpose flour with a high-quality gluten-free flour blend. I often recommend using one that contains xanthan gum to help with texture. Also, check that the cocoa powder and other ingredients are labeled gluten-free to avoid cross-contamination.
What are the signs that my cookies have gone bad?
If your Halloween Decorated Cookies develop a soft, sticky texture or show any signs of mold, they should be discarded. Freshly baked cookies will maintain their quality when stored correctly, but after a week, it’s best to inspect them closely. If you see dark spots or they exude a faint sour smell, it’s time to toss them to ensure everyone enjoys only the best treats!
Delicious Halloween Decorated Cookies for Spooky Fun
Ingredients
Equipment
Method
- In a stand mixer, beat the room temperature butter on medium speed for about 2 minutes until creamy.
- Gradually blend in the powdered sugar, mixing for another 3–4 minutes until light and fluffy.
- Add the room temperature egg and mix on low speed until fully incorporated.
- In a separate bowl, sift together the all-purpose flour, black cocoa powder, Dutch process cocoa powder, and salt.
- Gradually add the dry mixture to the wet ingredients in the stand mixer and mix on low speed until just combined.
- Form the cookie dough into a ball, flatten into a disc, wrap in plastic wrap, and chill in the refrigerator for 30–45 minutes.
- Roll the chilled dough between two sheets of parchment paper to a thickness of about 4 mm and use cookie cutters to shape.
- Transfer cut-out shapes to a baking sheet lined with parchment paper and chill for 1 hour.
- Preheat the oven to 320°F (160°C) and bake the cookies for about 10 minutes.
- Allow cookies to cool on the baking sheets for 5 minutes, then transfer to a wire rack to cool completely.
- Prepare royal icing and decorate cooled cookies, letting icing dry for 3–6 hours.