
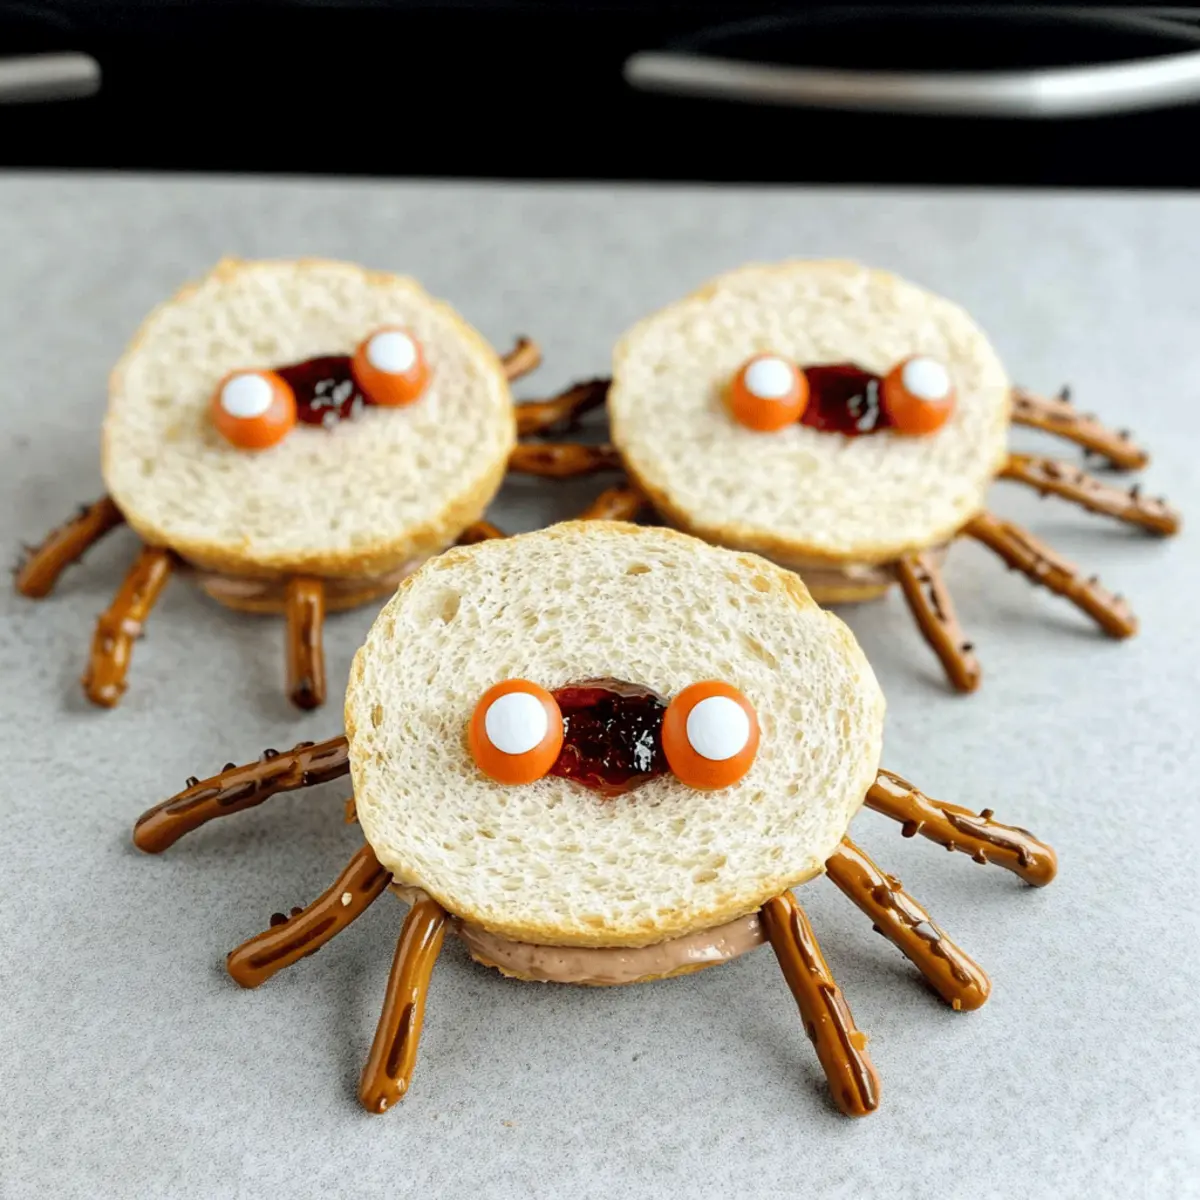
As I scrolled through my kitchen one day, I stumbled upon a bag of pretzels and thought, why not turn lunch into something fun? Enter the Spooky Spider Sandwiches! These playful delights are not just a feast for the eyes; they offer a fun way to engage kids during Halloween and make lunchtime feel special. With an easy-to-follow recipe, you can customize these sandwiches with your favorite fillings, whether it’s classic peanut butter and jelly or savory ham and cheese. They’re budget-friendly and provide a delightful crunch that makes each bite unforgettable. Plus, they’re gluten-free adaptable, ensuring everyone can join in on the spooky fun! So, are you ready to unleash your creativity and wow the little goblins in your life? Let’s dive in!
Why are Spooky Spider Sandwiches so fun?
Fun and Playful: These Spooky Spider Sandwiches transform an ordinary meal into a Halloween celebration that excites kids and adults alike.
Customizable Options: With various fillings like peanut butter, jelly, or ham and cheese, you can tailor them to suit every taste preference.
User-Friendly: The straightforward preparation means you won’t spend hours in the kitchen, making it a no-fuss way to celebrate.
Versatile Treats: Whether for lunchboxes or a party platter, these spooky bites fit any occasion, appealing to both kids and parents.
Dietary-Friendly: Offering gluten-free bread options ensures even those with dietary restrictions can join in on this festive fun!
Unforgettable Crunch: The addition of pretzel stick legs adds a satisfying crunch, creating a delightful texture that will keep everyone coming back for more!
Spooky Spider Sandwiches Ingredients
Get ready to create some fun with these Spooky Spider Sandwiches!
-
For the Sandwiches
-
Bread – Choose soft bread as the base for these monstrous bites; gluten-free options work well too!
-
Peanut Butter – This creamy spread adds natural sweetness; almond butter is a great alternative for a nut-free variation.
-
Strawberry Jelly – A perfect fruity addition; feel free to switch it up with grape or raspberry jam for a different flavor.
-
For the Legs
-
Pretzel Sticks – These crunchy delights serve as spider legs; gluten-free pretzels are available for those with dietary sensitivities.
-
For the Decoration
-
Candy Eyes – These sweet accents create the eerie spider look, making your sandwiches irresistibly fun!
With these ingredients at hand, you’re all set to whip up some delightful treats that will make Halloween lunches a memorable experience!
Step‑by‑Step Instructions for Spooky Spider Sandwiches
Step 1: Cut the Bread Rounds
Begin by using a biscuit cutter to cut rounds from your slices of soft bread, creating 10 to 12 circular pieces. Aim for even thickness to ensure uniform sandwiches. Set the bread rounds aside on a clean surface while you prepare the fillings. This initial step lays the foundation for your fun and festive Spooky Spider Sandwiches.
Step 2: Spread the Fillings
Take half of the bread rounds and spread a generous layer of peanut butter onto each one, reaching the edges for maximum flavor. On the remaining bread rounds, spread your choice of strawberry jelly or another favorite jam. This pairing, with the creamy peanut butter complementing the sweet jelly, ensures a delicious base for your spooky creations.
Step 3: Assemble the Sandwiches
Carefully pair the bread rounds together by placing the peanut butter-coated rounds on top of the jelly-spread ones. Gently press them together to create a solid sandwich. Make sure the fillings get easily squished together to keep everything in place, giving your Spooky Spider Sandwiches a stable structure that holds up during assembly.
Step 4: Insert the Spider Legs
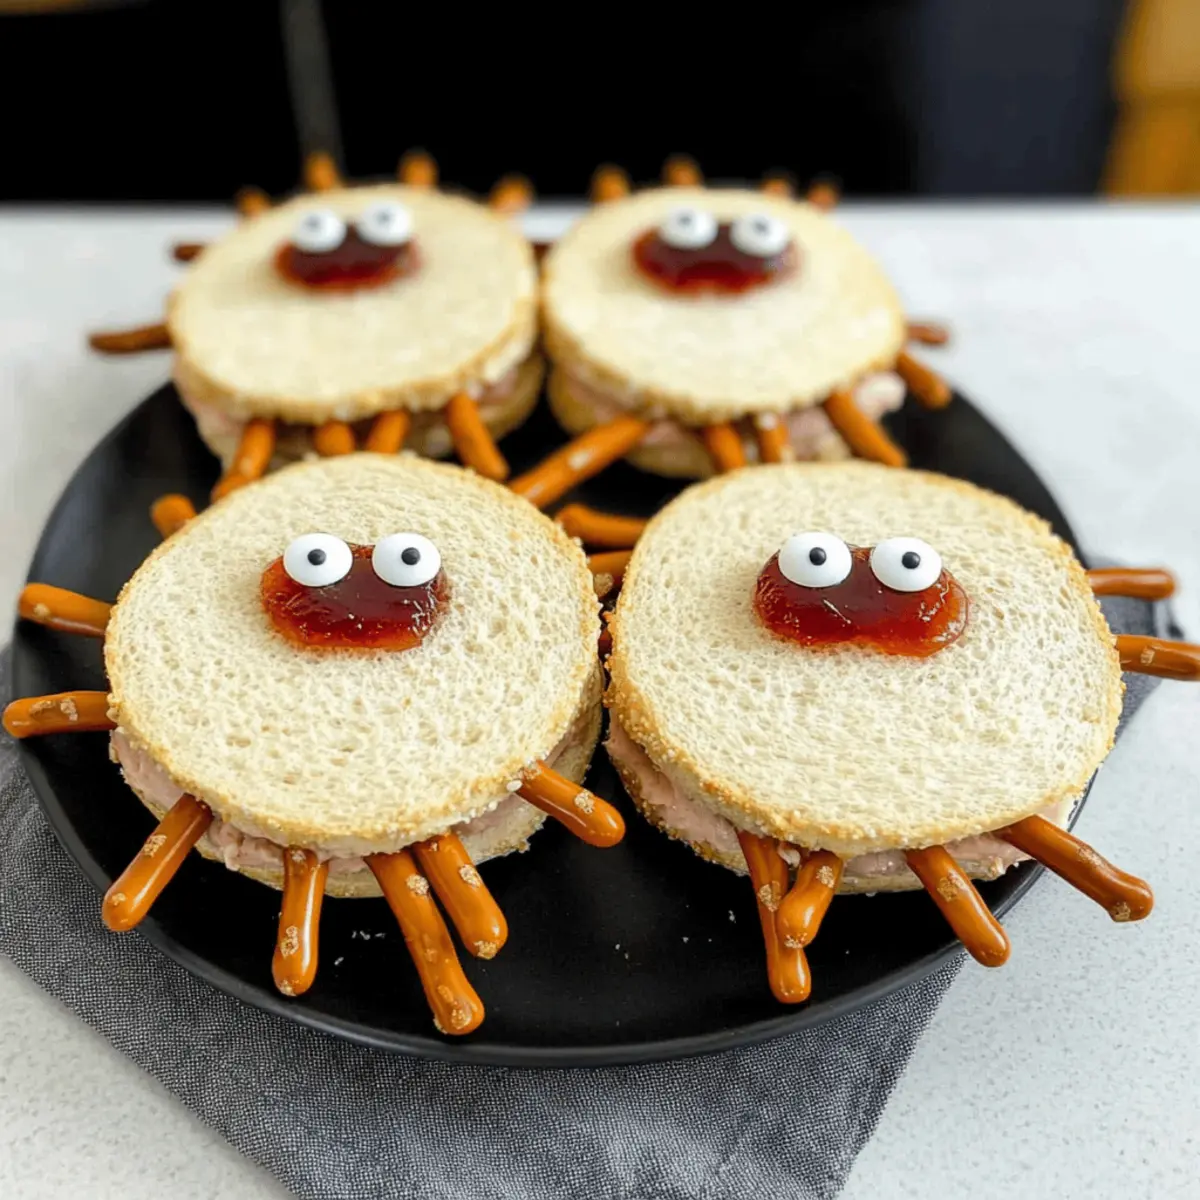
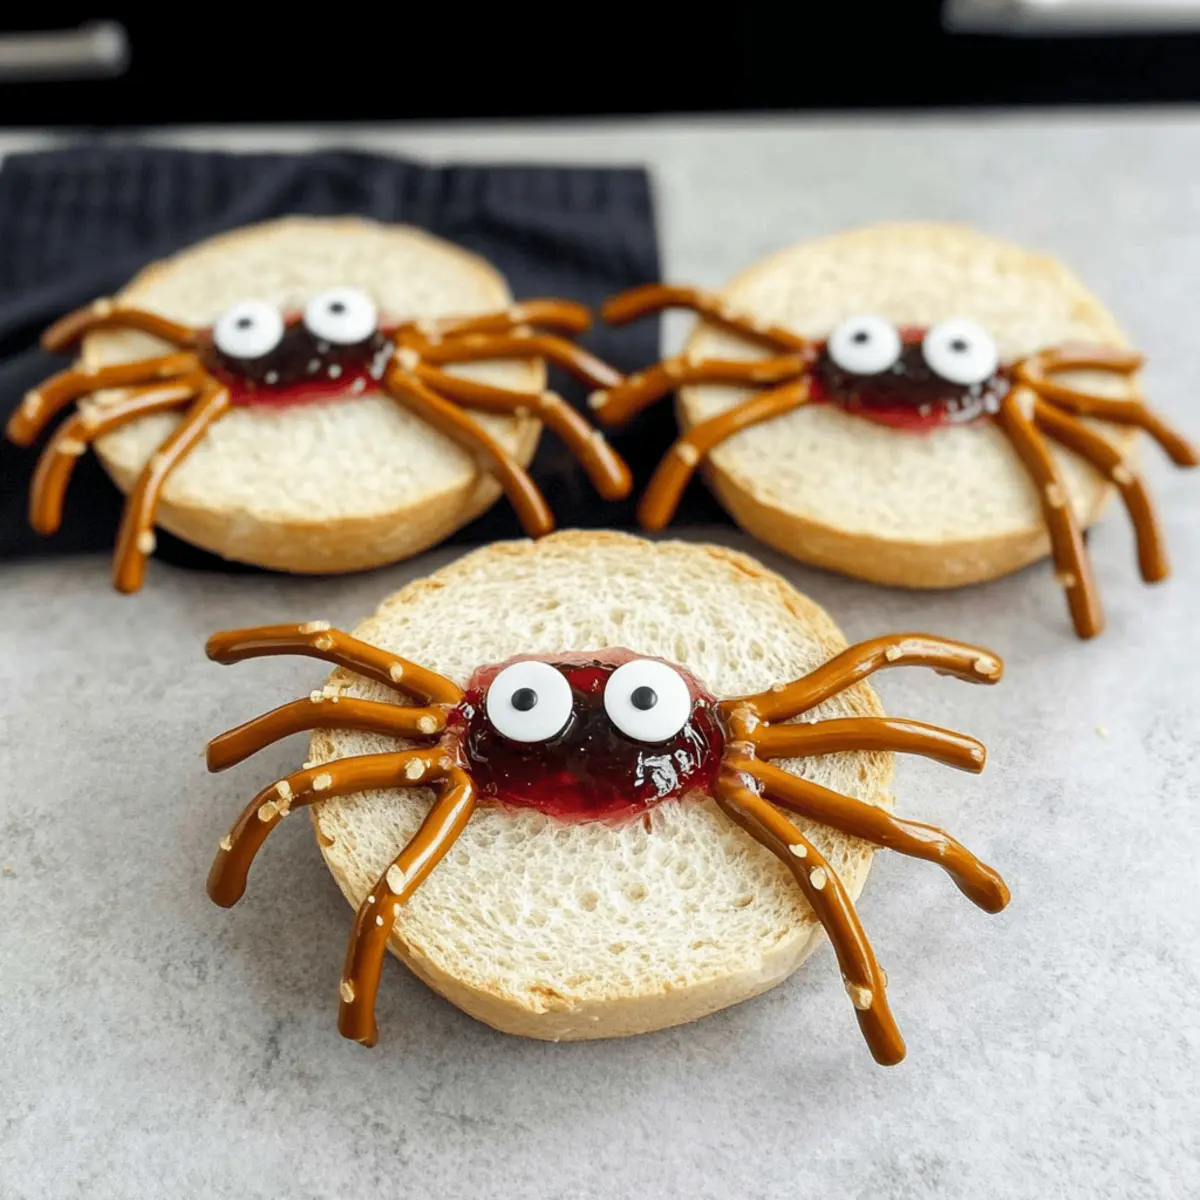
With the sandwiches assembled, take three pretzel sticks and gently push them into each side of the sandwich to mimic spider legs. The peanut butter filling will help securely hold the pretzel sticks in place. Aim for an even distribution of legs for the spookiest look, making sure the pretzels are visible and ready to create that fun spider effect.
Step 5: Add the Candy Eyes
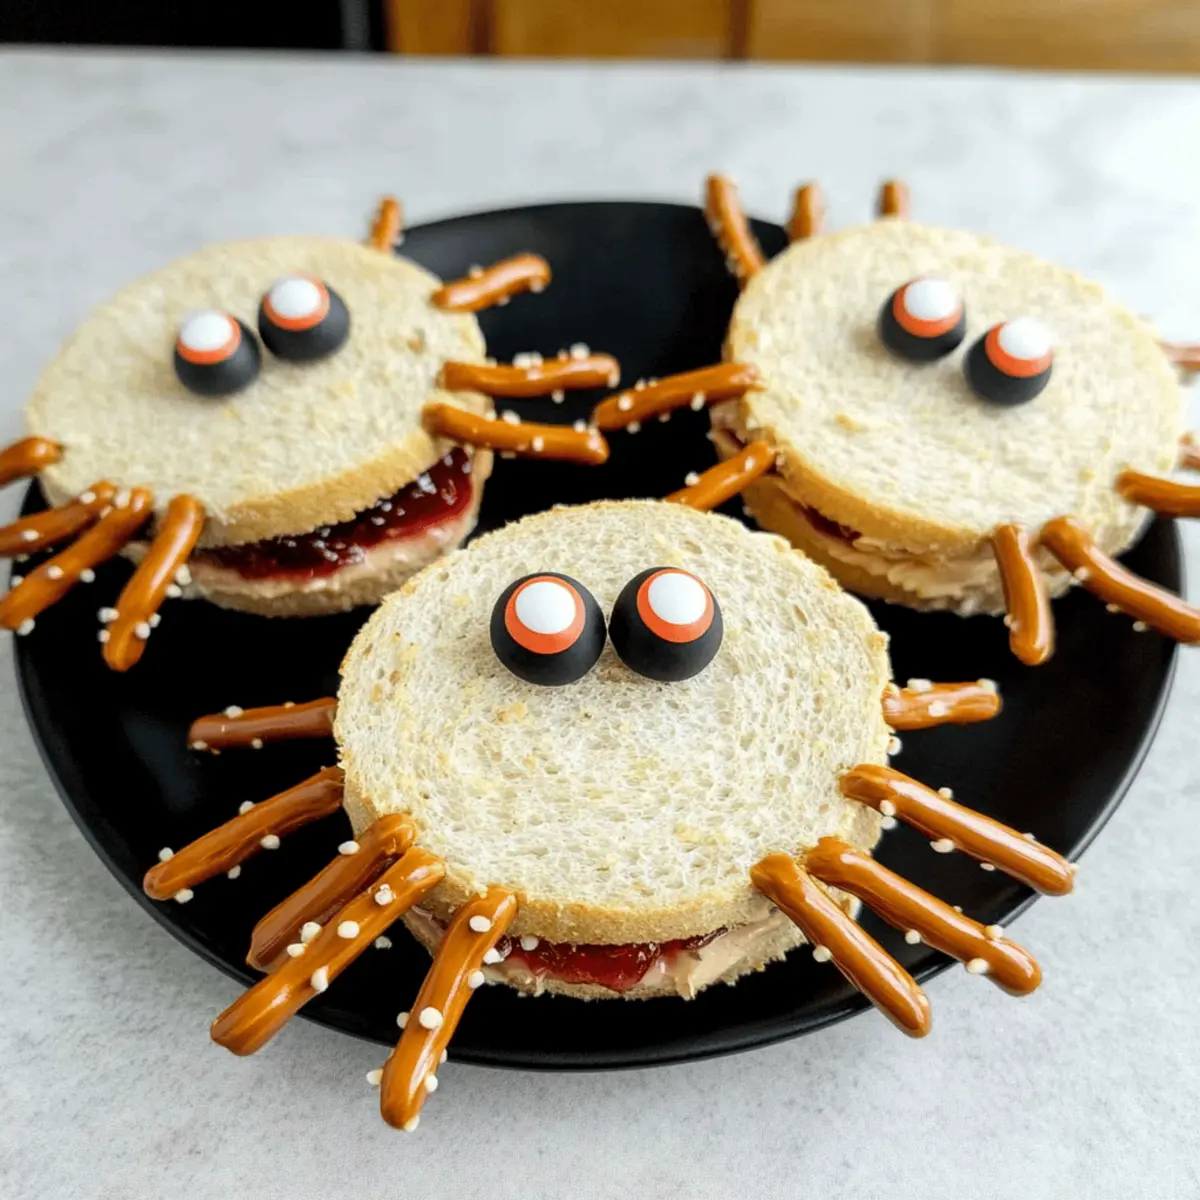
To finish off your adorable Spooky Spider Sandwiches, place two candy eyes on top of each sandwich, positioning them in a way that makes the spiders come to life. Use a light touch to make sure they stick well without disrupting the sandwich structure. This final touch adds a playful charm, bringing excitement to each spooky bite.
Step 6: Serve and Enjoy
Once all the sandwiches are assembled and decorated, arrange them on a festive platter for a captivating presentation. Serve immediately as a fun Halloween treat for kids or party guests. The soft bread, creamy fillings, and crunchy pretzel legs make these Spooky Spider Sandwiches a delightful addition to any Halloween celebration, ready to be enjoyed!
Storage Tips for Spooky Spider Sandwiches
-
Room Temperature: Enjoy your Spooky Spider Sandwiches fresh for the best taste, ideally within 1-2 hours of preparation.
-
Fridge: If needed, store in an airtight container in the fridge for up to 2 days. This helps retain moisture but may soften the crust slightly.
-
Freezer: For longer storage, freeze assembled sandwiches (without candy eyes) for up to 1 month. Wrap each sandwich tightly in plastic wrap to prevent freezer burn.
-
Reheating: Thaw sandwiches in the fridge overnight, then serve cold or at room temperature. Add candy eyes just before serving for that fun, spooky appearance!
Spooky Spider Sandwiches Variations
Feel free to get creative and personalize your Spooky Spider Sandwiches with these exciting twists!
-
Savory Swap: Replace peanut butter and jelly with ham and cheese for a deliciously savory version. The contrast of flavors makes these sandwiches even more irresistible!
-
Bread Choices: Use whole grain, sourdough, or even pita bread for different textures and flavors. Each option offers a unique base and adds character to your spooky creations.
-
Nut-Free Delight: Substitute peanut butter with almond, sunflower seed, or soy nut butter for a nut-free twist. Let the kids enjoy the flavors without worries!
-
Sweet Surprises: Try Nutella or flavored cream cheese as an alternative spread. Both options provide a sweet and creamy experience that kids will love.
-
Veggie Power: Add thin slices of cucumber or bell pepper for an added crunch and a touch of freshness. Sneaking in veggies has never been more fun!
-
Fiery Fun: Spice things up by adding sliced jalapeños or a sprinkle of chili powder to your peanut butter filling. For those who enjoy heat, this variation will surely excite your taste buds!
-
Creative Legs: Use pretzel sticks, chocolate-covered pretzels, or even licorice laces for the spider legs. A sweet or crunchy twist can change the entire presentation!
-
Garnish Glory: Instead of candy eyes, decorate with M&M’s or gummies to match the holiday spirit even more vibrantly. This small tweak can add extra fun and whimsy to your sandwiches!
With these variations, you can easily make your Spooky Spider Sandwiches unique, ensuring every batch is a delightful surprise. For a complete Halloween meal, consider serving them alongside some spooky treats or fun drinks that echo the festive spirit!
Tips for the Best Spooky Spider Sandwiches
- Creamy Consistency: Ensure your peanut butter is thick enough to hold the pretzel legs firmly; if it’s too runny, the legs may fall off.
- Get Creative: Don’t hesitate to experiment with fillings; ingredients like turkey slices or cheese can make for a savory spin on Spooky Spider Sandwiches.
- Cutting Technique: A sharp knife or biscuit cutter is key for neat bread rounds. Dull tools can lead to messy and uneven edges.
- Display Matters: For a fun presentation, arrange the sandwiches on a Halloween-themed platter with some plastic spiders for an extra spooky touch.
- Freshness Tip: While they can be stored, these sandwiches taste best when served fresh; prepare them close to mealtime for optimal flavor!
Make Ahead Options
These Spooky Spider Sandwiches are a fantastic choice for busy home cooks looking to save time! You can prepare the bread rounds and fillings up to 24 hours in advance. Simply cut the bread and spread your desired fillings (like peanut butter and jelly) on the rounds, then stack them with the fillings facing each other and refrigerate in an airtight container. To maintain their freshness, add the pretzel legs and candy eyes just before serving, as this ensures the pretzels stay crunchy and don’t get soggy. With this make-ahead option, you can have these fun Halloween treats ready to impress with minimal last-minute effort!
What to Serve with Spooky Spider Sandwiches
Create a whimsical Halloween meal that delights everyone at the table.
- Chocolate Milk: This classic pairing adds a sweet, creamy flavor that kids love, perfectly balancing the flavors of the sandwiches.
- Banana Ghosts: Cute and easy to make, these spooky treats can be created by using a banana and chocolate chips, adding a fun touch to your meal.
- Veggie Platter: A colorful selection of fresh veggies not only adds nutrition but also provides a crunchy contrast to the soft sandwiches.
- Fruit Kabobs: Skewer a variety of fruits for a refreshing, sweet side that complements the richness of the peanut butter and jelly sandwiches.
- Apple Slices with Caramel Dip: The crunch of crisp apples dipped in sweet caramel is a perfect autumn treat to enhance the Halloween vibe.
- Pumpkin Spice Cookies: These seasonal favorites add a cozy, spiced element to the table, enticing both kids and adults alike with festive flavors.
- Gummy Worms: For the true Halloween spirit, serve these fun candies alongside your sandwiches for a playful and spooky addition.
- Sparkling Cider: A bubbly drink option that feels festive while remaining kid-friendly—perfect for making the meal more special.
- Trail Mix: Offering a crunchy and savory bite, trail mix provides a lighter option that balances out the sweetness of the sandwiches.
Spooky Spider Sandwiches Recipe FAQs
How do I select the best bread for Spooky Spider Sandwiches?
Choosing the right bread is key! Look for soft, fresh bread that can hold the fillings well. If you need gluten-free options, many brands offer soft gluten-free bread that works wonderfully. Avoid bread that has dark spots or is stale, as it won’t provide the delightful texture these sandwiches deserve.
What is the best way to store Spooky Spider Sandwiches?
For peak freshness, serve your Spooky Spider Sandwiches immediately after making them. However, if you have leftovers, store them in an airtight container in the fridge for up to 2 days. This keeps the bread slightly moist, but be aware that it might become a bit softer. Avoid stacking them directly on top of each other to prevent squashing.
Can I freeze the Spooky Spider Sandwiches for later?
Absolutely! You can freeze the assembled sandwiches without the candy eyes. First, wrap each sandwich tightly in plastic wrap, ensuring no air pockets remain to avoid freezer burn. Store them in a freezer-safe bag or container. They can be frozen for up to 1 month. To enjoy, simply thaw them overnight in the fridge, then add the candy eyes just before serving for that spooky touch!
What fillings can I use for a peanut butter allergy?
No worries! For those avoiding peanut butter, almond butter or sunflower seed butter are excellent substitutes that hold similar properties and flavors. You can pair them with a variety of jams or even go savory with cream cheese and cucumber, ensuring deliciousness for everyone—both kids and adults will love these substitutions!
What are some common mistakes to avoid when making these sandwiches?
One common mistake is using runny peanut butter, which makes it hard to keep the pretzel legs in place. Make sure your peanut butter is thick enough. Another misstep is cutting the bread rounds unevenly; using a sharp biscuit cutter ensures clean cuts and uniform sizes, leading to a better presentation. Lastly, wait to add candy eyes until right before serving to keep their shape intact!
Can these sandwiches be served at a party?
Definitely! These Spooky Spider Sandwiches are perfect party snacks. Their playful appearance adds a unique flair to any Halloween-themed gathering, making them a hit with kids and adults alike. Arrange them on a fun platter, maybe sprinkled with some plastic spiders or other Halloween décor to elevate your presentation!
Spooky Spider Sandwiches That Make Halloween Lunch Fun
Ingredients
Equipment
Method
- Cut rounds from your slices of soft bread using a biscuit cutter to create 10 to 12 circular pieces.
- Spread a layer of peanut butter on half of the bread rounds and your choice of jelly on the others.
- Pair the bread rounds by placing peanut butter-coated rounds on top of jelly-spread ones and press together.
- Insert three pretzel sticks into each side of the sandwich to mimic spider legs.
- Add two candy eyes on top of each sandwich to complete the spooky look.
- Arrange the sandwiches on a festive platter and serve immediately.