
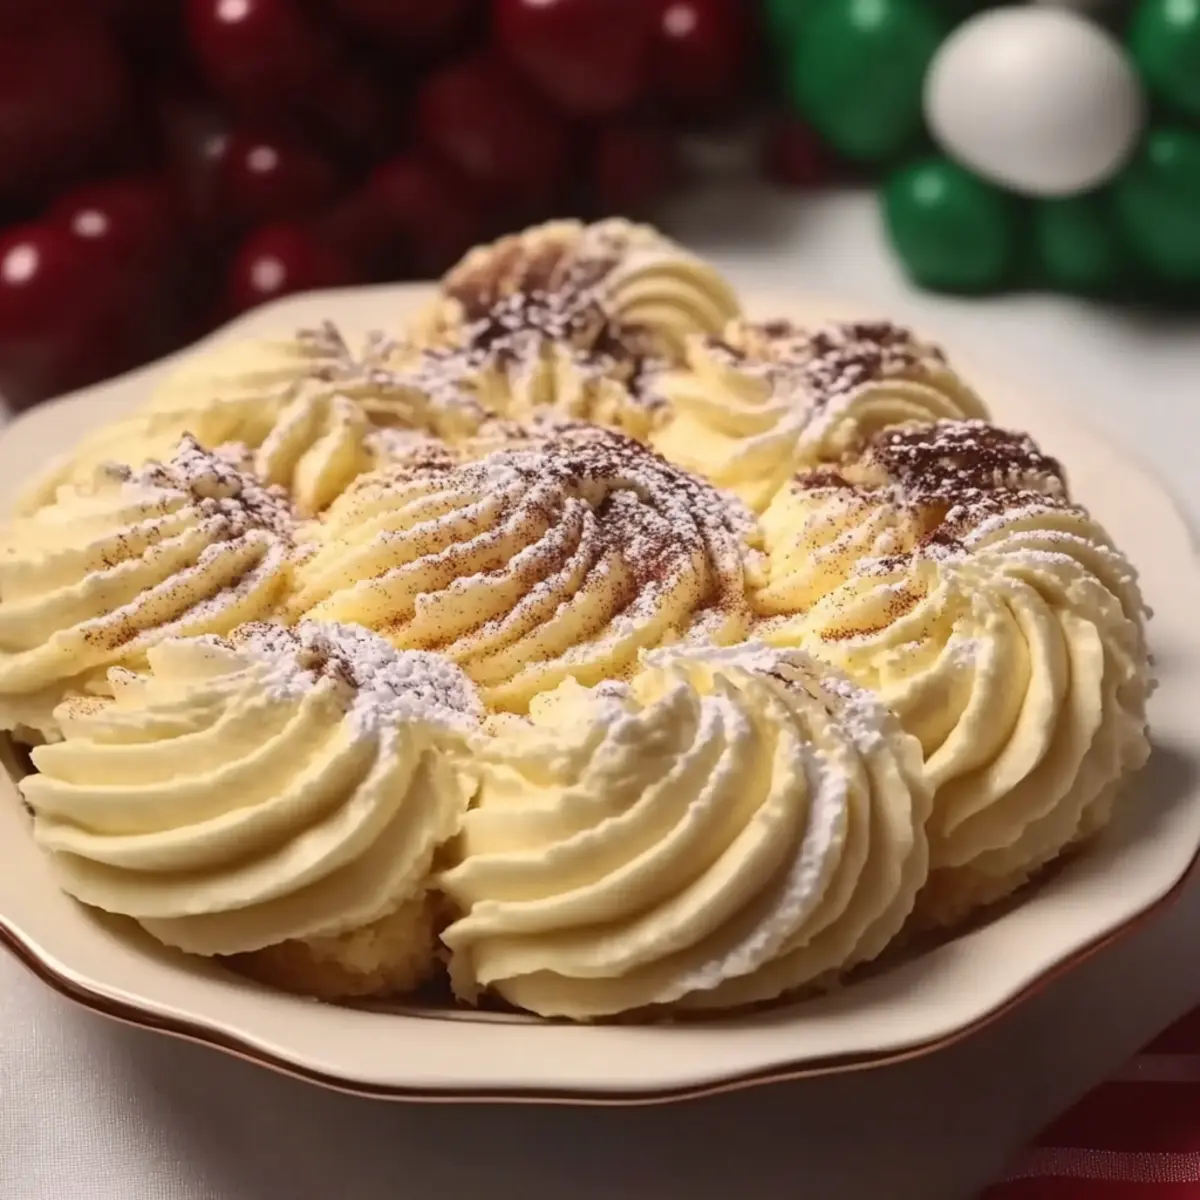
As I stood in my kitchen, a burst of inspiration hit me while gazing at a stick of unsalted butter waiting to be transformed. Cue the enchanting allure of Danish Butter—an indulgent spread that elevates even the simplest of breakfasts to gourmet status. This homemade delight is not only incredibly creamy and velvety, but it also invites creativity, allowing you to customize flavors with delightful notes of cinnamon or rich cocoa powder. Whether you’re dressing up warm bread for a cozy breakfast or adding a touch of elegance to your dinner party menu, this versatile spread is sure to impress. Plus, it’s a simple and quick recipe that can be prepped in mere minutes, making it an essential addition to your kitchen repertoire. Ready to learn how to whip up this irresistibly creamy Danish Butter? Let’s dive in!
What Makes Danish Butter So Irresistible?
Decadent Flavor: This creamy spread offers a delightful balance of sweetness and saltiness, enhancing everything from your morning toast to elegant dinner rolls.
Total Customization: Add your favorite flavors like cinnamon or cocoa powder for a unique twist, making each batch your own.
Quick and Easy: It takes just minutes to prepare, letting you indulge in homemade goodness without the fuss.
Elevate Any Meal: Whether it’s pancakes, waffles, or muffins, Danish Butter transforms ordinary dishes into extraordinary culinary experiences.
A Crowd Pleaser: Impress your friends and family at gatherings or brunches with this delightful spread that truly stands out on any table.
Explore delicious variations, like my Peanut Butter Brownie cups or Peanut Butter Jelly cheesecake for more inspiration!
Danish Butter Ingredients
For the Butter
• Unsalted Butter – the velvety base; make sure it’s softened at room temperature for easy mixing.
• Powdered Sugar – adds just the right sweetness; feel free to substitute with honey or maple syrup for a healthier alternative.
• Vanilla Extract – enhances the overall flavor; consider using almond or hazelnut extract for a delightful twist.
• Salt – balances the sweetness; remember to reduce or omit if using salted butter.
Optional Enhancements
• Heavy Cream – adds extra creaminess; omit for a lighter version if desired.
• Lemon Juice – brightens the flavor profile; adjust based on your taste preference for the perfect zing.
Infuse your Danish Butter with creativity as you explore these delicious ingredients!
Step‑by‑Step Instructions for Danish Butter
Step 1: Soften Butter
Begin by allowing 1 cup of unsalted butter to sit at room temperature for about 30 minutes until it becomes soft and creamy. You’ll know it’s ready when you can easily indent it with your finger. This step is crucial for achieving a smooth and spreadable Danish Butter.
Step 2: Mix Ingredients
In a large mixing bowl, combine the softened butter, 1 cup of powdered sugar, 1 teaspoon of vanilla extract, and a pinch of salt. Using an electric mixer, beat on medium speed for 2-3 minutes until the mixture is perfectly smooth and fluffy. The Danish Butter should appear light and airy with a glossy finish.
Step 3: Enhance Flavor
For added richness, you may choose to mix in 2 tablespoons of heavy cream and the juice of half a lemon at this stage. Blend for another minute until fully incorporated. The mixture should have a velvety texture, showcasing the luxurious qualities of your homemade Danish Butter.
Step 4: Taste and Adjust
Before chilling your Danish Butter, taste the mixture to check the balance of sweetness and saltiness. If needed, adjust with more powdered sugar or a pinch of salt, blending for 30 seconds more. This step ensures your Danish Butter has the perfect flavor profile tailored to your liking.
Step 5: Chill
Transfer the butter mixture into an airtight container or a decorative mold. Refrigerate for at least 30 minutes to allow it to firm up. The Danish Butter will solidify slightly in the fridge, achieving the ideal spreadable consistency for your future meals.
Step 6: Serve
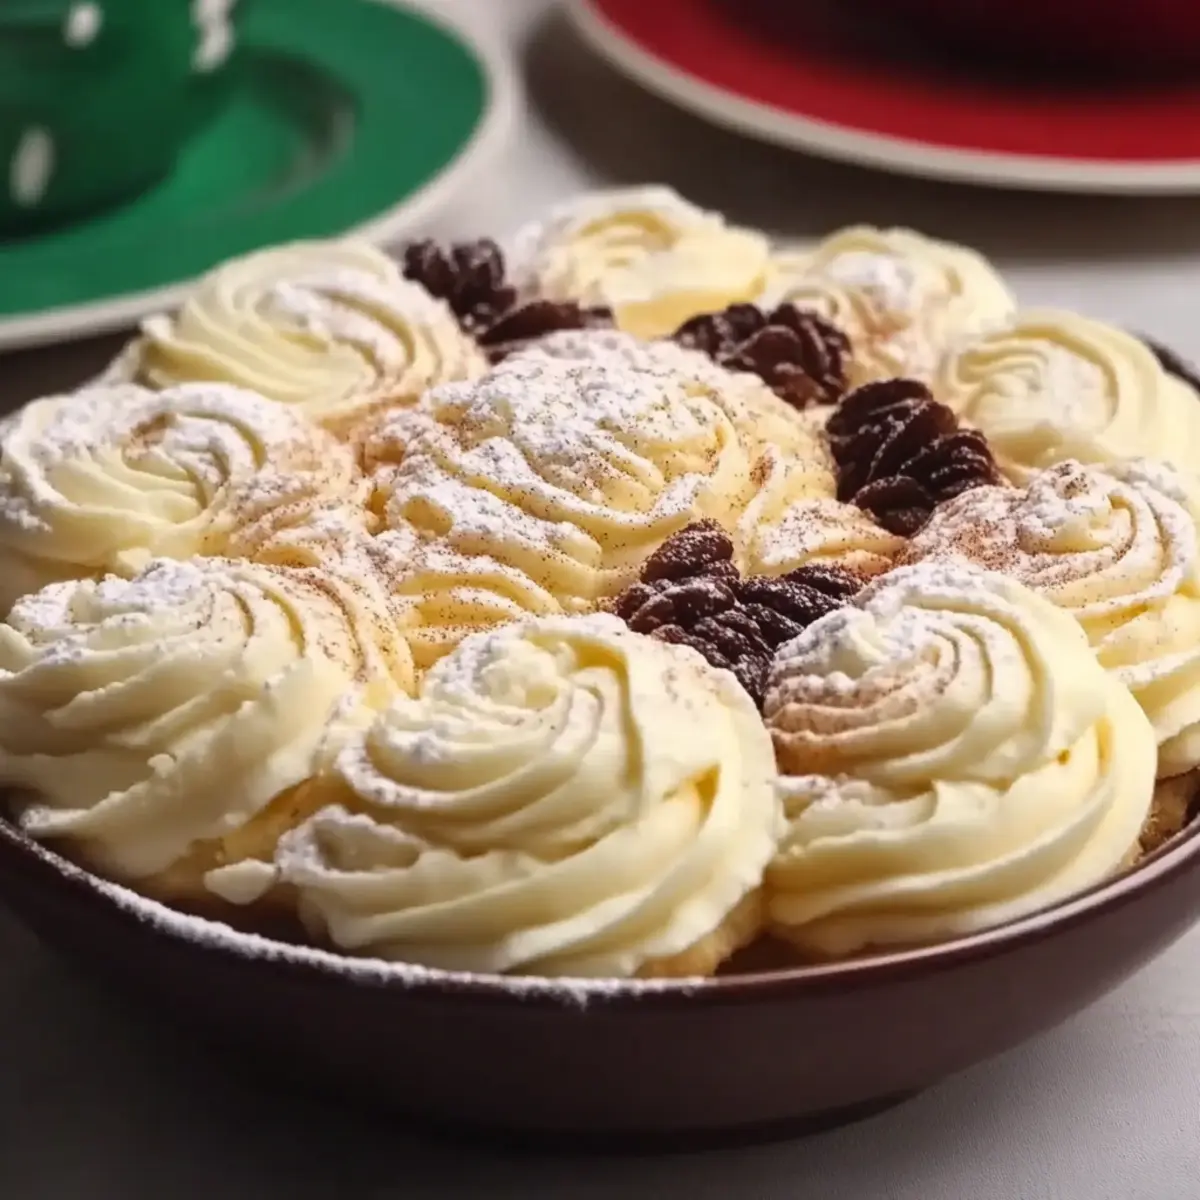
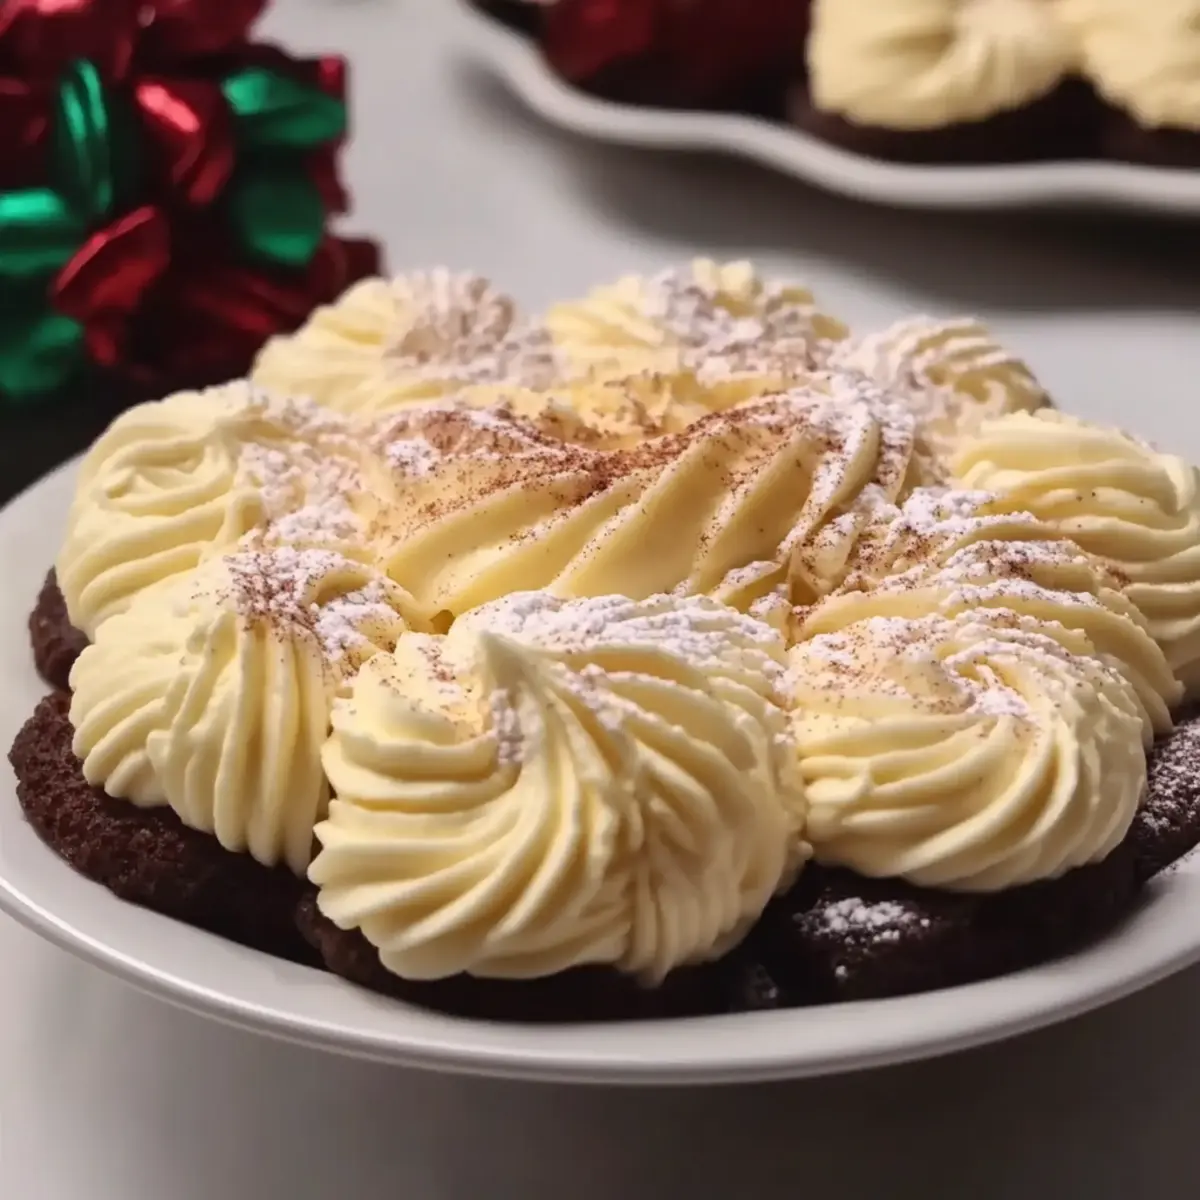
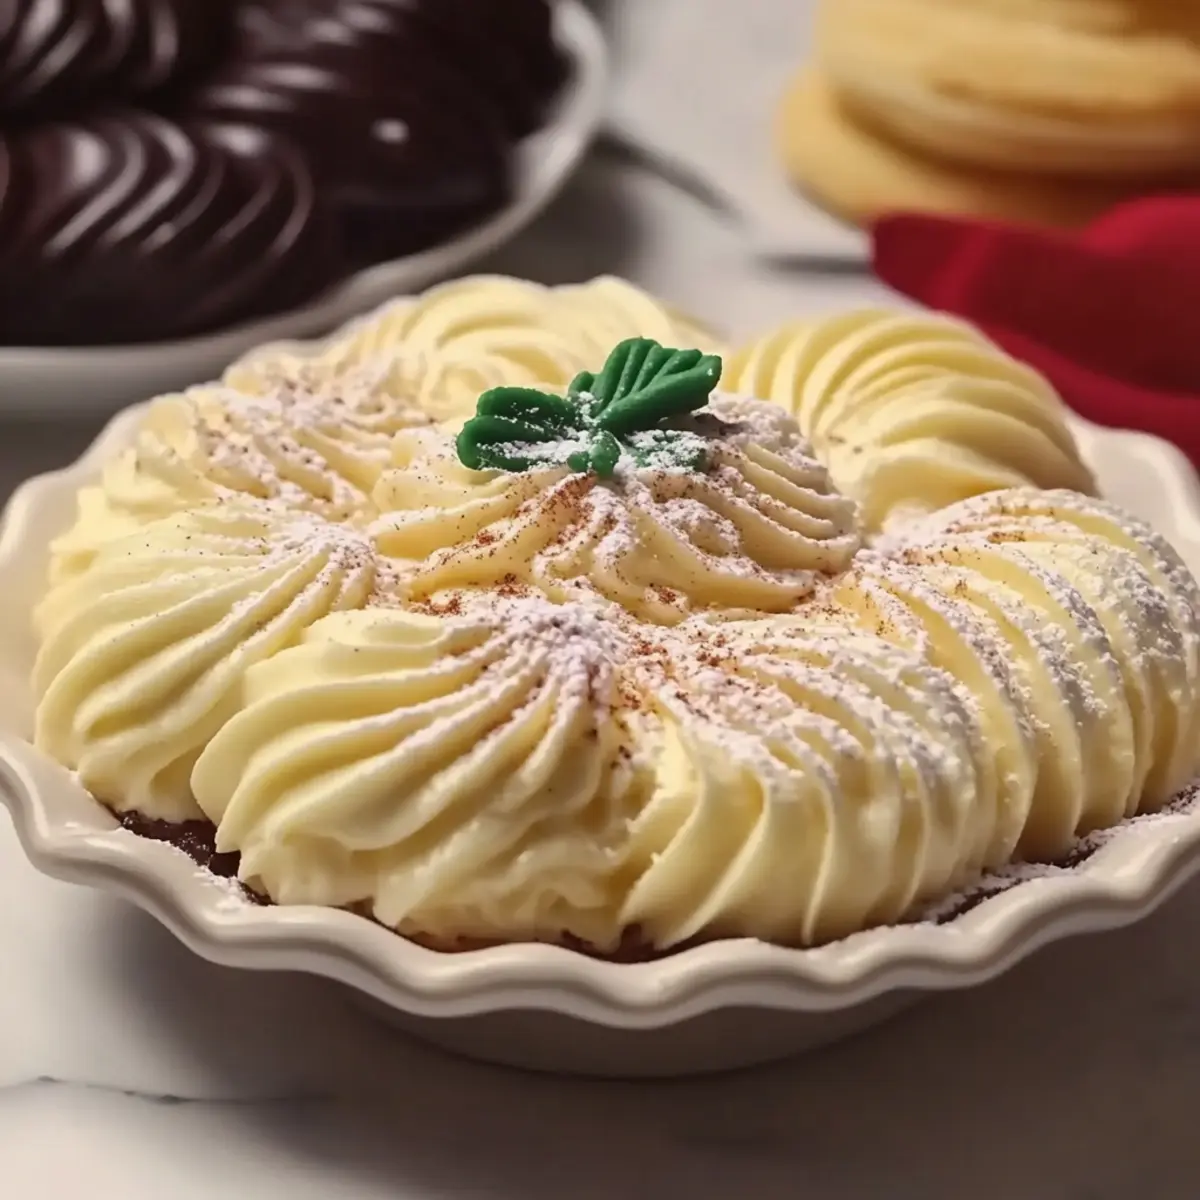
Once chilled, your delectable Danish Butter is ready to serve. Spread it generously on warm bread, pancakes, waffles, or use it as a luxurious topping for muffins and baked goods. Enjoy the rich flavors and creamy texture that elevate any dish with this delightful homemade spread.
How to Store and Freeze Danish Butter
Fridge: Store your Danish Butter in an airtight container in the refrigerator for up to 2 weeks. This helps maintain its creamy texture and delightful flavors.
Freezer: For longer preservation, freeze the butter in small portions using ice cube trays or silicone molds. It can last for up to 3 months, allowing you to enjoy your homemade delight anytime!
Thawing: When ready to use, thaw the frozen Danish Butter in the fridge overnight. For quick use, let it sit at room temperature for about 30 minutes.
Reheating: If your butter has become too firm, gently re-mix it with a spatula to restore its velvety texture before serving.
Make Ahead Options
These delightful Danish Butter spreads are perfect for busy home cooks looking to save time! You can prepare the butter mixture up to 24 hours in advance. Simply follow the initial steps of softening the butter and mixing in the ingredients. Once blended, transfer the Danish Butter into an airtight container and refrigerate it. For best flavor retention and to maintain its creamy texture, ensure that it is well-contained. When you’re ready to serve, simply pull it out of the fridge and spread it on your favorite warm bread, pancakes, or pastries. Enjoy the rich, indulgent flavor that feels freshly made, even on the busiest of days!
Danish Butter: Personalized Flavor Magic
Embrace your culinary creativity and transform this delectable Danish Butter with flavors that tantalize your taste buds!
- Cinnamon Delight: Add 1 teaspoon of ground cinnamon for a cozy, warm-spiced touch perfect for fall or winter meals.
- Cocoa Indulgence: Mix in 2 tablespoons of cocoa powder for a rich chocolate flavor that pairs beautifully with baked goods and desserts.
- Citrus Zing: Incorporate zest from one lemon or an orange to brighten the flavor, making it refreshing on breakfast items.
- Nutty Infusion: Substitute vanilla extract with almond or hazelnut extract for a nutty twist that adds depth to the spread.
- Herbal Essence: For a unique flavor, try adding a teaspoon of finely chopped fresh herbs like rosemary or thyme; it works well on savory dishes.
- Sweet & Spicy: Combine a pinch of cayenne pepper or paprika for a surprising kick that contrasts wonderfully with sweetness.
- Creamy Veggie Spread: Blend in a bit of soft cream cheese for a delightful creaminess that can spread on crackers or bagels.
- Vanilla Bean Upgrade: Use the seeds from half a vanilla bean instead of extract for an upscale, aromatic flavor experience.
Looking for more delicious ways to elevate your spreads? Try my Raspberry Danish Flaky pastries or indulge in the rich decadence of my Peanut Butter Chocolate eclair delight!
Expert Tips for Danish Butter
- Proper Softening: Make sure your unsalted butter is fully softened for optimal mixing, creating that smooth and creamy texture.
- Flavor Balance: Always taste the mixture before chilling; adjust sweetness or saltiness, as flavors can intensify in the fridge.
- Mix Wisely: Avoid overmixing after adding flavor enhancements to prevent separation; a gentle fold is all you need.
- Experiment Freely: Feel free to get creative with your Danish Butter—try different extracts or spices to create unique flavor profiles.
- Storage Savvy: Keep your Danish Butter in an airtight container in the fridge for up to two weeks, or freeze in portions for longer enjoyment.
What to Serve with Luxurious Danish Butter?
Transform your meals into extraordinary experiences with delightful and complementary sides.
- Warm, Crusty Bread: The perfect canvas for the creamy Danish Butter; its texture allows for generous spreading and enhances every bite.
- Fluffy Pancakes: Light and airy, pancakes soak up the luxurious butter, bringing a touch of indulgence to your breakfast plate.
- Fresh Waffles: Their crispy exterior and soft interior paired with Danish Butter create a heavenly combination, making brunch feel special every day.
- Delicate Muffins: Add a slice of warmth and butter to your muffins for a comforting treat that complements both sweet and savory flavors.
- Spiced Cinnamon Rolls: These treats work harmoniously with the rich taste of Danish Butter, adding an extra layer of sweetness and comfort.
- Fruity Yogurt Parfaits: Layer Danish Butter with yogurt and fresh fruits for a luxurious twist on your morning routine, marrying creaminess and freshness.
- Rich Hot Chocolate: Sip on a warm drink alongside your buttered treats, where the sweetness of the cocoa balances the buttery richness for a perfect evening.
- Chocolate Chip Cookies: Slather on some Danish Butter for a nostalgic experience that elevates classic cookies to gourmet levels, melting in your mouth.
- Cheese Platter: Include Danish Butter as a spread option; its sweetness juxtaposes the salty cheese, creating a well-rounded tasting experience.
Danish Butter Recipe FAQs
What kind of butter should I use for Danish Butter?
Absolutely! Use unsalted butter for a more balanced flavor. Make sure it’s softened at room temperature for about 30 minutes; this helps achieve that smooth and spreadable texture we’re after. You can opt for salted butter, but just be cautious with adding extra salt to the mix.
How long can I store Danish Butter in the refrigerator?
You can keep your Danish Butter in an airtight container in the refrigerator for up to 2 weeks. This storage method helps maintain its creamy consistency and delicious flavors, allowing you to enjoy it throughout the week.
Can I freeze Danish Butter?
Yes, indeed! For longer preservation, freeze your Danish Butter in small portions using ice cube trays or silicone molds. It can last for up to 3 months in the freezer. When you’re ready to use it, simply thaw it in the fridge overnight or let it sit at room temperature for about 30 minutes.
What if my Danish Butter becomes too firm in the fridge?
If your Danish Butter has solidified too much, don’t worry! Just take it out of the fridge and let it sit at room temperature for about 10-15 minutes. If you prefer, you can gently re-mix it with a spatula for that velvety texture before serving to get it back to that delightful spreadable consistency.
Can I make Danish Butter if I have dietary restrictions?
Absolutely! You can customize your Danish Butter to suit various dietary needs. For a healthier version, consider using honey or maple syrup instead of powdered sugar. Leave out the heavy cream for a lighter option, and feel free to add extracts that align with your flavor preferences. Just ensure all your ingredients are allergy-friendly based on your requirements.
How can I make my Danish Butter more flavorful?
I recommend experimenting with different flavor enhancers! Adding spices like cinnamon or cocoa powder is a wonderful way to change things up. You can also swap out vanilla extract for almond or hazelnut extract, and even think about citrus zest for a refreshing twist. Let your creativity shine!
Creamy Danish Butter: Elevate Your Homemade Spreads Today
Ingredients
Equipment
Method
- Begin by allowing 1 cup of unsalted butter to sit at room temperature for about 30 minutes until soft and creamy.
- In a large mixing bowl, combine softened butter, 1 cup of powdered sugar, 1 teaspoon of vanilla extract, and a pinch of salt. Beat on medium speed for 2-3 minutes until smooth and fluffy.
- Mix in 2 tablespoons of heavy cream and the juice of half a lemon; blend for another minute until fully incorporated.
- Taste the mixture and adjust sweetness or saltiness as needed, blending for 30 seconds more to achieve the perfect flavor profile.
- Transfer the butter mixture into an airtight container and refrigerate for at least 30 minutes to firm up.
- Once chilled, your Danish Butter is ready to serve. Spread it on warm bread, pancakes, or muffins.