
Stepping into the kitchen, the tantalizing aroma of chocolate wafts through the air, mingling with a hint of citrus that promises something special. This is the moment I knew the Chocolate & Orange Punchcake would be a hit, combining the rich depth of chocolate with the uplifting brightness of orange. Not only does this indulgent dessert deliver on flavor, but it’s also remarkably versatile—easily adjusted to fit various dietary preferences like almond milk or olive oil. Whether you’re celebrating a joyful occasion or simply treating yourself on a quiet evening, this moist cake will surely impress everyone around the table. Ready to discover how to create this delightful centerpiece for your next gathering? Let’s dive in!
Why is this cake so irresistible?
Decadent flavors: The rich fusion of chocolate and zesty orange creates an unforgettable taste experience that will leave your guests raving.
Perfectly moist: Its tender texture, enhanced by simple ingredients like almond milk or olive oil, ensures each mouthful melts in your mouth.
Customizable options: Whether you’re gluten-free or vegan, this Chocolate & Orange Punchcake can adapt effortlessly to meet your dietary needs.
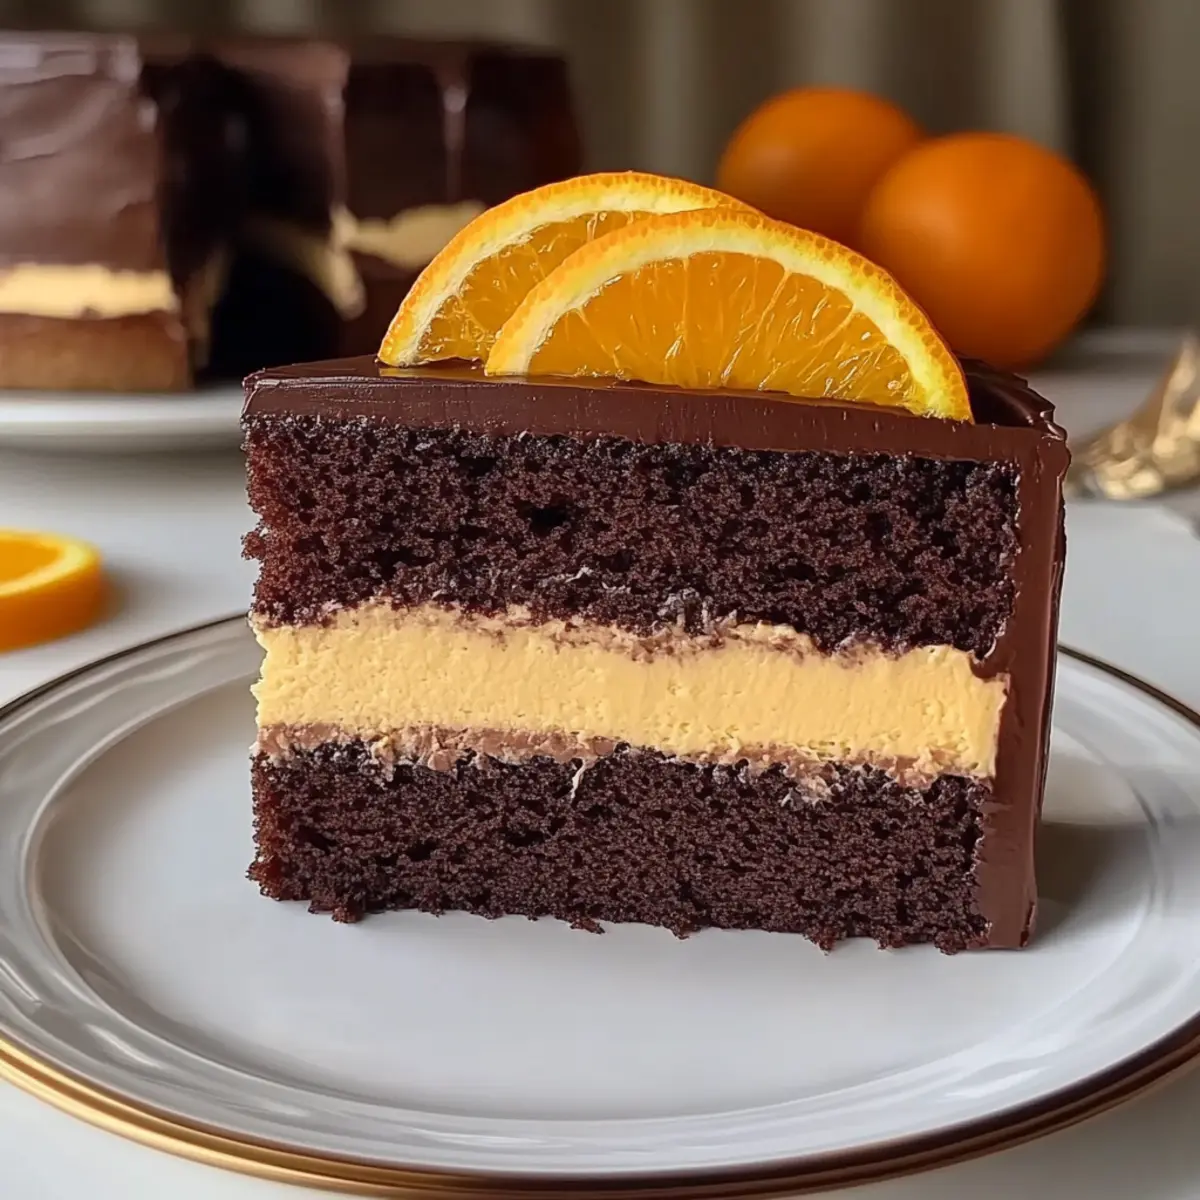
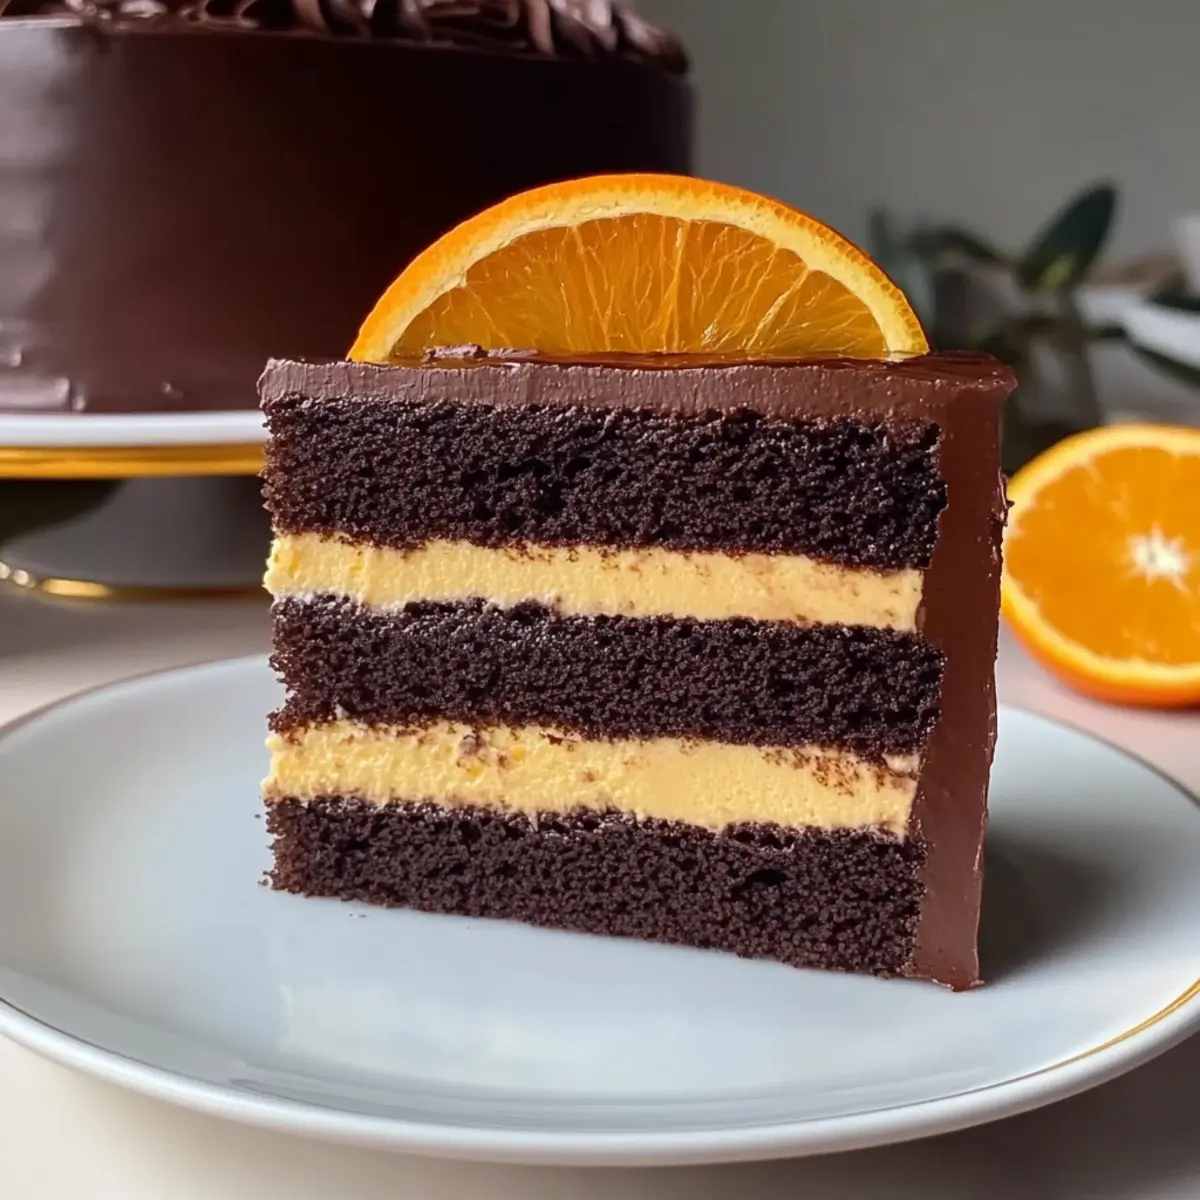
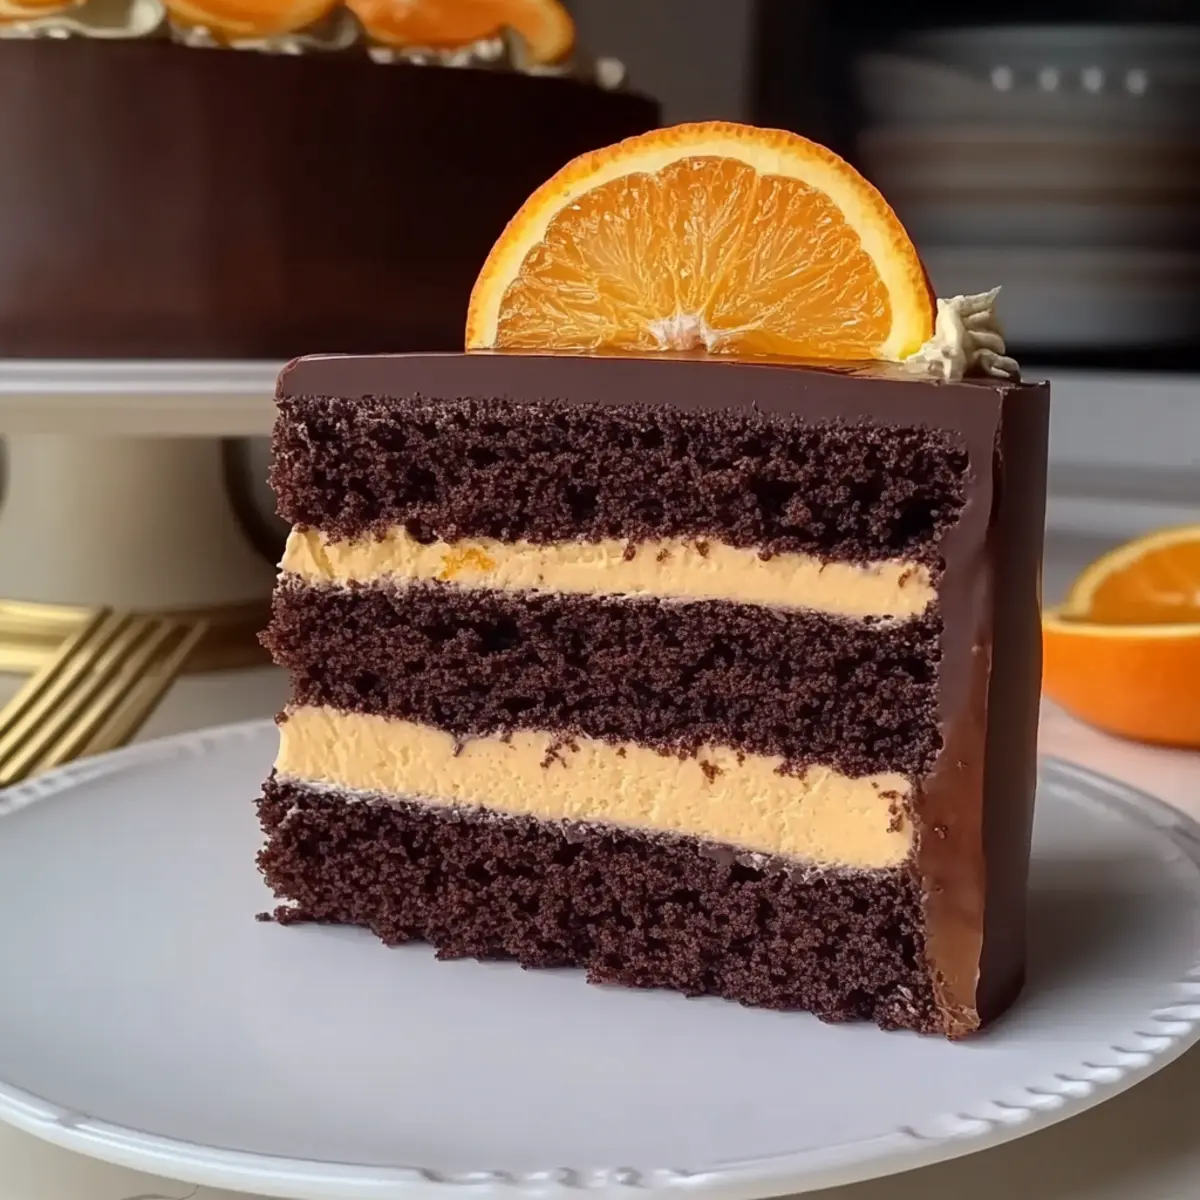
Eye-catching presentation: With layers of luscious ganache and fresh orange slices, it isn’t just delicious—it’s also a showstopper on any dessert table.
Quick and easy: Whip this delightful cake up with minimal effort, making it a great choice for busy weeknights or last-minute gatherings.
Chocolate & Orange Punchcake Ingredients
For the Cake
• All-purpose flour – Provides the structure for the cake; substitute with gluten-free flour for a gluten-free version.
• Granulated sugar – Adds sweetness and moisture; brown sugar can be used for a deeper flavor.
• Unsweetened cocoa powder – Imparts a rich chocolate flavor; consider Dutch-processed cocoa for an enhanced taste.
• Baking powder – Helps the cake rise; ensure it’s fresh for optimal leavening.
• Baking soda – Works with acidic ingredients to provide additional lift.
• Salt – Enhances the overall flavor of the cake.
• Large eggs – Acts as a binder, contributing to moisture and richness; use flax eggs for a vegan option.
• Whole milk – Adds moisture and richness; almond milk or other plant-based alternatives can be used.
• Vegetable oil – Keeps the cake moist; can be swapped with olive oil for a different flavor profile.
• Vanilla extract – Adds a sweet, aromatic component; using pure vanilla extract will yield the best flavor.
• Boiling water – Activates cocoa powder for a deeper chocolate flavor and helps the batter achieve the right consistency.
• Orange zest and juice – Provide a refreshing citrus note that balances the richness of the chocolate.
• Semisweet chocolate chips – Adds chocolatey richness; dark chocolate chips can also be used for a less sweet cake.
For the Ganache
• Heavy cream – Creates a smooth, decadent texture; can be substituted with coconut cream for a dairy-free version.
• Semisweet chocolate – For the ganache, it complements the cake’s flavors perfectly; dark chocolate is an excellent alternative for a richer taste.
This delightful Chocolate & Orange Punchcake is perfect for impressing friends and family at any gathering!
Step‑by‑Step Instructions for Chocolate & Orange Punchcake
Step 1: Preheat and Prepare
Begin by preheating your oven to 350°F (175°C). While the oven heats, take two 9-inch round cake pans and grease them with butter or oil before dusting with flour to prevent sticking. You’ll want to ensure that the pans are evenly coated for smooth cake release after baking.
Step 2: Mix Dry Ingredients
In a large mixing bowl, sift together the all-purpose flour, granulated sugar, unsweetened cocoa powder, baking powder, baking soda, and salt. Whisk the dry ingredients together until fully incorporated—this helps eliminate any lumps and ensures an even distribution of flavors in your Chocolate & Orange Punchcake.
Step 3: Combine Wet Ingredients
In a separate bowl, whisk together the large eggs, whole milk, vegetable oil, and vanilla extract until they’re well combined. This mixture should look smooth and slightly frothy. It’s important to combine the wet ingredients thoroughly to create a harmonious blend that will enrich the cake’s moisture and flavor.
Step 4: Blend Mixtures
Carefully pour the wet mixture into the bowl of dry ingredients. Using an electric mixer on medium speed, mix until just combined. Gradually introduce the boiling water while mixing; the batter will be thin but smooth. This step enhances the richness of the chocolate flavor in your Chocolate & Orange Punchcake.
Step 5: Incorporate Citrus and Chocolate
Once the batter is smooth and uniform, gently stir in the freshly grated orange zest and orange juice, infusing the mixture with a bright citrus note. Next, fold in your semisweet chocolate chips with a spatula, ensuring they are evenly distributed throughout the batter for decadent bites of chocolate in every slice.
Step 6: Bake the Cake
Divide the chocolate batter equally between the prepared cake pans. Place the pans on the middle rack of the preheated oven and bake for 30 to 35 minutes. To check for doneness, insert a toothpick into the center of each cake; it should come out clean when the cakes are perfectly baked.
Step 7: Cool the Cakes
Remove the cake pans from the oven and allow them to cool for about 10 minutes. Then, carefully invert the cakes onto wire racks to cool completely. This cooling period is essential, as it prevents the cake from becoming soggy, ensuring a light and fluffy texture in your Chocolate & Orange Punchcake.
Step 8: Frost and Garnish
Once the cakes are completely cooled, prepare your chocolate ganache. Spread a generous layer between the cake layers and on top, smoothing it out for an inviting finish. Finally, garnish your masterpiece with fresh orange slices for a pop of color and an extra zesty flair that complements your Chocolate & Orange Punchcake.

Make Ahead Options
These Chocolate & Orange Punchcake are perfect for meal prep enthusiasts! You can prepare the cake layers up to 3 days in advance. Simply bake and cool the cakes, then wrap them tightly in plastic wrap and refrigerate to maintain their moisture and prevent any drying out. If you’re looking to prepare even further ahead, freeze the cooled layers in an airtight container for up to 3 months. When you’re ready to serve, simply thaw the cakes overnight in the fridge, then frost with ganache before garnishing with fresh orange slices. This way, you’ll have a stunning dessert with minimal last-minute effort, allowing you to enjoy your time with family and friends!
What to Serve with Chocolate & Orange Punchcake
Imagine the celebration of flavors that can transform an ordinary gathering into a cherished memory, providing the perfect balance to your sweet delight.
- Fresh Berries: Bursting with juiciness, fresh berries like strawberries or raspberries provide a tart contrast that brightens every bite of the rich punchcake. They not only add color but also enhance the citrus notes.
- Vanilla Ice Cream: A scoop of creamy vanilla ice cream on the side adds a delightful, cooling complement to the warm, rich cake, making each mouthful a heavenly mix of temperatures and flavors.
- Whipped Cream: Light and airy, homemade whipped cream brings a touch of sweetness that beautifully complements the chocolate while still allowing the orange flavor to shine through.
- Coffee or Espresso: The rich, bold flavors of coffee or a shot of espresso make for an ideal after-dinner pairing, enhancing the chocolate essence of the punchcake.
- Chocolate Sauce Drizzle: A warm drizzle of chocolate sauce elevates the cake’s chocolate profile, satisfying sweet tooth cravings while creating a sumptuous, decadent dessert experience.
- Orange Sorbet: For those seeking a lighter option, orange sorbet brings a refreshing citrus note that mingles perfectly with the flavors of the punchcake, cleansing the palate beautifully.
- Mint Tea: A soothing cup of mint tea balances the sweetness of the dessert, imparting a refreshing finish to your meal that leaves everyone feeling delighted and replenished.
Storage Tips for Chocolate & Orange Punchcake
Room Temperature: Store leftover Chocolate & Orange Punchcake in an airtight container at room temperature for up to 3 days. This helps maintain its moist texture and delightful flavor.
Fridge: If you prefer a chilled dessert, keep the punchcake in the fridge for up to 5 days in an airtight container. Just note that refrigeration may slightly alter the texture.
Freezer: For longer storage, wrap the individual cake layers tightly in plastic wrap and place them in a freezer-safe bag. They can be frozen for up to 3 months. Frost when ready to serve for best results.
Reheating: If desired, gently reheat slices in the microwave for about 10-15 seconds to enjoy a warm, melted chocolate experience.
Chocolate & Orange Punchcake Variations
Feel free to get creative with your Chocolate & Orange Punchcake by trying these delicious variations!
- Dairy-Free: Replace whole milk with almond milk for a lighter, dairy-free option that still feels indulgent.
- Nutty Addition: Stir in chopped walnuts or pecans to the batter for added crunch and a delightful flavor contrast.
- Different Chocolates: Experiment with dark or white chocolate chips instead of semisweet for a unique twist on the cake’s sweetness.
- Gluten-Free: Use a gluten-free flour blend to make this indulgent cake accessible for those with gluten sensitivities.
- Citrus Variety: Add lemon zest or juice along with the orange to enhance the citrus flavor profile, resulting in a delightful citrusy punch.
- Spicy Kick: Mix in a pinch of cayenne pepper or ground ginger to introduce a warm, spicy element that complements the chocolate beautifully.
- Cream Cheese Frosting: Swap out the chocolate ganache for a tangy cream cheese frosting for a delicious alternative that pairs beautifully with the rich cake.
- Fresh Fruits: Top your finished cake with fresh berries for a burst of color and additional fruity flavor, creating a visually stunning dessert centerpiece.
Feel inspired? This versatile recipe allows for endless customization. You could also explore delectable accompaniments like a scoop of vanilla ice cream, which pairs wonderfully with the rich flavors of the cake. If you’re in the mood for something equally satisfying, don’t forget to check out Chocolate Marshmallow Swirl Cookies or Matcha White Chocolate Cookies for more sweet inspirations!
Expert Tips for Chocolate & Orange Punchcake
• Room Temperature Ingredients: Make sure all your ingredients are at room temperature to achieve an optimal batter consistency that stabilizes well during baking.
• Don’t Overmix: Mix your batter until just combined. Overmixing can lead to a dense cake instead of the light, fluffy texture everyone loves in a Chocolate & Orange Punchcake.
• Check Your Oven: Each oven is different, so keep an eye on your cake while it bakes. Your Chocolate & Orange Punchcake may need slightly more or less time than indicated.
• Use Fresh Ingredients: Ensure your baking powder and baking soda are fresh for the best rise. Expired ingredients can lead to a flat cake.
• Flavor Boost: For an enhanced chocolate flavor, consider adding a pinch of espresso powder when mixing your wet ingredients for a more indulgent experience.
Chocolate & Orange Punchcake Recipe FAQs
How do I choose ripe oranges for this recipe?
Absolutely! Select vibrant oranges that feel firm yet slightly soft when gently pressed. Look for ones with a smooth skin and no dark spots; these are usually juicy and flavorful, perfect for zesting and juicing in your Chocolate & Orange Punchcake.
What’s the best way to store leftover Chocolate & Orange Punchcake?
I recommend storing leftover punchcake in an airtight container at room temperature for up to 3 days. This helps maintain its moist texture. If you prefer it chilled, it can also stay fresh in the fridge for about 5 days, though it may lose some of its fluffiness.
Can I freeze the Chocolate & Orange Punchcake? How do I do it?
Yes, you can freeze this delightful cake! Wrap the cooled layers tightly in plastic wrap and place them in a freezer-safe bag. They’ll stay delicious for up to 3 months. When you’re ready to serve, simply thaw the layers at room temperature and frost them to enjoy the delectable flavor.
What should I do if my cake comes out dense instead of fluffy?
The most common reason for a dense cake is overmixing the batter. Be sure to only mix until the ingredients are just combined. Also, check that your baking powder and baking soda are fresh; expired leavening agents will not provide the lift needed for a light Chocolate & Orange Punchcake.
Are there any dietary considerations for this cake?
Very! This Chocolate & Orange Punchcake can easily be adapted for different dietary preferences. You can use almond milk or other plant-based alternatives in place of whole milk, and substitute flax eggs for regular eggs to make it vegan. For gluten-free options, swap out the all-purpose flour for gluten-free flour, ensuring everyone can indulge without worry!
Chocolate & Orange Punchcake: A Zesty Indulgence Awaits
Ingredients
Equipment
Method
- Preheat your oven to 350°F (175°C) and prepare two 9-inch round cake pans by greasing and dusting them with flour.
- In a large mixing bowl, sift together the all-purpose flour, granulated sugar, unsweetened cocoa powder, baking powder, baking soda, and salt.
- In a separate bowl, whisk together the eggs, whole milk, vegetable oil, and vanilla extract until well combined.
- Pour the wet mixture into the dry ingredients and mix until just combined, then gradually add the boiling water.
- Gently stir in the orange zest and juice, then fold in the chocolate chips.
- Divide the batter equally between the prepared pans and bake for 30 to 35 minutes.
- Let the cakes cool in the pans for 10 minutes before inverting onto wire racks to cool completely.
- Prepare the ganache and spread it between the cake layers and on top, garnishing with fresh orange slices.