
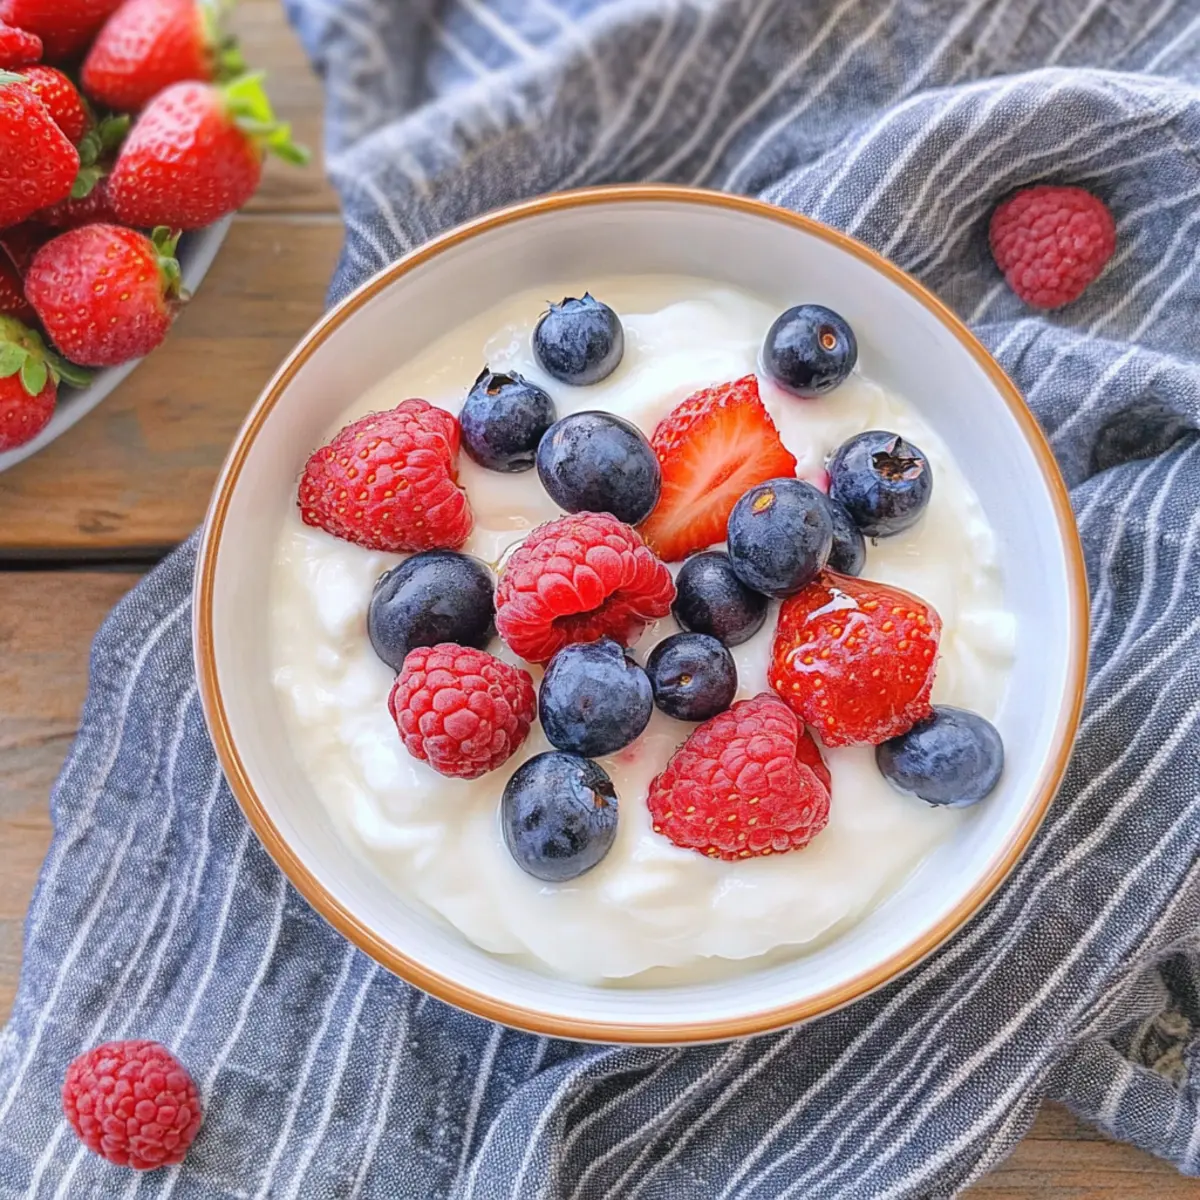
As I opened the fridge door, a container of store-bought yogurt stared back at me, but my heart longed for something fresher, something homemade. Enter my Creamy Instant Pot Yogurt—a simple, rewarding recipe that transforms basic ingredients into a tangy delight you can customize to your taste. This method allows you to ditch the fast food ritual and embrace the goodness of homemade yogurt without the fuss of constant monitoring. Not only is it perfect for breakfast or snacks, but you’ll also be pleased to know it’s naturally gluten-free and can easily be made into thicker Greek yogurt with a few extra steps. Ready to elevate your yogurt game? Let’s dive into the creamy goodness!
Why Make Yogurt at Home?
Freshness: There’s nothing quite like the taste of homemade yogurt. You get to enjoy a creamy, tangy delight that’s leagues ahead of store-bought options.
Simplicity: Thanks to the Instant Pot, this recipe is as easy as pressing a button—no stovetop babysitting required!
Customization: Want it sweeter? Add honey or vanilla! Want it thicker? Strain for Greek yogurt. The choice is all yours!
Versatility: Use your yogurt in countless ways—on top of granola, in smoothies, or in savory salad dressings.
Health Benefits: Packed with probiotics and nutrients, this yogurt is a wonderful addition to a balanced diet. Check out Sweet Potato Honey for more delicious homemade treats!
Instant Pot Yogurt Ingredients
For the Yogurt
• 8 cups cold whole milk – This is the foundation for your creamy yogurt; whole milk provides the richest texture but feel free to use 2% or skim if you prefer.
• 2 tablespoons plain yogurt with active live cultures – This serves as your starter, introducing beneficial bacteria that transform the milk into delicious homemade yogurt. Make sure it contains live cultures for the best results!
For Greek Yogurt Option
• Cheesecloth or coffee filter – Use this after your yogurt has set to strain the mixture and achieve that thick, creamy Greek yogurt consistency you crave!
Indulge in the pleasure of making Instant Pot Yogurt at home, and enjoy the delightful journey of transforming simple ingredients into a creamy wonder!
Step‑by‑Step Instructions for Instant Pot Yogurt
Step 1: Boil Milk
Pour 8 cups of cold whole milk into the Instant Pot. Secure the lid, ensuring the valve is in the sealing position, and press the “Yogurt” button until it displays “Boil.” This process will take about 30 minutes, during which the milk will heat up to the necessary temperature for yogurt-making, achieving a gentle boil.
Step 2: Cool Milk
After the boiling phase is complete, carefully remove the insert from the Instant Pot and allow the milk to cool for about 1 hour. Stirring occasionally will help it cool evenly. Your goal is to bring the temperature down to around 110°F, at which point the milk will be perfectly warm for adding the yogurt starter.
Step 3: Add Starter
Once the milk has cooled, stir in 2 tablespoons of plain yogurt with active live cultures. Ensure that it is well-mixed into the milk to distribute the bacteria evenly. This step is crucial for transforming your milk into delicious homemade yogurt with that creamy texture characteristic of your Instant Pot Yogurt.
Step 4: Ferment
Return the insert to the Instant Pot, locking the lid in place, and set the valve to sealing once more. Press the “Yogurt” button again, this time setting it to the “Normal” setting for 8 hours. During this fermentation period, the yogurt will thicken and develop that lovely tangy flavor you know and love.
Step 5: Store Yogurt
When the fermentation time is up, gently stir the yogurt to incorporate any whey that may have formed. Carefully transfer your creamy Instant Pot Yogurt into airtight containers. Allow the yogurt to chill in the refrigerator for at least 3 hours before serving, which will help enhance its flavor and texture for that perfect homemade treat.

How to Store and Freeze Instant Pot Yogurt
Fridge: Store your homemade Instant Pot Yogurt in airtight containers for up to 2 weeks. Keep it chilled to maintain its creamy texture and tangy flavor.
Freezer: If you’d like to freeze your yogurt, portion it into ice cube trays or small containers first. Frozen yogurt can last up to 2 months.
Thawing: To thaw, place the frozen yogurt in the fridge overnight. Stir well before serving, as it may separate slightly.
Reheating: Avoid reheating yogurt in the microwave, as it can curdle. Instead, let it come to room temperature for a few minutes before enjoying!
Make Ahead Options
Making Instant Pot Yogurt in advance is a fantastic way to save time during your busy week! You can prepare the milk and starter step (up to 24 hours ahead) by mixing your cold whole milk and the yogurt starter, then refrigerate it until you’re ready to ferment. Just remember to keep the milk mixture completely covered to prevent any absorption of odors. When you’re ready to proceed, simply return the mixture to the Instant Pot and allow it to ferment for 8 hours. After fermentation, store the yogurt in airtight containers for up to two weeks. This way, you’ll enjoy creamy, homemade yogurt without the last-minute rush, providing a wholesome alternative to store-bought options!
What to Serve with Instant Pot Yogurt
Elevate your yogurt experience by exploring delightful accompaniments that add flavor, texture, and heart to your meal.
-
Granola: Crunchy and sweet, homemade or store-bought granola pairs perfectly, bringing delightful texture and a dose of wholesome goodness. Enjoy it sprinkled on top or mixed in for added crunch.
-
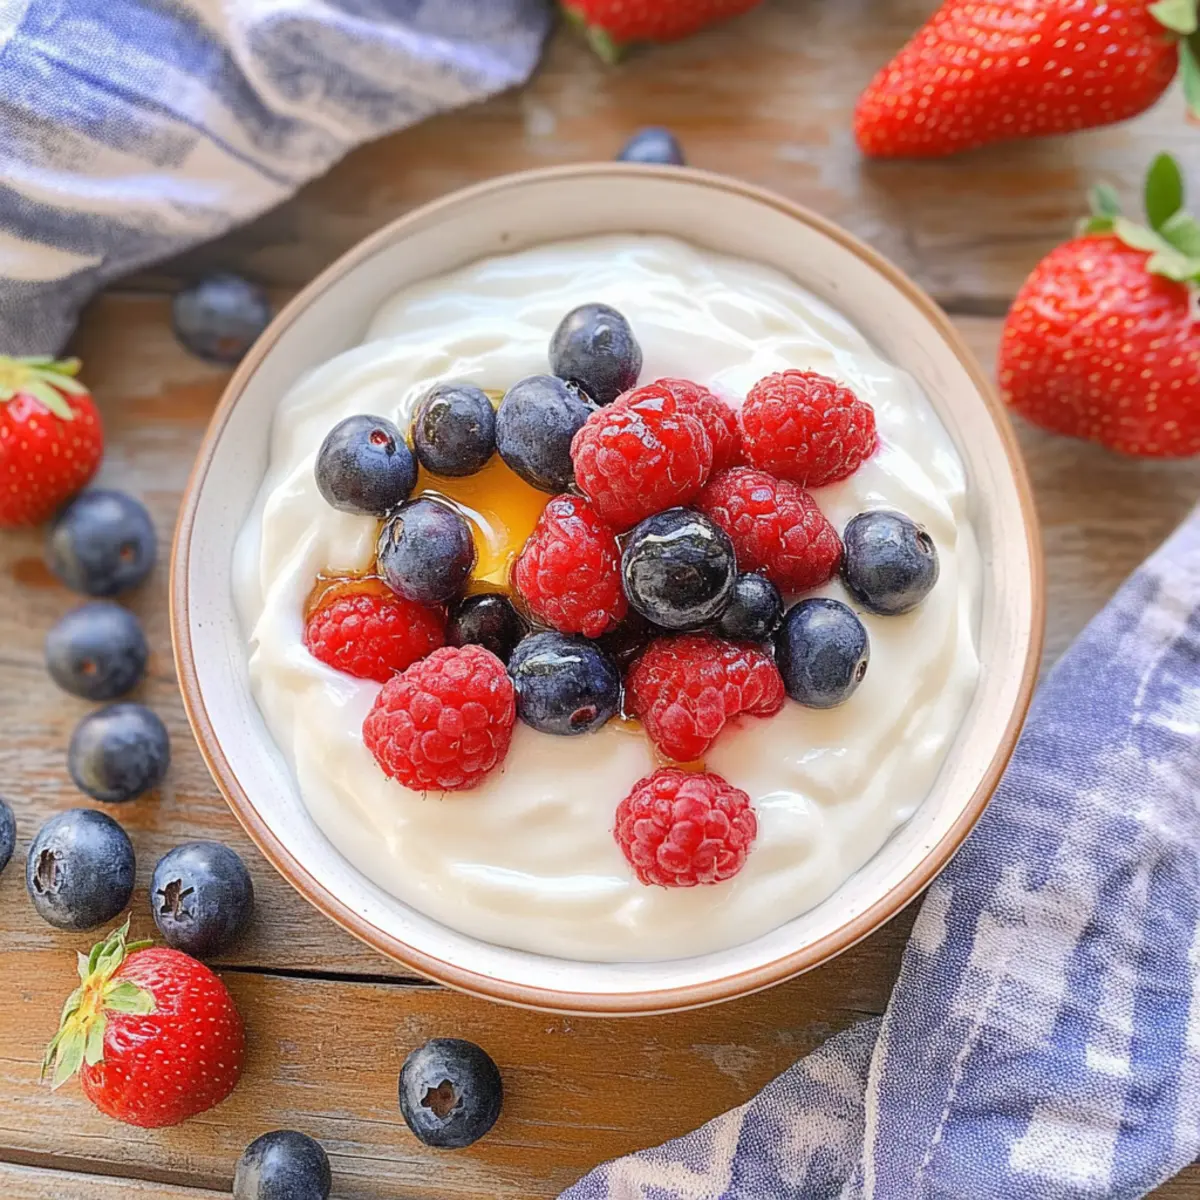
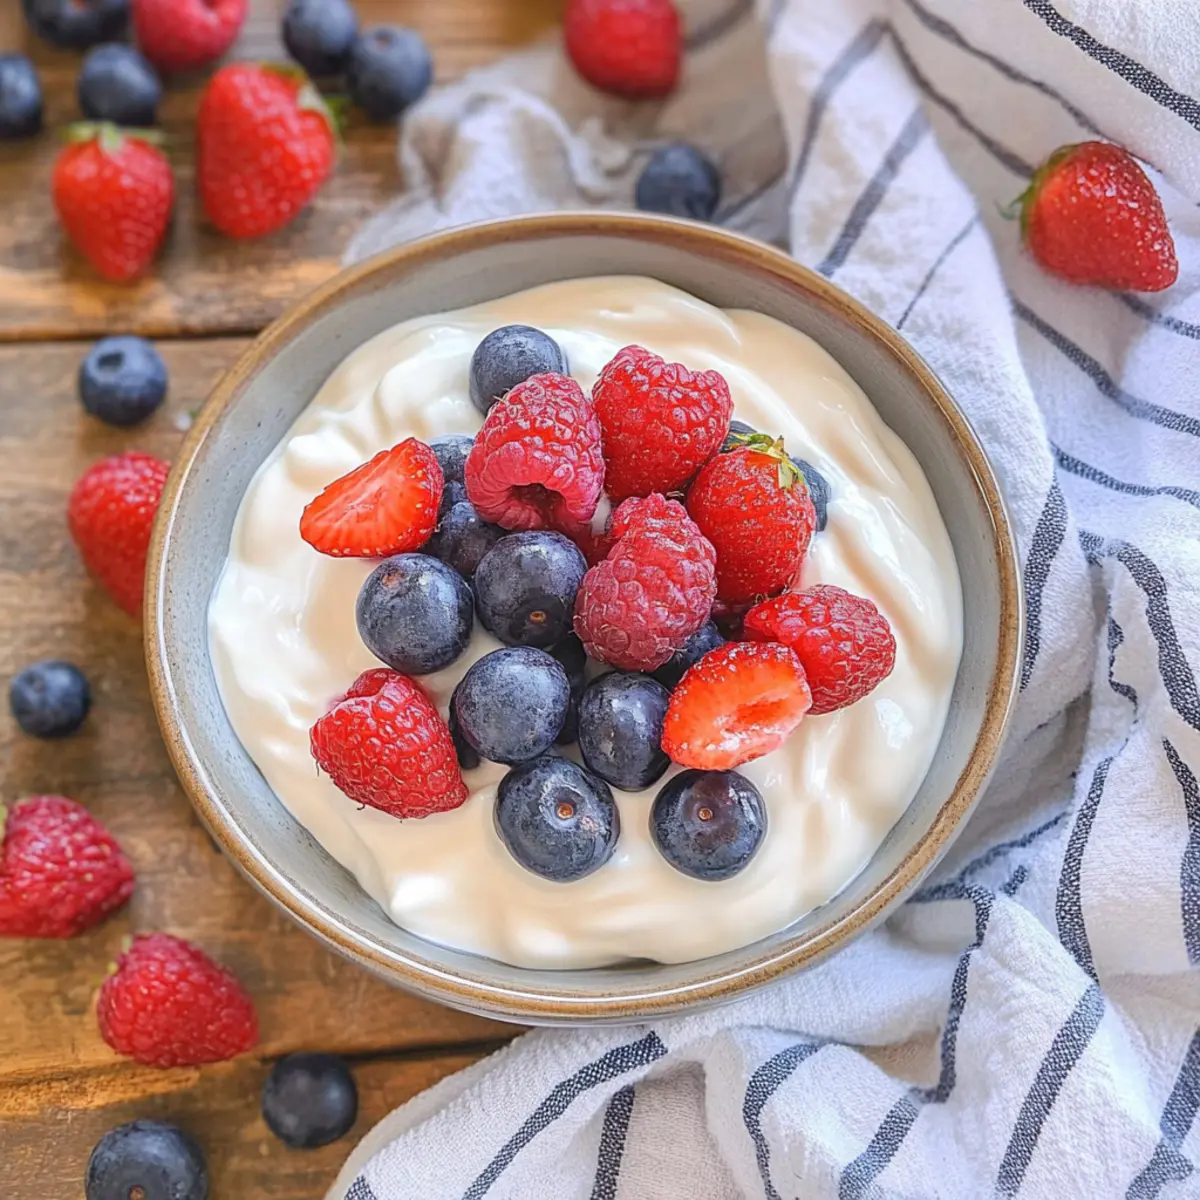
Fresh Fruits: Choose seasonal fruits like berries, bananas, or peaches to bring freshness and brightness to your creamy yogurt. The natural sweetness and acidity of fruit balance beautifully with the tangy yogurt.
-
Honey or Maple Syrup: Drizzling a touch of honey or maple syrup infuses just the right amount of sweetness into your yogurt. The golden hues of honey create a visually appealing dish too!
-
Nut Butter: A spoonful of almond or peanut butter enhances richness while providing healthy fats and protein. It’s a delightful way to turn your yogurt into a satisfying meal.
-
Chia Seeds: Sprinkle chia seeds for a nutrient boost and added texture. They offer a wonderful nutty flavor and health benefits, making your yogurt even more nourishing.
-
Smoothie Bowls: Use your homemade yogurt as a base for smoothie bowls. Blend fruits with a splash of milk or water and serve it topped with the yogurt, for a refreshing and energizing breakfast.
-
Dark Chocolate Shavings: For a sweet treat, add dark chocolate shavings to your yogurt. It adds decadence while enhancing the rich experience of your homemade yogurt.
-
Herb and Spice Dips: For a savory twist, mix yogurt with herbs or spices like dill or garlic for a creamy dip. It’s perfect for serving alongside fresh vegetables or crackers at your next gathering.
-
Sparkling Water or Iced Tea: To drink, refreshing sparkling water or fragrant iced tea enhances your yogurt experience without overpowering it. Both add a light, crisp pairing to the creaminess of your yogurt.
-
Home-Baked Muffins or Scones: Enjoy your yogurt as part of a leisurely brunch along with freshly baked muffins or scones. The combination makes for a comforting gathering of flavors!
Instant Pot Yogurt Variations
Feel free to get creative with your homemade yogurt; there’s a world of delightful possibilities just waiting for you!
-
Greek Yogurt:
Simply strain the yogurt after it’s made for that thick, luscious texture everyone loves. Straining not only intensifies the creaminess but also helps create a versatile base for dips and spreads. -
Flavorful Infusions:
Add vanilla extract, honey, or maple syrup after cooling to customize the sweetness to your liking. Each added flavor elevates your yogurt, making it a perfect treat or breakfast option each morning. -
Fruity Twist:
Stir in fresh fruits like berries, peaches, or tropical mango after the yogurt is chilled. The vibrant colors and natural sweetness turn your yogurt into a fruit-filled delight that’s both refreshing and nutritious. -
Nutty Crunch:
Mix in a handful of nuts or granola for a delightful texture contrast. The added crunch transforms your yogurt into a satisfying snack, offering a delightful contrast with its creamy base. -
Coconut Flair:
Incorporate shredded coconut for a tropical touch, or replace some milk with coconut milk for a dairy-free option. This subtle twist adds an exotic flavor to your beloved yogurt! -
Savory Spin:
Use your yogurt as a base for savory dishes by adding herbs and spices like dill, garlic, or cucumber. This makes for a delicious homemade tzatziki sauce perfect for dipping or as a salad dressing. -
Sweet Heat:
Want a little kick? Add a drizzle of sriracha or chopped jalapeños after the cooling phase. It’s an adventurous take on yogurt, perfect for adding to spicy dishes or enjoying straight from the container! -
Healthy Probiotic Boost:
For an extra probiotic punch, choose probiotic powders or fermented foods like kefir to mix into your yogurt after it’s cooled. It’s a simple way to enhance your yogurt’s health benefits and explore new flavors.
Dive into this savory and sweet yogurt journey and savor the joy of making it your own! You might even find some inspiration for flavor variations in my Crockpot Chicken Nachos or the delicious options you can create with some Sweet Potato Honey.
Expert Tips for Instant Pot Yogurt
• Starter Quality: Use high-quality yogurt that contains active live cultures to ensure successful fermentation and a delightful flavor in your Instant Pot yogurt.
• Temperature Check: Always cool your milk to 110°F before adding the starter. Too hot or too cold can hinder fermentation, affecting the thickness and taste.
• Straining Technique: For thicker Greek yogurt, strain the yogurt using cheesecloth or a coffee filter for 2-8 hours in the fridge. This removes excess whey and creates that desired consistency.
• Flavor Enhancements: If you want to add flavors like vanilla or fruit, wait until after the yogurt is chilled for the best integration and to maintain a silky texture.
• Batch Reserves: Remember to save a ¼ cup of your homemade yogurt as a starter for the next batch. This ensures continuity and freshness in your future Instant Pot yogurt endeavors.
Instant Pot Yogurt Recipe FAQs
What type of milk is best for making yogurt?
Absolutely! I recommend using whole milk for the richest, creamiest texture, but 2% or skim milk can also work if you prefer a lighter option. Just keep in mind that the fat content will affect the creaminess of your final yogurt.
How should I store homemade yogurt?
Store your creamy Instant Pot yogurt in airtight containers in the fridge for up to 2 weeks. Make sure to keep it chilled to maintain that delightful texture and tangy flavor you’ve worked so hard to achieve!
Can I freeze homemade yogurt?
Yes, you can! To freeze your yogurt, first portion it into ice cube trays or small containers. This way, you can enjoy it over time. Frozen yogurt can last up to 2 months in the freezer. For best results, thaw it in the fridge overnight and stir well before serving, as some separation may occur.
What should I do if my yogurt doesn’t thicken?
Very! If your yogurt doesn’t thicken, it might be a temperature issue. Ensure that your milk cools to 110°F before adding the starter. Also, the quality of your yogurt starter is crucial; using one with active live cultures is essential for successful fermentation. If it’s too hot or too cold, it can affect the final thickness.
Is this yogurt suitable for people with lactose intolerance?
While not suitable for everyone, many individuals with lactose intolerance can enjoy homemade yogurt because the fermentation process breaks down some lactose. However, I always recommend checking with a healthcare provider regarding individual dietary needs, especially for pets or those with food allergies.
Can I customize the flavor of my yogurt?
Of course! The more the merrier! You can add flavors like vanilla extract or fresh fruits after the yogurt has chilled for the best integration. Just remember to mix those flavorings in gently to keep that smooth consistency.
Instant Pot Yogurt: Creamy Homemade Goodness Awaits
Ingredients
Equipment
Method
- Pour 8 cups of cold whole milk into the Instant Pot. Secure the lid, ensuring the valve is in the sealing position, and press the 'Yogurt' button until it displays 'Boil.' This process will take about 30 minutes.
- After the boiling phase is complete, carefully remove the insert from the Instant Pot and allow the milk to cool for about 1 hour, stirring occasionally to cool evenly to around 110°F.
- Stir in 2 tablespoons of plain yogurt with active live cultures into the cooled milk and ensure it is well-mixed.
- Return the insert to the Instant Pot, lock the lid, and press the 'Yogurt' button again, setting it to the 'Normal' setting for 8 hours.
- When the fermentation time is up, gently stir the yogurt and transfer it into airtight containers. Chill in the refrigerator for at least 3 hours before serving.