
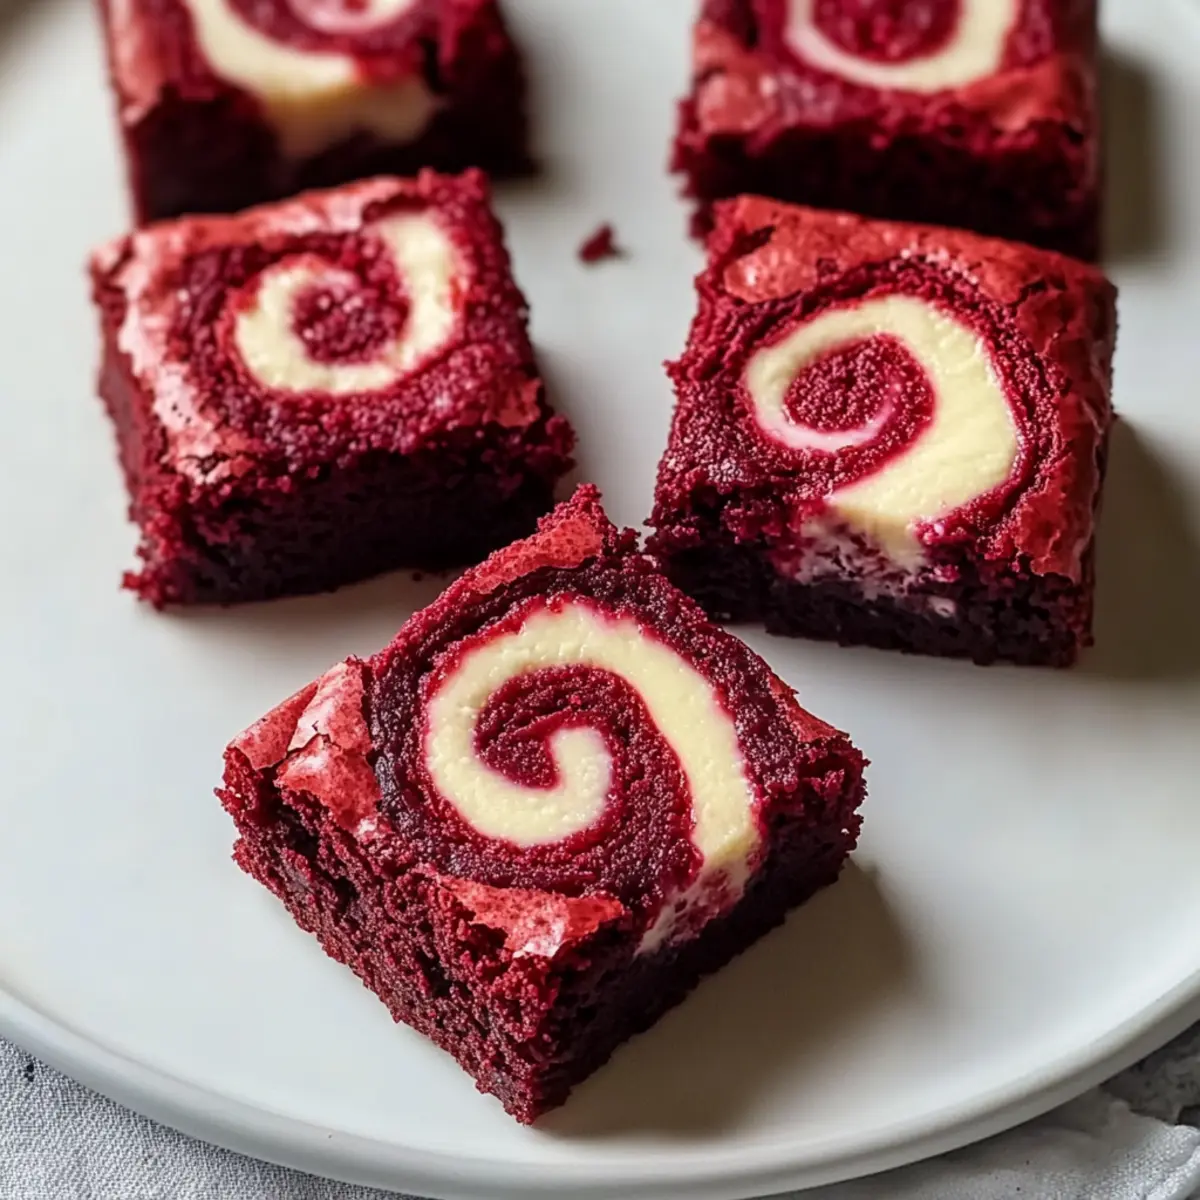
As I stood in my kitchen, the rich aroma of baking chocolate filled the air, wrapping me in a warm, nostalgic embrace that immediately transported me back to cherished family gatherings. Today, I’m thrilled to share my recipe for Homemade Red Velvet Brownie Bites—where luscious brownie meets a whirl of creamy cheesecake for an indulgent dessert experience. Not only are these delightful treats simple to whip up with just a handful of ingredients, but they’re also visually stunning, sure to impress at any occasion. Whether you’re hosting friends or enjoying a cozy night in, these brownie bites are the perfect way to treat yourself and loved ones alike. Who wouldn’t want to dive into a bite of fudgy decadence? Ready to bake something marvelous? Let’s get started!
Why are Red Velvet Brownie Bites special?
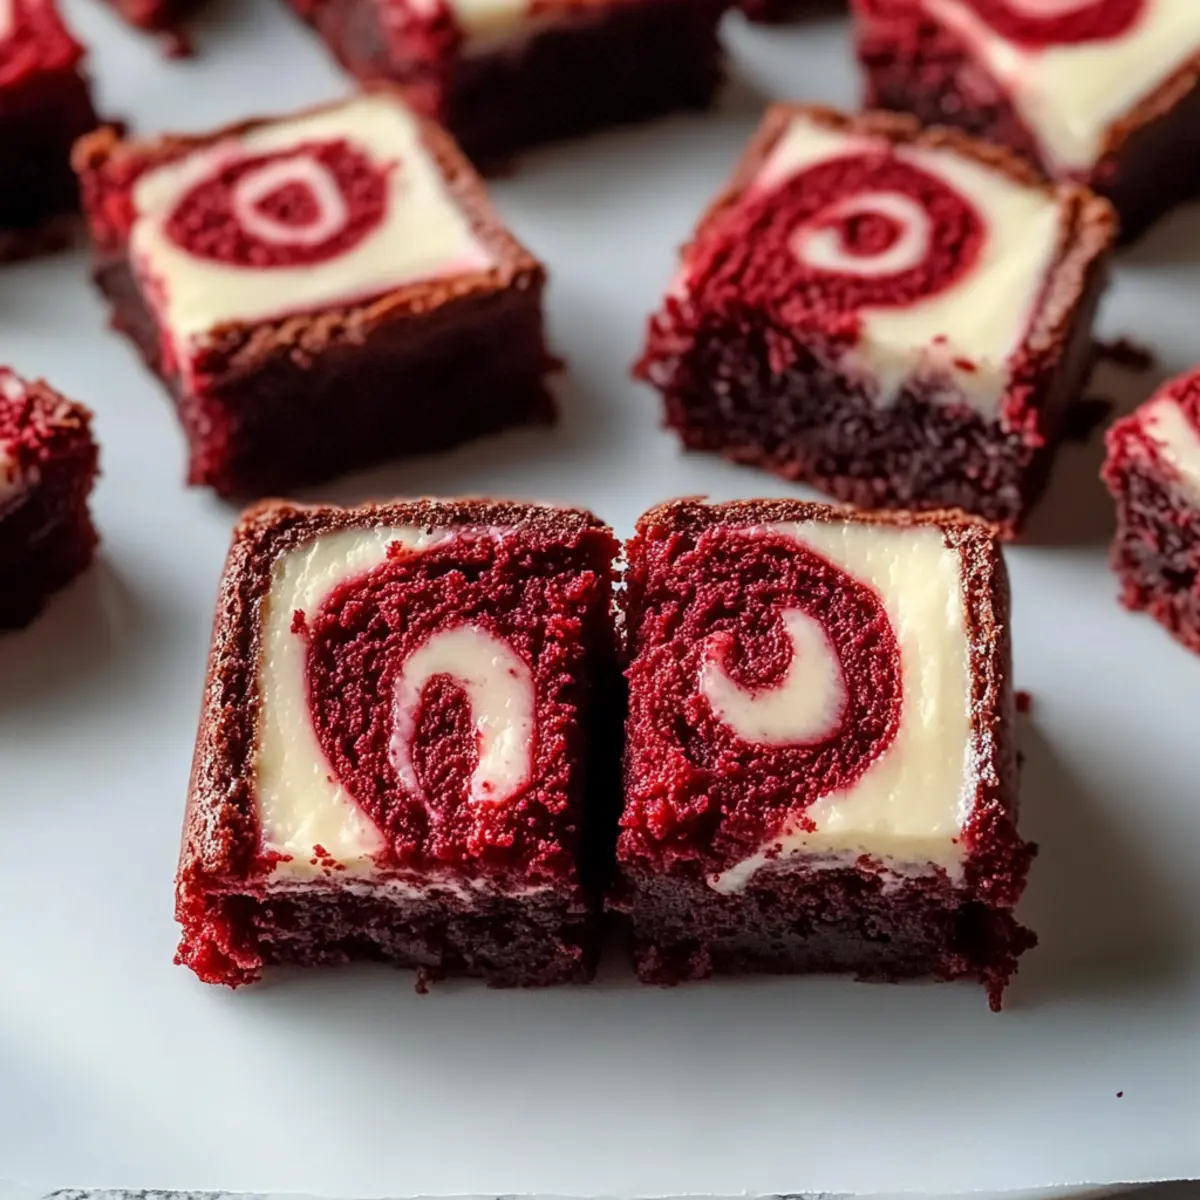
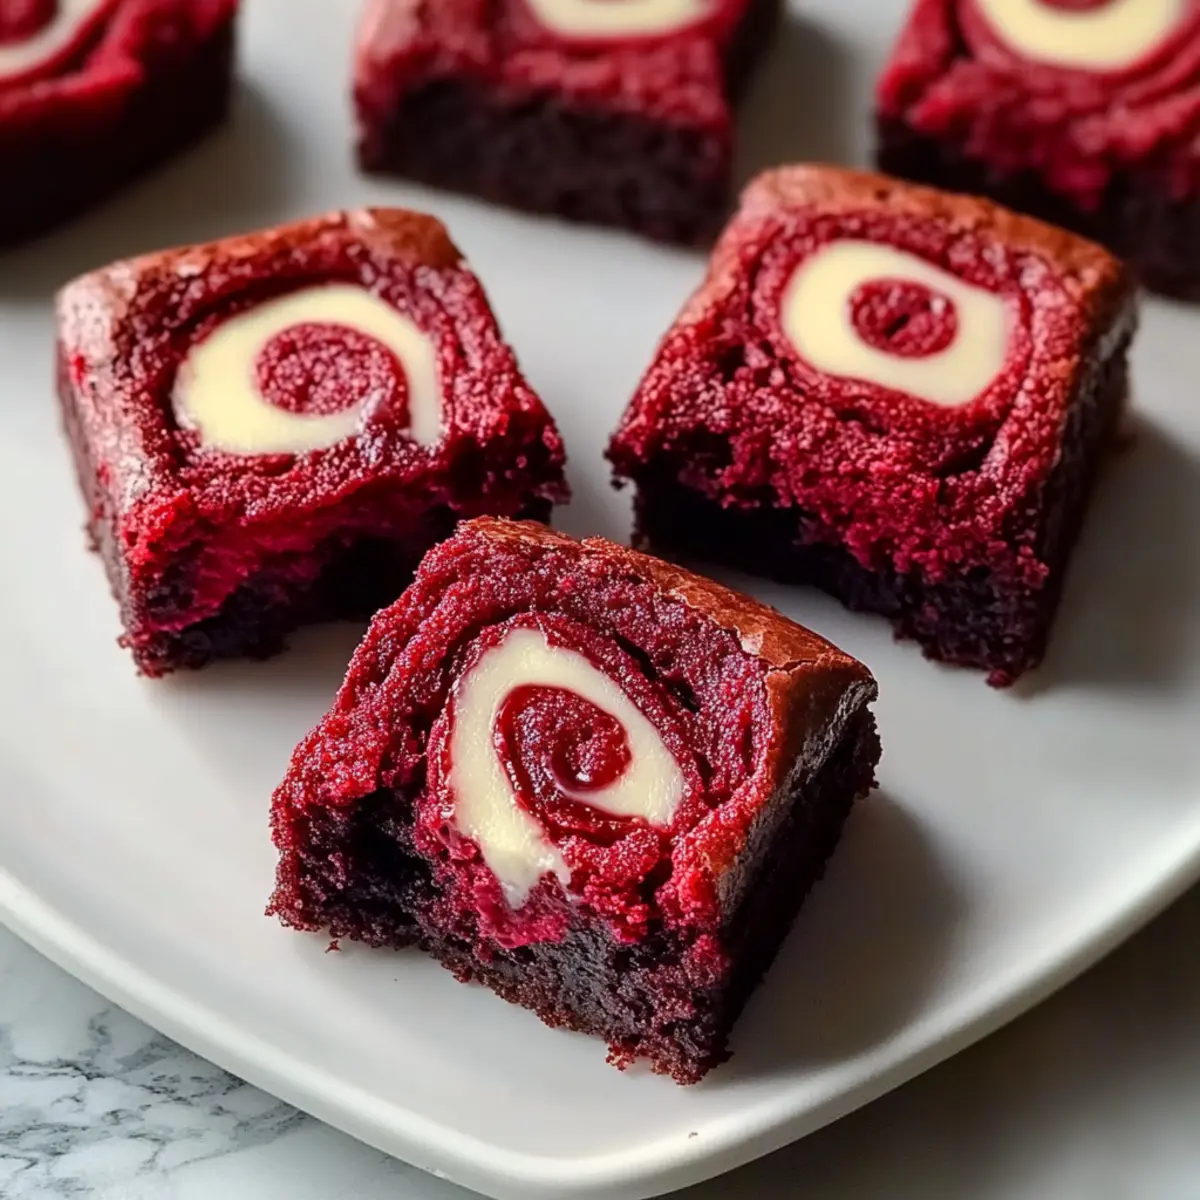
Decadent Indulgence: These Homemade Red Velvet Brownie Bites marry rich chocolate with a creamy cheesecake swirl, offering a luxurious treat. Visually Stunning: Their vibrant red color and marbled appearance make them a show-stopper at any gathering. Easy to Make: With just a handful of ingredients, you can whip these up effortlessly, making them perfect for anyone craving something homemade. Crowd-Pleasing Delight: Whether at a party or a cozy night in, these bites are sure to have everyone asking for seconds. Don’t forget to save some for later or pair them with a scoop of vanilla ice cream for an even more decadent experience!
Red Velvet Brownie Bites Ingredients
For the Brownie Base
• Unsalted Butter – Provides a rich, creamy base; using unsalted allows for better control over sweetness.
• Sugar – Sweetens the brownies and creates a luscious texture; you’ll need 1 1/4 cups for the perfect sweetness.
• Cocoa Powder – Contributes a rich chocolate flavor; opt for high-quality cocoa for best results (1/4 cup required).
• Vanilla Extract – Enhances overall flavor; 1/2 teaspoon will give the brownies warmth and depth.
• Red Food Coloring – Adds that signature vibrant red hue; you can substitute beet juice or omit it for classic chocolate brownies (1 tbsp needed).
• Salt – Balances sweetness and enhances the chocolate flavor; just 1/8 teaspoon does the trick.
• Espresso Powder – Intensifies the chocolate taste without a coffee flavor; use 1/4 teaspoon for a deep richness.
• Vinegar – Reacts with baking soda for a lighter brownie texture; 1/2 teaspoon is perfect.
• Large Eggs – Provide essential structure and moisture; don’t skimp on the richness—use 2 eggs!
• All-Purpose Flour – Gives structure while ensuring a soft texture; 3/4 cup is just right.
For the Cheesecake Swirl
• Cream Cheese – Provides a creamy texture for the swirl; use 9 oz at room temperature for easy mixing.
• Sugar – Sweetens the cheesecake mixture; 3 tablespoons will do the job nicely.
• Vanilla Extract – Adds a warm note to the swirl; 1/2 teaspoon will enhance the flavor.
• Egg Yolk – Binds the cheesecake filling together; use 1 large yolk for proper consistency.
Step‑by‑Step Instructions for Homemade Red Velvet Brownie Bites
Step 1: Preheat the Oven
Begin by preheating your oven to 350°F (175°C). While it warms up, grab an 8×8-inch baking pan and generously grease it with butter or line it with parchment paper. This will help ensure your Red Velvet Brownie Bites release easily once baked.
Step 2: Prepare the Brownie Batter
In a large mixing bowl, whisk together the melted unsalted butter and sugar until combined. Next, add cocoa powder, vanilla extract, red food coloring, salt, espresso powder, vinegar, and the two large eggs. Mix everything together until you achieve a smooth, glossy batter that is rich in color and aroma.
Step 3: Incorporate the Flour
Carefully fold in the all-purpose flour using a spatula until just combined; be cautious not to overmix to keep your brownies fudgy. You’re looking for a thick batter that’s well blended yet retains some texture. Set your brownie batter aside as you prepare the cheesecake swirl.
Step 4: Make the Cheesecake Swirl
In a separate medium-sized bowl, beat the room-temperature cream cheese, sugar, vanilla extract, and egg yolk until the mixture is creamy and smooth. This cheesecake mixture should be thick yet spreadable, creating a delicious contrast to the brownie batter in your Red Velvet Brownie Bites.
Step 5: Layer the Batter
Pour the brownie batter into the prepared baking pan, spreading it out evenly with a spatula. Aim for an even layer that covers the bottom of the pan completely. This will be the heart of your brownie bites, full of rich chocolate flavor.
Step 6: Add the Cheesecake Swirl
Once your brownie batter is evenly spread, drop spoonfuls of the creamy cheesecake mixture over the brownie base. Use a knife or a toothpick to gently swirl the cheesecake into the brownie batter, creating a beautiful marbled effect without fully mixing the two layers.
Step 7: Bake the Brownies
Place the baking pan in the preheated oven and bake for 25-30 minutes. Start checking for doneness at the 25-minute mark; insert a toothpick into the center, and it should come out with a few moist crumbs for that perfect fudgy texture your Red Velvet Brownie Bites are known for.
Step 8: Cool and Serve
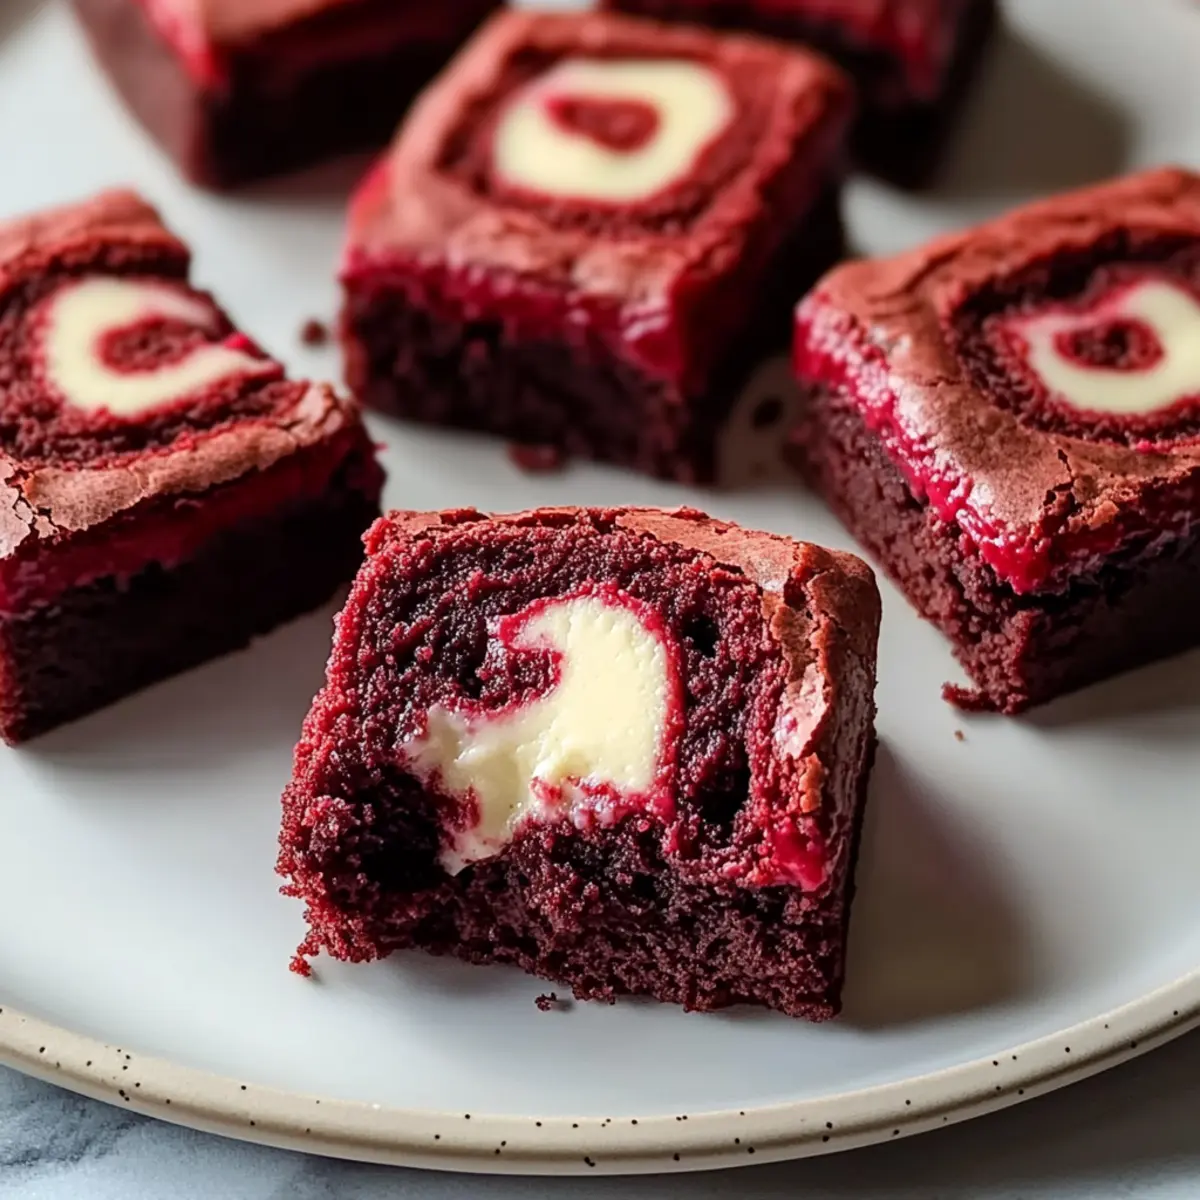
Once done, remove the pan from the oven and allow the brownies to cool in the pan for at least 10-15 minutes. This cooling time makes it easier to cut into squares without crumbling. After cooling, slice into small bites and serve your indulgent treat!
Make Ahead Options
These Homemade Red Velvet Brownie Bites are perfect for meal prep enthusiasts looking to save time during busy weeknights! You can prepare the brownie batter up to 24 hours in advance by mixing all the ingredients and storing it in an airtight container in the refrigerator. The cheesecake swirl can also be made ahead and refrigerated for up to 3 days. When you’re ready to bake, simply combine the chilled brownie batter with the cheesecake mixture and swirl before pouring it into the baking pan. This will ensure your delicious treats taste just as fresh and decadent, allowing you to enjoy each bite of your delightful Red Velvet Brownie Bites with minimal stress!
Red Velvet Brownie Bites Variations
Feel free to tweak these delightful treats to match your taste and dietary preferences!
-
Gluten-Free: Substitute with gluten-free flour to create a deliciously indulgent version that everyone can enjoy.
Even those with gluten sensitivities will savor these nicely muted chocolate brownie bites. -
Dairy-Free: Use vegan cream cheese and egg substitutes like flaxseed meal or applesauce for a dairy-free dessert.
No one will miss the creaminess; the flavors will still shine through beautifully! -
Lower Sugar: Replace granulated sugar with a sugar substitute or a blend like monk fruit for fewer calories.
You can still enjoy a rich dessert without compromising on flavor! -
Nutty Twist: Add chopped walnuts or pecans into the brownie batter for a pleasant crunch and nutty flavor.
These little bites of crunch will enhance every fudgy morsel. -
Spicy Kick: Mix in a pinch of cayenne pepper or cinnamon to the brownie mixture for a warming flavor boost.
Just a hint of heat can take your Red Velvet Brownie Bites to a whole new level. -
Decadent Ganache: Drizzle warm chocolate ganache over the top before serving for an opulent finish.
The chocolate layer adds a luxurious touch, making them even more irresistible! -
Fruit Fusion: Fold in some raspberries, cherries, or strawberries into the brownie batter for a fruity twist.
The pop of fruitiness complements the rich flavors wonderfully. -
Chocolate Chip Surprise: Stir in some chocolate chips (dark or white) for extra gooeyness!
These bites of melty goodness contrast beautifully with the creamy cheesecake swirl.
No matter how you choose to customize your Red Velvet Brownie Bites, each variation promises an exciting spin on a beloved classic. And if you’re feeling adventurous, consider pairing them with an elegant dessert like Cranberry Brie Bites or serve alongside a scoop of Peanut Butter Brownie for a luscious dessert spread.
Storage Tips for Red Velvet Brownie Bites
-
Room Temperature: Keep your Red Velvet Brownie Bites in an airtight container at room temperature for up to 3 days. This will maintain their delicious fudgy texture and flavor.
-
Fridge: For extended freshness, refrigerate the brownie bites in an airtight container for up to a week. This will keep them moist and delectable, ready to enjoy anytime!
-
Freezer: Freeze individually wrapped brownie bites for up to 3 months. For a quick treat, simply microwave each bite for 10-15 seconds to refresh their warmth and softness.
-
Reheating: When you’re ready to indulge, reheat your brownie bites in the microwave or enjoy them straight from the fridge for a cool, rich dessert experience!
Expert Tips for Red Velvet Brownie Bites
-
Quality Ingredients: Always choose high-quality cocoa powder and cream cheese for rich flavors. The better the ingredient, the tastier your Red Velvet Brownie Bites will be.
-
Avoid Overmixing: Gently fold in the flour until just combined to keep your brownies fudgy; overmixing can lead to a dense texture.
-
Swirl Technique: Use a light hand when swirling the cheesecake mixture into the brownie batter. Too much mixing will blend the layers instead of creating a beautiful marbled effect.
-
Check for Doneness Early: Begin checking the brownies a few minutes before the end of the baking time. A toothpick should come out with a few moist crumbs for that perfect fudgy texture.
-
Cooling is Key: Let the brownies cool in the pan to firm up. This step is crucial to prevent crumbling when you cut them into bites.
What to Serve with Homemade Red Velvet Brownie Bites
Create a complete dessert experience that will leave your guests craving more.
-
Vanilla Ice Cream: The creamy vanilla contrast enhances the rich flavors of the brownies, creating a delightful balance that melts in your mouth. Scoop it generously on the side for a classic pairing.
-
Fresh Raspberries: Their bright tartness cuts through the sweetness of the brownie bites, adding a refreshing element that brightens the overall dish. Plus, the vibrant color brings a beautiful pop to your dessert presentation.
-
Chocolate Ganache: A drizzle of warm ganache amplifies the chocolate richness, making each bite even more indulgent. This luscious chocolate sauce takes the already delightful brownies to new heights.
-
Whipped Cream: A dollop of freshly whipped cream adds a light and airy texture that complements the fudgy brownies. It’s a simple yet effective way to elevate your dessert.
-
Mint Leaves: Garnish with fresh mint leaves for a beautiful touch and a burst of aromatic flavor that refreshes the palate. It adds a sophisticated finish that will impress your guests.
-
Coffee or Espresso: Serving a cup of coffee alongside enhances the chocolate and cheesecake flavors, making for a cozy, comforting experience. The warm beverage complements the rich dessert beautifully.
-
Chocolate-Covered Strawberries: These sweet and juicy treats pair perfectly with the brownie bites, adding another layer of indulgence with their fresh flavor and chocolate coating. They make for a beautifully elegant dessert display.
Red Velvet Brownie Bites Recipe FAQs
How do I choose the right ripeness of ingredients?
Absolutely! For the best results, use ingredients like eggs that are fresh and at room temperature. Cream cheese should also be softened for easy mixing, which results in a smoother cheesecake swirl.
How should I store leftover Red Velvet Brownie Bites?
You can store your Red Velvet Brownie Bites at room temperature in an airtight container for up to 3 days. For longer storage, refrigerate them for up to a week. Just make sure they’re sealed well to maintain that delicious fudgy texture!
Can I freeze these brownie bites? How?
Yes, you can! To freeze your Red Velvet Brownie Bites, wrap them individually in plastic wrap or aluminum foil to prevent freezer burn, and place them in a zip-top freezer bag. They will stay fresh for up to 3 months. When you’re ready to enjoy them, just microwave each bite for 10-15 seconds to refresh their softness.
What if my brownie batter is too thick?
No worries! If your brownie batter seems too thick and difficult to mix, you can add a tablespoon of warm water or melted butter to loosen it up. Just fold in the liquid gradually until you have a smoother, more spreadable consistency without overmixing.
Are there any dietary considerations for these brownie bites?
Absolutely! If you have dietary restrictions, you can easily adapt this recipe. For a gluten-free option, substitute all-purpose flour with a gluten-free blend. If you’re looking for a dairy-free version, use vegan cream cheese and egg substitutes like applesauce or flaxseed meal blended with water to replace the egg yolk.
Irresistible Red Velvet Brownie Bites with Creamy Swirl Magic
Ingredients
Equipment
Method
- Preheat your oven to 350°F (175°C) and grease an 8x8-inch baking pan.
- In a large bowl, whisk together melted butter and sugar until combined.
- Add cocoa powder, vanilla extract, red food coloring, salt, espresso powder, vinegar, and eggs. Mix until smooth.
- Fold in the flour gently until just combined. Set aside.
- In a separate bowl, beat cream cheese, sugar, vanilla extract, and egg yolk until creamy.
- Pour the brownie batter into the prepared pan and spread evenly.
- Drop spoonfuls of the cheesecake mixture over the brownie base and swirl gently.
- Bake for 25-30 minutes, checking with a toothpick for doneness.
- Allow brownies to cool in the pan for 10-15 minutes before slicing.