
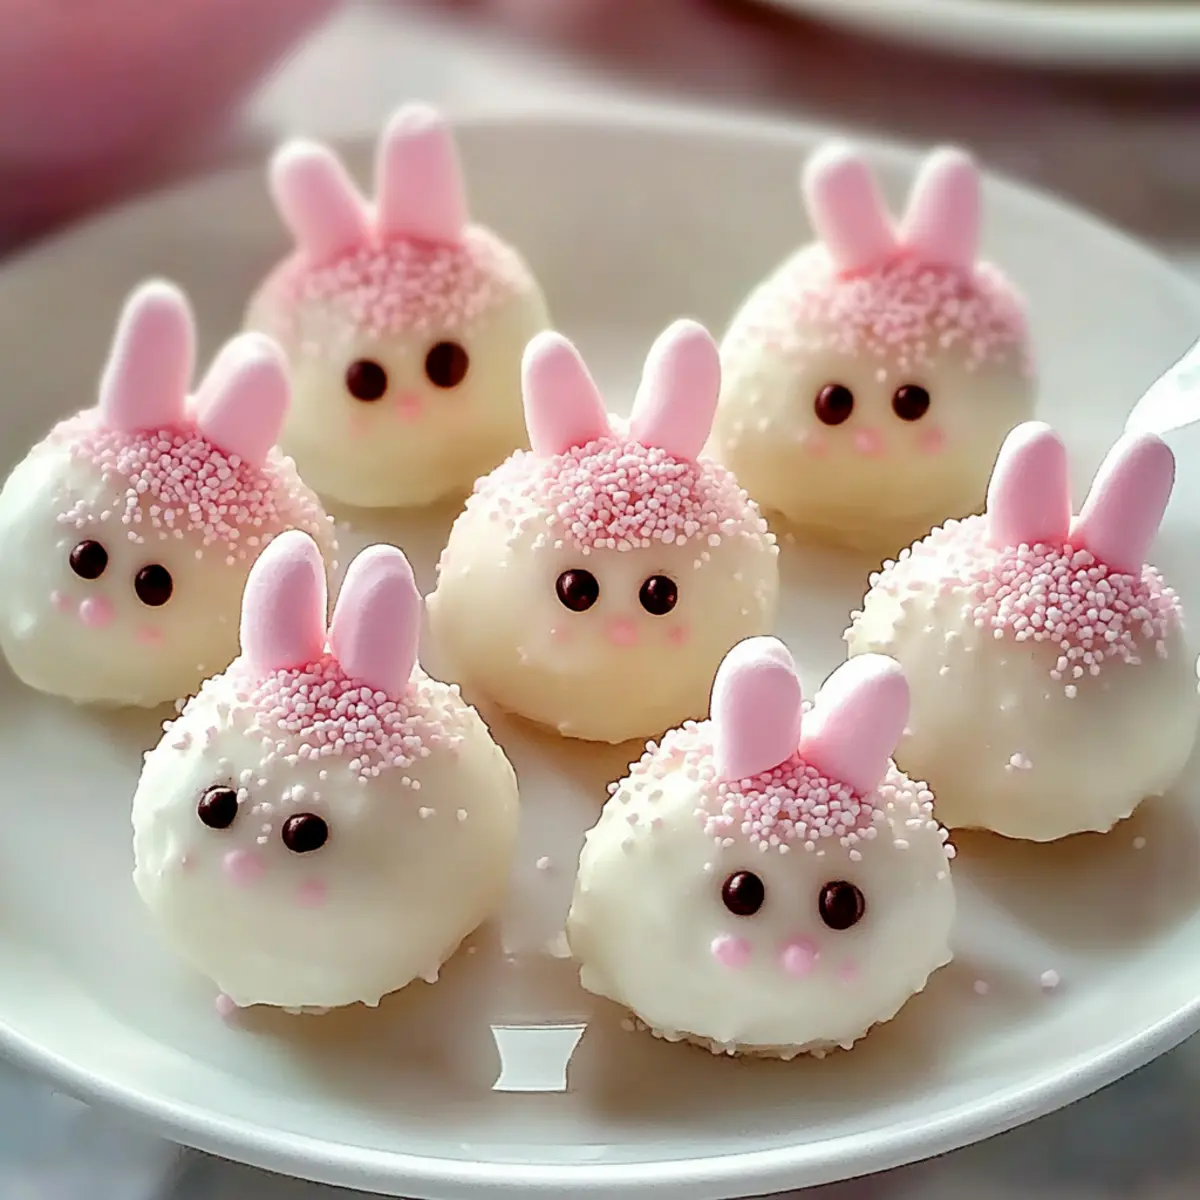
As I unwrapped the chocolate-covered treats, I couldn’t help but smile at the sight of my Bunny Oreo Balls—cute little confections that bring a whimsical touch to any gathering. Packed with the rich creaminess of cream cheese and the beloved crunch of Oreos, these no-bake delights are a hit with everyone from kids to adults. Not only are they easy to whip up, but they’re also a fantastic way to get the family involved in the kitchen, making it a fun bonding experience. Plus, they’re just the right treat to brighten your Easter celebrations without hours spent in the kitchen! Want to create festive memories that are both delicious and hassle-free? Let’s hop into this charming recipe!

Why Are Bunny Oreo Balls So Adorable?
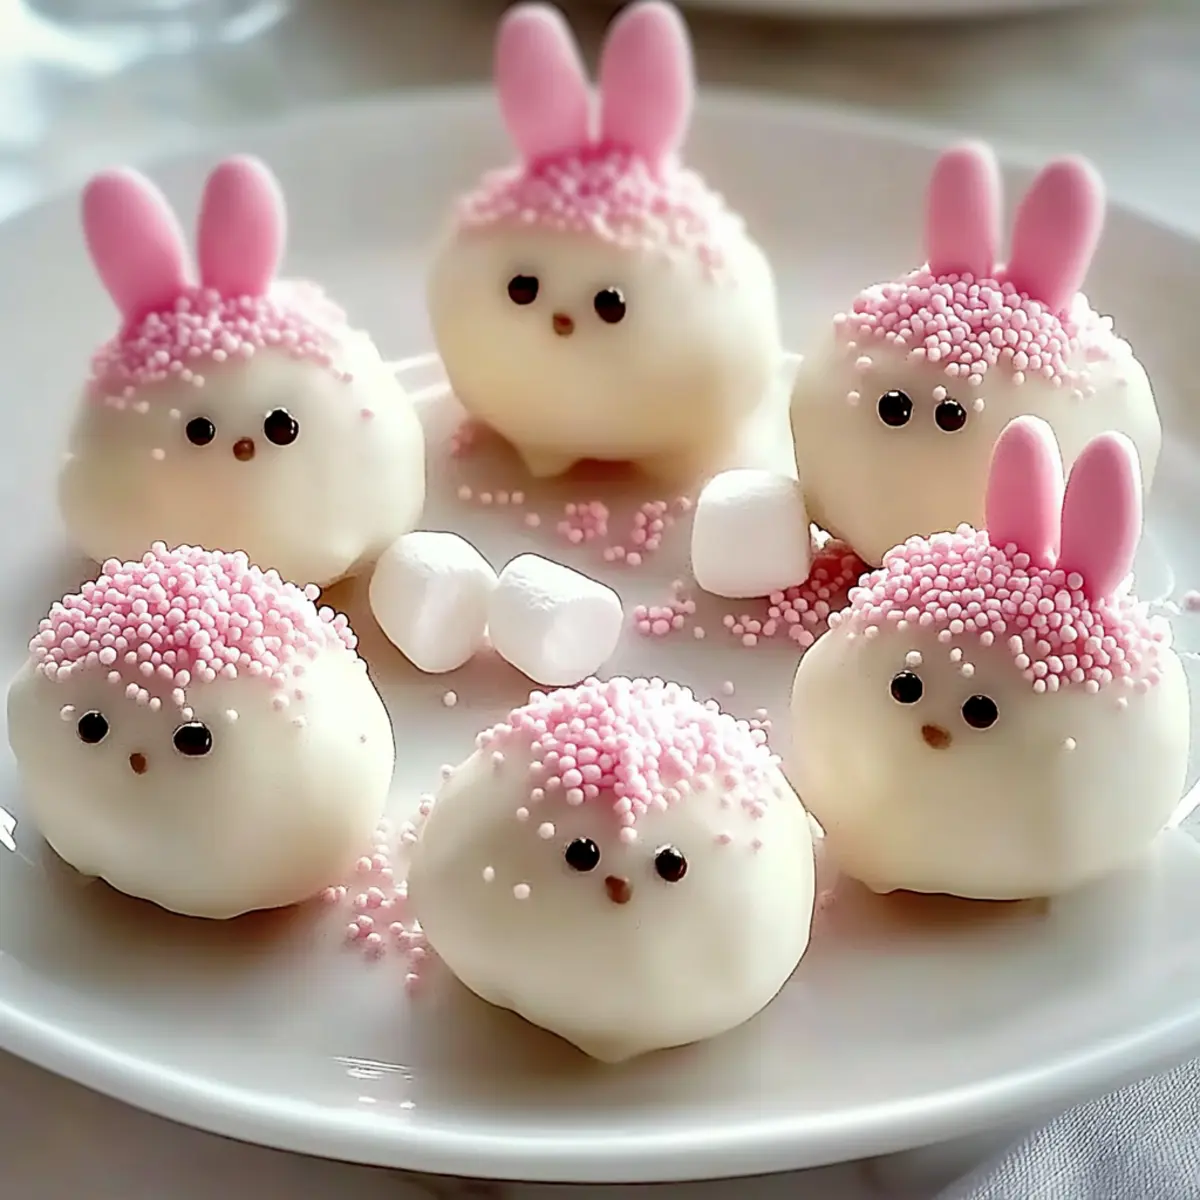
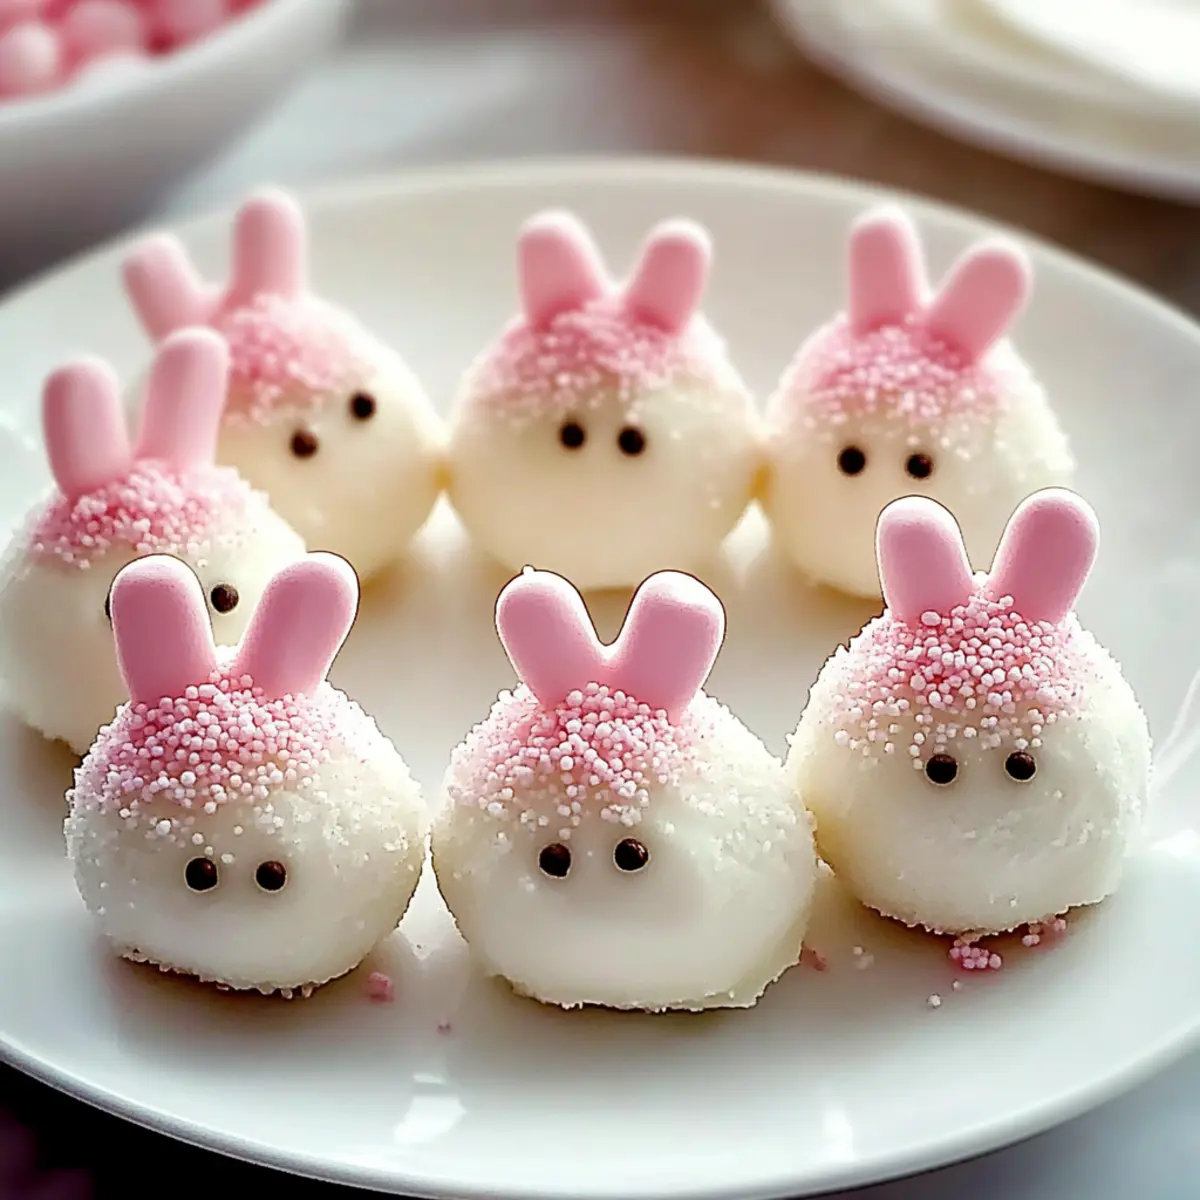
Irresistibly Cute: Each Bunny Oreo Ball is playfully decorated to resemble charming little bunnies, making them a delightful centerpiece for your Easter gathering.
No-Bake Simplicity: With just a few ingredients and zero baking required, you can easily whip these up without the oven fuss!
Kid-Friendly Fun: A perfect project for kids, these treats invite little hands to help create cute bunny faces, turning snack time into quality family fun.
Versatile Treats: Feel free to experiment with different flavors—try mint Oreos or even peanut butter varieties for a twist that everyone will love.
Perfect for Sharing: These treats make an ideal addition to potlucks or parties, enchanting guests with their adorable look and delicious taste.
Plus, if you’re looking for more creative ideas, check out my Bake Cookie Balls or White Chocolate Raspberry recipes!
Bunny Oreo Balls Ingredients
For the Base
• Oreos (24 cookies) – Provides sweetness and structure; substitute with gluten-free chocolate sandwich cookies for a gluten-sensitive version.
• Cream Cheese (8 oz, softened) – Adds creaminess and binds the mixture; Neufchâtel cheese can be used as a lighter alternative.
For the Coating
• White Chocolate/Candy Melts (10 oz) – Coating for added sweetness and a smooth finish; semi-sweet chocolate can be used for a richer flavor.
For Decoration
• Mini Marshmallows (12 pieces) – For decorating bunny ears; you can use other candies to add a playful twist.
• Pink Sugar Sprinkles – Optional for enhancing decoration; sprinkle on for that extra festive touch!
With these Bunny Oreo Balls ingredients, you’re on your way to creating a charming treat that’s sure to be a hit!
Step‑by‑Step Instructions for Bunny Oreo Balls
Step 1: Prepare Oreo Mixture
Begin by crushing 24 Oreos into fine crumbs using a food processor or a resealable bag and a rolling pin. In a mixing bowl, combine the Oreo crumbs with 8 oz of softened cream cheese. Blend until the mixture is smooth and dough-like, with no visible cream cheese lumps. This will form the tasty base for your Bunny Oreo Balls.
Step 2: Shape Balls
Once your mixture is ready, start rolling it into 1-inch balls using your hands. Place each ball on a parchment-lined baking sheet, ensuring they are spaced about 1 inch apart. This step is crucial for achieving the perfect shape! Once you’ve rolled all the mixture, refrigerate the balls for 30 minutes to help them firm up.
Step 3: Coat in Chocolate
After chilling, it’s time to coat the balls! Melt 10 oz of white chocolate or candy melts in a microwave-safe bowl. Heat in 20-second intervals, stirring each time until the chocolate is completely smooth and melted. Dip each chilled ball into the melted chocolate, ensuring it’s evenly coated. Place the dipped balls back on the parchment paper to set.
Step 4: Decorate
While the chocolate coating is still soft, cut 12 mini marshmallows in half to create ears. Dip the cut sides in pink sugar sprinkles for a festive touch. Gently press the decorated marshmallow halves into the tops of the Bunny Oreo Balls. If you like, use melted candy melts to add facial details, making each ball even more adorable.
Step 5: Set & Store
Allow your decorated Bunny Oreo Balls to set at room temperature for about 10-15 minutes until the chocolate coating hardens. Once set, transfer them to an airtight container. You can store these delightful treats in the fridge for up to 5 days, ensuring they remain fresh and ready for a sweet treat!
What to Serve with Bunny Oreo Balls
As you present these whimsical treats, consider adding delightful accompaniments that will elevate your Easter gathering and satisfy sweet cravings.
-
Fresh Strawberries: Juicy, sweet strawberries contrast beautifully with the creamy Bunny Oreo Balls, adding a refreshing pop of color and flavor.
-
Mini Cupcakes: Sweet and fluffy, mini cupcakes enhance the festive atmosphere while providing a variety of flavors that appeal to young and old alike.
-
Vanilla Ice Cream: A scoop of vanilla ice cream serves as a creamy counterpoint, allowing the rich flavors of the Bunny Oreo Balls to shine even brighter.
-
Fruit Salad: A vibrant mix of fresh fruits offers a light, refreshing taste to balance the indulgence of these adorable treats. It’s a colorful and nutritious addition!
-
Chocolate Milkshakes: Creamy and decadent, chocolate milkshakes pair perfectly for those wanting to indulge— a fun twist that complements the sweet flavors.
-
Sparkling Lemonade: This bubbly beverage is refreshingly bright, offering a zingy contrast that accents the sweetness of the Bunny Oreo Balls and keeps everyone refreshed.
-
Carrot Cake Bites: For an extra festive touch, serve bite-sized carrot cake alongside these treats, tying into the Easter theme while pleasing dessert lovers.
-
Peanut Butter Dip: A rich peanut butter dip provides a sweet, nutty layer, perfect for dipping or drizzling over Bunny Oreo Balls for added indulgence.
Expert Tips for Bunny Oreo Balls
-
Smooth Mixture: Ensure the Oreo mixture is blended thoroughly to avoid lumps, making it easier to roll into perfectly shaped Bunny Oreo Balls.
-
Chill for Structure: Refrigerate the shaped balls for at least 30 minutes prior to coating. This helps them maintain their shape and makes coating easier and smoother.
-
Careful Melting: When melting chocolate, do it in short intervals, stirring often to prevent burning. A gentle heat ensures a smooth coating for your Bunny Oreo Balls.
-
Decoration Timing: Decorate your Bunny Oreo Balls while the chocolate is still soft. This allows the marshmallow ears and any other decoration to stick better, ensuring they stay put.
-
Air Tight Storage: Keep these treats in an airtight container in the fridge for up to 5 days. This helps retain their delicious flavor and delightful texture.
How to Store and Freeze Bunny Oreo Balls
Fridge: Store your Bunny Oreo Balls in an airtight container in the fridge for up to 5 days. This keeps them fresh and ready to enjoy whenever a sweet craving strikes!
Freezer: For longer storage, freeze the Bunny Oreo Balls for up to 1 month. Place them in a single layer on a baking sheet until frozen, then transfer to a freezer-safe container for easy access.
Thawing: To enjoy frozen Bunny Oreo Balls, thaw them in the fridge overnight. This gentle method helps maintain their delightful texture without compromising flavor.
Make Ahead: You can prepare the Oreo mixture and keep it refrigerated for up to 24 hours before rolling into balls, making it a convenient option for busy days.
Bunny Oreo Balls Variations & Substitutions
Feel free to get creative with your Bunny Oreo Balls, transforming these treats into something uniquely yours!
-
Gluten-Free: Swap regular Oreos for gluten-free chocolate sandwich cookies to accommodate gluten-sensitive friends without sacrificing flavor.
-
Lightened Up: Replace cream cheese with Neufchâtel cheese for a lower-fat alternative that still provides a creamy texture. It’s a fantastic way to enjoy these treats guilt-free.
-
Flavor Infusion: Try using flavored Oreos like mint or peanut butter for a delightful twist on the classic recipe. Each flavor brings a new layer of fun to your Easter treats!
-
Festive Colors: Use pastel-colored candies instead of traditional white chocolate to coat your Bunny Oreo Balls, adding a pop of excitement for your celebration. Bright colors bring smiles!
-
Nutty Crunch: Incorporate crushed nuts such as almonds or walnuts into the Oreo mixture for an unexpected crunch that balances the sweetness and adds a delightful texture.
-
Chili Kick: For a surprising twist, add a pinch of cayenne pepper to the melted chocolate. This subtle heat pairs wonderfully with sweet flavors and makes your Bunny Oreo Balls stand out at any gathering.
-
Try with Truffles: If you’re in the mood for more treats, check out my Bake Cookie Balls or whip up some White Chocolate Raspberry delights for an unforgettable dessert spread!
Let your imagination run wild and whip up Bunny Oreo Balls that are as delightful as they are tasty!
Make Ahead Options
These Bunny Oreo Balls are perfect for meal prep enthusiasts looking to save time during the busy Easter season! You can prepare the Oreo mixture up to 24 hours in advance by crushing the Oreos and mixing them with cream cheese, then cover and refrigerate separately. Additionally, once you roll the balls, they can be refrigerated for up to 3 days before coating them in chocolate. To maintain their quality, be sure to keep the mixture tightly wrapped or in an airtight container. When you’re ready to serve, simply coat them in melted chocolate, decorate with mini marshmallows and sprinkles, and allow to set. This way, you’ll enjoy just as delicious Bunny Oreo Balls with minimal last-minute effort!
Bunny Oreo Balls Recipe FAQs
What type of Oreos should I use for Bunny Oreo Balls?
Absolutely! Regular Oreos work perfectly, but feel free to substitute with gluten-free chocolate sandwich cookies for a gluten-sensitive version. Ensure they are fresh—look for cookies without any dark spots or rough texture to guarantee the best flavor.
How should I store Bunny Oreo Balls after making them?
Store your Bunny Oreo Balls in an airtight container in the fridge, where they will stay fresh for up to 5 days. This method preserves their delightful texture and flavor, ready to be enjoyed whenever a sweet craving strikes!
Can I freeze Bunny Oreo Balls for later?
Yes, you can freeze Bunny Oreo Balls for up to 1 month! To do this, place the rolled balls in a single layer on a baking sheet until frozen solid. Then, transfer them to a freezer-safe container or bag for longer storage. When you’re ready to enjoy, simply thaw them overnight in the fridge.
What if my Bunny Oreo Balls are too soft to roll?
No worries at all! If your mixture feels too soft, chill it in the refrigerator for a bit longer before rolling into balls. Additionally, ensure your cream cheese is well-softened but not too warm, as this can make the mixture too loose for shaping. A little extra chill time can make all the difference!
Are there any dietary considerations I should keep in mind?
For those with allergies, check the labels on your ingredients—Oreos and chocolate can contain potential allergens like dairy and gluten. If making for pets, avoid giving them any chocolate as it’s toxic to dogs and cats. Opting for gluten-free cookies can help cater to gluten sensitivities easily!
Can I make Bunny Oreo Balls ahead of time?
Definitely! You can prepare the Oreo mixture and keep it refrigerated for up to 24 hours before rolling them into balls. This makes it super convenient for busy days, allowing you to assemble and chill your festive delights at your own pace.
Delightful Bunny Oreo Balls for a Fun Easter Treat
Ingredients
Equipment
Method
- Begin by crushing 24 Oreos into fine crumbs. Combine the Oreo crumbs with 8 oz of softened cream cheese in a mixing bowl and blend until smooth.
- Roll the mixture into 1-inch balls and place them on a parchment-lined baking sheet. Refrigerate for 30 minutes.
- Melt 10 oz of white chocolate in a microwave-safe bowl, stirring until smooth. Dip each chilled ball into the chocolate and set back on parchment paper.
- While the chocolate is soft, cut 12 mini marshmallows in half for ears, dip in pink sugar, and press onto the balls. Optionally, add facial details with melted candy melts.
- Allow the balls to set at room temperature for 10-15 minutes. Store in an airtight container in the fridge for up to 5 days.