
As dawn breaks on Easter morning, the excitement in my kitchen is palpable. I can almost hear the happy giggles awaiting a delightful breakfast surprise. Enter Bunny Butt Pancakes, an adorable spin on a classic breakfast that brings an extra dose of joy to the table. These pancakes are not only fluffy and easy to make, but they’re also perfect for the whole family—yes, even the pickiest eaters! With playful decorations involving strawberries and whipped cream, you’re set to create a breakfast experience that will make everyone smile. So, what’s your favorite way to enchant the morning after the Easter egg hunt?

Why Bunny Butt Pancakes Are a Must-Try?
Adorable Presentation: These Bunny Butt Pancakes are not just delicious but also a visual delight that turns any breakfast into a fun celebration!
Kid-Friendly Fun: With playful designs and colorful toppings, they are sure to win the hearts of both kids and adults, making breakfast a joyful experience.
Versatile Flavors: Feel free to customize your pancakes by adding chocolate chips or swapping in seasonal fruits. You could also pair them with maple syrup or a sprinkle of powdered sugar for that extra sweetness!
Quick & Easy: Whipping up these pancakes is a breeze, perfect for busy families looking to make a memorable breakfast without the fuss.
Perfect for Any Occasion: While they’re ideal for Easter, Bunny Butt Pancakes can brighten any day—consider serving them for birthday breakfasts or just as a whimsical treat on the weekends.
With these scrumptious pancakes, you’re not just serving food, but creating lasting memories for everyone at the table! For another family-friendly breakfast idea, check out these Buttermilk Pancakes.
Bunny Butt Pancake Ingredients
For the Pancake Batter
• All-Purpose Flour – Provides structure and texture; substitute with gluten-free flour for a gluten-free option.
• Granulated Sugar – Adds sweetness; can be reduced or replaced with a sugar alternative for a healthier version.
• Baking Powder – Acts as a leavening agent for fluffy pancakes; always check it’s fresh for the best results.
• Salt – Enhances overall flavor; essential for balancing sweetness.
• Eggs – Contributes to fluffiness and structure; consider flaxseed meal mixed with water as a vegan substitute.
• Milk – Provides moisture; substitute with almond or oat milk for a creamy dairy-free version.
• Vegetable Oil – Adds richness; melted butter can be a flavorful alternative.
• Vanilla Extract – Brings a delightful aroma; optional but recommended for a sweet touch.
For the Decorations
• Sliced Strawberries – Creates the bunny feet decoration; feel free to swap for other seasonal fruits.
• Raisins – Used for detailing bunny feet; honey or dried cranberries make good alternatives.
• Whipped Cream – Perfect for the bunny tail; coconut cream works well for a dairy-free option.
Dive into making these Bunny Butt Pancakes for a fun and creative family breakfast that everyone will love!
Step‑by‑Step Instructions for Bunny Butt Pancakes
Step 1: Mix Wet Ingredients
In a medium mixing bowl, whisk together 2 eggs, 2 cups of milk, 6 tablespoons of vegetable oil, and 1 teaspoon of vanilla extract until fully combined. You should see a smooth, creamy mixture with a hint of vanilla aroma wafting through the air. This forms the flavorful base for your Bunny Butt Pancakes.
Step 2: Combine Dry Ingredients
In a separate large bowl, sift together 2½ cups of all-purpose flour, 2 tablespoons of granulated sugar, 2 teaspoons of baking powder, and 1½ teaspoons of salt. Ensure that all the dry ingredients are well mixed, and the baking powder is aerated for fluffy pancakes that will charm your family with their softness on Easter morning.
Step 3: Combine Mixtures
Gently pour the dry ingredients into the wet mixture, stirring slowly until just combined. The batter should appear slightly lumpy and not overmixed, which is key for fluffy Bunny Butt Pancakes. If you see a few flour streaks, that’s perfectly fine! Let it rest for a few minutes while you prep your cooking space.
Step 4: Preheat Skillet
Heat a nonstick skillet over medium heat or set an electric griddle to 375°F. Allow the skillet to warm up until it’s hot enough that a drop of water dances on the surface; this ensures your pancakes will have a lovely golden-brown color. Be careful not to overheat, as we want to avoid burnt edges.
Step 5: Cook Pancakes
Pour about ¾ cup of batter onto the skillet to create a large round pancake for the bunny body, followed by approximately 2 tablespoons of batter for two small oval pancakes (the feet). Cook until bubbles form on the surface of the pancakes, about 2-3 minutes; this indicates they’re ready to flip. Turn them over and let cook for an additional 1-2 minutes until golden brown.
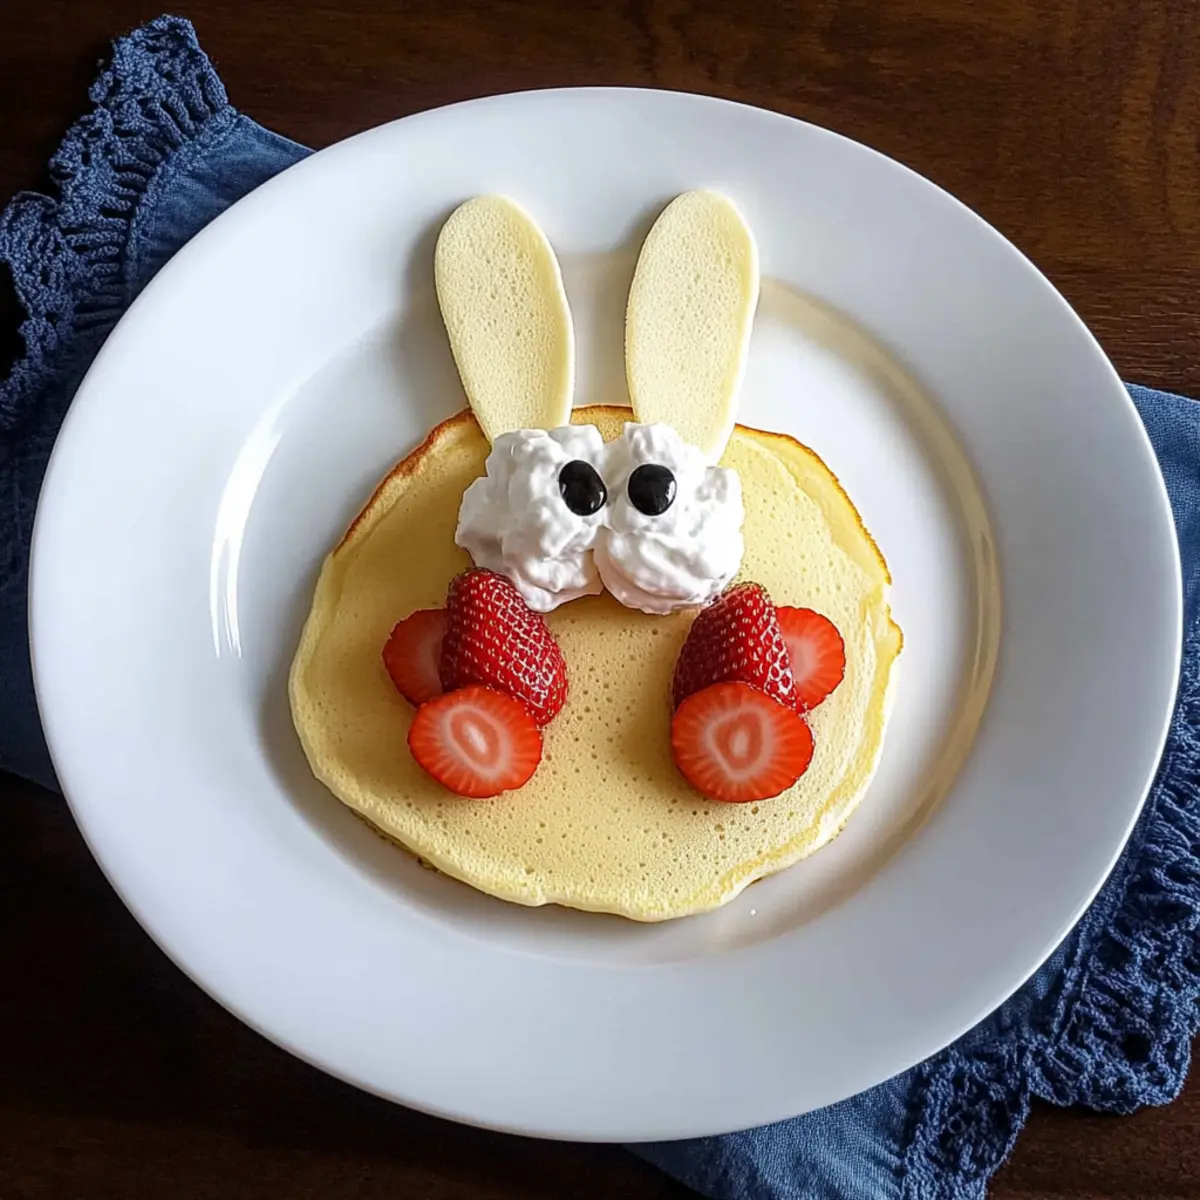
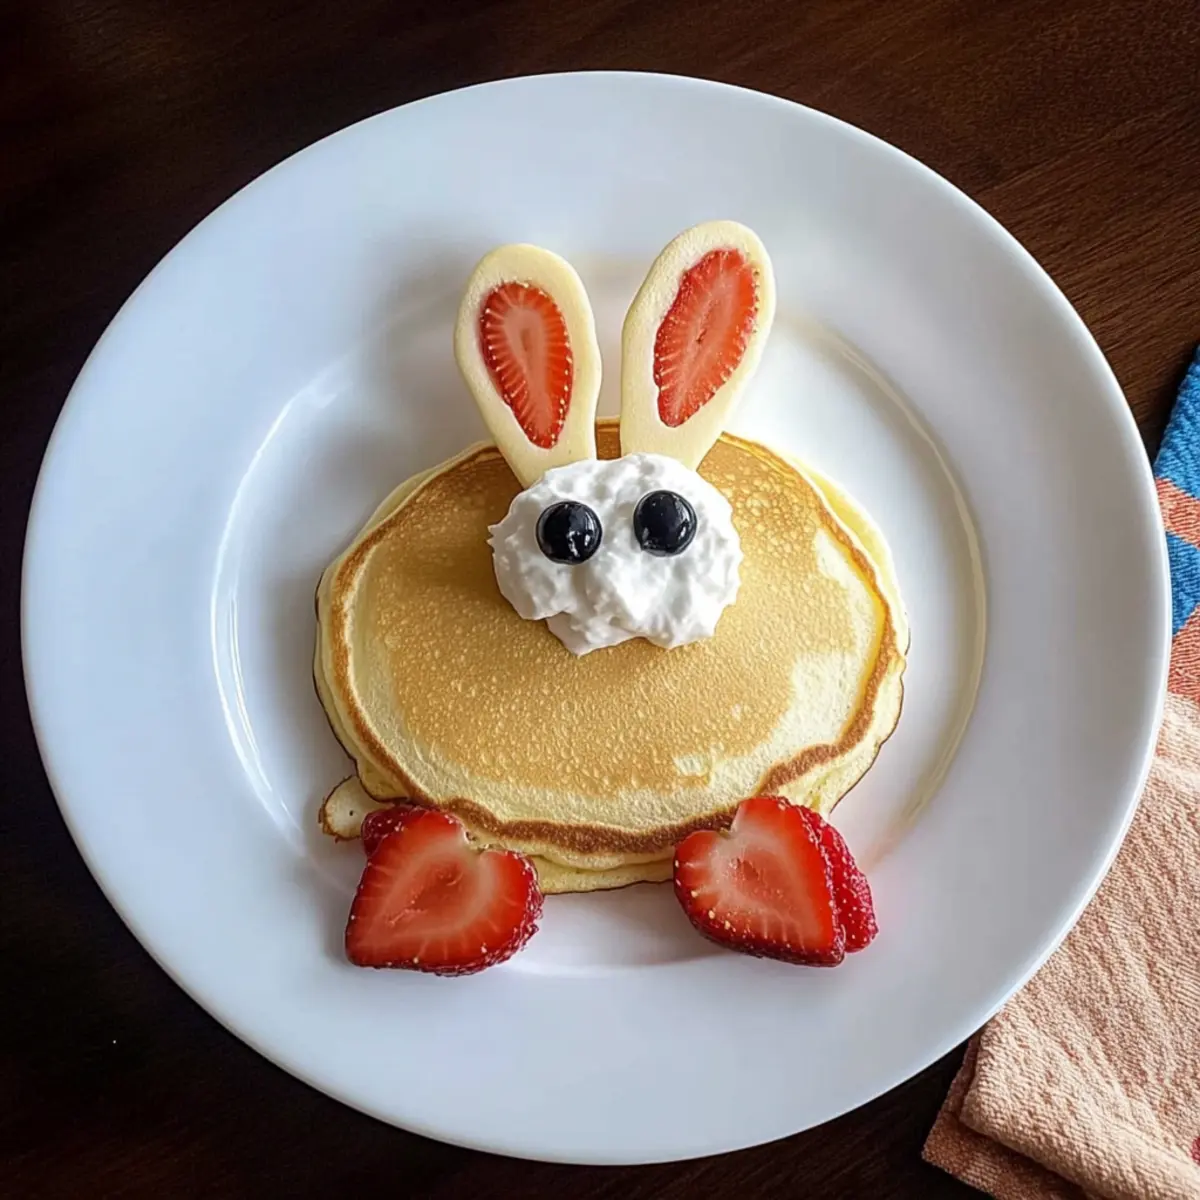
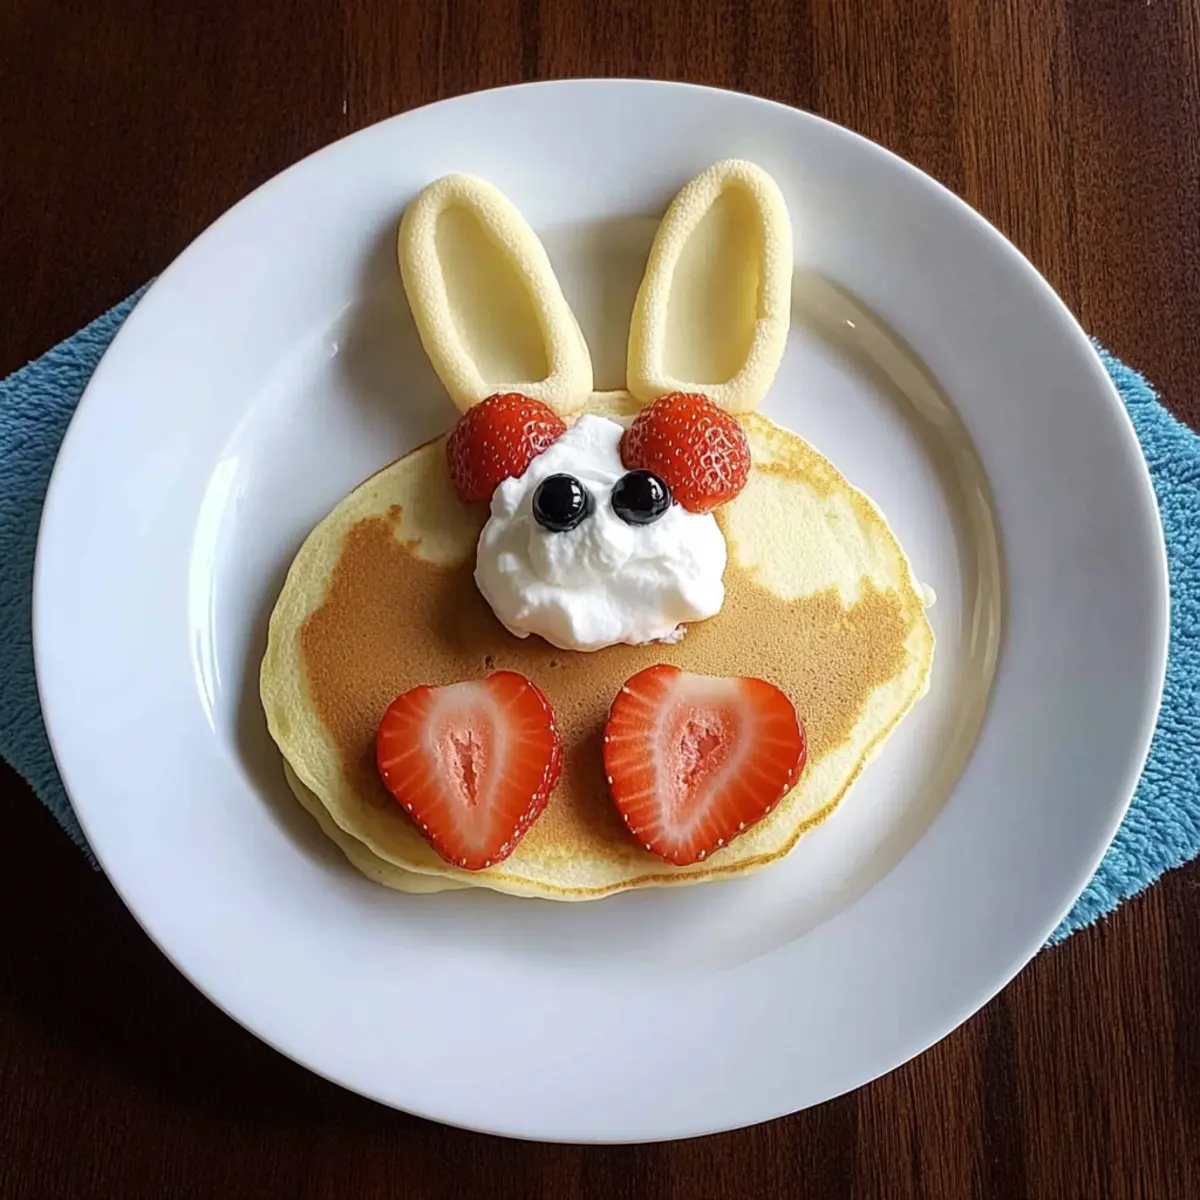
Step 6: Decorate
Once your Bunny Butt Pancakes are cooked through, it’s time to assemble this delightful breakfast! Place the large pancake in the center of the plate, add the two smaller pancakes below it to form the bunny’s feet, then top it all off with sliced strawberries as the foot decoration, raisins for added detail, and a generous dollop of whipped cream for the adorable bunny tail. Your Bunny Butt Pancakes are now ready to shine!
What to Serve with Bunny Butt Pancakes?
Start your Easter celebration with a charming feast that perfectly complements these delightful, fluffy pancakes!
-
Maple Syrup: A classic pairing, its rich sweetness enhances the fluffy texture of the pancakes, making each bite even more enjoyable.
-
Fresh Berries: Add a refreshing pop of color and flavor with strawberries, blueberries, or raspberries. Their natural sweetness perfectly balances the pancake’s fluffiness.
-
Fruit Compote: A warm, fruity topping offers a comforting touch; think of a blend of cooked apples or berries to create a sweet fruity sauce.
-
Whipped Cream: Layering more whipped cream on top brings extra charm to the display. Consider flavored versions like vanilla or cinnamon for a creative twist.
-
Crispy Bacon: The savory crunch of bacon offers a delightful contrast, perfectly balancing the sweet characteristics of the Bunny Butt Pancakes.
-
Smoothies for Kids: Blend up fruity smoothies to serve alongside, their vibrant colors will excite the little ones and add a healthy touch to the meal.
-
Chocolate Milk: A nostalgic drink that pairs well with pancakes, its rich chocolate flavor will make breakfast memorable.
-
Powdered Sugar: A simple dusting adds a touch of elegance and sweetness, making your Bunny Butt Pancakes look even more irresistible.
-
Coffee or Tea for Adults: Enjoy a warm cup alongside your breakfast spread. It balances out the sweetness beautifully while providing that morning energy kick!
How to Store and Freeze Bunny Butt Pancakes
-
Room Temperature: Enjoy Bunny Butt Pancakes fresh for best taste; ideally, consume them within 1-2 hours of cooking if left out.
-
Fridge: Store leftover pancakes in an airtight container in the refrigerator for up to 3 days. Reheat them in a skillet or microwave for a quick breakfast treat.
-
Freezer: For longer storage, freeze pancakes in a single layer on a baking sheet, then transfer to a freezer bag for up to 2 months. Reheat directly from frozen, using a toaster or skillet.
-
Reheating: To revive your pancakes, place them in a toaster, microwave, or skillet with a little butter for a warm, fluffy experience.
Expert Tips for Bunny Butt Pancakes
-
Fresh Ingredients Matter: Always use fresh baking powder and eggs to ensure your Bunny Butt Pancakes rise beautifully and have a soft texture.
-
Perfect Heat Control: Cook on medium heat; too high can burn the pancakes. Adjust cooking time based on your stove type, aiming for golden brown.
-
Don’t Overmix: Keep the batter lumpy after combining wet and dry ingredients. Overmixing can lead to tough pancakes instead of the fluffy, delightful bites you want.
-
Bubbles are Key: Wait for bubbles to form on the surface before flipping pancakes. This indicates they are set enough to flip without falling apart.
-
Customize Flavor: For added fun, mix in chocolate chips or blueberries to the batter. Variations keep your Bunny Butt Pancakes exciting and flavorful!
-
Stay Creative: Use seasonal fruits for decoration rather than sticking to the suggested toppings. Adapt your Bunny Butt Pancakes to whatever your family loves!
Bunny Butt Pancakes Variations & Substitutions
Feel free to let your creativity shine by customizing these delightful Bunny Butt Pancakes to suit your family’s tastes and dietary needs!
-
Gluten-Free: Substitute all-purpose flour with a 1:1 gluten-free flour blend for a fluffy, gluten-free version that everyone can enjoy.
-
Dairy-Free: Replace milk with almond milk or oat milk and use coconut cream for whipped cream. These swaps keep your pancakes light and fluffy!
-
Vegan: Mix flaxseed meal with water instead of eggs, and follow the dairy-free suggestions for a fully plant-based pancake experience.
-
Add-ins Galore: Stir in ½ cup of chocolate chips or blueberries to the batter for a delightful flavor twist that adds a burst of sweetness.
-
Fruit Swaps: Besides strawberries, try using banana slices or blueberries for decoration—just change based on what’s fresh and in season!
-
Flavor Boosts: Enhance the vanilla aspect with a splash of almond extract or a dash of cinnamon to elevate the flavor profile of your pancakes.
-
Theme Variations: Instead of bunny decorations, consider using whipped cream and colorful sprinkles for a birthday theme, making these pancakes versatile for any occasion.
-
Heat Level: If your family enjoys a little kick, add a pinch of cinnamon or a touch of chili powder to the batter for subtle warmth.
With these variations, you’re equipped to create Bunny Butt Pancakes that cater to every preference, ensuring a delightful breakfast experience! For another delicious idea, don’t miss out on these Caramel Butterfinger Snow Cookies.
Make Ahead Options
These Bunny Butt Pancakes are perfect for meal prep enthusiasts! You can prepare the pancake batter up to 24 hours in advance by mixing the wet and dry ingredients separately and refrigerating them. Just be sure to keep the two mixtures stored in airtight containers to prevent them from drying out. When you’re ready to whip up your festive breakfast, simply combine the refrigerated wet and dry ingredients and cook as instructed. Additionally, you can pre-slice the strawberries and raisins for decorating, storing them in the fridge in a sealed container to maintain their freshness. This way, you can enjoy a joyful, stress-free morning with minimal effort!
Bunny Butt Pancakes Recipe FAQs
What should I look for when selecting my ingredients?
Absolutely! For all-purpose flour, check for a smooth texture and ensure it’s free from clumps; if you’re opting for gluten-free flour, look for certified brands. When selecting eggs, choose ones that are fresh with a clean shell; ideally, check the sell-by date. As for milk, you want it to be cold and fresh, and if trying almond or oat milk, ensure they’re not past their expiration date.
How should I store leftover Bunny Butt Pancakes?
After enjoying your Bunny Butt Pancakes, store any leftovers in an airtight container in the refrigerator. They will stay fresh for up to 3 days. Just remember to reheat them in a skillet or microwave until warm—this helps keep their delightful fluffiness intact!
Can I freeze Bunny Butt Pancakes, and if so, how?
Certainly! To freeze your delicious Bunny Butt Pancakes, first, let them cool completely. Arrange them in a single layer on a baking sheet and place them in the freezer for about an hour until they’re firm. Then, transfer the pancakes into a freezer-safe bag, separating layers with parchment paper, and enjoy them within 2 months. When ready to eat, reheat straight from frozen using a toaster or on a skillet over medium heat until warmed through.
What if my batter ends up too thick or too thin?
Very common! If your batter is too thick, simply add a little more milk, one tablespoon at a time, until you reach that desired lumpy consistency. Conversely, if it’s too thin, add a tablespoon of flour gradually until the batter holds together without being runny. Always remember, it’s better to keep it a little lumpy for those fluffy pancakes!
Are Bunny Butt Pancakes suitable for those with allergies?
Great question! If you’re cooking for someone with allergies, consider swapping traditional ingredients with alternatives. Use gluten-free flour for those with gluten sensitivities, flaxseed meal mixed with water serves as an excellent egg substitute for vegans, and almond or oat milk works beautifully for dairy-free diets. Just ensure none of your toppings, like strawberries and raisins, pose allergy risks. Always communicate with your guests to ensure a safe and delightful meal!
Can I customize the Bunny Butt Pancakes for different occasions?
The more the merrier! You can easily modify these pancakes for different occasions. For Easter, the bunny decoration is a hit, but for birthdays, add colorful sprinkles and whipped cream. In the fall, try pumpkin spice pancakes with apple slices and cinnamon; the possibilities are endless. Let your creativity shine in the kitchen, and have fun decorating!
Bunny Butt Pancakes: Fun and Fluffy Family Breakfast Treats
Ingredients
Equipment
Method
- In a medium mixing bowl, whisk together 2 eggs, 2 cups of milk, 6 tablespoons of vegetable oil, and 1 teaspoon of vanilla extract until fully combined.
- In a large bowl, sift together 2½ cups of all-purpose flour, 2 tablespoons of granulated sugar, 2 teaspoons of baking powder, and 1½ teaspoons of salt.
- Gently pour the dry ingredients into the wet mixture, stirring slowly until just combined.
- Heat a nonstick skillet over medium heat or set an electric griddle to 375°F.
- Pour about ¾ cup of batter onto the skillet for the bunny body and 2 tablespoons for the bunny feet.
- Once pancakes are cooked through, assemble by placing the large pancake in the center, adding the smaller pancakes below as feet, and decorating with strawberries, raisins, and whipped cream.