
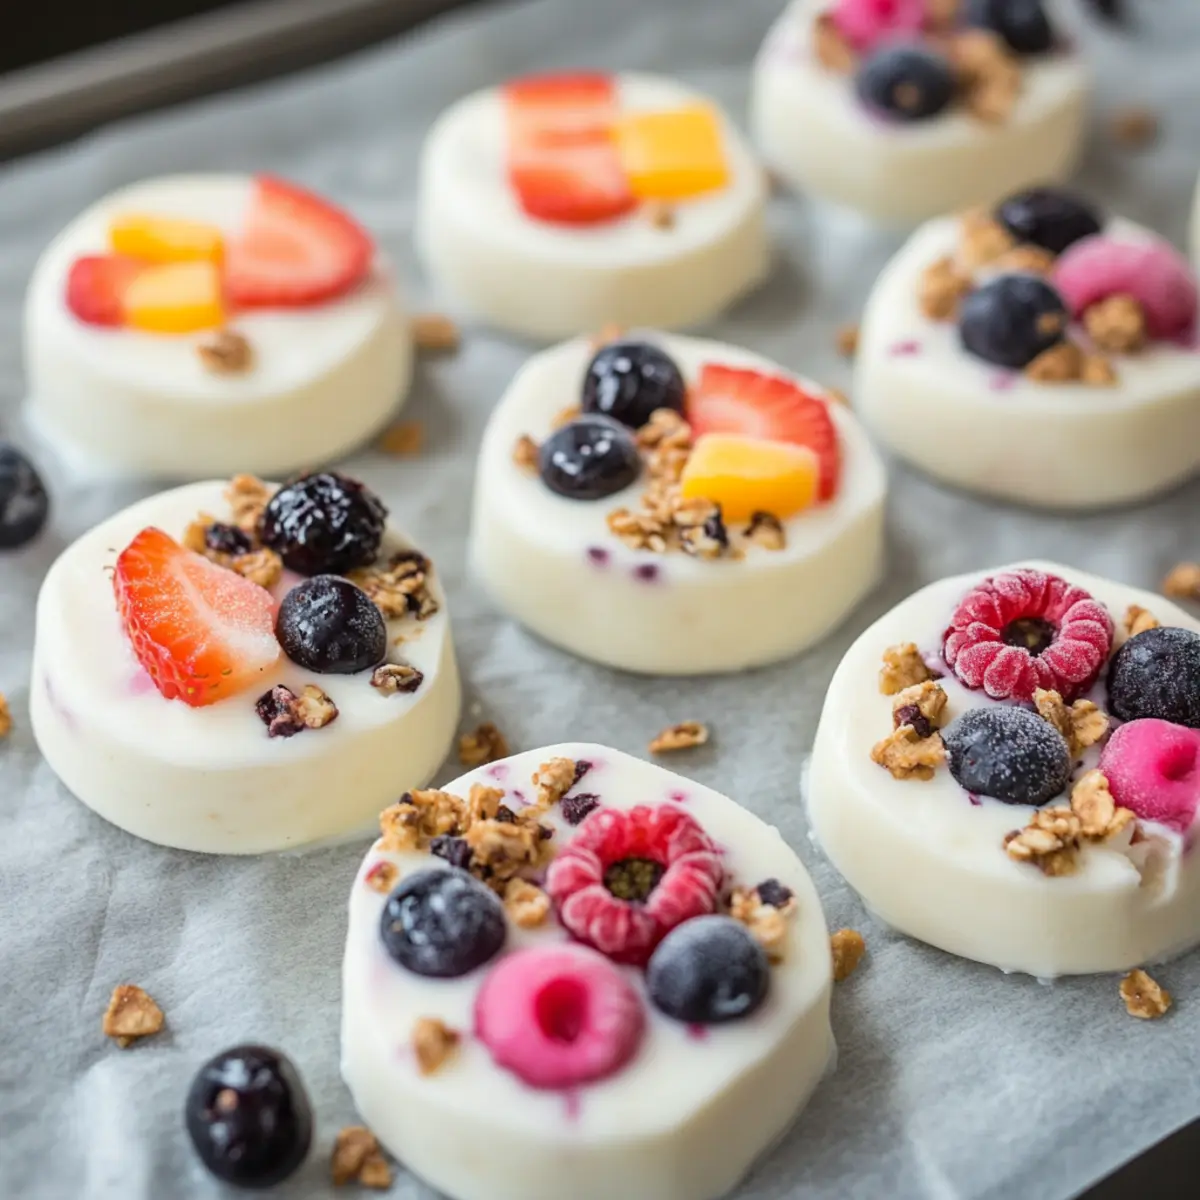
Summer’s heat can sometimes feel relentless, but I’ve discovered the perfect antidote: Easy Frozen Yogurt Bites. These delightful little treats are not just a refreshing snack; they’re a healthier alternative to traditional ice cream, making them ideal for those of us who crave something sweet without the guilt. With just a handful of ingredients, this Frozen Yogurt Bites Recipe allows you to customize each batch with your favorite fruits, turning every bite into a delicious burst of flavor and nourishment. Plus, they’re super easy to whip up—perfect for those busy days when you still want to indulge in a homemade treat. Ready to learn how to make your own version of this creamy, fruit-packed delight? Let’s dive in!
Why Make Frozen Yogurt Bites?
Healthy, Guilt-Free Treat: These bites offer a low-calorie alternative to ice cream, so you can indulge without the extra sugars.
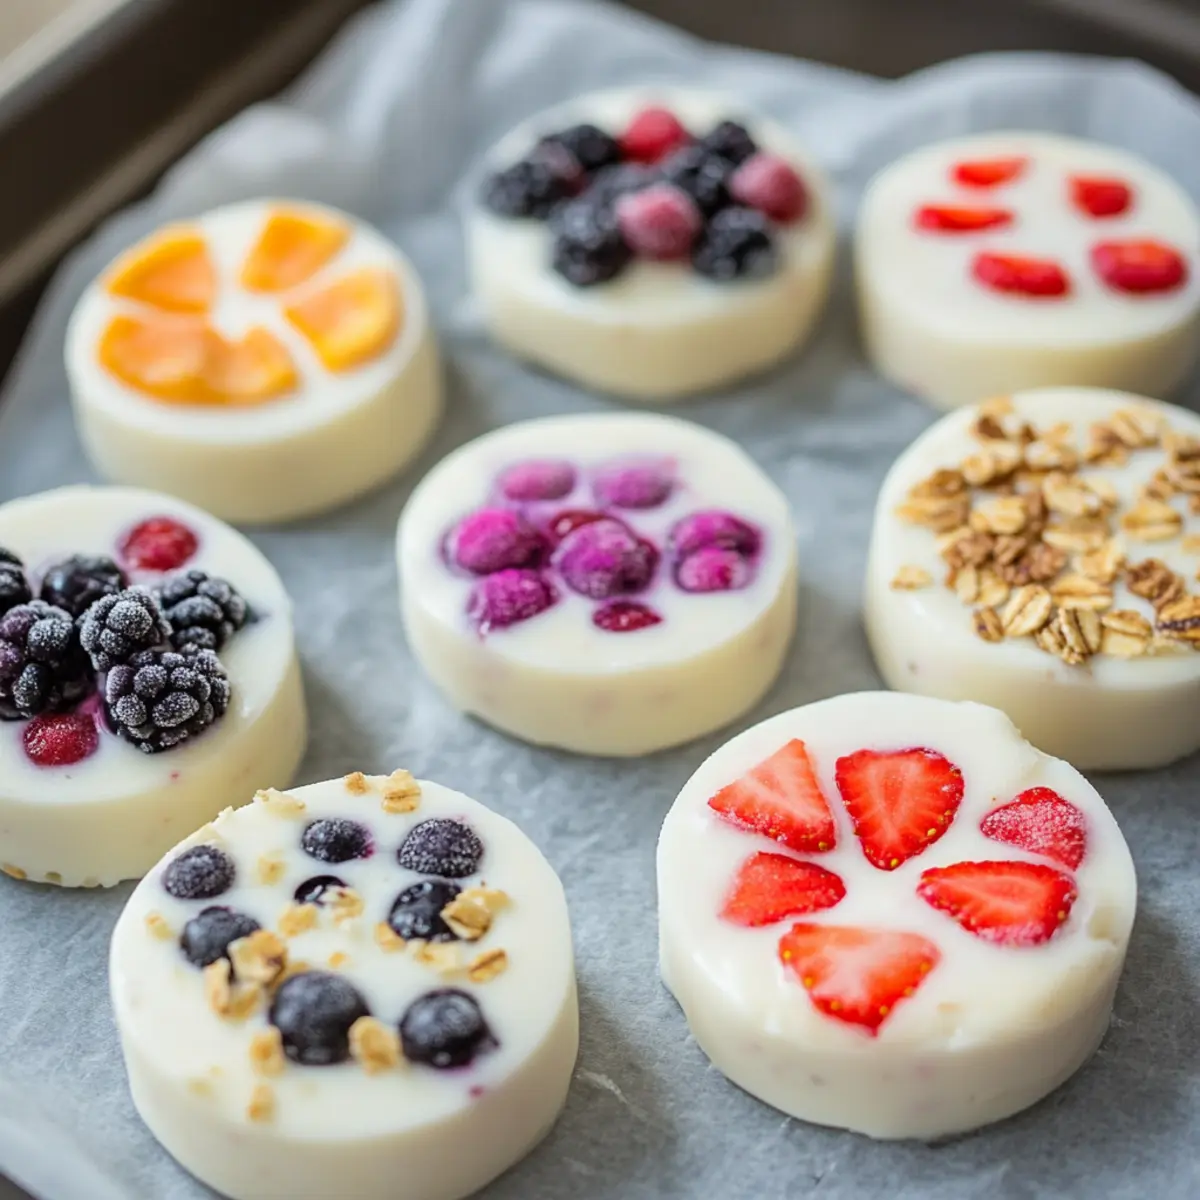
Customizable Flavors: Use any fruit you like! From refreshing berries to tropical mangoes, each batch can be uniquely yours.
Quick and Easy: With just a handful of ingredients, you can whip these up in minutes—no complicated techniques involved!
Perfect for Summer: They’re the ideal way to cool down on hot days, providing a creamy texture that hits the spot.
Family-Friendly: Kids love them, making them a great snack option for little ones while sneaking in some nutrition.
If you love versatile treats, check out our delightful Cranberry Brie Bites for another quick and easy recipe!
Frozen Yogurt Bites Ingredients
For the Yogurt Base
• Greek Yogurt – Provides a rich, creamy texture and is packed with protein; you can swap it for regular yogurt for a milder flavor.
• Honey or Maple Syrup – Adds natural sweetness; if you’re looking for a vegan alternative, agave syrup is a great choice.
For the Fruit Additions
• Fresh Fruits (e.g., berries, bananas) – Bring delightful flavor and nutrition; feel free to substitute with seasonal fruits like mangoes or peaches for a fresh twist.
Optional Crunch
• Granola or Nuts – Adds an enjoyable crunch and texture; for a nut-free version, consider using seeds instead.
With these simple ingredients in hand, you’re just steps away from creating your own homemade frozen yogurt bites! Indulge guilt-free with this Frozen Yogurt Bites Recipe and savor the fruity goodness.
Step‑by‑Step Instructions for Frozen Yogurt Bites Recipe
Step 1: Prepare the Yogurt Mixture
In a mixing bowl, combine 2 cups of Greek yogurt with 2-4 tablespoons of honey or maple syrup, stirring until even and creamy. This will create a deliciously smooth base for your Frozen Yogurt Bites. Make sure there are no lumps, and taste a spoonful; add more sweetener if you prefer a sweeter bite.
Step 2: Add Fresh Fruits
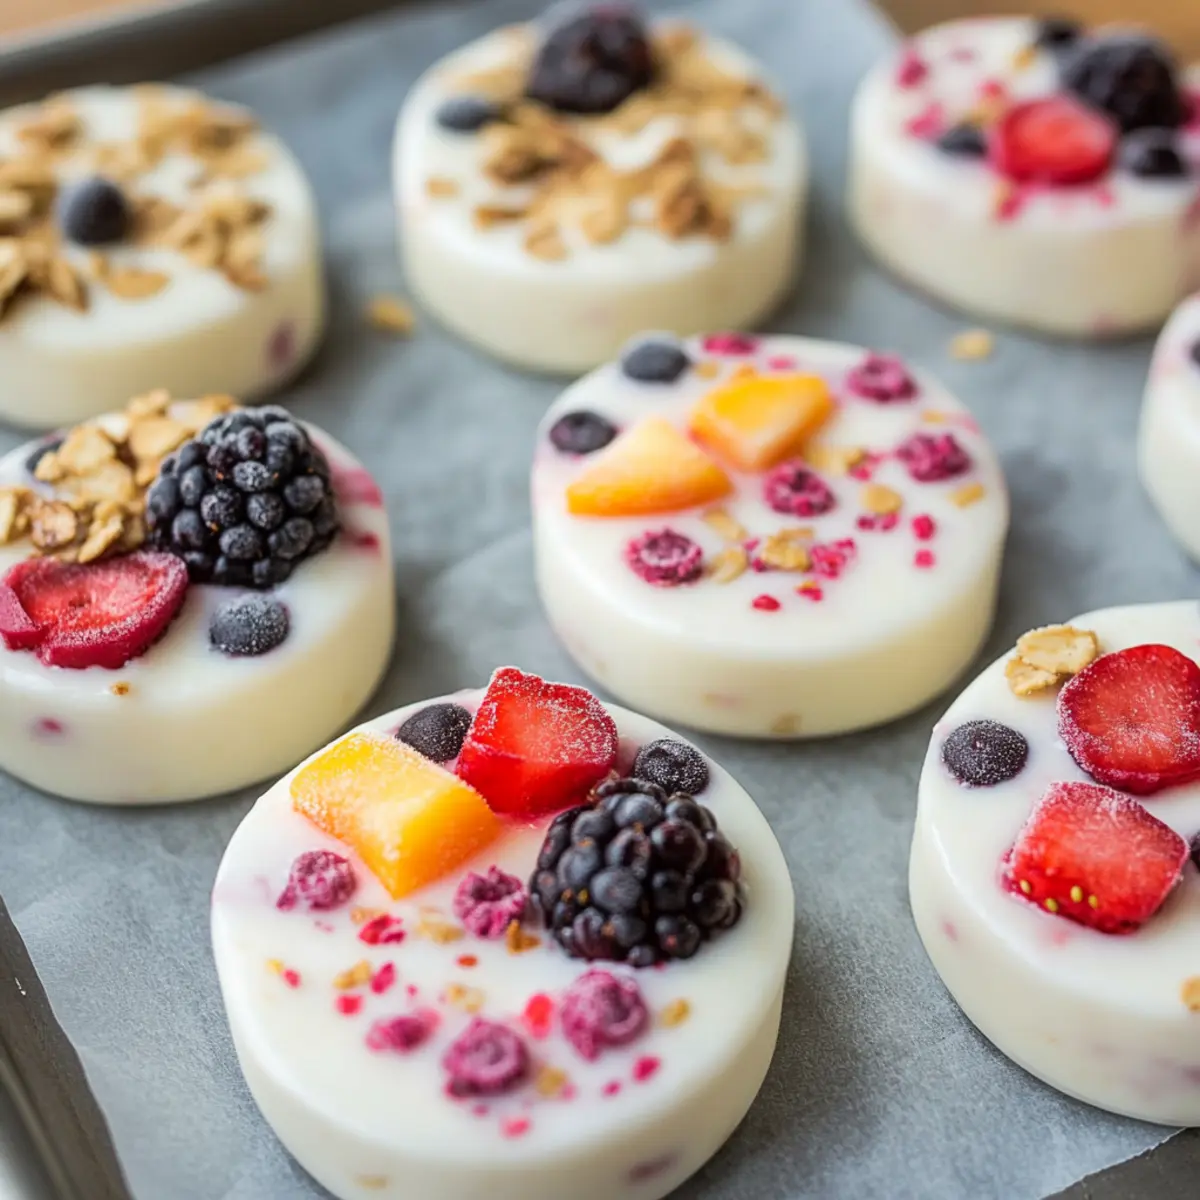
Gently fold in your choice of fresh fruits—such as chopped strawberries, blueberries, or bananas—into the yogurt mixture until evenly distributed. Aim for about 1-2 cups of fruit, ensuring colorful specks are throughout the mix. This step infuses your Frozen Yogurt Bites with vibrant flavors and extra nutrition that kids and adults alike will love.
Step 3: Fill the Molds
Spoon the blended yogurt and fruit mixture into silicone molds or ice cube trays, filling each compartment to the top. Use a spatula to smooth the surface for a neater presentation. Silicone molds work wonders for easy removal later, but if using plastic trays, make sure to lightly coat them with non-stick spray first.
Step 4: Optional Toppings
If desired, sprinkle some granola or chopped nuts on top of each filled mold for an added crunch. This step is optional but adds wonderful texture and a delightful contrast to the creamy yogurt. You can also mix the toppings into the yogurt before filling the molds for a different experience with each bite.
Step 5: Freeze
Place the filled molds in the freezer, allowing them to set for 4-6 hours, or until completely solid. Check for doneness by gently pressing the top; they should feel firm and solid all the way through. Ensure they have enough time to freeze properly, as this is crucial for achieving the perfect Frozen Yogurt Bites.
Step 6: Serve or Store
Once frozen, carefully pop the yogurt bites out of their molds. If they are stubborn, run warm water over the outside of the mold for easier removal. Serve immediately for a refreshing treat or store the bites in an airtight container in the freezer, where they can last up to two months, ready for whenever that sweet craving hits!

Make Ahead Options
These Easy Frozen Yogurt Bites are perfect for meal prep enthusiasts! You can mix your yogurt and fruit combinations and fill the molds up to 24 hours in advance, then freeze them to lock in freshness. After they have set, simply pop them out of the molds and store in an airtight container in the freezer for up to 2 months. To preserve their delightful texture, ensure the yogurt mixture is thoroughly blended to prevent any ice crystals from forming. When you’re ready to enjoy, just grab a few bites from the freezer and savor these nutritious snacks that make healthy eating a breeze for busy weeknights!
What to Serve with Easy Frozen Yogurt Bites
These delightful treats are the perfect summer snack, and pairing them with the right sides can create a memorable meal experience.
-
Crunchy Granola Bars: A satisfying contrast, these bars add hearty crunch while enhancing the fruity flavors of your yogurt bites. Perfect for a filling snack!
-
Fresh Mixed Fruit Salad: A refreshing medley of seasonal fruits not only complements your yogurt bites but adds vibrant colors and added nutrition to your plate.
-
Minty Herbal Tea: This soothing beverage will refresh your palate and beautifully offset the creamy sweetness of your Frozen Yogurt Bites, making it a lovely treat on a hot day.
-
Dark Chocolate Drizzle: Elevate your yogurt bites by drizzling them with melted dark chocolate! The rich, bittersweet flavor enhances the overall experience, creating a dessert worth savoring.
-
Light Whipped Cream: A dollop of airy whipped cream makes everything feel a bit more indulgent, pairing beautifully with the creamy texture of the yogurt bites and well-rounded sweetness.
-
Yogurt Parfait: Layer more Greek yogurt with fresh fruit and a sprinkle of granola. This layered dessert creates an exciting contrast in textures and flavors, enhancing your yogurt bites experience.
-
Coconut Water: Offering a refreshing tropical twist, coconut water rehydrates and complements the creamy coolness of your yogurt bites, making it a go-to summer drink.
With these delightful pairings, your Frozen Yogurt Bites transform from a simple snack into an unforgettable treat!
Expert Tips for Frozen Yogurt Bites Recipe
-
Mix Well: Make sure to thoroughly combine the yogurt and sweetener. This prevents ice crystals and ensures smooth, creamy bites that everyone will enjoy.
-
Fruit Choices: Use ripe, sweet fruits for natural sweetness. Avoid overly mushy fruits, as they may not hold up well once frozen in the Frozen Yogurt Bites Recipe.
-
Mold Matters: Opt for silicone molds for easy removal. If using traditional plastic molds, coat them lightly with non-stick spray for seamless release.
-
Experiment with Flavors: Don’t hesitate to try different combinations! Adding spices or a splash of vanilla can transform your Frozen Yogurt Bites into a unique treat.
-
Serving Tips: Allow the bites to sit at room temperature for a few minutes before serving. This makes them easier to bite into and enhances the experience!
-
Storage Reminder: Keep your Frozen Yogurt Bites stored tightly in an airtight container to maintain their freshness and texture for up to two months.
Frozen Yogurt Bites Recipe Variations
Feel free to get creative with this recipe and make it your own with these delightful twists!
-
Dairy-Free: Swap Greek yogurt for coconut yogurt to make it vegan-friendly while still creamy and delicious.
Transforming the base gives you a delightful tropical taste that pairs perfectly with fruits! -
Choco-Lover: Add 2 tablespoons of cocoa powder to the yogurt mixture for a chocolatey delight.
Imagine biting into a rich, chocolatey treat that still feels indulgent without the extra calories! -
Tropical Twist: Substitute the fresh fruits with mango and pineapple for a refreshing tropical vibe.
This variation will transport you to a sunny beach with every delicious, fruity bite! -
Cinnamon-Spiced: Stir in a teaspoon of cinnamon for a warm, comforting flavor.
It adds a lovely depth and pairs beautifully with fruits like peaches or apples! -
Nut-Free Option: Use sunflower seeds or pumpkin seeds instead of granola or nuts for added crunch.
This swap keeps the texture while catering to allergies, ensuring everyone can enjoy!
For more inspiration on delightful snacks, try our flavorful Basil Chicken or indulge in these sweet Velvet Cheesecake Bites, perfect for sharing!
-
Extra Sweetness: Mix in 1-2 tablespoons of fruit puree, like strawberry or raspberry, for an extra fruity kick.
This adds a beautiful swirl and enhances the flavor with natural sweetness! -
Savory Surprise: Incorporate a pinch of sea salt or some crushed pretzels for an unexpected crunch and balance.
The contrast of savory and sweet will keep your taste buds dancing with joy!
Storage Tips for Frozen Yogurt Bites
Fridge: Keep any leftover Frozen Yogurt Bites tightly wrapped in an airtight container for up to 3 days for optimal freshness.
Freezer: Store the Frozen Yogurt Bites in an airtight container in the freezer for up to 2 months. This ensures they remain creamy and delicious.
Serving: Allow the bites to sit at room temperature for about 5 minutes before serving to make them easier to bite into.
Reheating: There’s no need to reheat these bites, simply enjoy them straight from the freezer for a refreshing treat!
Frozen Yogurt Bites Recipe FAQs
What is the best type of yogurt to use?
Absolutely! Greek yogurt is the star of this Frozen Yogurt Bites Recipe due to its creamy texture and high protein content. However, if you prefer a lighter taste, regular yogurt works just fine! For those following a dairy-free diet, don’t hesitate to swap it with a dairy-free yogurt alternative.
How long do Frozen Yogurt Bites last in the freezer?
Very! When stored in an airtight container, your Frozen Yogurt Bites will stay fresh for up to 2 months. This means you can whip up a big batch and enjoy a refreshing snack whenever the craving strikes!
Can I freeze yogurt without molds?
Absolutely! While silicone molds make it easy to pop out the yogurt bites, you can also use any shallow container. Just be sure to cut them into bite-sized pieces after freezing. Ensure to layer parchment paper between the pieces to prevent them from sticking together.
What fruit works best for Frozen Yogurt Bites?
I recommend using ripe, sweet fruits like berries, bananas, or peaches since these not only add delicious flavor but also help with the overall texture. Avoid overly mushy fruits as they may not freeze well. Feel free to mix different fruits for a fabulous flavor explosion!
How do I prevent ice crystals in my Frozen Yogurt Bites?
To ensure smooth, creamy bites, mix the yogurt and sweetener thoroughly before adding fruit. This helps maintain a uniform texture. Additionally, ensure you freeze them for the recommended 4-6 hours to set completely.
Can I give these to my pet?
Great question! While the ingredients are safe for many pets, keep in mind that yogurt isn’t suitable for lactose-intolerant pets or those with dairy allergies. Always consult your veterinarian first before treating them to homemade snacks!
Frozen Yogurt Bites Recipe: Healthy, Fruity Bliss in Every Bite
Ingredients
Equipment
Method
- In a mixing bowl, combine 2 cups of Greek yogurt with 2-4 tablespoons of honey or maple syrup, stirring until even and creamy.
- Gently fold in your choice of fresh fruits until evenly distributed.
- Spoon the mixture into silicone molds, filling each compartment to the top.
- If desired, sprinkle some granola or chopped nuts on top of each filled mold.
- Place the filled molds in the freezer for 4-6 hours, or until completely solid.
- Once frozen, carefully pop the bites out of their molds and serve immediately or store in an airtight container.