
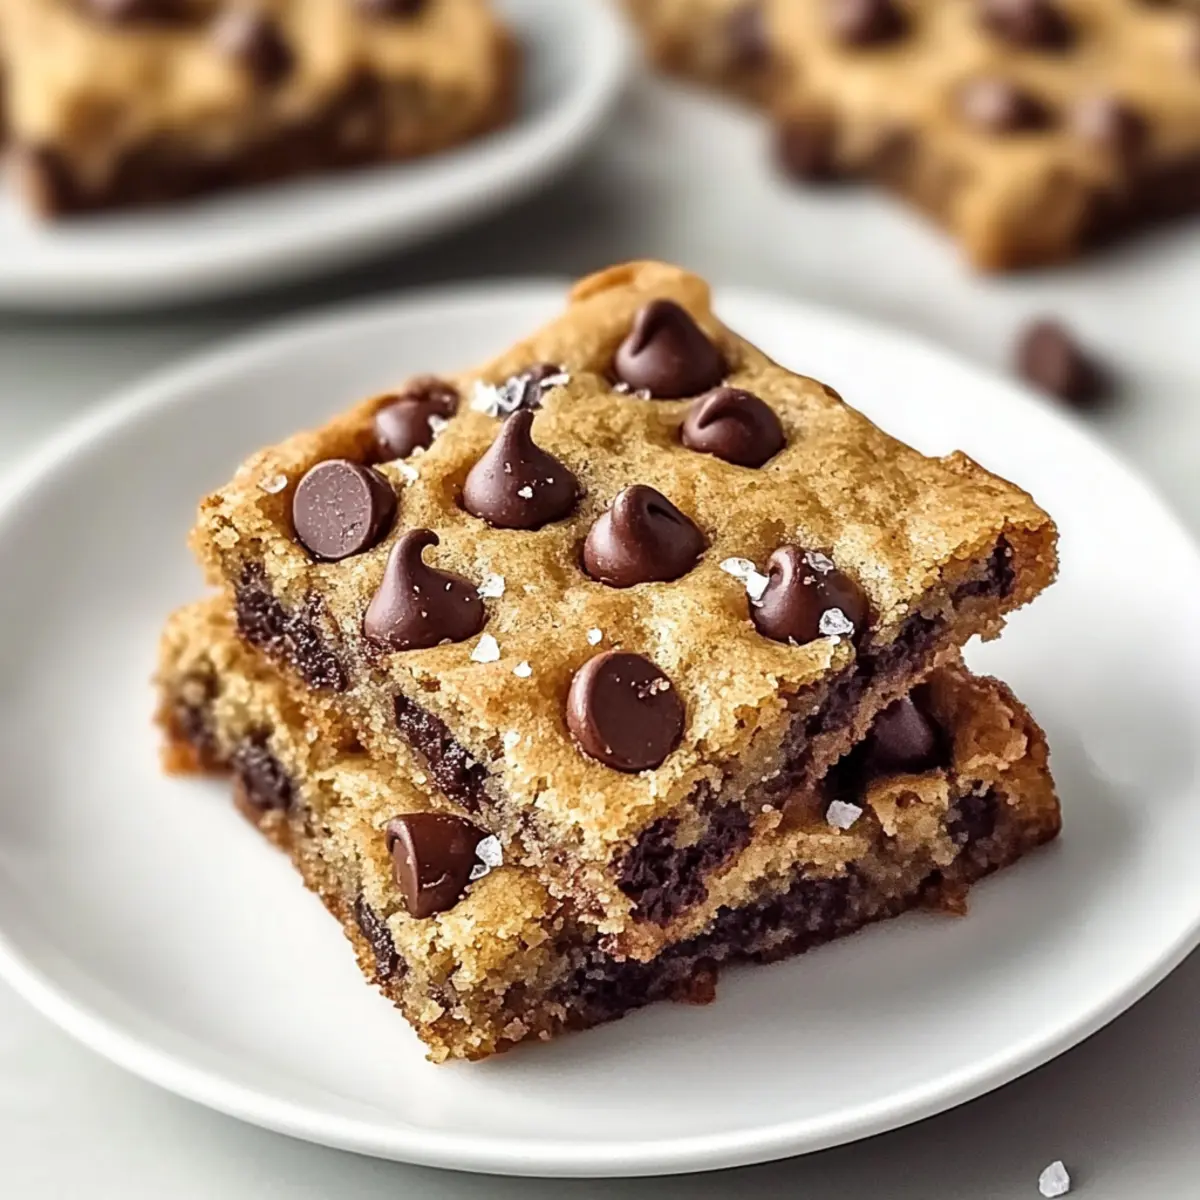
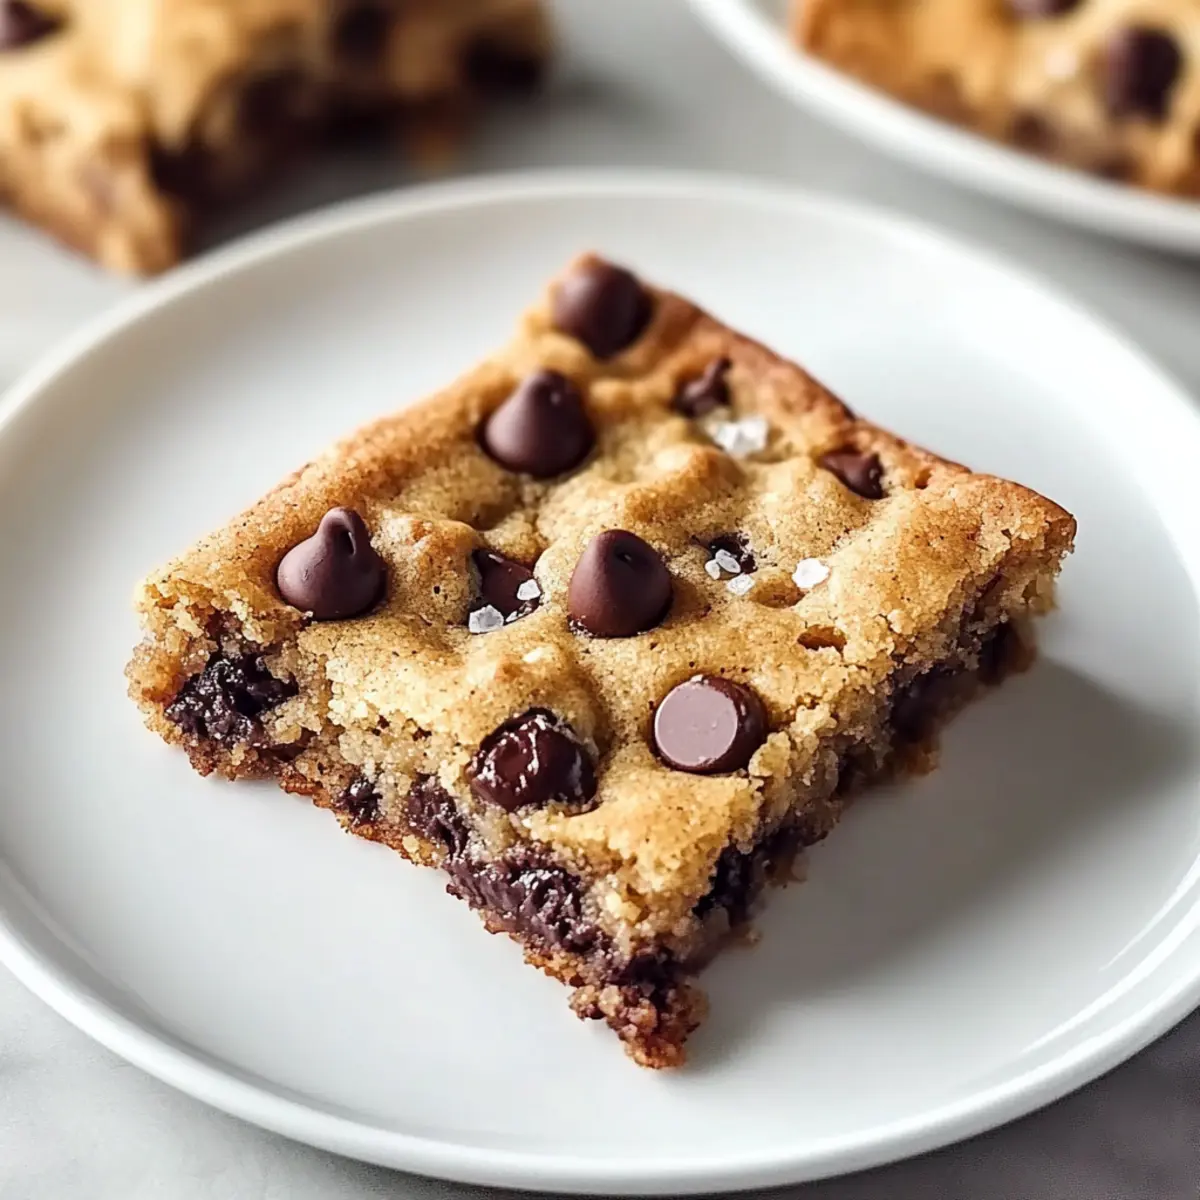
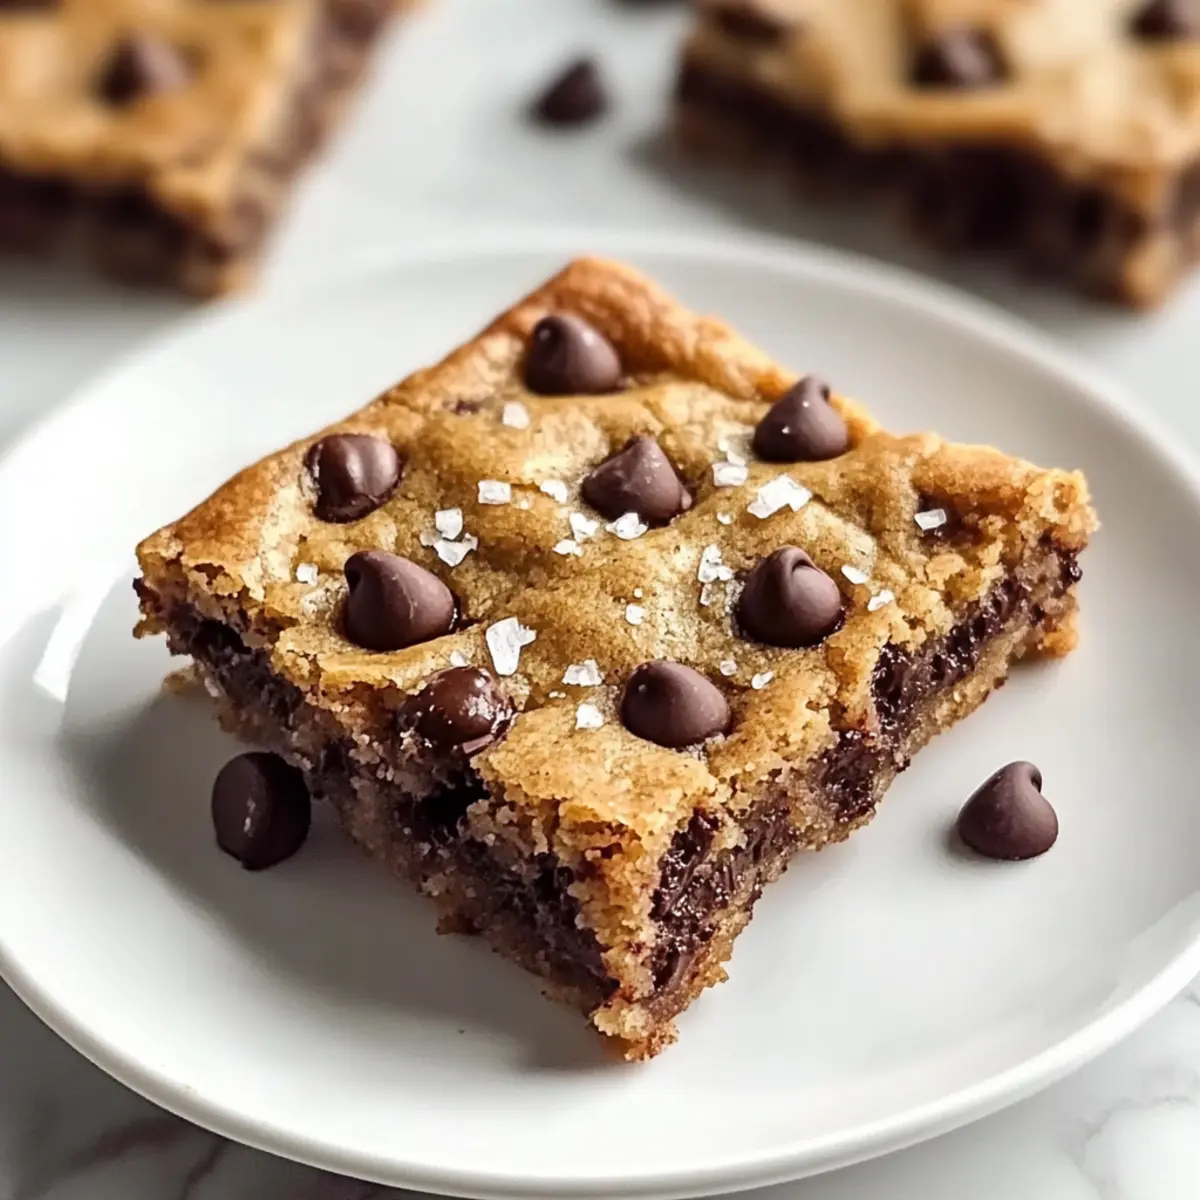
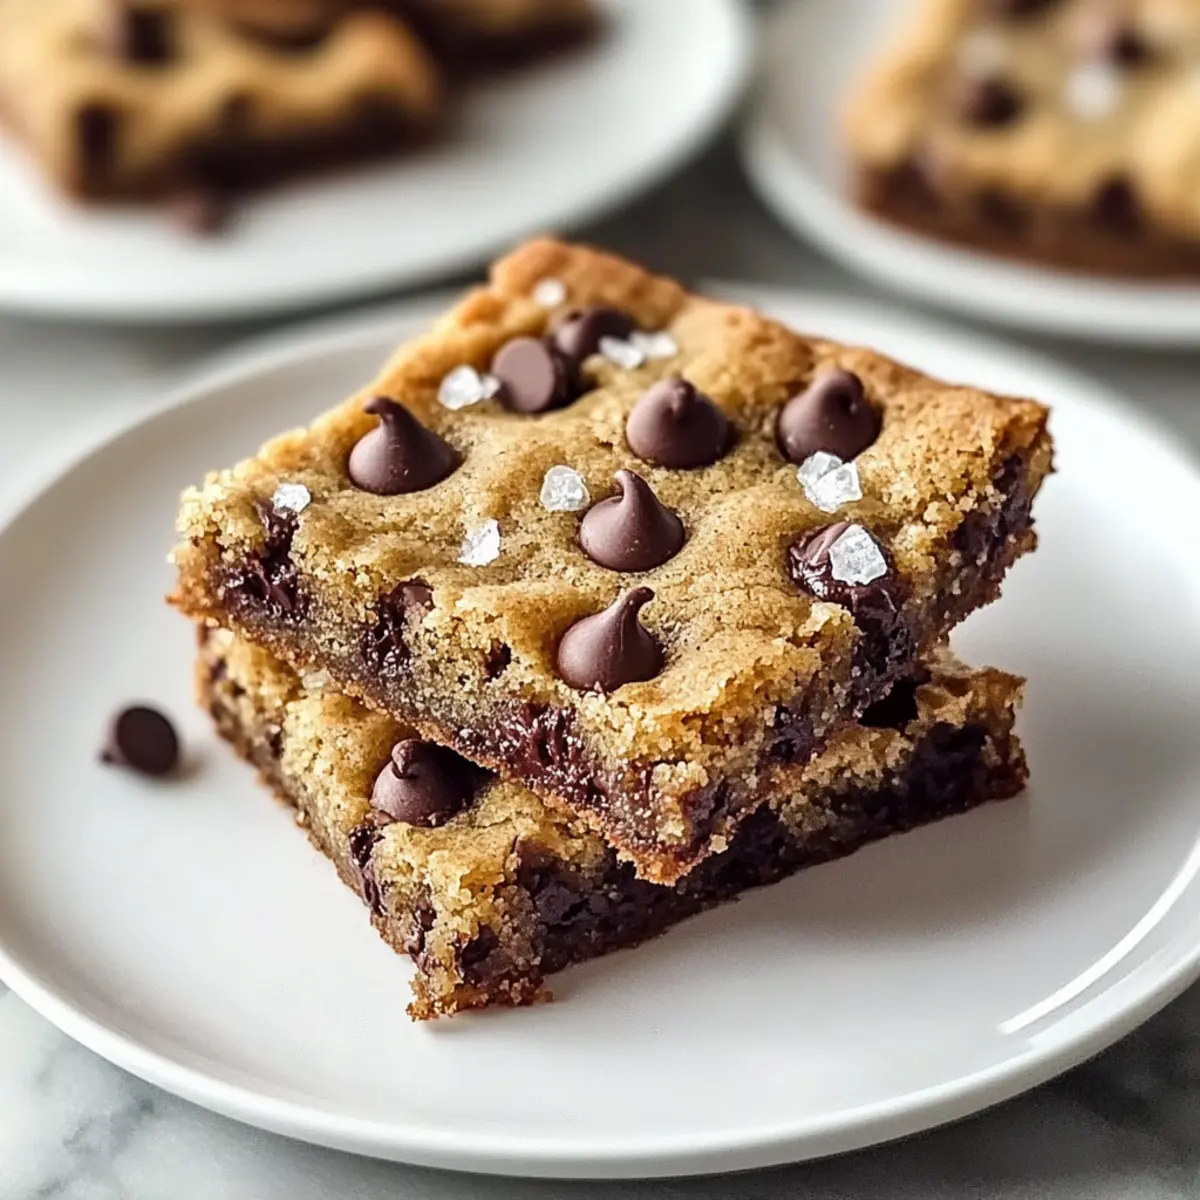
Walking into my kitchen, the sweet aroma of melting chocolate sends a wave of nostalgia washing over me. There’s something magical about homemade treats that beckon us like a warm hug, and my Chocolate Chip Pan Chewies are the ultimate crowd-pleaser. These delightful bars feature a crispy top that gives way to a gooey, fudgy center, perfect for sharing with family or savored alone. Not only are they quick and easy to whip up, but you can also easily tailor them to suit your cravings, with options for gluten-free or nutty variations. Trust me, baking these will make your heart feel as warm as your home smells—isn’t it time to treat yourself to something truly special? Let’s dive into the delicious world of pan chewies together!
Why Choose Chocolate Chip Pan Chewies?
Versatile Options: With a few tweaks, you can easily make these chewy bars fit any diet, including gluten-free alternatives.
Time-Saving Delight: Mixing and baking takes just about an hour, making it perfect for last-minute dessert cravings.
Crowd-Pleasing Treat: These bars are bound to impress family and friends at gatherings, making them a go-to for any occasion.
Irresistible Texture: The combo of a crispy top and gooey center creates a uniquely satisfying eating experience that’s hard to resist.
Customizable Flavors: From a nutty crunch to a s’mores twist, you can make them your own! Explore variations or pair them with a scoop of vanilla ice cream for an indulgent treat. Why not check out the delicious Chocolate Marshmallow Swirl for another fun twist?
Chocolate Chip Pan Chewies Ingredients
Unlock the secrets to these scrumptious bars!
For the Batter
- Unsalted Butter – Provides moisture and richness; substitute with coconut oil for a dairy-free version.
- Dark Brown Sugar – Adds sweetness and chewiness; you can use light brown sugar for a milder flavor.
- Granulated White Sugar – Balances sweetness; adjust to taste as needed.
- Eggs – Ensure they’re at room temperature for better emulsification; flax eggs can be used as a vegan alternative.
- Egg Yolk – Essential for binding and moisture; omit in vegan versions.
- Pure Vanilla Extract – Elevates flavor depth; vanilla bean paste can be a delightful substitute.
- All-Purpose Flour – Gives structure to the chewies; swap with 1:1 gluten-free flour blend to make it gluten-free.
- Baking Soda – Crucial for texture; ensure it’s fresh for the best results.
- Fine Sea Salt – Balances sweetness; kosher salt can be an alternative, adjust quantity as needed.
- Semi-Sweet Chocolate Chips – Opt for high-quality chocolate for wonderful flavor; dark or white chocolate can be used for variations.
For Topping
- Flaky Sea Salt – Enhances flavor when sprinkled on top; regular salt can be used, but use less.
Step‑by‑Step Instructions for Chocolate Chip Pan Chewies
Step 1: Preheat the Oven
Begin by preheating your oven to 325°F (160°C). While the oven warms up, line a 9×13 metal pan with parchment paper, allowing some overhang to make removal easier later. This setup ensures your Chocolate Chip Pan Chewies will bake evenly and release easily once cooled.
Step 2: Melt the Butter
In a medium saucepan, melt the unsalted butter over low heat, stirring continuously to prevent burning. Once completely melted, remove the saucepan from heat and allow it to cool slightly. This step helps create that delightful richness in your chewy bars without cooking the eggs when added in the next step.
Step 3: Mix the Sugars
With the butter cooled, whisk in the dark brown sugar and granulated white sugar until the mixture resembles damp sand. This process should take about 1-2 minutes, ensuring everything is well combined. The sugars should dissolve into the butter, creating a luscious, caramel-colored base for your Chocolate Chip Pan Chewies.
Step 4: Incorporate Eggs and Vanilla
Add the room temperature eggs and pure vanilla extract to the sugar-butter mixture. Using a whisk, beat the mixture vigorously for about 2 minutes, until it lightens in color and becomes smooth. This aeration adds a wonderful texture to your bars, making them delightfully chewy.
Step 5: Combine Dry Ingredients
In a separate bowl, sift together the all-purpose flour, baking soda, and fine sea salt. Gradually fold this dry mixture into the wet ingredients using a rubber spatula. Be gentle, ensuring no white streaks remain, but avoid overmixing, which could result in tough Chocolate Chip Pan Chewies.
Step 6: Add the Chocolate Chips
Once your batter is well combined, gently fold in the semi-sweet chocolate chips until evenly distributed. This step brings a rich chocolatey goodness to your bars, with gooey pockets of melted chocolate that will delight anyone who takes a bite.
Step 7: Bake the Chewies
Pour the batter into the prepared pan, spreading it evenly with a spatula. Place the pan in the preheated oven and bake for 25 minutes. Keep an eye on them—once the edges are golden brown and the center is slightly puffed, they’re ready for the next step.
Step 8: Add Flaky Salt and Cool
After baking, remove the pan from the oven and sprinkle the top with flaky sea salt to enhance the flavor. Allow the bars to cool in the pan on a wire rack for at least 30 minutes. This cooling period is crucial for achieving the perfect fudgy texture in your Chocolate Chip Pan Chewies before slicing.
Storage Tips for Chocolate Chip Pan Chewies
Room Temperature: Store in an airtight container for up to 4 days to maintain the chewy texture. Keep them in a cool, dry place away from direct sunlight.
Fridge: Refrigerate for up to 5 days if you want to extend their shelf life. Remember, the texture may vary, becoming slightly firmer.
Freezer: Wrap individual squares tightly in plastic wrap or aluminum foil, then place in a freezer-safe container. They can be frozen for up to 3 months. Thaw before enjoying for the best experience!
Reheating: If you want to enjoy them warm, pop a slice in the microwave for about 10-15 seconds. This brings back the melty chocolate goodness of your Chocolate Chip Pan Chewies!
Helpful Tricks for Chocolate Chip Pan Chewies
-
Gentle Mixing: Avoid overmixing the dry ingredients; this will keep your bars tender. Overmixing can lead to tough Chocolate Chip Pan Chewies.
-
Room Temperature Eggs: Using eggs at room temperature helps create a smoother batter and better emulsification. This is crucial for achieving that gooey center!
-
Precise Baking Time: Set a timer but rely on visual cues like golden edges and a slightly puffed center to know when your bars are ready.
-
Cool Completely: Allow the chewies to cool fully before slicing to ensure clean cuts and the best fudgy texture.
-
Quality Ingredients: Use high-quality semi-sweet chocolate chips; they make a significant difference in flavor and will elevate your Chocolate Chip Pan Chewies!
What to Serve with Chocolate Chip Pan Chewies
Indulge your senses further by creating a complete dessert experience that delights every palate.
- Vanilla Ice Cream: The ultimate classic pairing, warm chewies and cold ice cream offer a wonderful contrast that enhances both flavors.
- Fresh Berries: Juicy strawberries or raspberries add a refreshing tartness, beautifully balancing the sweetness of the pan chewies.
- Caramel Sauce: Drizzling this rich, buttery sauce over the bars adds a decadent touch that complements the chocolate perfectly.
- Coffee: A steaming cup of coffee or espresso serves as a delightful accompaniment, elevating the chocolate flavors with its bitterness.
- Whipped Cream: Light and airy, a dollop of freshly whipped cream pairs beautifully, adding creaminess to each blissful bite.
- Nutty Slaw: A crunchy slaw made with apples and nuts can offer a refreshing contrast in texture, making each dessert forkful an adventure.
- Chocolate Sauce: Why not go all out? A drizzle of warm chocolate sauce over the top won’t hurt; it’s a chocolate lover’s dream!
- Homemade Fudge Brownies: Pairing these pan chewies with another chocolate dessert creates a double-chocolate celebration that’s irresistible.
Make Ahead Options
These Chocolate Chip Pan Chewies are a delightful treat you can easily prepare in advance, saving you precious time on busy days! You can make the batter up to 24 hours ahead; simply mix all the ingredients and store it in an airtight container in the refrigerator. This not only enhances the flavors but also keeps the batter fresh. When you’re ready to bake, let the batter sit at room temperature for about 15-20 minutes before spreading it in the pan and baking as directed. For longer storage, you can bake the chewies and refrigerate them for up to 5 days in an airtight container, ensuring they remain just as delicious when you’re ready to indulge!
Chocolate Chip Pan Chewies Variations
Dive into a world of customizable goodness with these delightful treats that allow your creativity to shine!
-
Nutty Crunch: Add chopped walnuts or pecans for a delightful texture contrast. The crunchy bits of nuts provide a pleasant surprise in every bite.
-
Spicy Kick: Introduce a pinch of cayenne pepper for an intriguing flavor combination. This unexpected heat elevates the sweetness beautifully, creating a memorable experience.
-
Coconut Twist: Substitute half the chocolate chips with unsweetened shredded coconut for a tropical flair. This addition brings a chewy texture that perfectly complements the chocolate.
-
S’mores Style: Fold in mini marshmallows and graham cracker crumbs for a playful twist. Each bite will remind you of campfire nights, adding a gooey charm that’s wildly enjoyable.
-
Coffee Infusion: Mix in instant coffee granules for a deeper chocolate flavor. The coffee emphasizes the chocolate richness, making each chew even more indulgent.
-
Fruit Fusion: Toss in some dried cherries or cranberries for a sweet-and-tart addition. This delightful contrast brightens each bite and adds a whole new flavor layer.
-
Zesty Citrus: Add a teaspoon of orange or lemon zest to the batter for a refreshing citrus twist. The zest lightens the overall flavor and brings a burst of brightness.
-
Swap the Chips: Experiment with a mix of dark chocolate and white chocolate chips for a delicious layered taste experience. The combination offers both depth and sweetness that’s hard to resist.
For more delicious variations, check out the Chocolate Marshmallow Swirl or try adding a little white chocolate from the delightful White Chocolate Raspberry for something truly unique!
Chocolate Chip Pan Chewies Recipe FAQs
What type of chocolate chips should I use?
Absolutely! For the best flavor, opt for high-quality semi-sweet chocolate chips. Dark chocolate or even white chocolate can work well, depending on your personal preference. The size of the chocolate chips can also affect the overall texture—mini chips will distribute more evenly, while large chunks will create delightful pockets of chocolate.
How should I store Chocolate Chip Pan Chewies?
To maintain their chewy texture, store your Chocolate Chip Pan Chewies in an airtight container at room temperature for up to 4 days. If you’re planning to keep them longer, refrigerate them in an airtight container for up to 5 days. Keep in mind that refrigeration can make them a tad firmer than at room temperature!
Can Chocolate Chip Pan Chewies be frozen?
Yes, they can! To freeze, wrap individual squares tightly in plastic wrap or aluminum foil, then place them in a freezer-safe container or zip-lock bag. They’ll last for up to 3 months in the freezer. When you’re ready to enjoy them, simply thaw at room temperature for 30-60 minutes, or pop them in the microwave for 10-15 seconds to bring back that melty chocolate goodness.
How do I know if my Chocolate Chip Pan Chewies are properly baked?
Very! Look for visual cues: the edges should be golden brown, and the center should be slightly puffed. A toothpick inserted into the center should come out with a few moist crumbs but not wet batter. Don’t rush—allow them to cool completely in the pan before slicing to achieve clean, perfect squares.
Are there any allergy considerations I should keep in mind?
Definitely! While this recipe is quite flexible, always check for common allergens in your ingredients. If you’re making gluten-free versions, ensure the flour and chocolate chips are labeled gluten-free. Additionally, consider your guests’ nut allergies if you plan to add nuts—as delightful as they are, not everyone can enjoy them!
Irresistible Chocolate Chip Pan Chewies for Ultimate Indulgence
Ingredients
Equipment
Method
- Preheat your oven to 325°F (160°C) and line a 9x13 metal pan with parchment paper.
- Melt the unsalted butter in a medium saucepan over low heat, stirring continuously. Remove from heat and let cool slightly.
- Whisk in dark brown sugar and granulated white sugar until the mixture resembles damp sand.
- Add room temperature eggs and pure vanilla extract, whisking until lightened in color and smooth.
- Sift together all-purpose flour, baking soda, and fine sea salt. Gradually fold into the wet mixture without overmixing.
- Gently fold in semi-sweet chocolate chips until evenly distributed.
- Pour batter into the prepared pan, spreading it evenly. Bake for 25 minutes until edges are golden brown.
- Sprinkle with flaky sea salt and cool in the pan on a wire rack for at least 30 minutes.