
As the sun blazes on those lazy summer afternoons, there’s nothing quite like the bliss of a refreshing bite—especially when it comes in the form of homemade watermelon ice lollies. These delightful treats, made from just three wholesome ingredients, not only quench your thirst but are also a guilt-free pleasure with absolutely no added sugar. Juicy watermelon pairs beautifully with the tangy zing of kiwi, creating a fruity explosion that kids and adults alike will crave. Perfect for those sweltering days, these ice lollies are gluten-free and vegan, making them a versatile option for any dietary preference. Why settle for store-bought when you can easily whip up these delightful pops at home? Ready to dive into your new favorite summer treat?
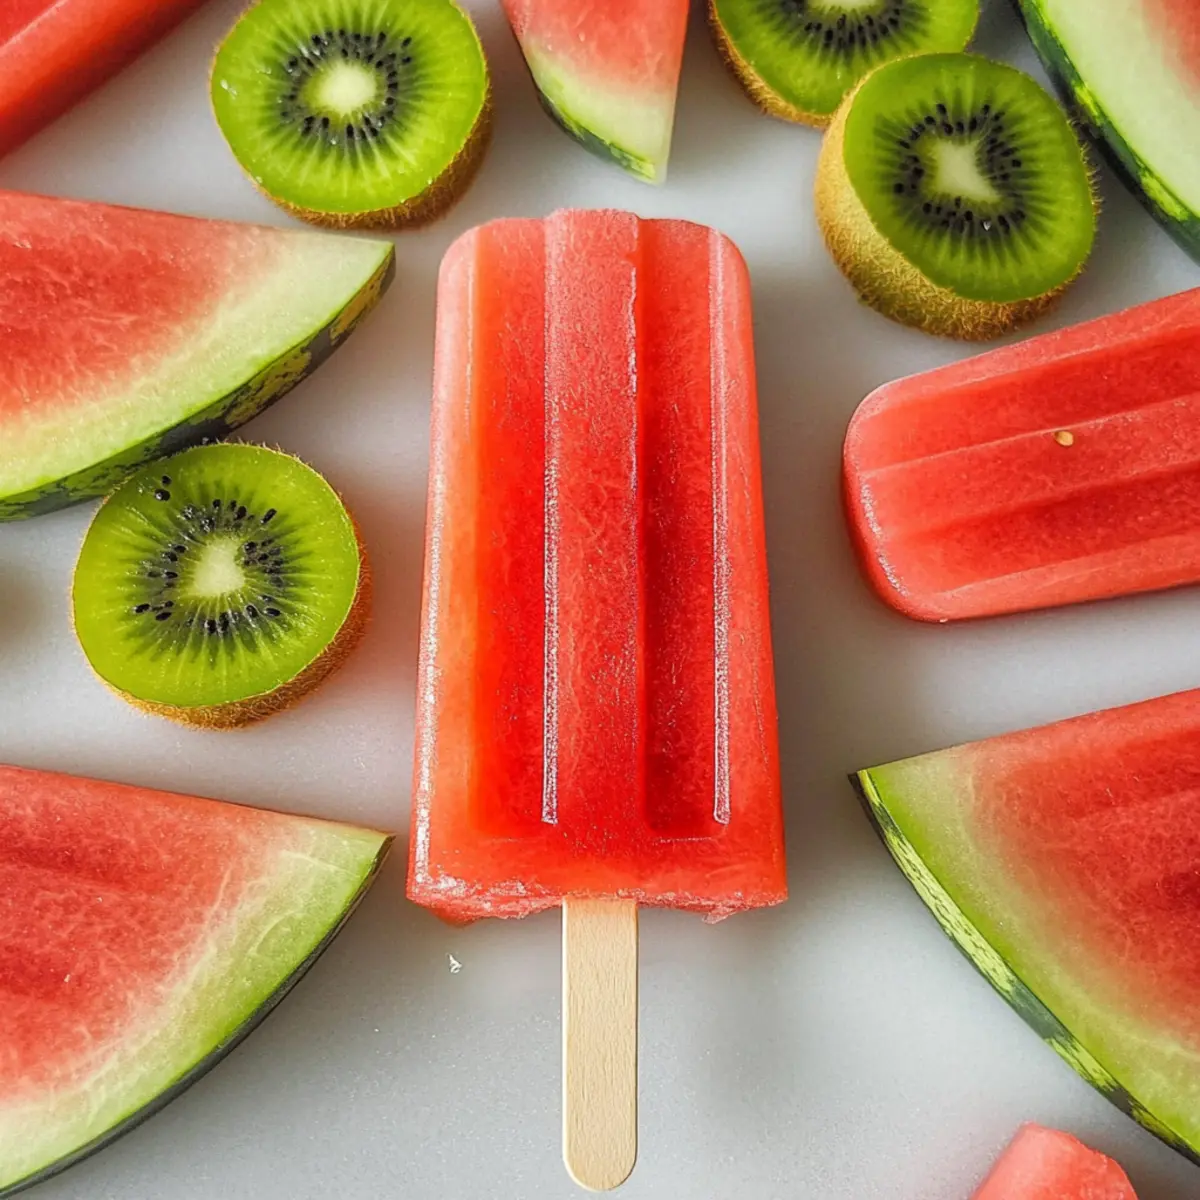
Why make watermelon ice lollies?
Simplicity at Its Best: With only three ingredients, these watermelon ice lollies are incredibly easy to whip up, making them perfect for beginner chefs and busy parents alike.
Naturally Sweet: The juicy sweetness of ripe watermelon paired with the tanginess of kiwi means you can enjoy a delightful dessert without any added sugar.
Healthy Indulgence: These ice lollies are not just gluten-free and vegan; they also provide a refreshing low-calorie option at approximately 76 calories each—guilt-free summer indulgence!
Fun for Everyone: Whether it’s a kids’ summer party or a picnic, these lollies are sure to be a hit, pleasing taste buds of all ages. Want to explore more sweet treats? Check out Slice Bake Heart or savor the flavors of Honey Cake Slice.
Versatile Flavors: Feel free to experiment with different fruit purees or add drops of food coloring for a fun twist—a customization option that makes each batch uniquely yours!
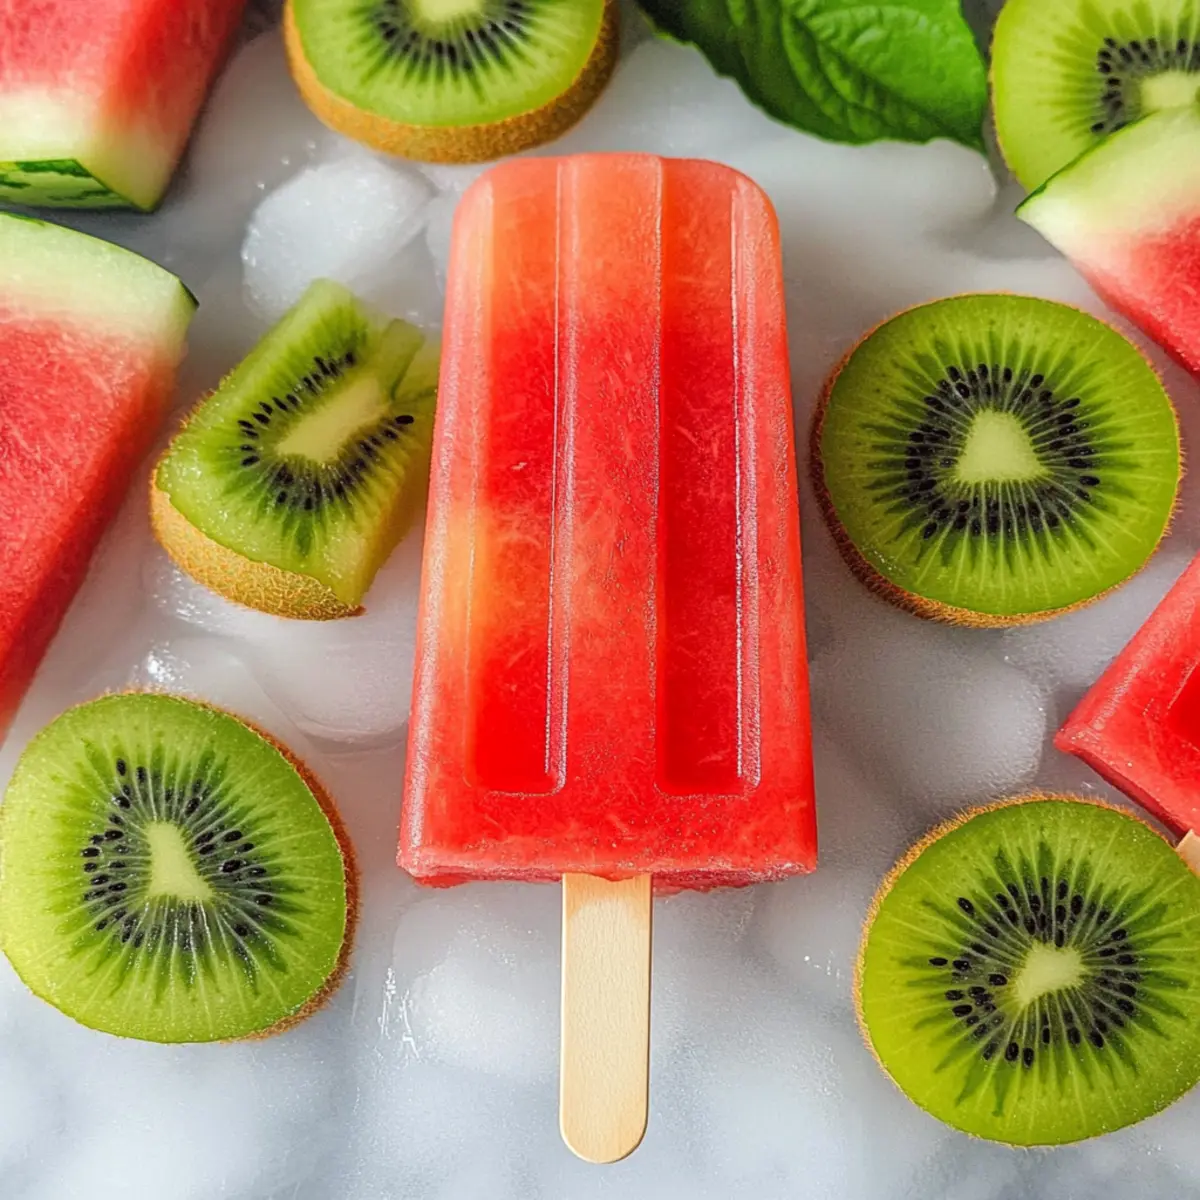
Watermelon Ice Lolly Ingredients
• Focus on fresh fruit!
For the Base
- Ripe Red Seedless Watermelon – The star of the show; pick a heavy, sweet watermelon for the best flavor.
- Ripe Kiwi Fruit – Adds a tangy twist and stunning color; choose soft, ripe kiwis for optimal sweetness.
For Stabilization (Optional)
- Jam Set or Pectin – Helps keep the ingredients from separating during freezing; consider omitting for a more natural treat, though separation may occur.
Feel the excitement of making your own watermelon ice lollies! With just these three simple ingredients, summer just got a little sweeter.
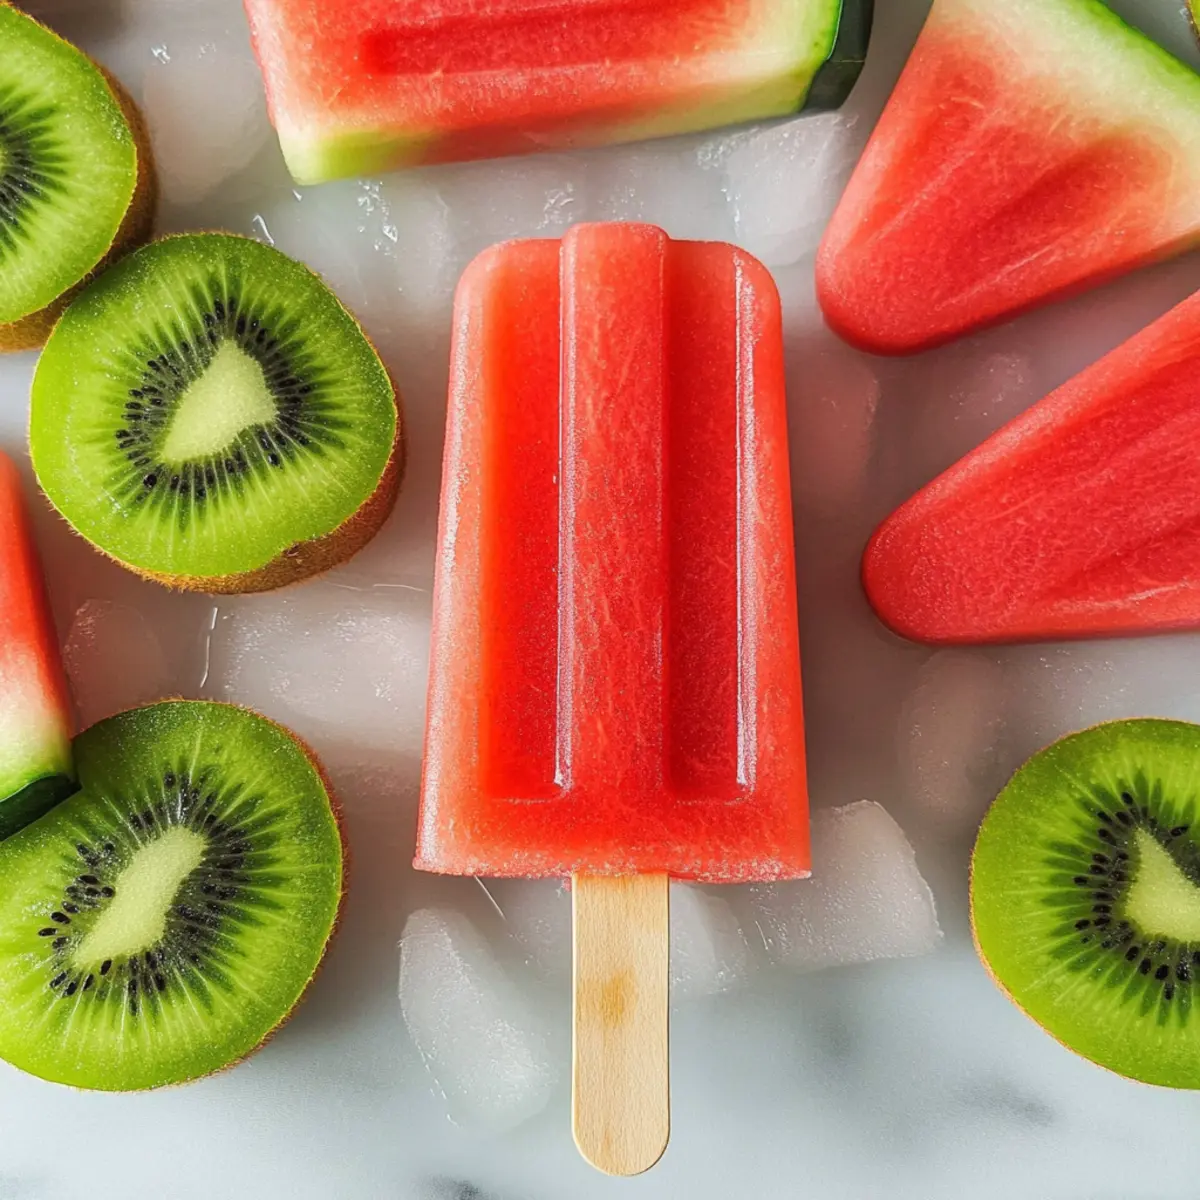
Step‑by‑Step Instructions for Watermelon Ice Lollies
Step 1: Prepare Watermelon
Begin by selecting a ripe red seedless watermelon, ensuring it’s heavy and sweet. Carefully cut off the rind and any white parts, and then dice the flesh into large chunks. Place the chunks into a food processor and blend on high for about 2-3 minutes until the mixture is completely smooth and free of lumps, showcasing its vibrant color.
Step 2: Incorporate Pectin
Once you have your smooth watermelon puree, add the jam set or pectin if you’re using it. Blend again for an additional 1-2 minutes, ensuring the pectin is fully dissolved and evenly distributed throughout the watermelon mixture. This will help create a smoother texture for your watermelon ice lollies and prevent separation when freezing.
Step 3: Strain Mixture
To enhance the texture further, strain the watermelon puree using a fine mesh sieve. This step is essential to remove any seeds and ensure a silky smooth consistency. Press down gently on the mixture with a spatula for about 1-2 minutes to extract as much liquid as possible while discarding any solids left behind.
Step 4: Fill Molds
Carefully pour the strained watermelon puree into popsicle molds, filling each one to about a half-inch below the rim. This gap allows for expansion as the mixture freezes. If desired, insert sticks into the molds at this point for easy handling later. Make sure the molds are placed on a flat, stable surface.
Step 5: Initial Freeze
Slide the filled molds into the freezer and allow them to freeze for approximately 4-6 hours, or until solid. Check the consistency after this time; the watermelon ice lollies should feel firm to the touch. This initial freeze helps set the first layer, creating a delightful base for the next fruity layer.
Step 6: Prepare Kiwi
While the watermelon layer is freezing, peel and chop your ripe kiwi into smaller pieces. Place these chopped kiwis into a blender and blend on high for about 1-2 minutes until you achieve a smooth puree with a vibrant color. Strain the kiwi puree through a fine mesh sieve, just like with the watermelon, to remove any seeds.
Step 7: Complete Filling
Once the watermelon layer is completely frozen, take the molds out and carefully pour the kiwi puree into the remaining space, filling each mold to the top. This creates a beautiful layered effect in your watermelon ice lollies. Return the molds to the freezer immediately to prevent melting during the transfer.
Step 8: Final Freeze
Freeze the molds for an additional 4 hours, ensuring the kiwi layer sets completely and the popsicles become solid. After this time, check that both layers are fully frozen by gently pressing on the top of one mold; it should feel firm and intact.
Step 9: Serve
To serve your refreshing watermelon ice lollies, remove the molds from the freezer and dip them briefly in warm water for 10-15 seconds to help release them easily. Gently pull on the sticks to remove the lollies, and enjoy your homemade guilt-free watermelon ice lollies as a delightful summertime treat!
How to Store and Freeze Watermelon Ice Lollies
-
Freezer: Store your watermelon ice lollies in the freezer for up to a month. Make sure they are in an airtight container to prevent freezer burn and preserve their delightful taste.
-
Separation Prevention: Place parchment paper between each lolly in the container to avoid them sticking together, making it easier to grab one whenever the craving strikes.
-
Reheating (if needed): If the lollies are hard to remove from molds or containers, dip them in warm water for about 10–15 seconds to help loosen them without compromising their icy texture.
-
Freshness Tip: Always aim to consume your watermelon ice lollies within the first two weeks for the best flavor and freshness, as they may lose their vibrant taste over time.
Expert Tips for Watermelon Ice Lollies
-
Freeze Space Check: Ensure you have enough freezer space before pouring the mixtures into molds; it prevents messes and spills during the freezing process.
-
Layering Success: For neater pops with distinct layers, freeze the watermelon layer for about 2 hours before adding the kiwi puree on top; this will also improve the overall presentation.
-
Pectin Optional: While including pectin helps stabilize your watermelon ice lollies, omitting it may create a lovely rustic look; just be aware you might see some separation.
-
Freshness Matters: Always use ripe, heavy watermelon and tender kiwi for the best flavor. Unripe fruit can lead to disappointing sweetness levels.
-
Creative Customization: Don’t hesitate to experiment with different fruits or add a splash of lime juice for a zesty twist—each homemade batch can become uniquely yours!
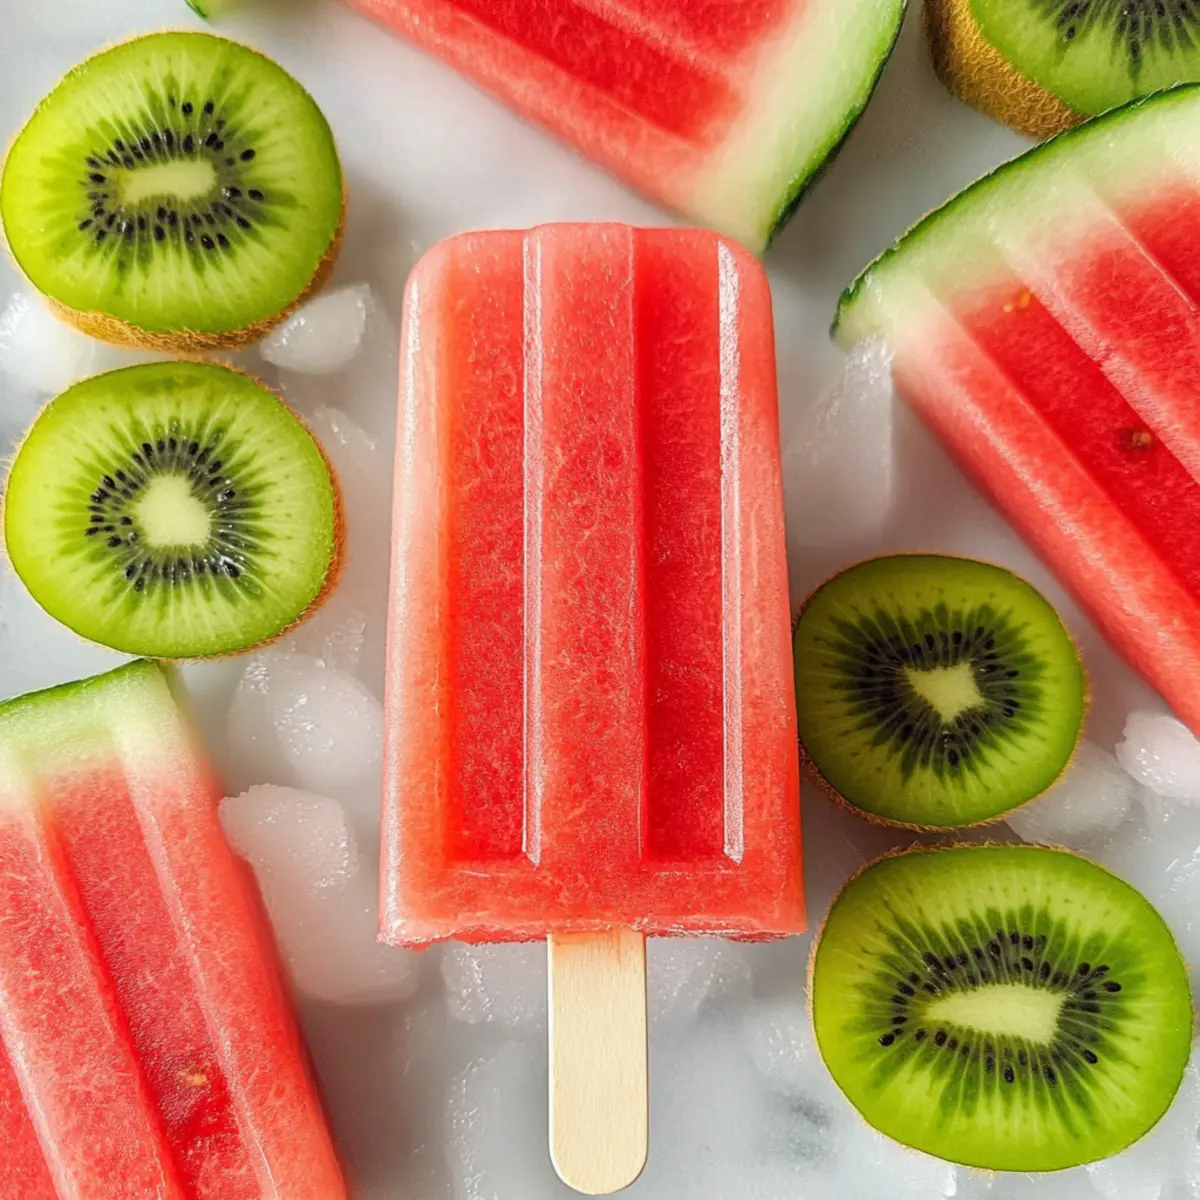
Watermelon Ice Lollies Variations & Substitutions
Get creative with your watermelon ice lollies and make them even more exciting!
-
Berry Bliss: Swap kiwi for blended strawberries or blueberries for a refreshing twist.
-
Mango Magic: Use ripe mangoes instead of kiwi for a tropical flavor explosion that’s pure sunshine.
-
Zesty Lime: Add a squeeze of lime juice to the watermelon puree for an invigorating citrus touch.
-
Chilled Coconut: Incorporate a splash of coconut milk for a creamy, tropical variation that delights the senses.
-
Colorful Layers: Mix in purple or orange fruit purees to create visually striking, layered popsicles that appeal to both kids and adults.
-
Herbal Infusion: Try adding a few fresh mint leaves to the watermelon puree for a cooling, herbal note.
-
Spicy Surprise: For those who like a kick, sprinkle a hint of cayenne pepper into your kiwi puree for a surprising heat that brightens the flavor.
-
Creamy Version: Blend a banana into the watermelon mixture for added creaminess and natural sweetness, creating a delightful frozen treat.
Let each batch reflect your taste and mood! These pops are perfect at summer gatherings or as a fun treat after school. If you’re looking for more sweet inspirations, check out Slice Bake Heart or indulge in the rich flavors of Honey Cake Slice.
What to Serve with Watermelon Ice Lollies
These refreshing treats are perfect companions for a sunny day, bringing a burst of flavor and fun to any gathering.
-
Light Fruit Salad: A vibrant mix of seasonal fruits complements the icy sweetness, adding bright colors and fresh flavors. Toss together berries, melon, and mint for a delightful side dish.
-
Coconut Water: A hydrating tropical drink that enhances the freshness and keeps you cool under the sun. Its mild sweetness mirrors the flavors of the lollies, creating a seamless pairing.
-
Grilled Veggie Skewers: The smoky flavors from grilled zucchini, bell peppers, and cherry tomatoes offer a savory balance. Enjoy these alongside the lollies for a satisfying summer meal.
-
Yogurt Dip: Serve a creamy yogurt dip mixed with honey and a hint of lime zest, providing a tangy contrast to the lollies. It’s great for dipping, turning your dessert into an interactive treat.
-
Chilled Sparkling Water: Add a splash of fresh fruit juice for a fizzy drink that refreshes and lightens the palate. The effervescence keeps your taste buds dancing!
-
Chocolate-Dipped Pretzels: If you’re in the mood for a sweet and salty combination, crunchy pretzels dipped in dark chocolate are a delightful contrast to the refreshing popsicles.
Make Ahead Options
These watermelon ice lollies are perfect for meal prep enthusiasts looking to save time on hot summer days! You can blend the watermelon and kiwi purees up to 24 hours in advance and store them in separate airtight containers in the fridge to maintain freshness. Just remember to strain the watermelon puree to keep it smooth and free of seeds, preventing any unwanted texture. When you’re ready to enjoy, pour the ice lolly mixtures into molds and freeze. If prepped in advance, these lollies will still be just as delicious and refreshing, offering a quick and guilt-free treat with minimal effort when serving!
Watermelon Ice Lollies Recipe FAQs
What type of watermelon should I use for the best flavor?
Absolutely! For the sweetest and juiciest watermelon ice lollies, always opt for a ripe, heavy red seedless watermelon. Look for dark green skin and a uniform shape—if it’s too light or has irregularities, it might not be ripe. If you can’t find watermelon, yellow melon or ripe cantaloupe can be excellent substitutes!
How should I store my watermelon ice lollies?
Great question! Store your watermelon ice lollies in an airtight container in the freezer for up to one month. To prevent them from sticking together, place parchment paper between each lolly; this way, you can easily grab one whenever the craving strikes!
Can I freeze these watermelon ice lollies for later enjoyment?
Absolutely! These delicious watermelon ice lollies can be stored in the freezer for up to one month. Just remember to keep them in an airtight container and separate each lolly with parchment paper to maintain their shape and make retrieval a breeze.
What should I do if my watermelon ice lollies are hard to remove from the molds?
No worries! If you find your watermelon ice lollies tough to loosen, simply dip the mold in warm water for about 10-15 seconds. This gentle warmth will help release them without compromising their delicious icy texture, allowing you to enjoy your treat in no time!
Are the ingredients safe for kids and those with allergies?
Very! The watermelon ice lollies are made from gluten-free and vegan ingredients, making them safe for most dietary needs. However, always check for any fruit allergies, especially to kiwi. If there’s a concern, feel free to swap kiwi with other fruits like strawberries or mangoes to accommodate different tastes and allergies.
What if I don’t have pectin?
No problem! You can absolutely make these watermelon ice lollies without pectin. Just keep in mind that skipping it might lead to some separation of the ingredients when frozen. To minimize this, you can blend the watermelon and kiwi well to ensure a smooth consistency before pouring them into molds.
Refreshing Watermelon Ice Lollies: Guilt-Free Summer Treats
Ingredients
Equipment
Method
- Begin by selecting a ripe red seedless watermelon, cut off the rind and dice into chunks. Blend until smooth.
- Add jam set or pectin to the watermelon puree and blend to distribute evenly.
- Strain the watermelon puree through a fine mesh sieve to remove any seeds and ensure a smooth texture.
- Pour the strained mixture into popsicle molds, filling each to half an inch below the rim.
- Freeze for 4-6 hours or until solid.
- While the watermelon layer freezes, peel and chop kiwis, blend until smooth, and strain.
- After the watermelon layer is solid, pour kiwi puree into the molds to fill them up.
- Freeze for an additional 4 hours until both layers are frozen solid.
- Remove molds from the freezer and dip in warm water for 10-15 seconds to release the lollies.