
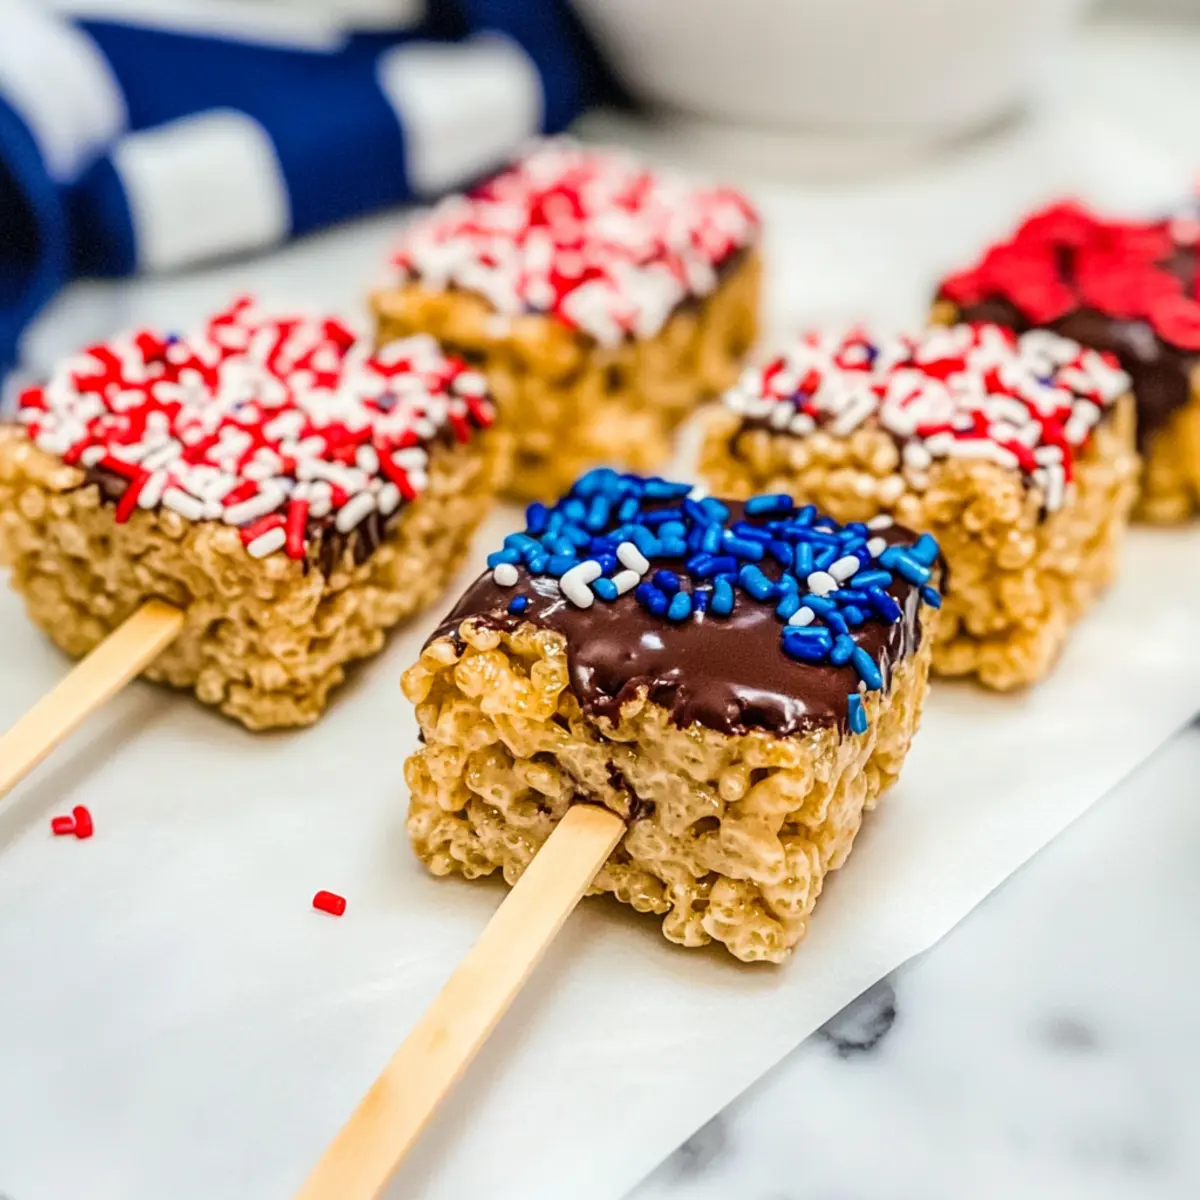
“Can you believe how simple it is to make desserts that wow at every gathering?” That thought crossed my mind when I whipped up these Festive Chocolate Covered Rice Krispie Treats on a Stick for a summer picnic. Combining that perfect crispy-gummy texture coated in colorful chocolate brings joy to both kids and adults. Not only are these treats a quick and effortless dessert solution, but they’re also completely customizable, allowing everyone to get creative with colors and decorations. Whether you’re planning a birthday bash or just looking to elevate your family snack time, these festive treats are sure to be a hit. Curious how you can transform everyday ingredients into such a delightful centerpiece for your next celebration? Let’s dive into this fun recipe!
Why Are These Treats a Must-Make?
Simplicity at Its Best: You’ll love how effortlessly these Chocolate Covered Rice Krispie Treats come together, making them perfect for both beginner and seasoned bakers.
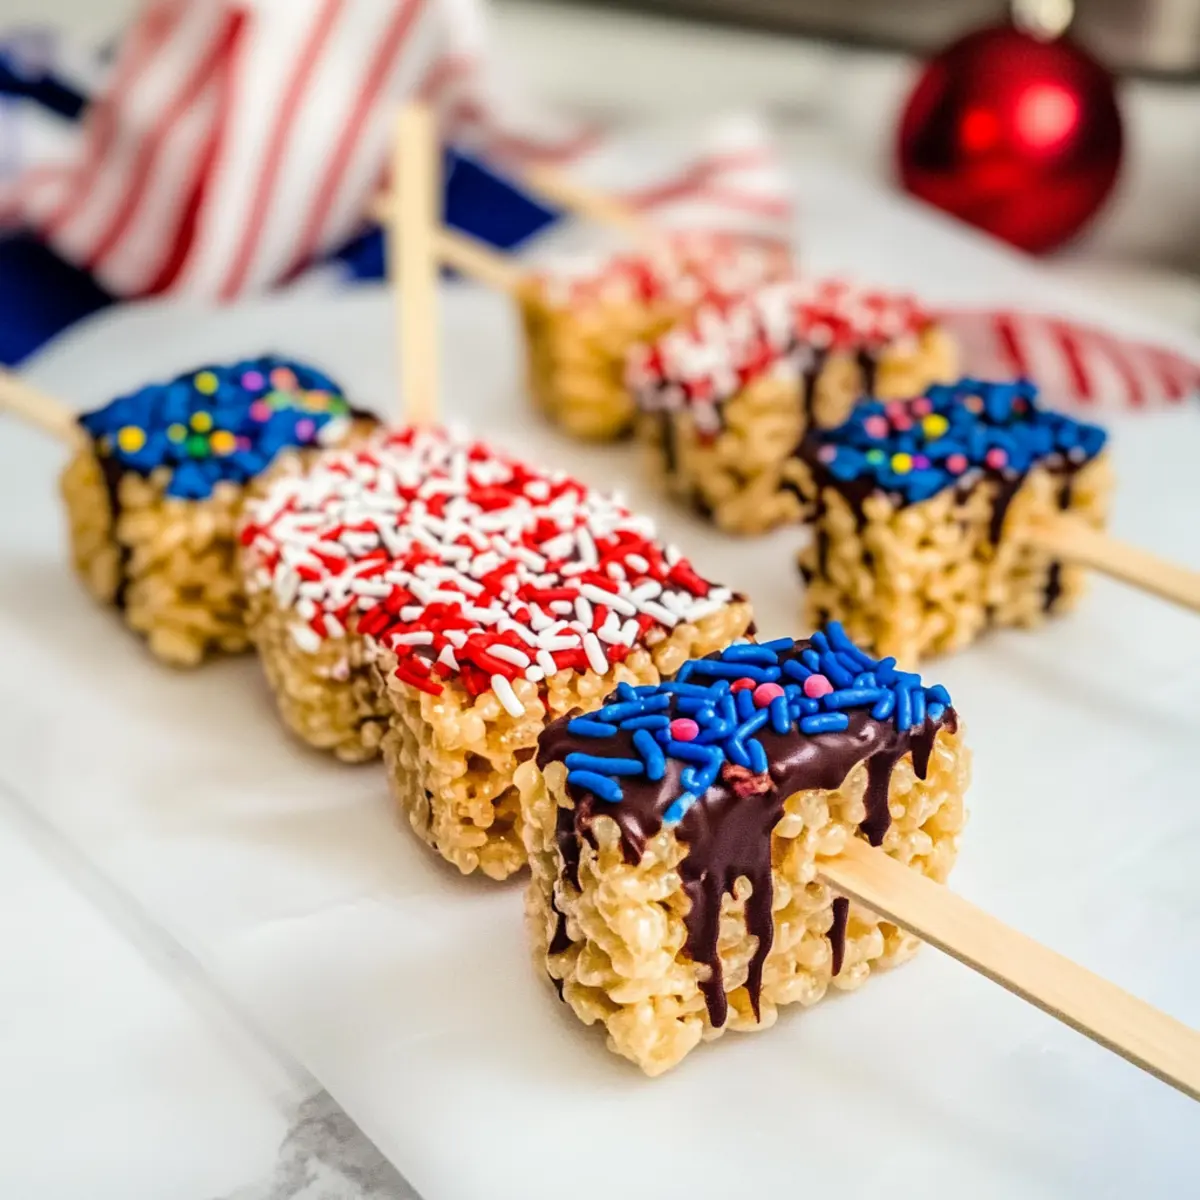
Customizable Fun: With the ability to choose different colors and sprinkles, each treat can be uniquely decorated to your liking, adding a personal touch to any occasion.
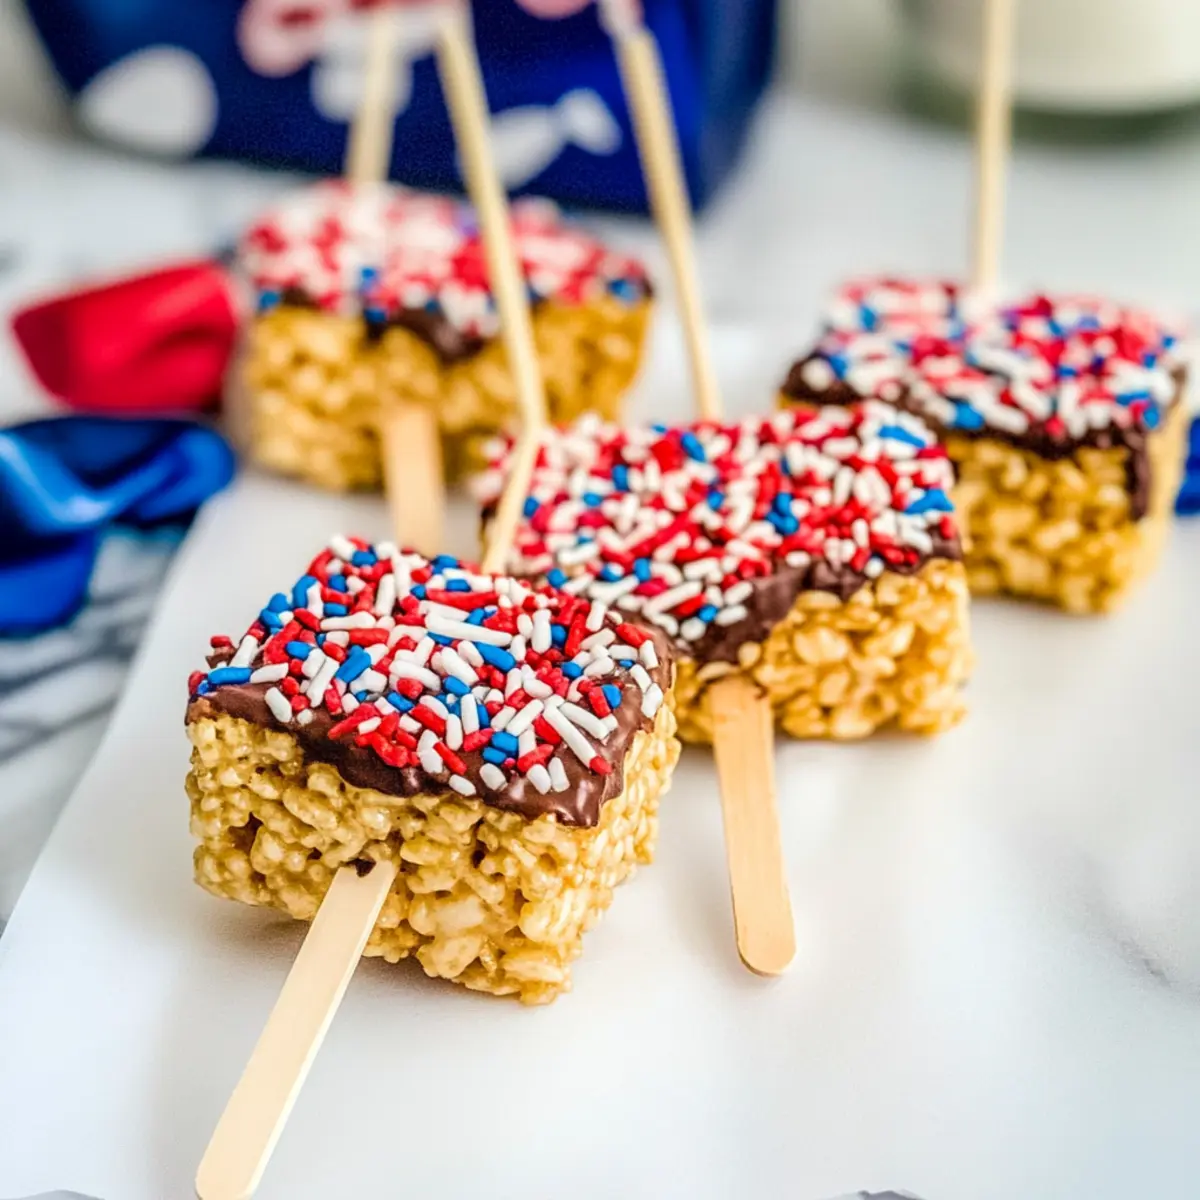
Crowd-Pleasing Delight: These treats are a hit at parties or family gatherings; who can resist the combination of crispy, gooey goodness with a sweet chocolate coating?
Quick and Easy: In just a few simple steps, you can have a tray full of delightful treats ready to wow your guests, leaving you more time to enjoy the celebration!
Make sure to check out other fun ideas like Chocolate Covered Banana Pudding Stuffed Puffs and Chocolate Blossom Treats for even more creative dessert inspiration!
Chocolate Covered Rice Krispie Treats Ingredients
For the Treats
- Rice Krispies Cereal – Essential for that classic crispy texture; no replacement necessary!
- Mini Marshmallows – These add gooey sweetness; feel free to swap with regular marshmallows if needed.
- Butter – Richness and a smooth melting base for marshmallows; margarine can also be used here.
For the Coating
- Candy Melts (assorted colors) – Perfect for a sweet, colorful shell; chocolate chips work too but may need coconut oil for smoothing.
- Assorted Sprinkles – Add visual flair and extra crunch; any type of sprinkles will brighten up your treats!
For Assembly
- Popsicle Sticks – Makes it easy to hold and enjoy these delightful treats; sturdy alternatives can be used if necessary.
Get ready to impress your friends and family with these Chocolate Covered Rice Krispie Treats!
Step‑by‑Step Instructions for Chocolate Covered Rice Krispie Treats
Step 1: Prepare the Baking Sheet
Start by lining a 9×13 inch baking sheet with parchment or wax paper to prevent sticking. Make sure the paper hangs over the edges for easy removal later. This step ensures your Chocolate Covered Rice Krispie Treats will come out smoothly and maintain their beautiful shape without any mess.
Step 2: Melt Ingredients
In a large saucepan, melt 3 tablespoons of butter over medium heat. Once melted, add 4 cups of mini marshmallows and continue stirring constantly for about 3-5 minutes until the mixture is completely smooth and melted, turning glossy. Remove the pan from heat once it reaches a silky consistency, ready for the Rice Krispies.
Step 3: Mix Rice Krispies
Pour in 6 cups of Rice Krispies cereal and gently stir with a spatula until all the cereal is fully coated with the marshmallow mixture. This should take about 2 minutes, and the cereal should be thoroughly mixed without any unmixed marshmallow clumps remaining. The mixture will be sticky yet manageable, perfect for forming treats.
Step 4: Press Mixture
Transfer the Rice Krispie mixture into the lined baking sheet, pressing it down firmly with your fingertips or a spatula to create an even layer about 1 inch thick. Let the mixture cool at room temperature for about 30 minutes, ensuring it’s set but not hard. You want a firm base for your chocolate covered creations.
Step 5: Cut Treats
Once cooled, lift the entire sheet of treats out using the edges of the parchment paper. Place it on a cutting board and use a sharp knife to cut it into rectangular or popsicle shapes, approximately 2 inches wide. This will create individual servings of your Chocolate Covered Rice Krispie Treats, making them easy to handle and decorate later.
Step 6: Insert Sticks
Carefully push a popsicle stick into the bottom center of each Rice Krispie piece, making sure it goes in at least halfway to provide stability. This will transform your treats into delightful pops, perfect for kid-friendly fun at parties or summer gatherings.
Step 7: Melt Candy Coatings
Using a double boiler or microwave, melt 12 ounces of assorted candy melts according to the package instructions, stirring frequently until smooth and pourable – approximately 1-2 minutes in the microwave. Ensure the candy melts are fully liquefied and of a drizzling consistency for proper coating of your Chocolate Covered Rice Krispie Treats.
Step 8: Dip Treats
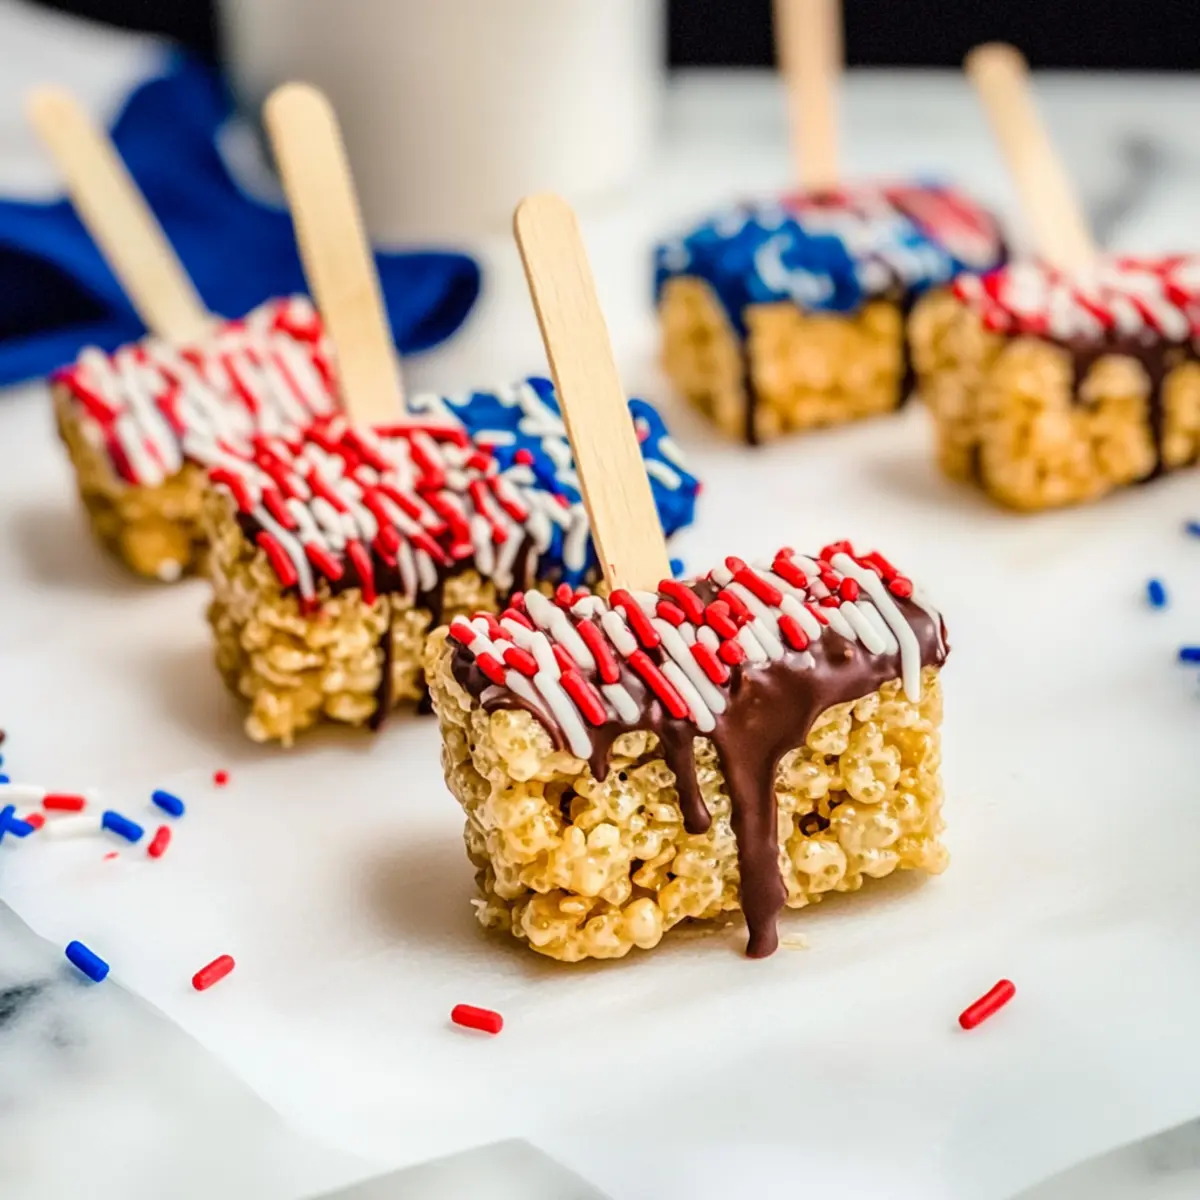
Dip each Rice Krispie treat pop into the melted candy, swirling it around until fully coated. Allow the excess candy coating to drip off back into the bowl, creating a smooth, even layer of chocolate around your treats. This step adds a vibrant color and delightful sweetness, making each pop visually appealing.
Step 9: Decorate
While the melted coating is still soft, immediately sprinkle your choice of decorative sprinkles over the chocolate. Be creative with colors and shapes to match your occasion, ensuring the sprinkles adhere nicely. Once decorated, place the pops upright in a cup or on a tray and let them cool completely before serving.
Chocolate Covered Rice Krispie Treats Variations
Make your Chocolate Covered Rice Krispie Treats shine even brighter with these fun twists and swaps!
-
Colorful Coatings: Use different colored candy melts for special occasions like red and green for Christmas or bright pastels for Easter to match your theme.
-
Nutty Delight: Sprinkle in crushed nuts such as almonds or pecans into the Rice Krispie mixture for a delightful crunch and added flavor.
-
Chocolate Chips: Fold in mini chocolate chips into the Rice Krispies before pressing them into the pan, amplifying the chocolaty goodness!
-
Texture Boost: Experiment with adding a layer of peanut butter or almond butter on top of the cooled Rice Krispie layer for a rich, nutty layer of flavor.
-
Heat It Up: Want some spice? Mix a pinch of cayenne pepper or chili powder into the melted candy melts for a sweet and spicy kick.
-
Gourmet Sprinkles: Elevate your treat by using edible glitter or themed sprinkles that reflect your event’s vibe, making each pop a stunning centerpiece.
-
Sweetened Coconut: Add sweetened shredded coconut on top of the chocolate coating for a tropical twist, pairing beautifully with the Rice Krispie base.
-
Fun Shapes: Instead of traditional square shapes, use cookie cutters to create fun shapes, like stars or hearts, for a playful touch that kids will adore.
Get more creative with ideas like these and check out White Chocolate Raspberry Cheesecake Balls or Chocolate Treats Delightful for further inspiration!
Expert Tips for Chocolate Covered Rice Krispie Treats
-
Keep It Clean: Use parchment paper not just on your baking sheet but also on your workspace to easily control mess during decoration.
-
Melt Wisely: If candy melts become too thick, add a teaspoon of shortening or coconut oil to achieve the perfect dipping consistency.
-
Sturdy Sticks: Always opt for food-grade popsicle sticks for safety and stability; avoid flimsy options like regular straws that might bend or snap.
-
Set the Treats: Allow the Rice Krispie mix to cool completely before cutting and inserting sticks. This prevents crumbling and ensures a stable pop.
-
Creative Coating: Experiment with various colors of candy melts to elevate your Chocolate Covered Rice Krispie Treats for different celebrations.
Make Ahead Options
These Chocolate Covered Rice Krispie Treats on a Stick are perfect for meal prep, allowing you to enjoy delicious treats with less stress during busy weeks! You can prepare the rice krispie mixture up to 24 hours in advance—just follow the initial steps, press the mixture into the baking sheet, and cool it. Once set, cover tightly with plastic wrap and refrigerate. When you’re ready to finish, simply cut into shapes and insert popsicle sticks, then melt the candy coating and dip each treat as directed. Don’t forget to decorate with sprinkles while the coating is still soft! This method ensures they’re just as delightful and fresh, saving you precious time for gatherings.
Storage Tips for Chocolate Covered Rice Krispie Treats
-
Room Temperature: Keep your Chocolate Covered Rice Krispie Treats in an airtight container for up to 3 days at room temperature to maintain their delightful crispiness and gooey texture.
-
Fridge: If you prefer, you can store the treats in the fridge for up to a week. Just be mindful that refrigeration may slightly alter their texture.
-
Freezer: For longer-term storage, freeze the decorated pops in a single layer on a baking sheet until firm, then transfer to an airtight container for up to 2 months. Thaw at room temperature before serving.
-
Reheating: When you’re ready to enjoy, there’s no need to reheat! These treats are best served at room temperature. Enjoy the simplicity of these sweet treats whenever the craving strikes!
What to Serve with Chocolate Covered Rice Krispie Treats on a Stick
Thinking of the perfect companions for these delightful treats? Pair them with options that enhance their playful nature and sweet experience.
-
Creamy Fruit Dip: This adds a refreshing and smooth contrast to the sweet, crunchy treats, creating a delightful flavor balance.
-
Colorful Fruit Skewers: Fresh fruit adds a pop of brightness and healthiness to your dessert table, while complementing the sweetness of the treats beautifully.
-
Ice Cream Sundae Bar: Set up a mini sundae station where guests can pile on their favorite toppings, echoing the customizable spirit of the Rice Krispie treats.
-
Chocolate Milk: Serve these treats with a chilled glass of rich chocolate milk for a fun and nostalgic twist, a perfect blend with the chocolatey coating.
-
Whipped Cream: Light and fluffy, a dollop of fresh whipped cream is a decadent addition that pairs wonderfully with the crunch of the treats.
-
Mini Cupcakes: Offer an assortment of mini cupcakes with different flavors that harmonize with the sweetness of the Rice Krispie pops, keeping your dessert spread playful.
-
Soda Floats: Mixing fizzy sodas with ice cream creates a bubbly, creamy experience that harmonizes well with the treats’ textures and makes for a festive treat combination.
Chocolate Covered Rice Krispie Treats Recipe FAQs
What is the best way to select Rice Krispies cereal?
Absolutely! For the best results, choose a box of Rice Krispies that is still within its expiration date. Look for a package that feels fresh and has no visible damage. The crispy texture is essential for making the treats delightful. There’s no need to replace this key ingredient!
How should I store Chocolate Covered Rice Krispie Treats?
You should store your treats in an airtight container at room temperature for up to 3 days. This keeps the Rice Krispies crisp and the chocolate coating intact. If you prefer, you can also refrigerate them for up to a week, but keep in mind that refrigeration may slightly alter their texture. To maintain the best experience, I often recommend enjoying them fresh if possible!
Can I freeze Chocolate Covered Rice Krispie Treats?
Yes, you can freeze these delicious treats! Start by placing the decorated pops in a single layer on a baking sheet until firm. Once set, transfer them to an airtight container or freezer bag, and they can last for up to 2 months. When you’re ready to indulge, simply thaw them at room temperature for about 30-60 minutes before serving. It’s a great way to have a delightful dessert on hand!
Why did my Rice Krispie treats turn out too sticky?
Very commonly, this happens when there’s too much marshmallow in the mixture. To avoid this, make sure to measure the marshmallows accurately. Additionally, ensuring that you melt the marshmallows until they are just smooth and not overcooked can also help. If you find the mixture too sticky, try adding a bit more Rice Krispies to balance it out. Don’t get discouraged; everyone has a learning curve in the kitchen!
Are these treats safe for kids with allergies?
When it comes to food allergies, it’s critical to confirm ingredient safety if you’re serving these snacks to young ones. The primary allergens in this recipe come from the marshmallows and butter. Be sure to check labels for any gluten or dairy ingredients if you have concerns. Additionally, you can explore alternatives such as vegan marshmallows and dairy-free butter for a more inclusive treat. It’s always better to be safe than sorry!
How long do these treats last once decorated?
After decorating, your Chocolate Covered Rice Krispie Treats should retain their delightful quality for up to 3 days at room temperature. Keeping them in a sealed container helps lock in that fun crunch, making every bite enjoyable, even on the last day. They’re often best enjoyed fresh, so try to share or consume them within this time frame for maximum enjoyment!
Decadent Chocolate Covered Rice Krispie Treats on a Stick
Ingredients
Equipment
Method
- Prepare the Baking Sheet: Start by lining a 9x13 inch baking sheet with parchment or wax paper to prevent sticking. Make sure the paper hangs over the edges for easy removal later.
- Melt Ingredients: In a large saucepan, melt 3 tablespoons of butter over medium heat. Once melted, add 4 cups of mini marshmallows and continue stirring constantly for about 3-5 minutes until smooth and melted.
- Mix Rice Krispies: Pour in 6 cups of Rice Krispies cereal and gently stir with a spatula until fully coated with marshmallow mixture, which should take about 2 minutes.
- Press Mixture: Transfer the Rice Krispie mixture into the lined baking sheet, pressing down firmly to create an even layer about 1 inch thick. Let it cool at room temperature for about 30 minutes.
- Cut Treats: After cooling, lift the entire sheet of treats out and place on a cutting board. Cut into rectangular or popsicle shapes, approximately 2 inches wide.
- Insert Sticks: Carefully push a popsicle stick into the bottom center of each Rice Krispie piece, ensuring it provides stability.
- Melt Candy Coatings: Melt 12 ounces of assorted candy melts according to package instructions, stirring frequently until smooth and pourable.
- Dip Treats: Dip each Rice Krispie treat pop into the melted candy, swirling until fully coated. Allow excess to drip off.
- Decorate: While coating is still soft, sprinkle your choice of decorative sprinkles over the chocolate.