
In a moment of quiet kitchen inspiration, I found myself staring at a bowl piled high with ripe Northwest cherries, their vibrant color promising something special. That’s when I realized I could transform these beauties into my latest obsession: Cherry Breakfast Bars. This recipe is a game-changer, combining simplicity with the joy of seasonal fruit, giving you a delightful way to start your day or enjoy a midday snack. With just 15 minutes of prep time, these bars not only fit seamlessly into any busy schedule but also allow for customization to suit your taste. Whether you opt for classic cherries or explore other seasonal fruits, your family will love the balance of crunch and sweetness. Are you ready to transform your mornings into something a bit more exciting? Let’s dive into making these easy Cherry Breakfast Bars that will leave everyone asking for more!
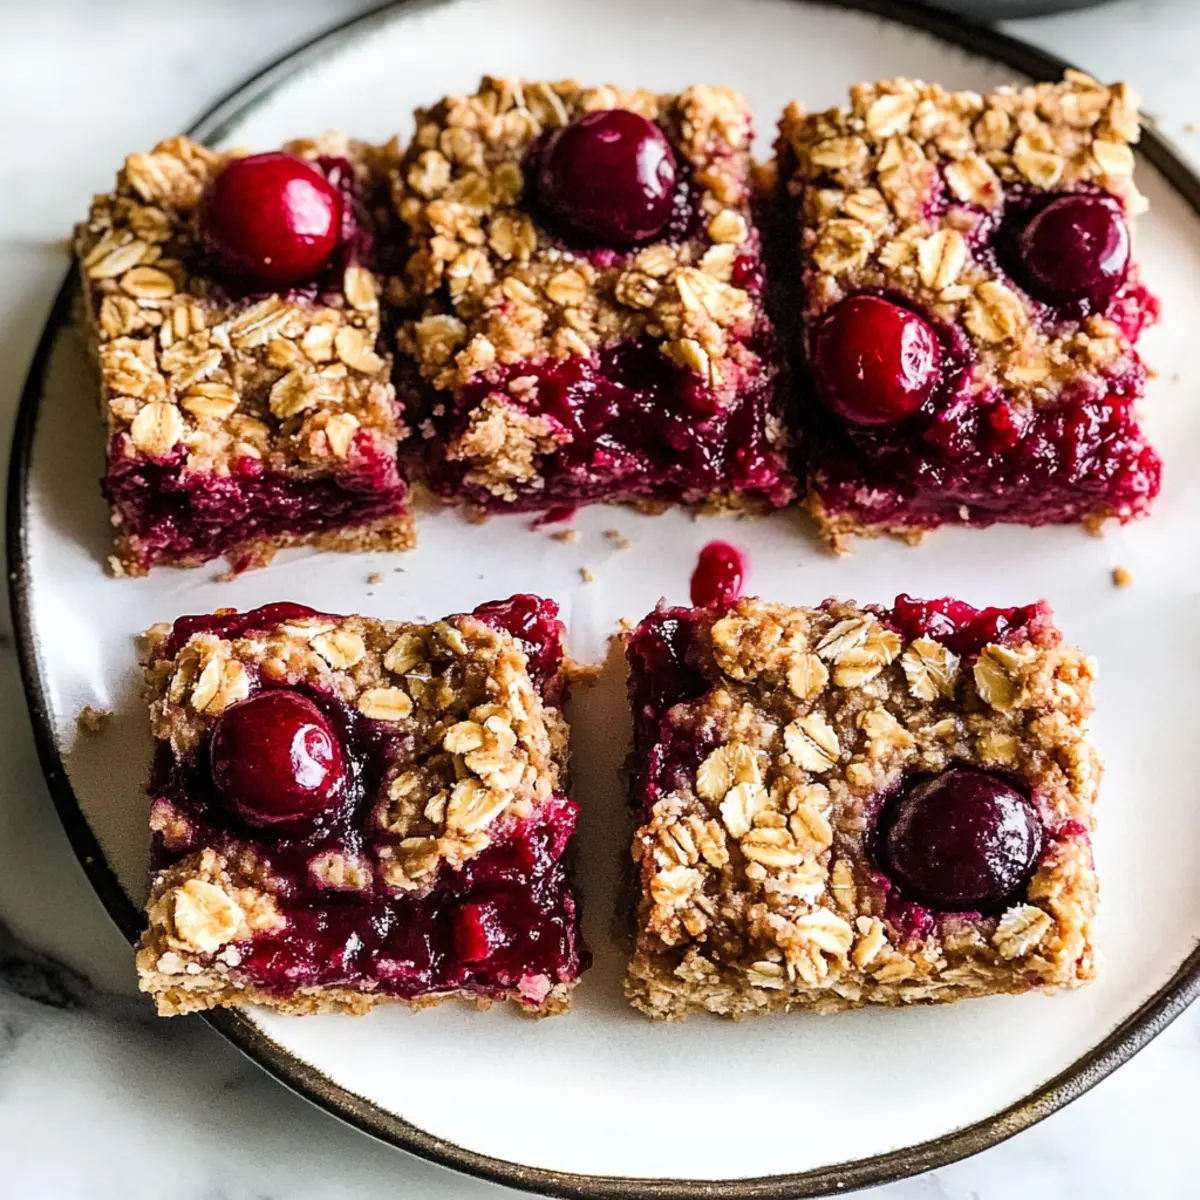
Why Are Cherry Breakfast Bars Perfect?
Simplicity: The straightforward 15-minute prep time means you’ll never feel overwhelmed, making these bars a breeze to whip up even on busy mornings.
Customizable: With options to swap in your favorite seasonal fruits, like blueberries or peaches, these bars can be tailored to your taste or whatever you have on hand.
Flavor Burst: The juicy Northwest cherries bring a delightful contrast to the chewy oat base, creating a combination that’s absolutely irresistible for breakfast or a snack.
Crowd-Pleaser: These bars are sure to become a family favorite, and they’re perfect for meal prep—store them for easy grab-and-go breakfasts throughout the week!
If you’re a fan of delicious, fresh options, you might also love these Lemon Lime Cherry treats or the rich goodness of Butterfinger Cheesecake Bars for dessert. Enjoy the tasty benefits of seasonal fruits!
Cherry Breakfast Bars Ingredients
Elevate your morning with these flavor-packed bars!
For the Base
- Rolled Oats – Provides the perfect chewiness; quick oats can be used for a softer texture.
- Flour – Binds everything together; feel free to use all-purpose or gluten-free flour.
- Light Brown Sugar – Adds a touch of sweetness; coconut sugar is a great lower-glycemic substitute.
- Chopped Almonds – Offers delightful crunch; replace with walnuts or pecans if desired.
- Baking Soda – Gives the bars a slight lift; ensure it’s fresh for the best results.
- Salt – Enhances overall flavors; use sea salt for a more gourmet touch.
- Coconut Oil – Binds ingredients and adds moistness; unsalted butter or applesauce can be swapped in for a lighter option.
For the Cherry Filling
- Northwest Sweet Cherries – The star ingredient! Substitute with seasonal fruits like blueberries or plums for a twist.
- Lemon Juice – Brightens the cherry flavor; lime juice works well as an alternative.
- Maple Syrup – Provides natural sweetness; honey or agave syrup are good alternatives.
- Cornstarch – Thickens the filling nicely; arrowroot powder or all-purpose flour can also be used.
Each ingredient plays a crucial role in making these Cherry Breakfast Bars a delightful treat while embracing seasonal flavors!
Step‑by‑Step Instructions for Cherry Breakfast Bars
Step 1: Preheat the Oven and Prepare the Baking Dish
Preheat your oven to 350°F (175°C) while you prepare your baking dish. Grab an 8-inch square baking dish and line it with parchment paper, allowing some overhang for easy removal later. Lightly grease the parchment with a bit of coconut oil to ensure your Cherry Breakfast Bars come out beautifully golden and intact.
Step 2: Combine the Base Ingredients
In a large mixing bowl, combine rolled oats, flour, light brown sugar, chopped almonds, baking soda, and salt. Mix these dry ingredients thoroughly until well blended. Then, pour melted coconut oil over the oat mixture, stirring until all ingredients are evenly coated. This will provide a delightful chewiness to your Cherry Breakfast Bars.
Step 3: Prepare the Cherry Filling
In another bowl, mix the pitted and chopped Northwest cherries with lemon juice, maple syrup, and cornstarch. Gently fold the ingredients together until the cherries are completely coated and the mixture is well combined. This sweet and tangy filling is what makes your Cherry Breakfast Bars a refreshing treat.
Step 4: Assemble the Bars
Set aside 1 cup of the oat mixture for the topping, then press the remaining mixture firmly into the bottom of your prepared baking dish. Make sure to create an even and compact layer, forming the sturdy base for the Cherry Breakfast Bars that will hold the delicious filling.
Step 5: Spread the Cherry Filling
Evenly spread the cherry filling over the pressed oat base, ensuring every corner of the mixture is covered. This will create a luscious layer of flavor within your bars. Then, crumble the reserved oat mixture on top, sprinkling it generously over the cherries for a delightful crunch.
Step 6: Bake the Bars
Place the assembled bars in the preheated oven and bake for 30 minutes, or until the top turns a lovely golden brown. Keep an eye on them as they bake, as the aroma will surely inspire anticipation for these Cherry Breakfast Bars!
Step 7: Cool and Slice
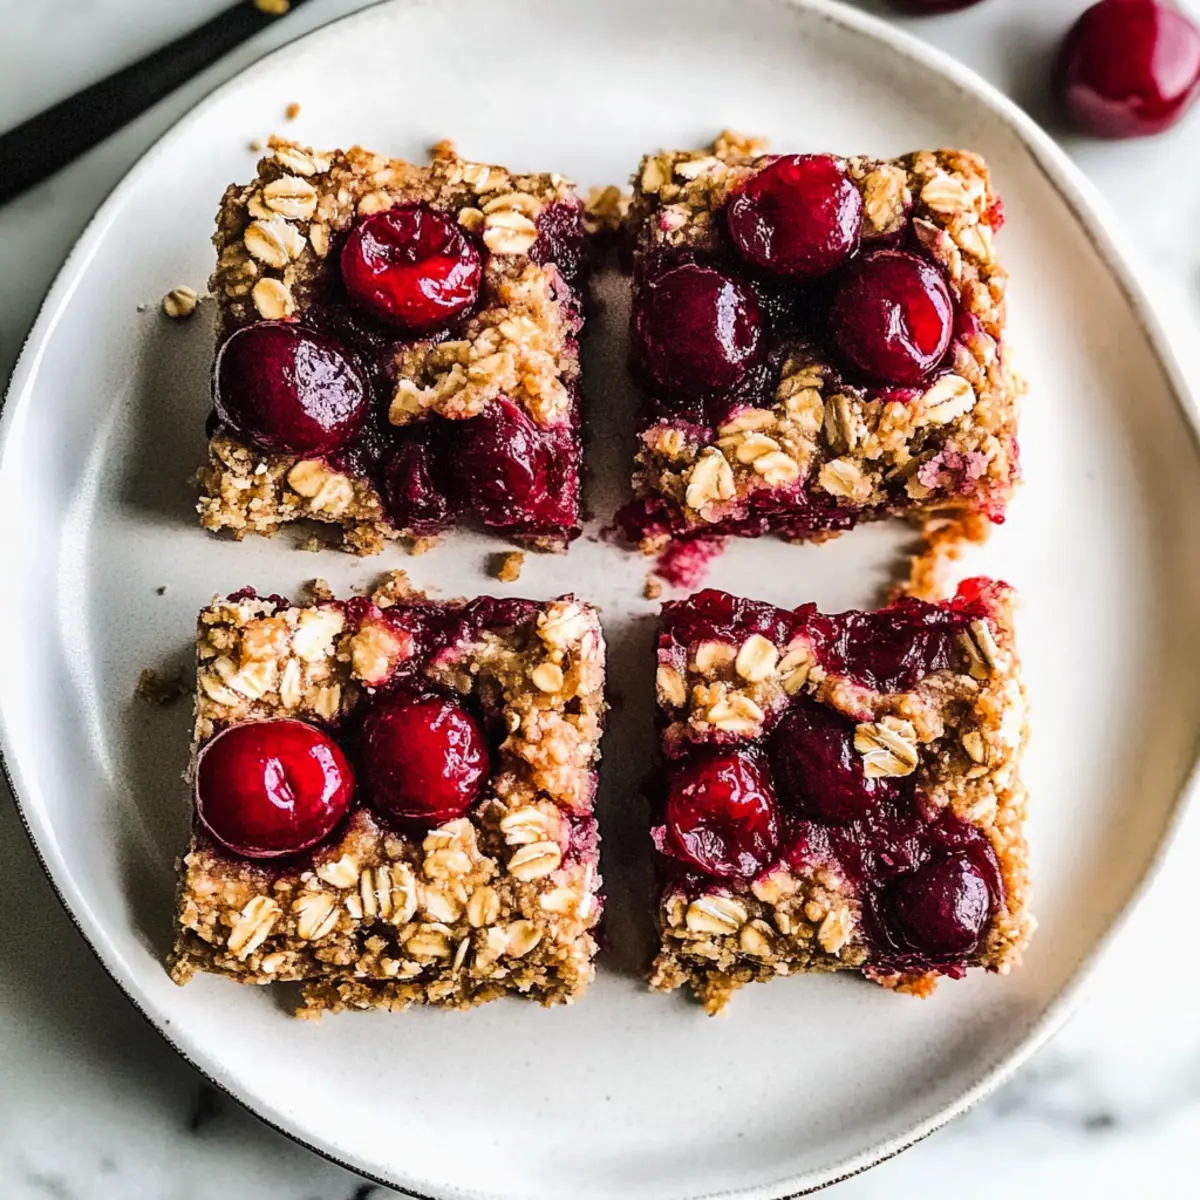
Once baked, remove the bars from the oven and allow them to cool completely in the pan. Letting them cool fully ensures they hold their shape when sliced. Once cooled, carefully lift the bars out using the parchment overhang, slice them into squares, and enjoy your homemade Cherry Breakfast Bars!
Make Ahead Options
These Cherry Breakfast Bars are perfect for busy home cooks looking to save time during the week! You can prepare the base mixture and store it in the fridge for up to 24 hours; just combine the rolled oats, flour, light brown sugar, chopped almonds, baking soda, and salt ahead of time. Similarly, you can prep the cherry filling and refrigerate it for up to 3 days. When you’re ready to bake, simply mix the melted coconut oil into the base mixture, assemble the bars by layering the prepped ingredients, and bake as directed. This way, your Cherry Breakfast Bars can be enjoyed fresh with just minimal effort, ensuring they’re just as delicious throughout the week!
What to Serve with Cherry Breakfast Bars
Indulging in a slice of cherry breakfast bar is a delightful way to start your day, but pairing it with complementary sides can elevate your morning experience even further.
- Fresh Fruit Salad: A colorful mix of seasonal fruits brings a refreshing contrast to the bars, enhancing the natural sweetness of the cherries.
- Greek Yogurt Drizzle: Smooth, creamy yogurt adds a tangy richness that balances the sweetness of the bars while providing a protein boost.
- Crispy Bacon Strips: The salty crunch of bacon offers a savory counterpart, making each bite of the cherry breakfast bars even more satisfying.
- Honey Almond Granola: The nutty crunch of granola pairs nicely, providing additional texture and a fun way to change up the flavor profile.
- Herbal Tea or Coffee: A warm cup of herbal tea or coffee can enhance the flavors of the cherry bars, creating a cozy morning atmosphere.
- Chia Seed Pudding: For a nutritious side, creamy chia pudding can offer a delightful contrast while complementing the fruitiness of the bars.
Embrace these pairings to create a breakfast spread that is not just tasty but memorable!
Storage Tips for Cherry Breakfast Bars
Fridge: Store your Cherry Breakfast Bars in an airtight container in the refrigerator for up to 3 days, keeping them fresh and ready to enjoy.
Freezer: For longer storage, freeze individually wrapped bars for up to 3 months. Just thaw them overnight in the fridge before serving.
Reheating: To enjoy a warm treat, reheat the bars in the microwave for 15–20 seconds, or warm them in a toaster oven until they’re heated through.
Room Temperature: If you’re enjoying the bars within a day, you can keep them at room temperature in a covered container—just make sure they’re not exposed to heat or moisture!
Cherry Breakfast Bars Variations & Substitutions
Feel free to explore delicious twists to make these cherry breakfast bars your own!
-
Nut-Free: Omit the chopped almonds and replace with seeds like pumpkin or sunflower for crunch. You’ll enjoy the same delightful texture without the nuts.
-
Gluten-Free: Use certified gluten-free rolled oats and flour to cater to dietary needs, ensuring everyone can delight in this treat without worry.
-
Fruit Swap: Instead of Northwest sweet cherries, try using seasonal fruits like raspberries or diced peaches for a refreshing, fruity twist.
-
Flavor Spiced: Add a teaspoon of cinnamon or nutmeg in the oat mixture for a warm, aromatic flavor that compliments the cherries beautifully.
-
Lower Sugar: Substitute light brown sugar with coconut sugar or a sugar alternative to create a lower glycemic treat without sacrificing sweetness.
-
Coconut Alternative: Swap coconut oil for applesauce or unsalted butter for a different flavor profile and moisture level, perfect for those looking for variety.
-
Mini Bars: Use a muffin pan to create individual cherry breakfast bites; simply adjust the baking time and enjoy a portable snack option.
-
Chewy Texture: For a chewier bar, replace half of the rolled oats with cooked quinoa; it adds a nutty flavor that pairs well with cherries.
If you’re intrigued by the idea of using seasonal fruits, check out these delightful Lemon Lime Cherry treats. Explore your favorite combinations to discover your perfect cherry breakfast bar!
Expert Tips for Cherry Breakfast Bars
-
Fresh Ingredients: Always use fresh Northwest cherries for the best flavor. Check for ripeness and avoid any overly soft or bruised fruits.
-
Don’t Rush Cooling: Allow the bars to cool completely in the pan before slicing. This prevents crumbling and helps maintain their shape.
-
Adjust Sweetness: Feel free to tweak the amount of maple syrup or light brown sugar to suit your taste preferences, especially if you’re looking for lower-sugar options.
-
Choose the Right Oats: Stick with rolled oats for the best texture; quick oats can often turn mushy and won’t provide the desired chewiness in your Cherry Breakfast Bars.
-
Watch Baking Time: Every oven is different! Check the bars a few minutes before the recommended baking time to avoid over-baking and to achieve a golden brown color.
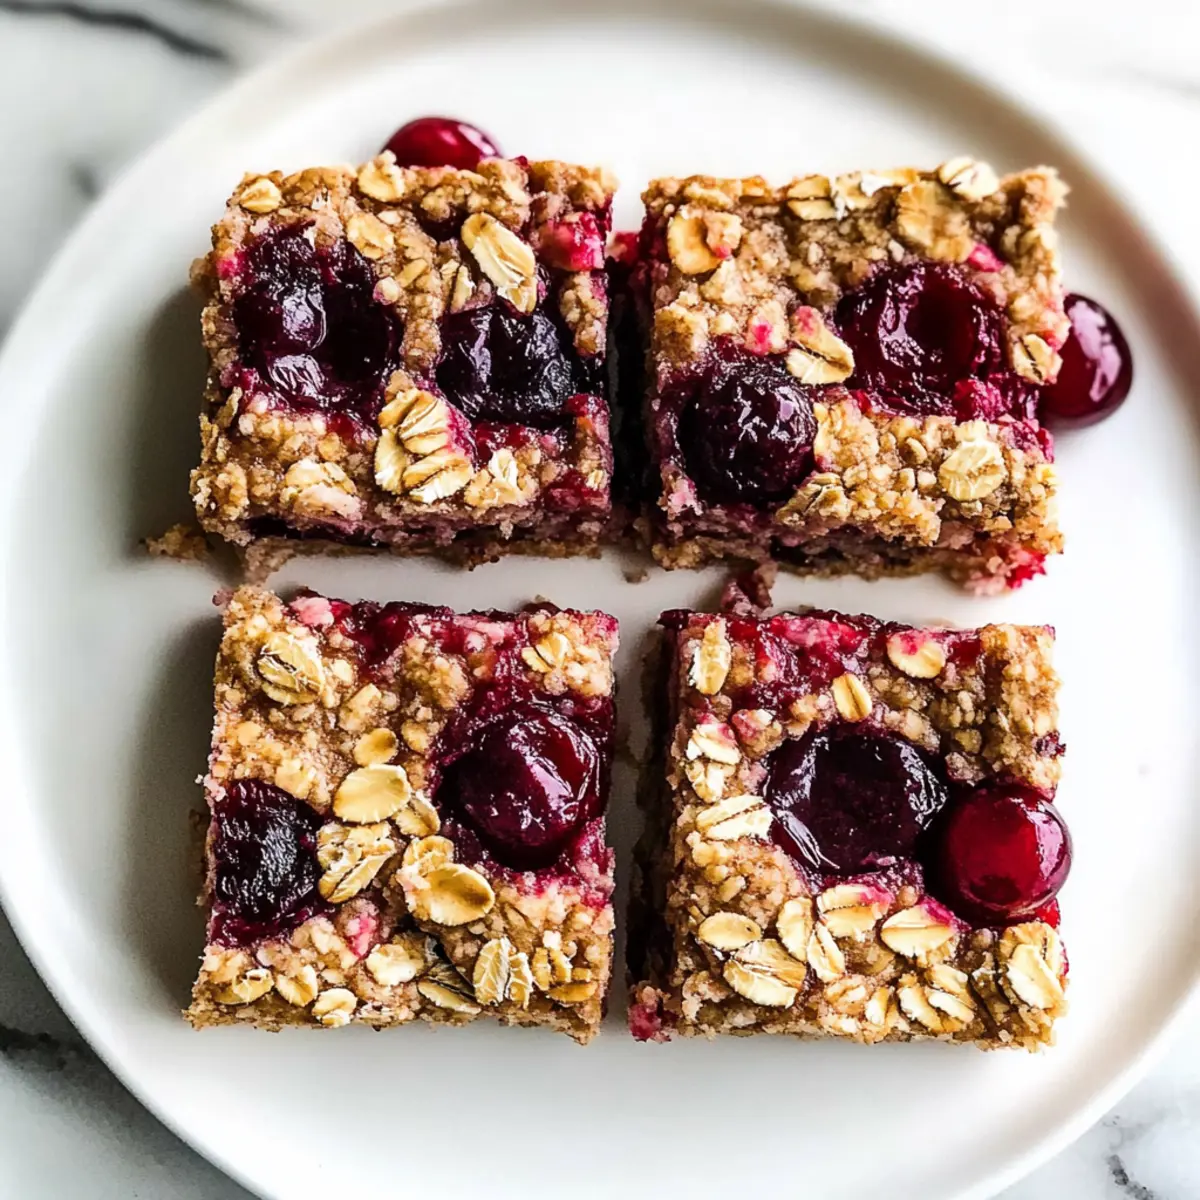
Cherry Breakfast Bars Recipe FAQs
What kind of cherries should I use for the cherry breakfast bars?
Absolutely! I recommend using fresh Northwest sweet cherries for the best flavor. Look for cherries that are firm, shiny, and have a deep red color. Avoid those with dark spots or bruising, as those might not be at their peak ripeness.
How should I store my cherry breakfast bars?
You can store your Cherry Breakfast Bars in an airtight container in the refrigerator for up to 3 days to maintain freshness. If you’re planning to keep them longer, I suggest freezing them. Just wrap each bar tightly with plastic wrap and place them in a freezer bag. They’ll stay fresh for up to 3 months!
Can I freeze my cherry breakfast bars?
Absolutely! To freeze, allow the bars to cool completely, then slice and wrap them individually in plastic wrap. Place the wrapped bars in a freezer-safe container or bag. When you’re ready to enjoy, just thaw them overnight in the fridge or microwave them for about 15–20 seconds until warmed.
What if my cherry filling turns out too runny?
If you find your cherry filling is too runny, don’t worry! You can try adding a bit more cornstarch to thicken it up. After mixing in the cornstarch, allow it to sit for about 10 minutes to help it set. This can help absorb some of the excess liquid and create a thicker filling for your bars.
Are these cherry breakfast bars suitable for those with nut allergies?
Yes, they can be made nut-free! Just omit the chopped almonds and substitute a seed like sunflower seeds, or add extra oats to maintain texture. You can still enjoy the delightful crunch without compromising on taste!
Can I use frozen cherries instead of fresh cherries?
Certainly! If you’re using frozen cherries, don’t defrost them before mixing. Instead, toss them directly into the filling in their frozen state, adding a few extra minutes to the baking time to ensure everything cooks evenly.
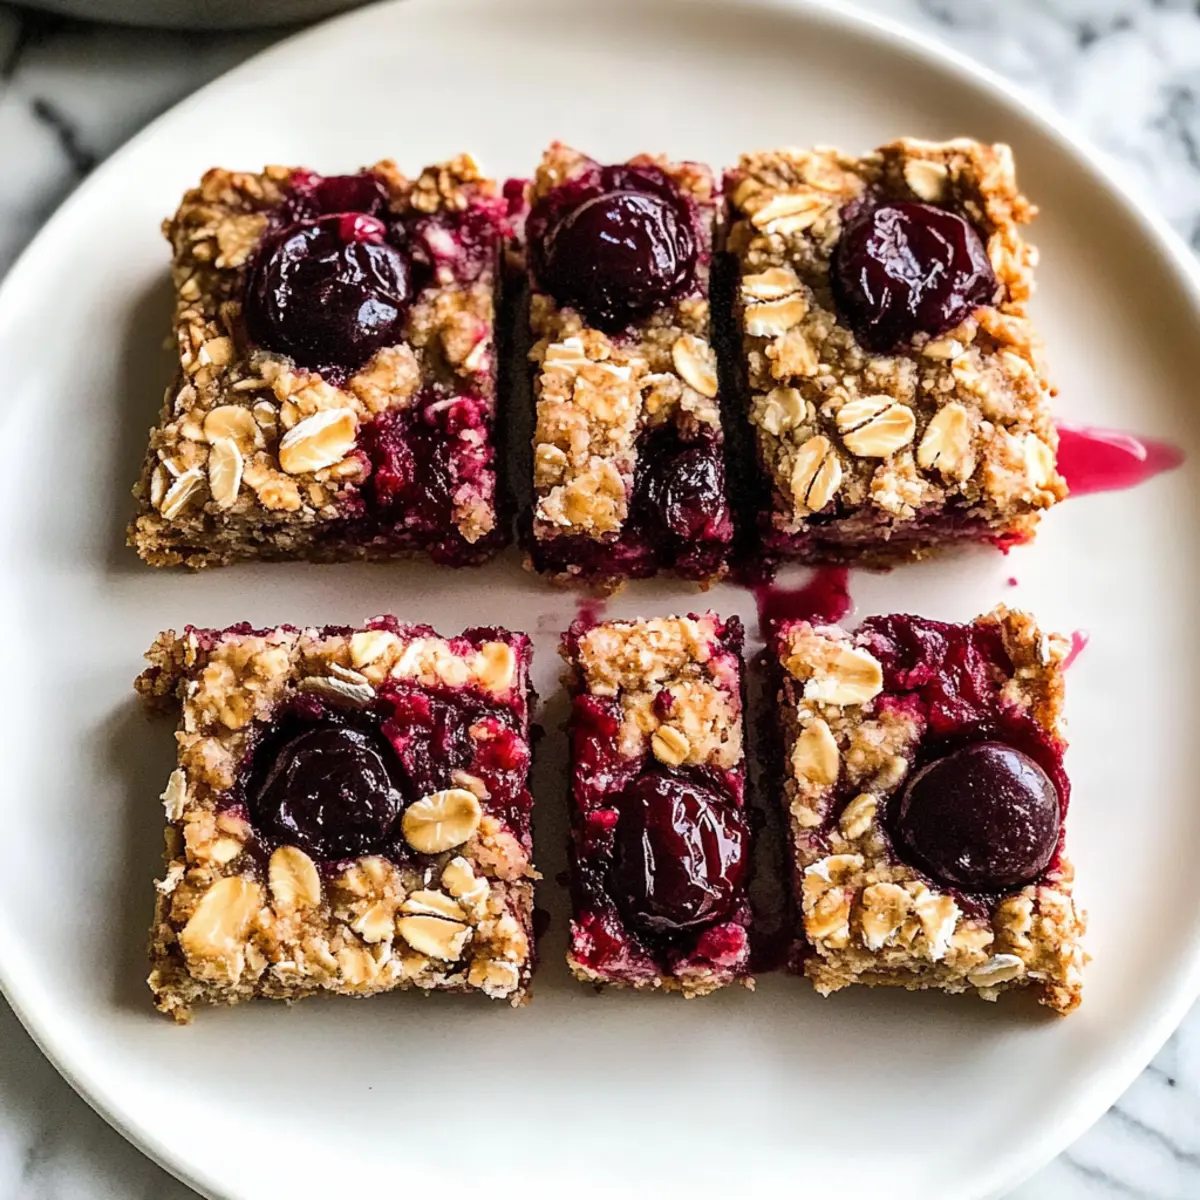
Sweet Cherry Breakfast Bars: Your New Morning Obsession
Ingredients
Equipment
Method
- Preheat your oven to 350°F (175°C) while you prepare your baking dish.
- Grab an 8-inch square baking dish and line it with parchment paper, lightly greasing it with coconut oil.
- In a large mixing bowl, combine rolled oats, flour, light brown sugar, chopped almonds, baking soda, and salt. Mix thoroughly.
- Pour melted coconut oil over the oat mixture, stirring until evenly coated.
- In another bowl, mix the pitted and chopped Northwest cherries with lemon juice, maple syrup, and cornstarch until well combined.
- Set aside 1 cup of the oat mixture for the topping, then press the remaining mixture firmly into the bottom of your prepared baking dish.
- Spread the cherry filling evenly over the pressed oat base, then crumble the reserved oat mixture on top.
- Place the assembled bars in the preheated oven and bake for 30 minutes or until golden brown.
- Let the bars cool completely in the pan before slicing into squares.