
The sound of a spoon scraping against a mixing bowl always brings back fond memories of family gatherings centered around dessert. This No-Bake Oreo Peanut Butter Layered Pie is a delightful addition to any occasion, effortlessly bringing smiles to the faces of friends and family. What I love about this dessert is its ease—ready in just 20 minutes, it’s perfect for those last-minute plans or sweltering days when you want to skip the oven. Plus, the creamy layers of rich peanut butter and velvety chocolate pudding harmonize with the crunchy Oreo crust, creating a crowd-pleasing treat that requires no baking skills at all. Are you ready to whip up a dessert that will have everyone asking for seconds?
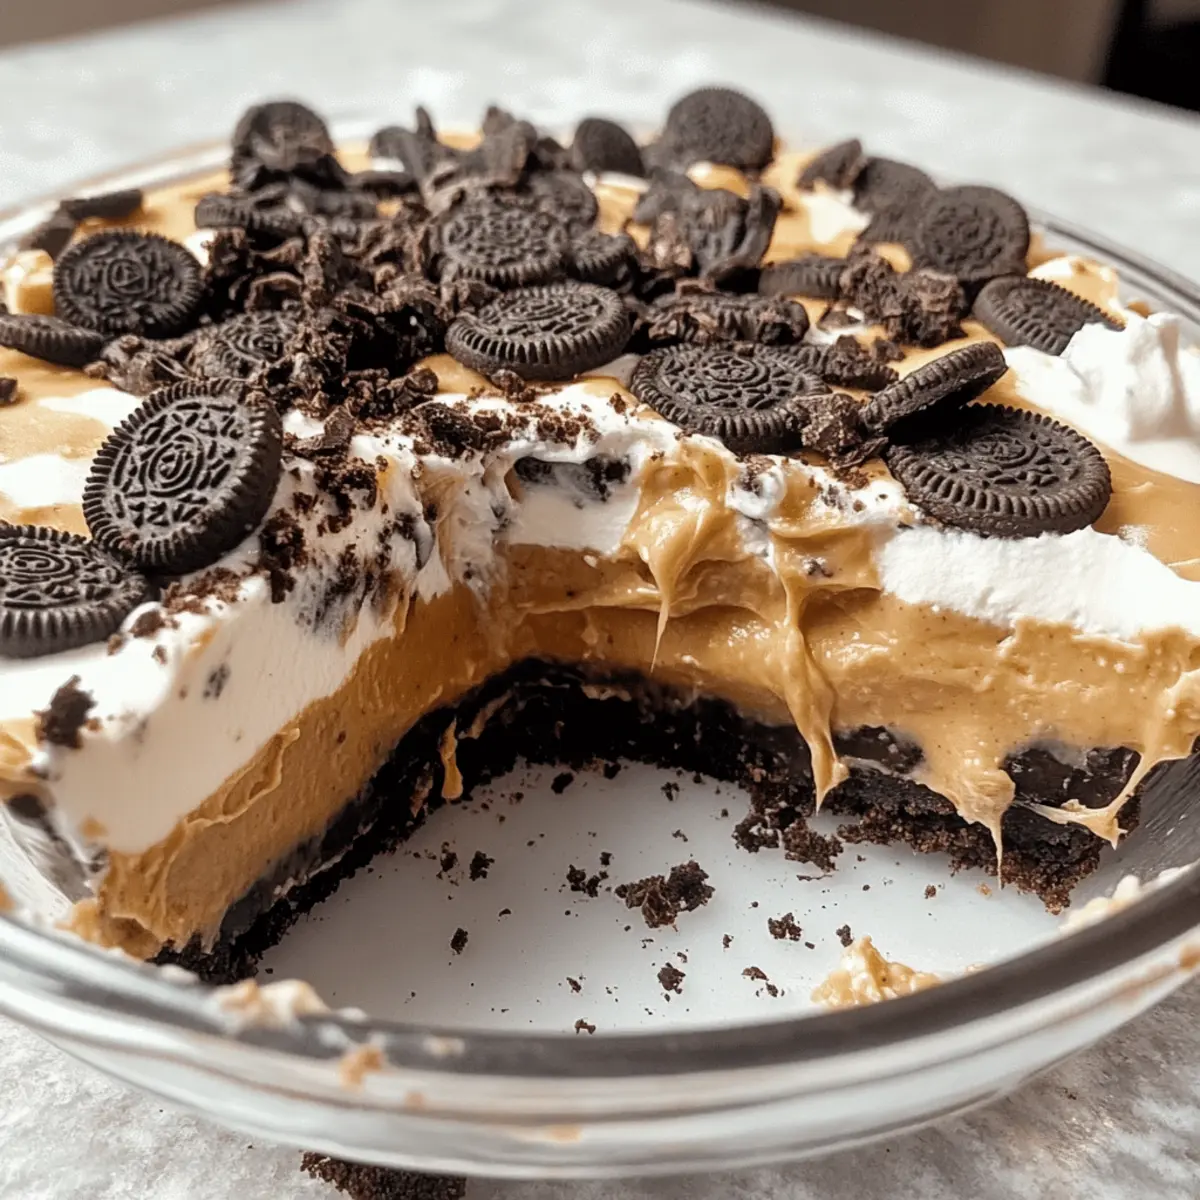
Why Will You Adore This Pie?
Unmatched Simplicity: This No-Bake Oreo Peanut Butter Pie comes together in just 20 minutes, making it a lifesaver for last-minute gatherings.
Delectable Layers: Each bite showcases a creamy peanut butter layer combined with silky chocolate pudding—pure bliss!
Crowd Favorite: From kids to adults, everyone will love the irresistible combination of flavors and textures!
Versatile Delight: Whether you’re serving it at a potluck or enjoying a cozy night in, this pie fits every occasion perfectly.
Effortless Storage: Make it a day ahead, chill it overnight, and it’s ready to impress without any extra work!
This dessert is bound to be a show-stopper, so if you love no-bake treats, don’t miss trying my Chewy Peanut Butter bars for more peanut butter goodness!
No Bake Oreo Peanut Butter Pie Ingredients
-
For the Crust
• Oreo Cookies – These create a crunchy base, use the whole cookie for maximum flavor; feel free to substitute with gluten-free Oreos if needed.
• Unsalted Butter – Helps bind the crumbs together; melted butter is a must for the perfect texture. -
For the Peanut Butter Layer
• Creamy Peanut Butter – Acts as the main flavor base; choose creamy or chunky based on your preference, but note that natural peanut butters might slightly change the texture.
• Whipped Topping – Lightens the filling; you can opt for Cool Whip or homemade whipped cream for a fresher taste.
• Milk – Works with the peanut butter to achieve the right consistency; whole milk is ideal, but almond or oat milk can be used for a dairy-free option. -
For the Chocolate Layer
• Chocolate Pudding Mix – Provides a rich second layer; instant pudding mix is best for quick prep, but homemade pudding will change the cooling time.
• Milk – Essential for blending with the pudding mix; same options as above apply here for the creamy texture. -
For the Topping
• Additional Whipped Topping – A delightful finish for your pie that ensures a light and airy finish, balancing the rich flavors below!
This No Bake Oreo Peanut Butter Pie is bound to be a show-stopper at any gathering!
Step‑by‑Step Instructions for No Bake Oreo Peanut Butter Pie
Step 1: Prepare the Crust
Begin by crushing Oreo cookies into fine crumbs using a food processor or by placing them in a ziplock bag and rolling over them with a rolling pin. Melt unsalted butter and mix it with the cookie crumbs until well combined. Press this mixture firmly into the bottom and up the sides of a 9-inch pie dish to form a sturdy crust. The crust should be compact and even for the best texture.
Step 2: Make the Peanut Butter Layer
In a mixing bowl, combine creamy peanut butter with half of the whipped topping. Add a splash of milk to achieve a smooth, spreadable consistency, mixing until fully combined. Pour this luscious mixture over the prepared Oreo crust, spreading it evenly with a spatula. The rich peanut butter layer will create an irresistible foundation for your No Bake Oreo Peanut Butter Pie.
Step 3: Prepare the Chocolate Layer
Whisk together the chocolate pudding mix and the remaining milk in a separate bowl until smooth and free of lumps—this should take about 2 minutes. Once combined, pour this silky chocolate layer over the peanut butter layer in the pie dish, spreading it out evenly to create a seamless layer. Watch as the colors contrast beautifully, adding visual appeal to your dessert.
Step 4: Add Topping
Spread the remaining whipped topping over the chocolate layer, smoothing it out gently with a spatula. This final layer not only adds an airy finish to your No Bake Oreo Peanut Butter Pie, but also balances the rich flavors beneath. You can create swirls or peaks for a decorative touch, making it look even more inviting.
Step 5: Chill
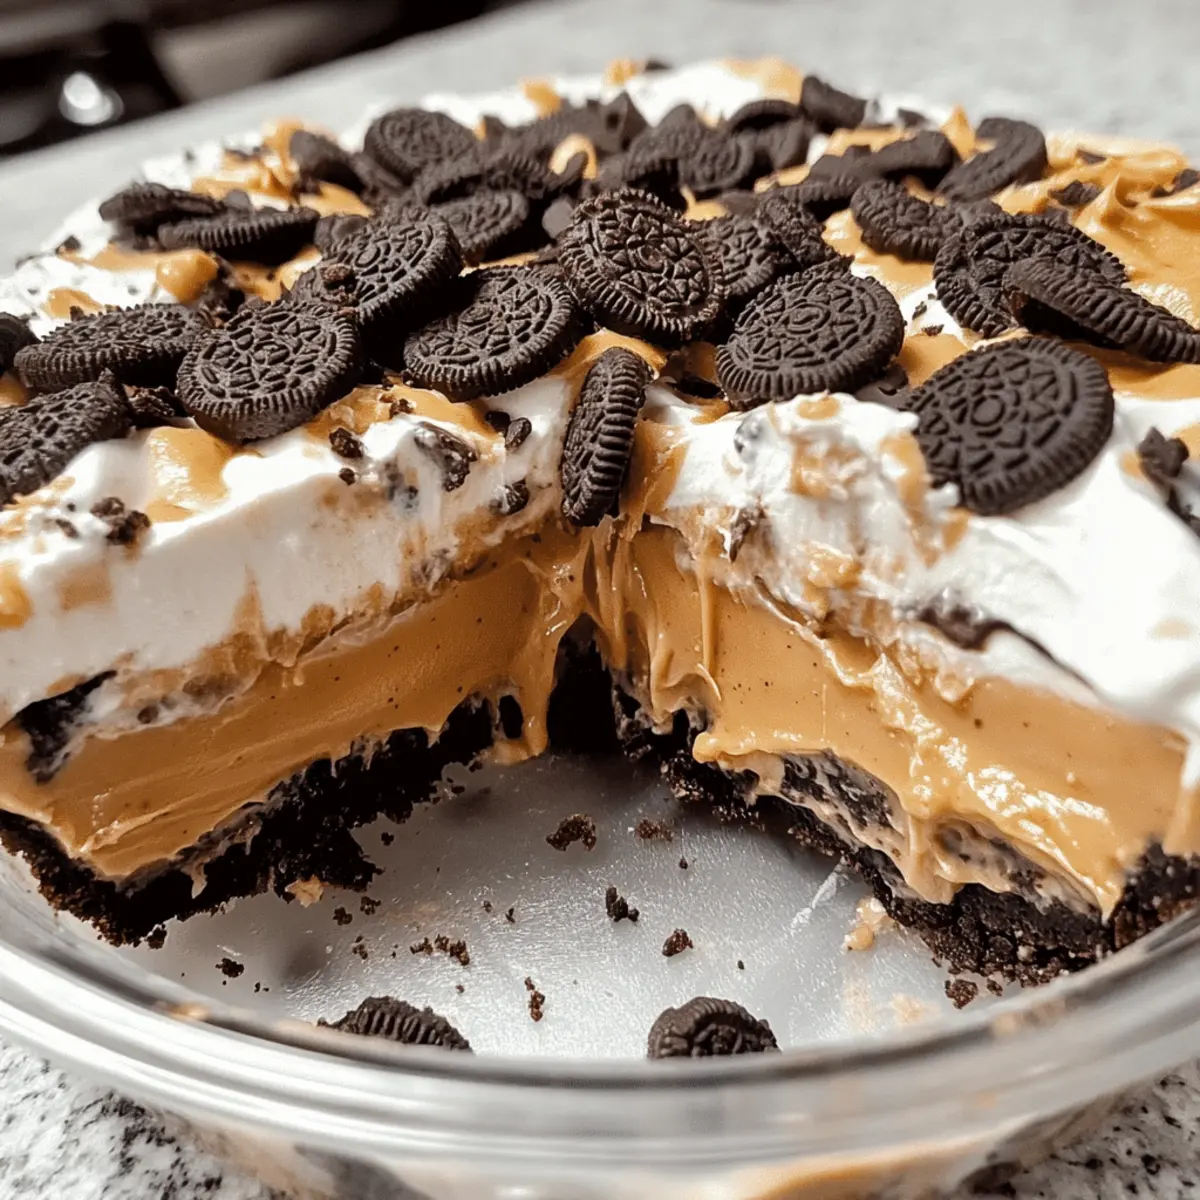
Cover the pie with plastic wrap and refrigerate for at least 3 hours, or preferably overnight. This chilling time allows the layers to set beautifully, melding the flavors together. When you remove it from the fridge, the pie should be firm yet creamy, perfect for slicing into generous, delicious pieces. The longer it sits, the more satisfying the flavors become!
Expert Tips for No Bake Oreo Peanut Butter Pie
-
Chill Overnight: Allowing your pie to chill overnight enhances the flavors and ensures the layers set properly for the best texture.
-
Avoid Overmixing: When combining the pudding mix and milk, whisk just until smooth; overmixing can introduce excess air and create a less ideal texture.
-
Press Firmly: Make sure to press the Oreo crust mixture firmly into the pie dish; this will prevent crumbling when slicing the final pie and provide a more stable base.
-
Alter Sweetness: To balance the sweetness, consider using dark chocolate pudding or reducing sugar in the whipped topping for a more nuanced flavor profile.
-
Layer Creatively: Feel free to add crushed nuts or toffee bits between layers for added crunch and flavor in your No Bake Oreo Peanut Butter Pie!
Make Ahead Options
These No-Bake Oreo Peanut Butter Layered Pies are ideal for busy cooks looking to save time without sacrificing flavor! You can prepare the entire pie up to 24 hours in advance—just make sure to chill it overnight to allow the layers to set beautifully and develop that irresistible taste. For best quality, cover the pie tightly with plastic wrap to prevent any absorption of odors from the fridge. When you’re ready to serve, simply slice and garnish as desired; the pie will taste just as fresh, creamy, and delightful as when you first made it. Embrace the ease of meal prep and enjoy this crowd favorite with minimal effort!
No Bake Oreo Peanut Butter Pie Variations
Feel free to get creative and tailor this scrumptious pie to match your cravings or dietary needs!
-
Nut Swap: Replace peanut butter with almond or cookie butter for a delightful twist. The creamy richness remains, but with a unique flavor!
-
Crunch Factor: Mix in crushed nuts or toffee bits into the peanut butter layer. This adds a fun crunch, elevating your pie’s texture!
-
Gluten-Free Option: Use gluten-free Oreos instead of regular cookies. You’ll enjoy the same great taste without the gluten!
-
Chocolate Crust: Swap out Oreos for chocolate sandwich cookies in the crust. This will amplify the chocolatey goodness while maintaining that crispy texture.
-
Sweetness Adjustments: Use dark chocolate pudding for a less sweet yet richly flavored layer. It’ll bring out a bolder chocolate hit!
-
Skip the Dairy: For a vegan version, use plant-based whipped topping and almond milk in the pudding mix. This way, everyone can indulge without worry!
-
Flavor Boost: Add a splash of vanilla or almond extract to the peanut butter layer for an extra aromatic kick. You’ll taste the difference with this simple addition!
-
Fruit Layer: Mix in sliced bananas or strawberries into the peanut butter layer for a fruity fresh touch. These additions not only enhance flavor but provide a juicy contrast to the creaminess.
As you explore these variations, you’ll be delighted by how each one can transform your No Bake Oreo Peanut Butter Pie. Don’t forget to check out my Peanut Butter Chocolate eclair delight for more inspiration, or maybe try out the delicious Peanut Butter Brownie cups! Enjoy your baking adventure!
What to Serve with No-Bake Oreo Peanut Butter Layered Pie
When planning the perfect gathering, a delectable dessert like this pie deserves equally delightful companions.
- Refreshing Fruit Salad: A mix of seasonal fruits adds brightness and balance, cutting through the richness of creamy pie layers.
- Vanilla Ice Cream: The classic pairing of ice cream melts beautifully into each slice, creating a heavenly, indulgent experience.
- Chocolate Drizzle: A simple drizzle of warm chocolate sauce enhances the dessert’s lavishness while providing an extra layer of sweetness.
To bring out the pie’s layered textures, consider serving it alongside a crunchy element, like a handful of chocolate-covered pretzels. They add a salty-sweet crunch that complements the creamy filling beautifully.
- Nutty Snack Mix: A small bowl of spiced or sweet nut mix offers a pleasing contrast with its crunchy texture; almonds or peanuts enhance the peanut butter theme.
- Cold Brew Coffee: The smooth bitterness of cold brew coffee creates a delightful balance with the sweetness of the pie, elevating the dessert experience.
- Whipped Coffee: For an Instagram-worthy presentation and flavor, serve whipped coffee on the side; its richness will match the pie exceptionally well.
No gathering is complete without something sweet—and this No-Bake Oreo Peanut Butter Layered Pie shines even brighter with these delightful pairings!
How to Store and Freeze No Bake Oreo Peanut Butter Pie
- Fridge: Store the No Bake Oreo Peanut Butter Pie in an airtight container in the refrigerator for up to 5 days. This keeps the pie fresh and the layers intact.
- Freezer: If you wish to freeze, wrap the pie tightly in plastic wrap and then in aluminum foil. It can be frozen for up to 2 months; just make sure to thaw it overnight in the fridge before serving.
- Reheating: No need to reheat this no-bake treat! Simply slice and serve straight from the fridge or let it sit at room temperature for about 15 minutes for a creamier texture.
- Make-Ahead Storage: This pie is ideal for making a day ahead. Just cover it well and refrigerate to let the flavors meld, ensuring a delightful dessert experience!
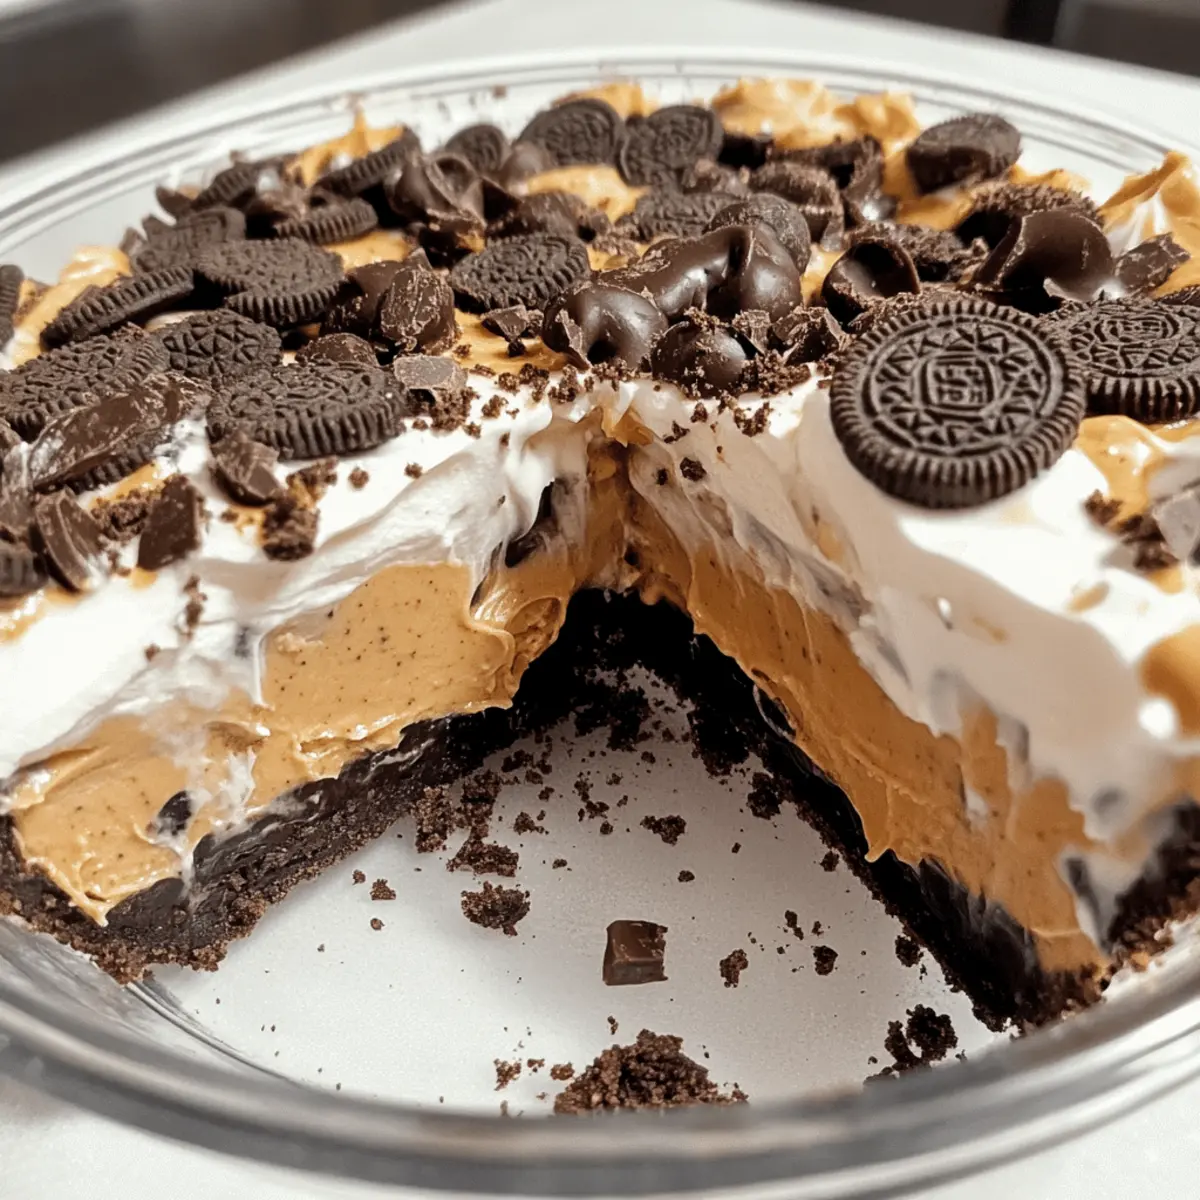
No-Bake Oreo Peanut Butter Layered Pie Recipe FAQs
How do I select the best Oreo cookies for the crust?
Absolutely! When choosing Oreo cookies, look for ones that are fresh and free of dark spots or broken pieces. The entire cookie, filling included, adds maximum flavor to your crust. If needed, gluten-free Oreos are a fantastic substitute that works just as beautifully!
What is the best way to store the No-Bake Oreo Peanut Butter Pie?
You can store this decadent pie in an airtight container in the refrigerator for up to 5 days. This method keeps the layers fresh and intact, ensuring every slice is just as delightful as the first.
Can I freeze the No-Bake Oreo Peanut Butter Pie?
Very much! To freeze, wrap the pie tightly in plastic wrap, then cover it with aluminum foil to avoid freezer burn. It can be stored for up to 2 months. When you’re ready to enjoy it, simply thaw it in the fridge overnight. This method ensures it retains its creamy texture and delightful flavor.
What should I do if my chocolate pudding layer didn’t thicken properly?
If your pudding layer didn’t thicken as expected, ensure you whisked it with the correct amount of milk according to the package instructions. It’s also important to avoid overmixing; whisk just until smooth. If it’s still too runny, try adding a bit more pudding mix to the mixture as a thickening agent and let it sit for a few minutes before layering it onto the pie.
Does this recipe contain any allergens?
Definitely keep in mind that this No-Bake Oreo Peanut Butter Pie contains common allergens like dairy, peanuts, and gluten. If you’re sharing it with friends who have allergies, consider using alternatives such as almond or cashew butter and dairy-free milk, as well as gluten-free Oreo cookies for a safe and tasty option!
Can I incorporate additional ingredients for extra flavor and texture?
You bet! I often make this pie with a twist by adding crushed nuts or toffee bits between layers. Feel free to get creative by substituting peanut butter for cookie butter or almond butter for a unique flavor profile. The more the merrier in this delicious pie!
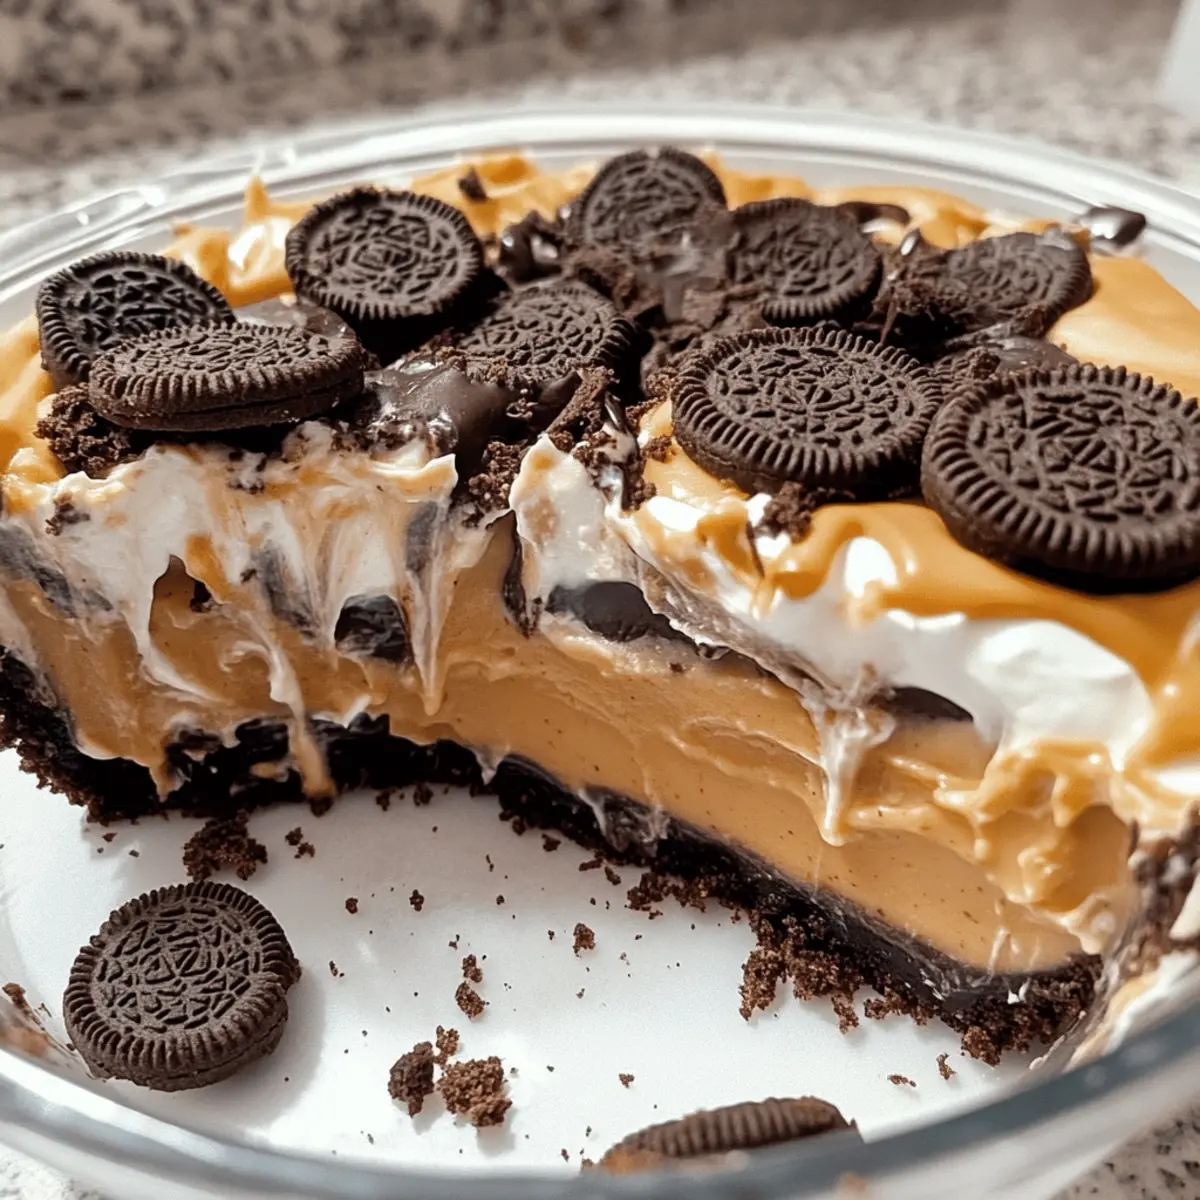
Heavenly No Bake Oreo Peanut Butter Pie That's a Crowd-Pleaser
Ingredients
Equipment
Method
- Begin by crushing Oreo cookies into fine crumbs. Melt unsalted butter and mix it with the crumbs, then press into a 9-inch pie dish to form a crust.
- In a mixing bowl, combine creamy peanut butter with half of the whipped topping and a splash of milk. Mix until smooth and pour over the crust.
- Whisk chocolate pudding mix and remaining milk until smooth. Pour this layer over the peanut butter layer, spreading it evenly.
- Spread the remaining whipped topping over the chocolate layer, smoothing it out with a spatula.
- Cover the pie and refrigerate for at least 3 hours, preferably overnight, to allow layers to set.