
As I prepped for a recent celebration, an idea struck me: what if we could have all the grandeur of a traditional birthday cake without turning on the oven? Enter my No-Bake Birthday Cake Delight! This dessert not only hugs the sweet, nostalgic flavors we love but also offers a creamy cheesecake pudding base layered over a rich buttery crust—no baking required! It’s perfect for those who want an elevated treat without the fuss, and it’s vegetarian-friendly to boot. The beauty of this no-bake wonder lies not just in its ease but also in its crowd-pleasing charm that delights both kids and adults alike. Are you ready to whip up a show-stopping dessert that requires no more than a few simple steps? Let’s dive in!
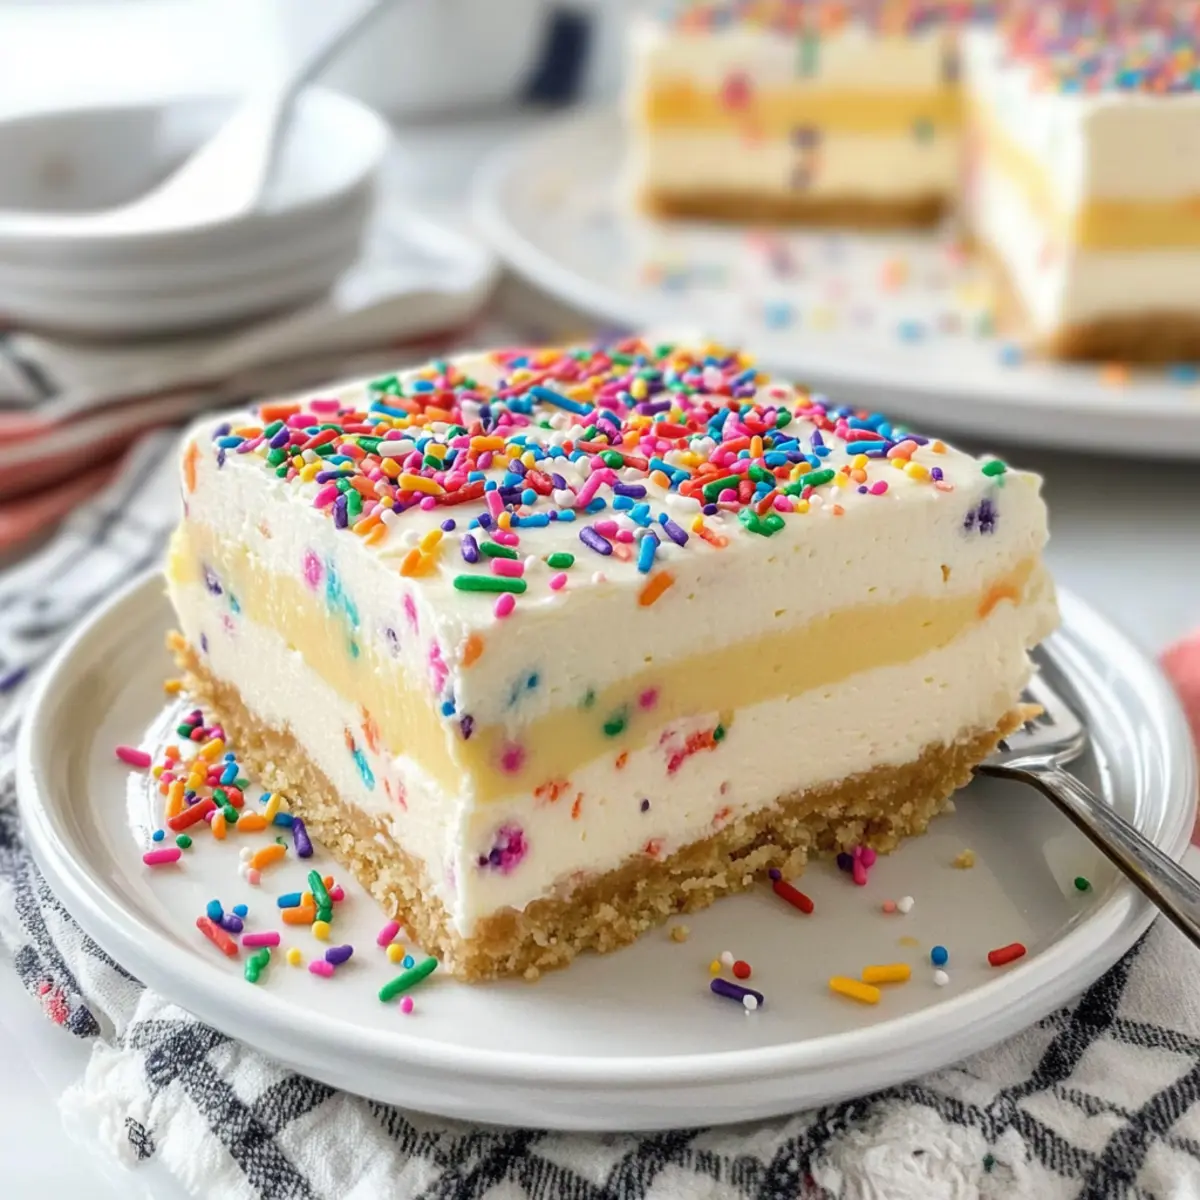
Why Is This Birthday Cake Delight A Must-Try?
Simplicity at Its Best: No need for complicated baking skills—this delightful treat can be whipped up in no time!
Crowd-Pleasing Appeal: Perfect for birthday parties, family gatherings, or casual celebrations, it’s loved by both kids and adults alike.
Creamy, Decadent Layers: A luscious cheesecake pudding fills a buttery Golden Oreo crust, offering a rich blend of textures in every bite.
Versatile Flavor Options: Customize with different pudding flavors or add fresh fruit layers to make it your own!
Make-Ahead Magic: Prep this dessert in advance; it chills beautifully in the fridge and is ready to dazzle when the celebration begins.
For more delightful no-bake ideas, don’t miss my Birthday Cheesecake or explore fun variations like Bundt Cake Delightful.
Birthday Cake Delight Ingredients
• A blend of simple components creates a rich flavor.
For the Crust
- Golden Oreos – Provides the crust’s base; a sweet and crunchy texture. Substitution: Any other sandwich cookie can be used for a different flavor.
- Butter – Acts as a binding agent for the crust, adding richness. Use margarine for a dairy-free option.
For the Cream Cheese Layer
- Cream Cheese – Creates a smooth, rich filling for the dessert. Neufchâtel cream cheese can be used for a lighter version.
- Powdered Sugar – Sweetens the cream cheese layer, enhancing the dessert’s sweetness. Granulated sugar can be used; just ensure it’s blended well to avoid gritty texture.
- Vanilla Extract – Adds flavor depth to the cream cheese mixture. Use almond extract for an alternative flavor.
- Birthday Sprinkles – For a festive touch and visual appeal in the filling. Substitute with any colorful nonpareils or omit if desired.
For the Pudding Layer
- Cheesecake Instant Pudding Mix – Flavor base for the pudding layer that sets quickly. Vanilla pudding mix can be swapped for a different flavor.
- Milk – Incorporates into the pudding mix for ideal consistency. Almond milk or coconut milk can be used for a non-dairy alternative.
For the Topping
- Cool Whip – Adds a light, creamy topping layer. Use homemade whipped cream for a fresh option.
Step‑by‑Step Instructions for Birthday Cake Delight
Step 1: Prepare Your Pan
Begin by spraying a 9×9 inch pan with non-stick spray to ensure your Birthday Cake Delight releases easily later. This simple step sets the stage for a flawless presentation! Lay your pan aside as you gather your ingredients for the crust layer.
Step 2: Crust Preparation
In a food processor, crush the Golden Oreos into fine crumbs, which should take roughly 30 seconds. Melt about 1/4 cup of butter, and combine it with the cookie crumbs until the mixture resembles wet sand. Press this blend firmly into the bottom of your prepared pan, creating an even layer that will serve as the delicious base of your dessert.
Step 3: Cream Cheese Layer
In a mixing bowl, beat 8 ounces of softened cream cheese with 1 cup of powdered sugar, 1 teaspoon of vanilla extract, and 1 tablespoon of milk until smooth and creamy, about 2-3 minutes. Fold in a generous sprinkle of birthday sprinkles for an extra festive flair. Spread this creamy mixture evenly over your crust layer using a spatula, ensuring every bite will burst with flavor.
Step 4: Pudding Layer
In a separate bowl, whisk together 2 cups of milk with 1 package of cheesecake instant pudding mix for about 2 minutes until thickened and smooth. Pour this luscious pudding mixture over the cream cheese layer, using a spatula to spread it gently and evenly. It should be silky and enticing, ready to chill as you prepare the final touch.
Step 5: Top Layer
Once the pudding layer is set, take a tub of Cool Whip and gently spread it over the pudding mixture. Aim for a smooth, fluffy topping that encapsulates the deliciousness beneath. Make sure it’s evenly spread, adding a lovely contrast to the layers that make your Birthday Cake Delight so special.
Step 6: Finishing Touch
To add a celebratory flair, sprinkle additional birthday sprinkles across the top of the Cool Whip layer. This final decoration will not only enhance the visual appeal but will also remind everyone that this dessert is a festive treat. Now, it’s time to chill your creation for at least 2 hours in the refrigerator to allow all those delightful layers to set beautifully.
Step 7: Serve and Enjoy
After chilling, cut the Birthday Cake Delight into squares and serve with fresh fruit or a scoop of ice cream if desired. Each slice reveals the dreamy layers and vibrant sprinkles, making it the perfect centerpiece for any celebration. Enjoy the smiles as you share this easy, no-bake treat with family and friends!
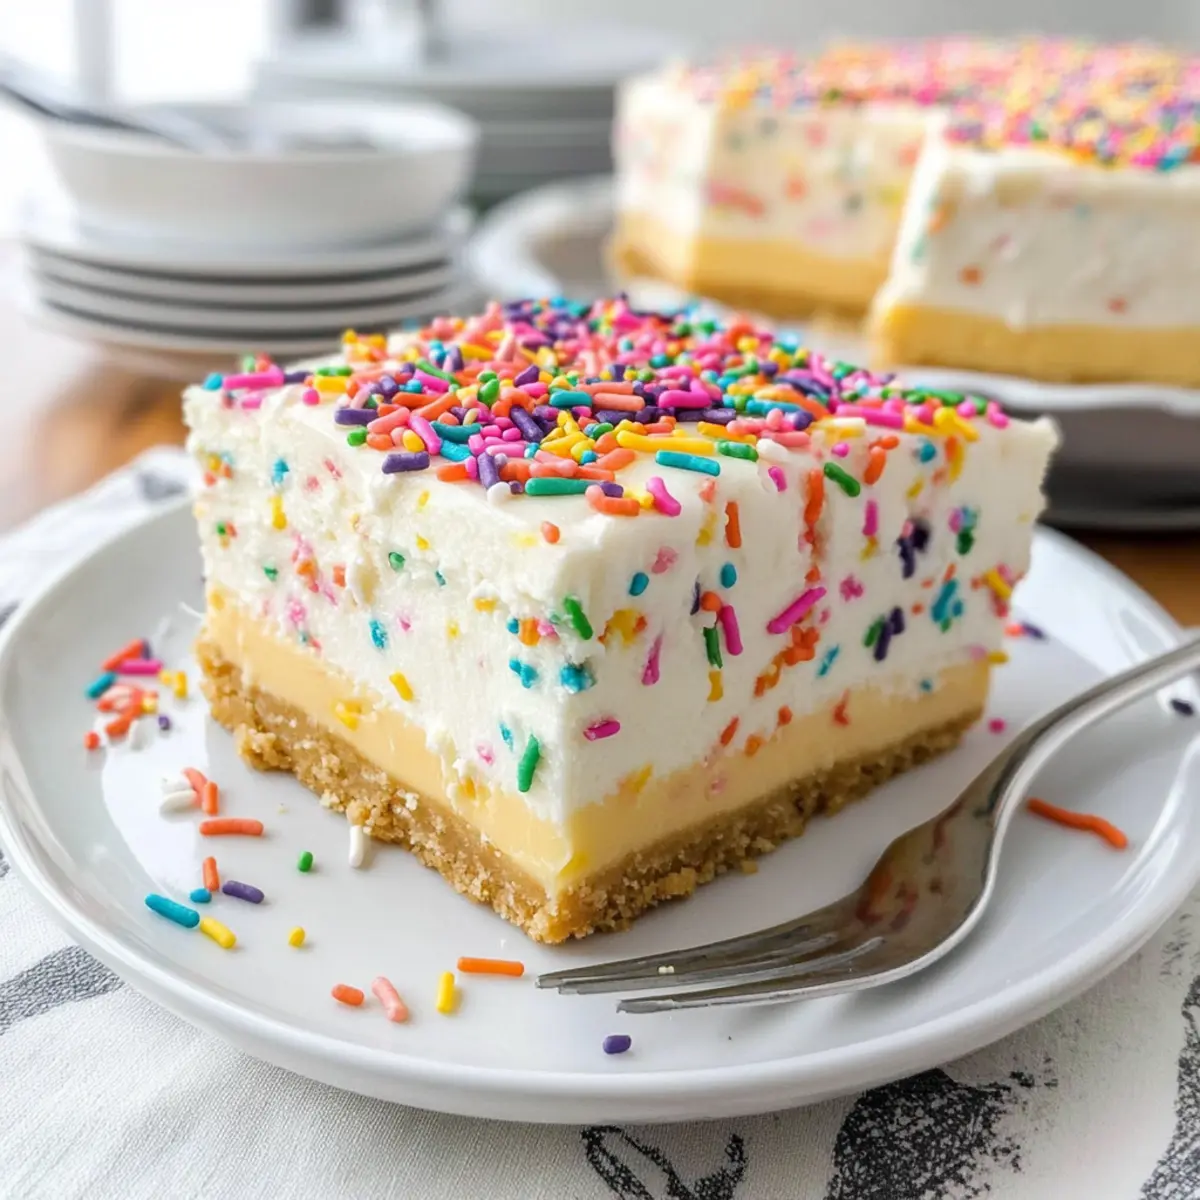
Make Ahead Options
These Birthday Cake Delight layers are perfect for busy home cooks looking to save time! You can prepare the crust and cream cheese layer up to 24 hours in advance. Just ensure to press the crust firmly into the pan and store the cream cheese mixture covered in the refrigerator to maintain its creamy texture. The pudding layer can also be mixed a few hours ahead of time, allowing you to pour it over the cream cheese layer when ready. Finally, add the Cool Whip and sprinkles right before serving to keep everything looking fresh and fabulous. This way, when it’s time to celebrate, your dessert will be just as delicious and impressive with minimal effort!
How to Store and Freeze Birthday Cake Delight
Fridge: Keep leftovers covered in the refrigerator for up to 3 days. This dessert is best enjoyed fresh but still delicious after a day.
Freezer: To freeze, wrap the dish tightly in plastic wrap and then aluminum foil. It can be stored in the freezer for up to 2 months.
Thawing: When ready to enjoy, thaw the Birthday Cake Delight overnight in the fridge. Avoid thawing at room temperature to maintain texture.
Reheating: There’s no need to reheat this no-bake dessert; simply serve chilled and allow guests to enjoy its refreshing layers.
What to Serve with No-Bake Birthday Cake Delight
Elevate your celebration with delightful accompaniments that perfectly complement the creamy layers and sweet textures of this stunning dessert.
- Fresh Berries: Juicy strawberries or raspberries add a pop of freshness and a lovely tartness that balances the sweetness of the cake.
- Vanilla Ice Cream: A scoop of creamy vanilla ice cream creates a delightful contrast, adding a rich and indulgent touch that guests will adore.
- Whipped Cream: While it’s already topped with Cool Whip, a dollop of homemade whipped cream enhances the texture and adds extra creaminess to every bite.
- Fruit Salad: A vibrant bowl of mixed fruit offers a refreshing side that cuts through the richness of the Birthday Cake Delight, adding color and joy to the table.
- Sparkling Lemonade: The bubbly and slightly tart flavors of sparkling lemonade serve as a fun, festive drink pairing that complements the sweet layers beautifully.
- Chocolate Drizzle: A light drizzle of chocolate sauce over individual servings adds a decadent touch that elevates the dessert experience even further.
- Pecan Topping: Sprinkle some chopped pecans on the side for a delightful crunch that complements the smooth textures of the dessert.
- Cheesecake Frappe: A cold cheesecake-flavored drink brings a delightful twist, echoing the flavors of the dessert while being refreshing and delicious.
- Mini Fruit Tarts: Offer mini fruit tarts for a bite-sized treat that harmonizes well, giving your guests different sweet options to enjoy.
Birthday Cake Delight Variations & Substitutions
Get ready to make this already delightful dessert even more exciting by customizing it to fit your taste!
- Gluten-Free: Use gluten-free sandwich cookies to make the crust, ensuring everyone can enjoy this sweet treat.
- Fruit-Filled: Add a layer of fresh sliced strawberries or raspberries on top of the cream cheese layer for a fruity twist and added freshness.
- Chocolate Lover’s Delight: Swap out the cheesecake pudding mix for chocolate pudding to create a rich, decadent dessert that chocolate lovers will adore.
- Nutty Crust: Incorporate crushed nuts, like almonds or walnuts, into the crust mixture for an added crunch and nutty flavor profile.
- Flavor Boost: Try using flavored extracts like almond or coconut instead of vanilla to enhance the cream cheese layer with a twist of unique flavor.
- Dairy-Free: Replace cream cheese and Cool Whip with non-dairy alternatives made from cashews or coconut for a completely dairy-free version.
- Caramel Drizzle: Add a swirl of caramel sauce on top of the Cool Whip layer for an extra touch of sweetness that elevates the dessert’s appeal.
- Layered Parfaits: Instead of a traditional cake, create individual parfaits in jars for a fun presentation, layering the ingredients for a lovely, portable dessert.
Embrace creativity while baking! For more delightful desserts, check out my Lemon Cheesecake Truffles or dive into the whimsical world of Japanese Cotton Candy.
Expert Tips for No-Bake Birthday Cake Delight
-
Softened Cream Cheese: Make sure your cream cheese is fully softened before mixing; it ensures a smooth, creamy filling without lumps.
-
Chill Time: Allow the dessert to chill for at least two hours after assembly; this helps the layers set and makes slicing easier.
-
Layer Integrity: Use a spatula to gently spread each layer; this maintains the definition between layers and prevents mixing.
-
Customize Flavors: Don’t hesitate to swap out the cheesecake pudding with flavors like chocolate or vanilla; this makes every Birthday Cake Delight uniquely yours!
-
Serving Suggestion: For a fun twist, add slices of fresh fruit between layers; it adds color and freshness to your dessert.
Feel free to bring the joy of this Birthday Cake Delight into your next celebration!
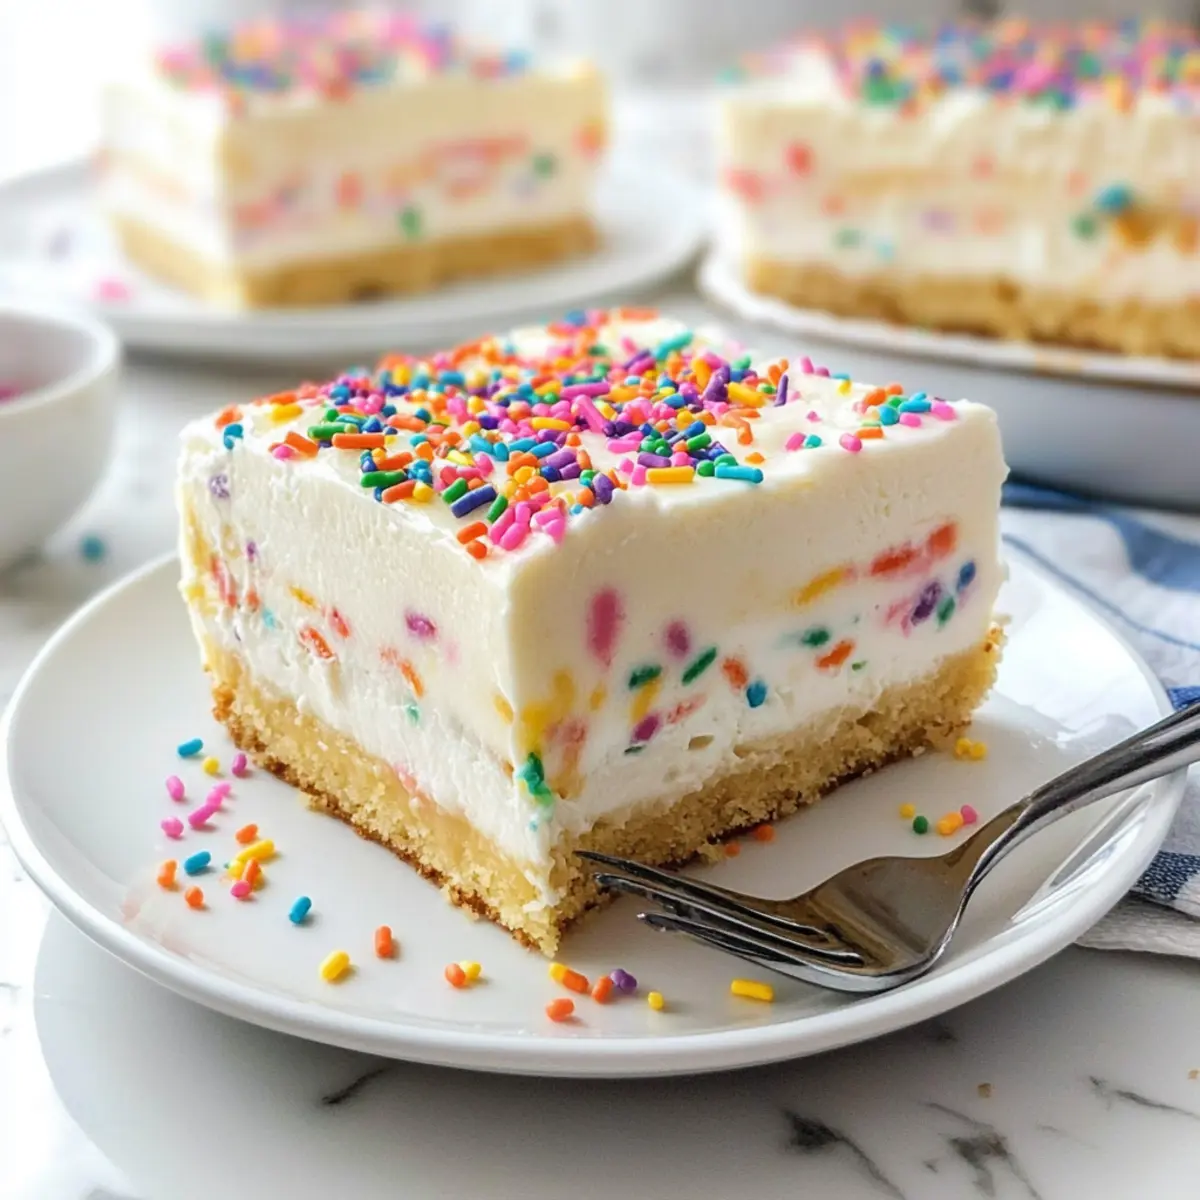
Birthday Cake Delight Recipe FAQs
What type of cookies work best for the crust?
Absolutely! Golden Oreos are an excellent choice for the crust due to their sweet and crunchy texture. However, feel free to experiment with any sandwich cookie you love—think chocolate cream or peanut butter for a unique twist!
How should I store leftover Birthday Cake Delight?
To keep your delicious creation fresh, simply cover it tightly with plastic wrap or foil and store it in the refrigerator for up to 3 days. It’s best enjoyed on the first day, but after a day in the fridge, the flavors meld beautifully.
Can I freeze the Birthday Cake Delight?
Very! To freeze your dessert, wrap the entire dish tightly in plastic wrap followed by aluminum foil to prevent freezer burn. It can be kept for up to 2 months. When you’re ready to serve it, thaw it overnight in the refrigerator for best results, preserving its creamy texture.
What if my cream cheese layer is lumpy?
A common issue! Ensure you’re using softened cream cheese; this is crucial for achieving that smooth filling. If you find it lumpy after mixing, try beating it a bit longer or using a hand mixer to whip the mixture until it’s silky. Don’t skip the chilling time, as the final product will set beautifully.
Are there any dietary considerations for this dessert?
Absolutely! This Birthday Cake Delight is vegetarian-friendly. If you’re looking to make it dairy-free, substitutes like almond milk, margarine, and a non-dairy whipped topping can be used. Just check labels for any potential allergens based on your guests’ dietary restrictions.
How long does it take for the layers to set?
After assembling your Birthday Cake Delight, it’s essential to chill it for at least 2 hours in the refrigerator before serving. This allows the layers to firm up, leading to cleaner cuts and a delightful, cohesive texture that everyone will enjoy!
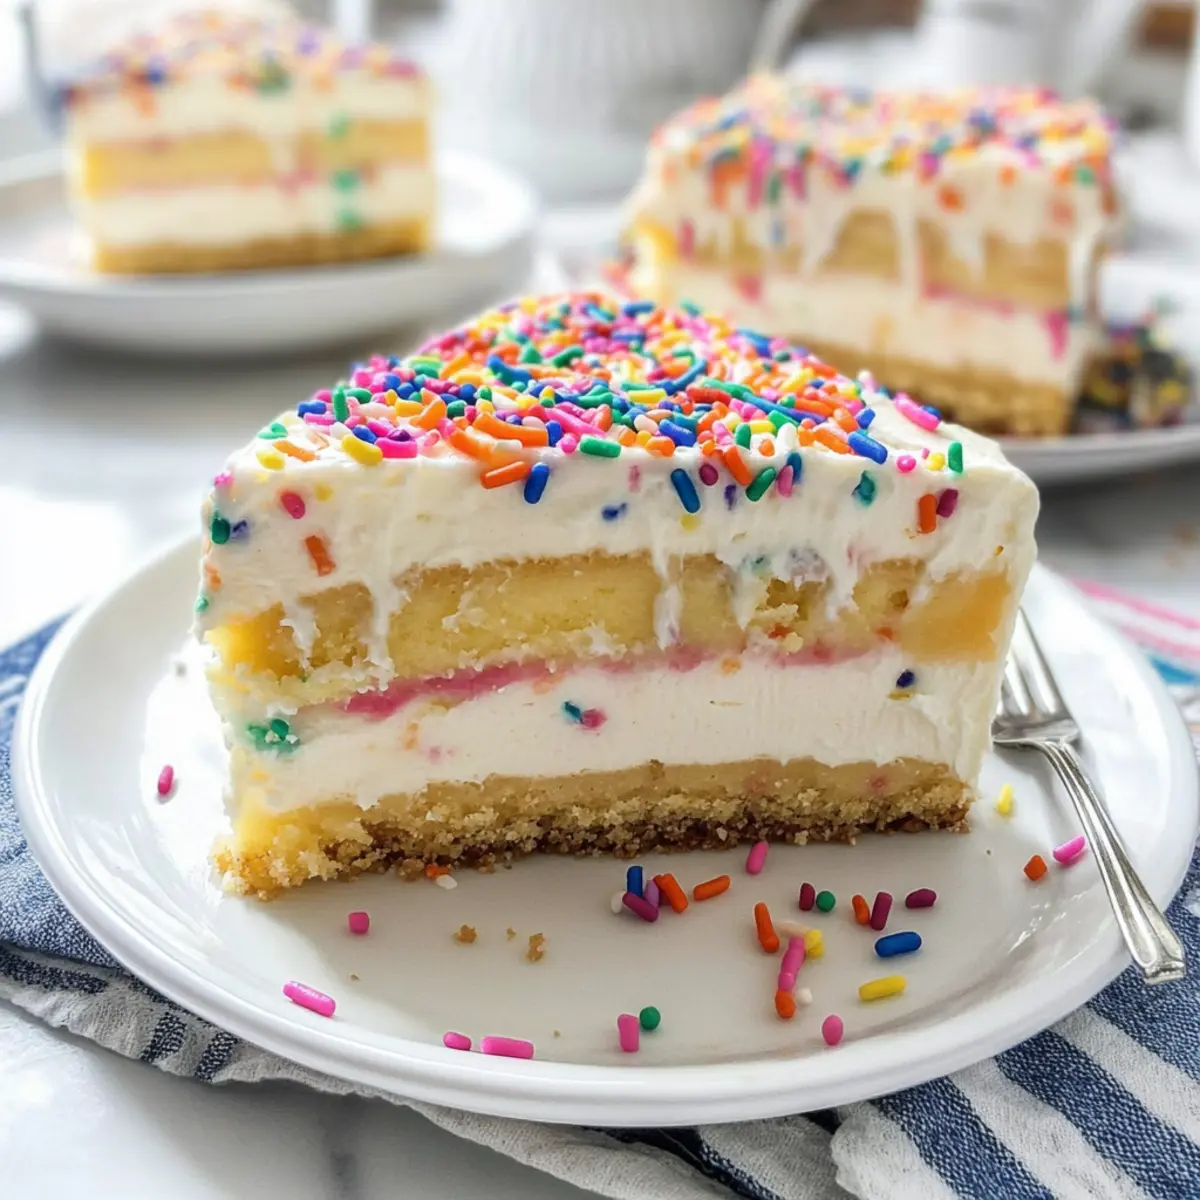
Indulge in No-Bake Birthday Cake Delight for Sweet Celebrations
Ingredients
Equipment
Method
- Step 1: Prepare Your Pan - Spray a 9x9 inch pan with non-stick spray.
- Step 2: Crust Preparation - Crush the Golden Oreos and mix with melted butter. Press into the pan.
- Step 3: Cream Cheese Layer - Beat cream cheese, powdered sugar, vanilla, and milk until smooth. Stir in birthday sprinkles and spread over the crust.
- Step 4: Pudding Layer - Whisk milk and pudding mix, then pour over the cream cheese layer.
- Step 5: Top Layer - Spread Cool Whip over the pudding layer.
- Step 6: Finishing Touch - Sprinkle additional birthday sprinkles on top.
- Step 7: Serve and Enjoy - Chill for at least 2 hours, then cut into squares and serve.