
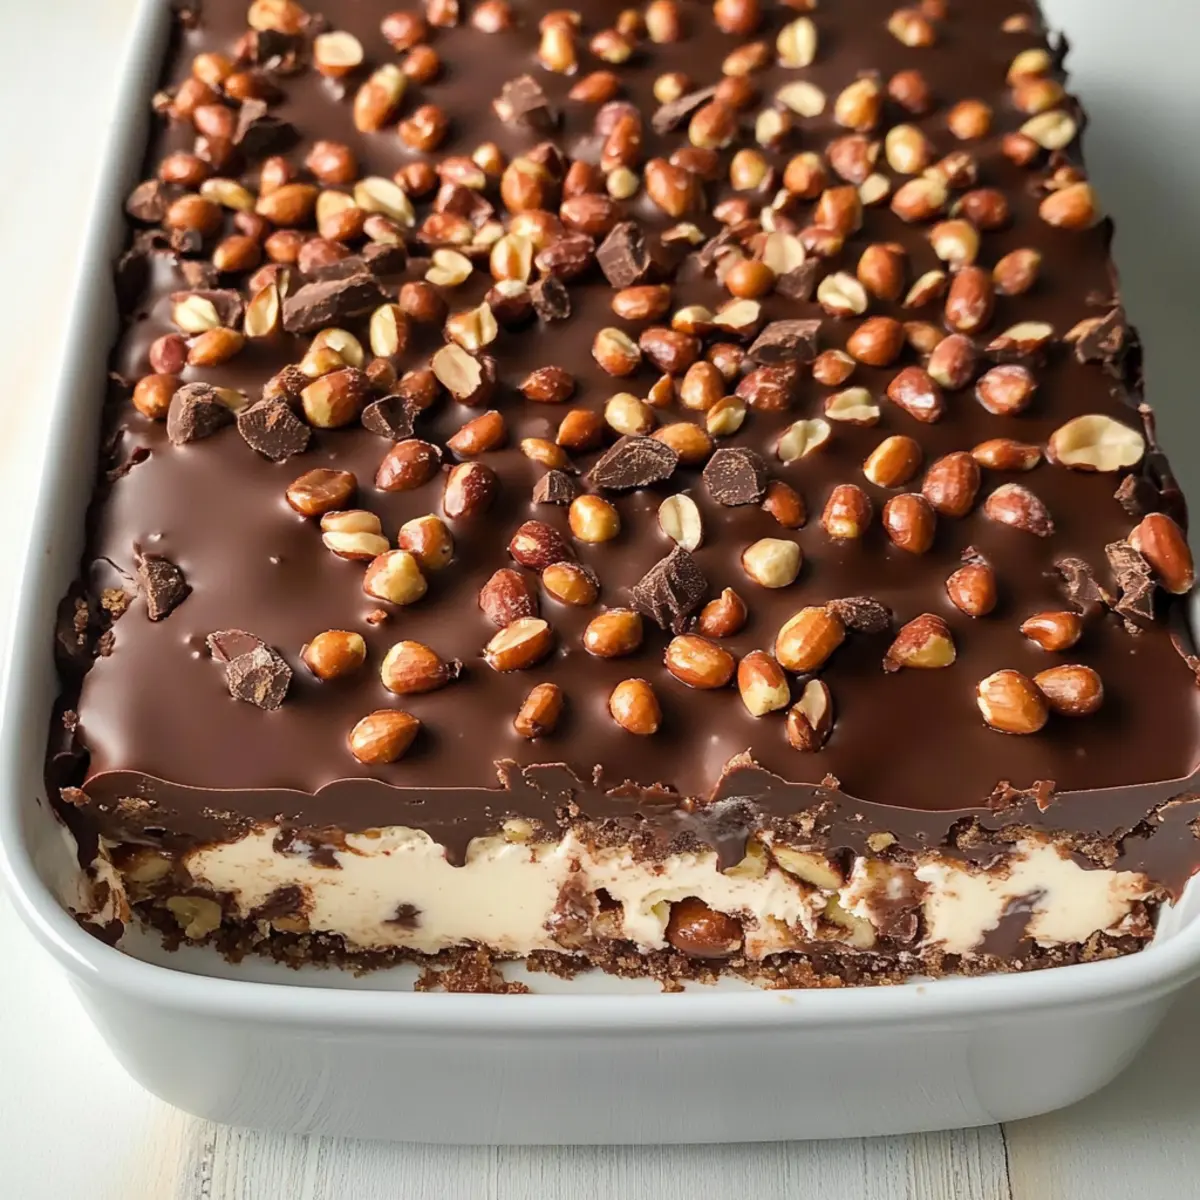
As I scooped up another slice of this creamy Buster Bar Ice Cream Cake, a wave of nostalgia washed over me, reminiscent of childhood ice cream truck visits. This no-bake dessert is an absolute game-changer, blending layers of luscious vanilla ice cream, silky fudge, and crunchy peanuts, all topped with a crackly chocolate shell. What makes it even better is how effortlessly you can whip it up—perfect for those busy days when you crave something special without fussing over complicated recipes. Plus, it’s gluten-free if you opt for the right substitutions! Whether you’re serving it at summer gatherings or simply treating yourself after a long day, this cake is sure to impress. Are you ready to take a trip down memory lane and indulge in this delightful dessert? Let’s dive into the recipe!
Why is Buster Bar Ice Cream Cake a Must-Try?
Decadent Layers: Imagine diving into layers of creamy vanilla ice cream, luscious fudge, and crunchy peanuts. Each bite delivers a delightful burst of flavor that’ll transport you straight to your childhood ice cream truck days!
No-Bake Convenience: This recipe is perfect for busy days—no baking required! Just layer and freeze for a fabulous dessert that saves you time and effort.
Versatile Variations: Want to mix it up? Try adding your favorite ice cream flavors or toppings! For something unique, why not swap in some peanut butter or experiment with mint ice cream?
Crowd-Pleasing Favorite: Ideal for parties or summer gatherings, this cake is guaranteed to impress guests and satisfy sweet cravings—all while catering to gluten-free diets with simple substitutions.
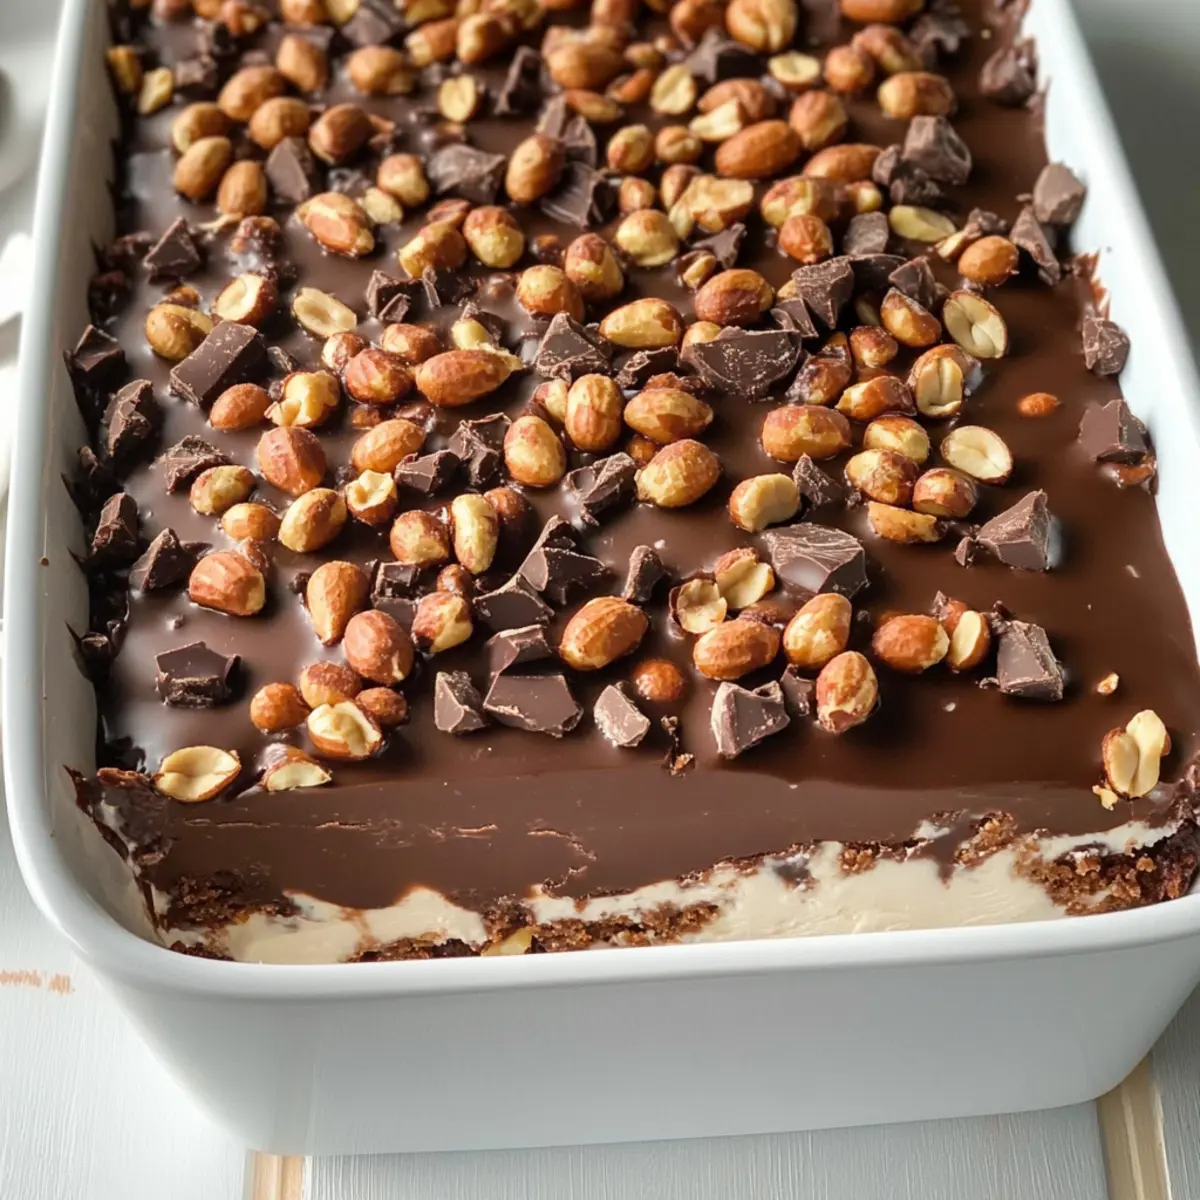
Satisfying Texture: The combination of a hard chocolate shell and creamy filling creates a perfect marriage of textures that will have you reaching for another slice. You’ll love how easy it is to whip up this nostalgic treat!
Buster Bar Ice Cream Cake Ingredients
For the Cake Base
• Chocolate Graham Crackers – Provides a sturdy base and delightful chocolate flavor; substitute with chocolate wafer cookies if needed.
For the Ice Cream Layers
• Vanilla Ice Cream – Offers the classic creamy texture and nice sweetness that pairs perfectly with the other ingredients; swap for chocolate or mint ice cream for a twist.
For the Fudge Layer
• Hot Fudge Sauce – Adds rich flavor and smoothness; any store-bought or homemade fudge will work beautifully.
For the Crunch
• Red Skin Peanuts – Introduces a delightful crunch and nutty flavor that balances the sweetness; use salted peanuts or omit for a nut-free option.
For the Chocolate Coating
• Magic Shell Chocolate Coating – Ensures peanuts stick on top while providing a lovely hard shell; melted chocolate can serve as a suitable alternative.
Step‑by‑Step Instructions for Buster Bar Ice Cream Cake
Step 1: Soften the Ice Cream
Begin by removing the vanilla ice cream from the freezer and letting it sit at room temperature for about 10-15 minutes, until slightly softened but not melted. This will make spreading easier later. You want it to be creamy and scoopable, allowing for an even layer on your cake base.
Step 2: Prepare the Baking Dish
Line the bottom of a 9×13-inch baking dish with whole chocolate graham crackers, breaking the crackers as necessary to fit snugly. Make sure to create a solid base without any gaps. This will hold your Buster Bar Ice Cream Cake layers together and provide a wonderful crunch through the dessert.
Step 3: Spread the First Ice Cream Layer
Once the ice cream is softened, use a spatula to spread half of it evenly over the chocolate graham cracker layer. Work quickly to avoid melting the ice cream too much. Aim for a smooth, even surface so each slice will showcase those delicious layers beautifully.
Step 4: Add the Hot Fudge
Pour a generous layer of hot fudge sauce over the ice cream, ensuring to cover it completely for a rich flavor boost. Using a spatula, gently spread the fudge to create an even layer. Next, sprinkle half of the red skin peanuts on top, embedding them slightly into the fudge for added crunch.
Step 5: Add the Remaining Ice Cream
Spread the remaining softened ice cream over the fudge and peanut layer, smoothing it down with your spatula. Ensure it is level so the dessert has a uniform look when cut. This layer will meld beautifully with the fudge and nuts beneath, creating a delightful blend of textures in your Buster Bar Ice Cream Cake.
Step 6: Top with Peanuts and Magic Shell
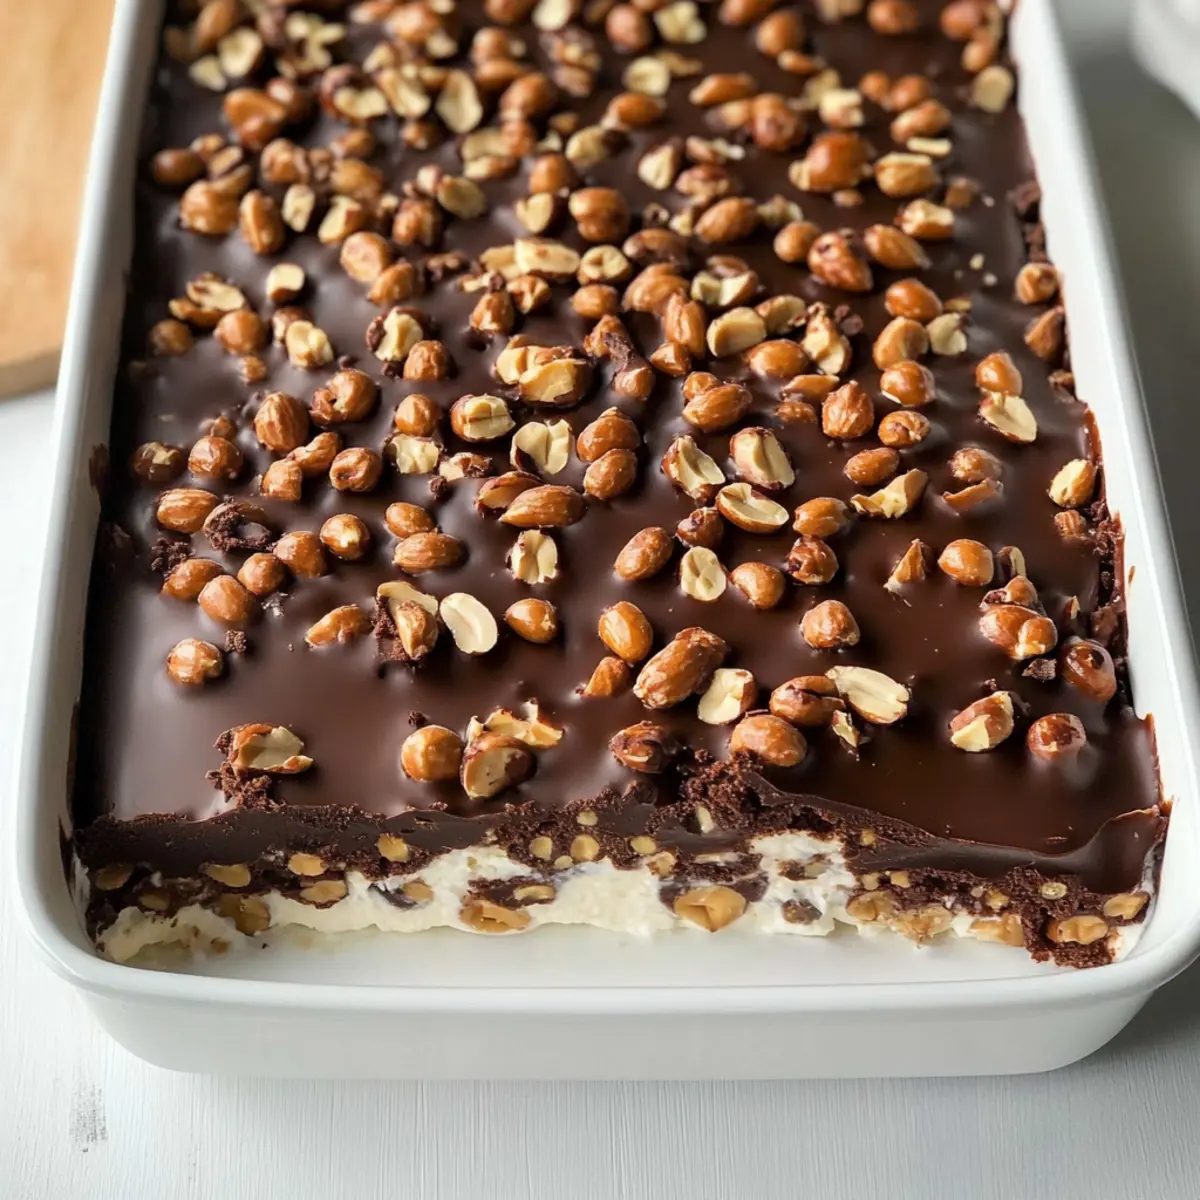
Sprinkle the remaining peanuts evenly over the top of the last ice cream layer, pressing them in gently for better adherence. Then, drizzle the Magic Shell chocolate coating over the peanuts, allowing it to harden as it sets. This creates a delectable shell that will add a satisfying crunch to every bite.
Step 7: Freeze the Cake
Cover the baking dish tightly with plastic wrap to prevent freezer burn, and place it flat in the freezer. Allow the Buster Bar Ice Cream Cake to freeze for at least 3 hours, or until firm. This will ensure that each layer sets perfectly, making slicing easier and creating the best textures when served.
Expert Tips for Buster Bar Ice Cream Cake
-
Perfect Timing: Allow the ice cream to soften for optimal spreading. If it’s too hard, you’ll end up with an uneven layer that isn’t as delightful as you’d want.
-
No Gaps: Ensure the chocolate graham cracker layer is tightly packed to maintain structure. Any gaps can lead to a crumbly dessert that doesn’t slice well.
-
Layer Evenly: When adding the ice cream, hot fudge, and peanuts, strive for even layers to enhance both the appearance and taste. This allows the flavors to meld beautifully in every bite.
-
Chill Before Slicing: Refrigerate the cake for 30-45 minutes after freezing to make cutting easier and cleaner. It also allows the flavors to meld together nicely.
-
Freezer Wrap: Wrap the baking dish correctly with plastic wrap before freezing to prevent freezer burn, which can ruin the taste and texture of your Buster Bar Ice Cream Cake.
How to Store and Freeze Buster Bar Ice Cream Cake
Fridge: Keep the Buster Bar Ice Cream Cake in an airtight container for up to 3 days. If exposed to air, the flavors may diminish, and texture can change.
Freezer: This cake can be stored in the freezer for several weeks. Wrap it tightly in plastic wrap and then with aluminum foil to maintain its delicious taste and creamy texture.
Reheating: Simply let the cake sit at room temperature for about 10-15 minutes before slicing. This will slightly soften the layers for easier cutting while keeping the delightful textures intact.
Serving Tips: For the best experience, serve chilled. The cake will stay delicious and visually appealing when kept well-frozen until ready to enjoy!
Make Ahead Options
These Buster Bar Ice Cream Cakes are a fantastic choice for meal prep, allowing you to bring a sweet treat to the table with ease. You can prepare the entire cake up to 24 hours ahead of serving it—just follow the initial steps and freeze it wrapped tightly with plastic wrap to prevent freezer burn. If you’d like to make it even easier, you can layer the chocolate graham crackers and ice cream (steps 1-5) up to 3 days in advance; just add the hot fudge and toppings right before you plan to serve. This ensures every bite tastes just as delicious and fresh! When ready to enjoy, simply remove from the freezer, let it sit for a few minutes, slice, and wow your family and friends with minimal effort.
Buster Bar Ice Cream Cake Variations
Get ready to unleash your creativity in the kitchen with these delightful twists that will elevate your Buster Bar Ice Cream Cake!
-
Nut-Free: Omit the red skin peanuts entirely and use sunflower seed butter instead for a nut-free creamy layer. This swap keeps the crunch factor while catering to allergies.
-
Chocolate Lovers: Swap vanilla ice cream for chocolate ice cream and add chocolate chips within the layers. This decadent chocolate explosion will satisfy even the most intense cravings!
-
Fruit-Filled Delight: Replace half of the vanilla ice cream with strawberry ice cream and layer in some strawberry jam. This burst of fruitiness brings a new refreshing flavor to each slice.
-
Caramel Drizzle: Enhance the richness by adding a layer of caramel sauce above the ice cream before the peanuts. The sweet and salty combination will be irresistibly tasty!
-
Minty Freshness: Use mint chocolate chip ice cream instead of vanilla and mix in crushed mint candies. This variation will add a cool twist perfect for summer vibes.
-
Cookie Crust: Substitute the chocolate graham crackers for crushed cookies, like Oreos or chocolate chip cookies, to create a sweeter, more indulgent crust that pleases cookie lovers everywhere.
-
Spicy Kick: Add a pinch of cayenne pepper to the hot fudge sauce for a surprising and delightful spicy twist. The heat complements the sweetness beautifully!
-
Brownie Base: For an even richer experience, layer brownie bites or crumbs at the base in place of graham crackers. This fudgy foundation will make your cake irresistibly chocolatey.
Whether you’re leaning towards a fruity variation or a twist that packs a little heat, these suggestions can turn your classic recipe into something uniquely yours. And while you’re exploring desserts, don’t forget to check out our Butterfinger Cheesecake Bars, or indulge in a slice of our favorite Honey Cake Slice. Happy baking!
What to Serve with Buster Bar Ice Cream Cake?
Transform your dessert experience into a full celebration with delightful pairings that enhance every creamy bite.
- Fresh Fruit Salad: A refreshing contrast that adds vibrant color and natural sweetness, cutting the richness of the cake beautifully.
- Whipped Cream: Light and airy, a dollop of homemade whipped cream provides a delightful contrast in texture and enhances the creamy dessert.
- Chocolate Sauce: Drizzling extra chocolate sauce on each slice intensifies the indulgence, making every bite even more decadent and satisfying.
- Coffee or Espresso: The bold flavor of a hot cup brings out the sweetness in the cake, creating a perfect end to a meal.
- Mint Iced Tea: A cool glass complements the rich flavors, refreshing your palate and elevating your dessert experience.
- Peanut Butter Dip: A luscious peanut butter dip offers an enticing twist and pairs famously with the cake’s crunchy peanut topping.
- Chocolate Chip Cookies: For cookie lovers, serving a soft chocolate chip cookie alongside your slice creates a delightful contrast with additional textures.
- Vanilla Ice Cream: Enhance the experience by serving a scoop of vanilla ice cream on the side, for extra creaminess and a nostalgic touch.
- Sparkling Water: Light and bubbly, sparkling water cleanses the palate and balances the cake’s richness for a satisfying completion to your meal.
Buster Bar Ice Cream Cake Recipe FAQs
How do I know when my ice cream is the right consistency for spreading?
Absolutely! When softening ice cream, let it sit out for about 10-15 minutes at room temperature. You want it to be creamy and easily scoopable without being melted, allowing for a smooth layer over the chocolate graham crackers.
What’s the best way to store leftover Buster Bar Ice Cream Cake?
For optimal freshness, store any leftover cake in an airtight container in the fridge for up to 3 days. If you have more leftovers, wrap the cake tightly in plastic wrap and aluminum foil and place it in the freezer, where it can last for several weeks without losing flavor.
Can I freeze the Buster Bar Ice Cream Cake? If so, how?
Yes, you can absolutely freeze this cake! To do so, wrap the baking dish tightly with plastic wrap, followed by aluminum foil for added protection against freezer burn. Freeze it flat for at least 3 hours until firm. When ready to serve, let it sit at room temperature for about 10-15 minutes to soften slightly for easier slicing.
What should I do if my ice cream layer is too thick?
Very! If you find your layers are uneven, no worries. You can easily adjust them! After the first layer is set, use a spatula to level out the top before adding the hot fudge layer. This will ensure that the ice cream doesn’t overpower the other layers and maintains a balanced ratio of flavors.
Are there any allergy considerations I should be aware of?
Definitely! If you’re serving this Buster Bar Ice Cream Cake to guests, keep in mind that it contains dairy and nuts. For nut allergies, you can omit the red skin peanuts or substitute with seeds like sunflower seeds for a similar crunch. Always double-check the labels on ice cream and fudge for any hidden allergens.
What are some gluten-free substitutions I can use?
Very good question! To make the Buster Bar Ice Cream Cake gluten-free, simply swap the chocolate graham crackers with gluten-free chocolate cookies or crushed gluten-free Oreos. When selecting hot fudge sauce, make sure it’s labeled gluten-free to ensure that everyone can enjoy this delightful treat!
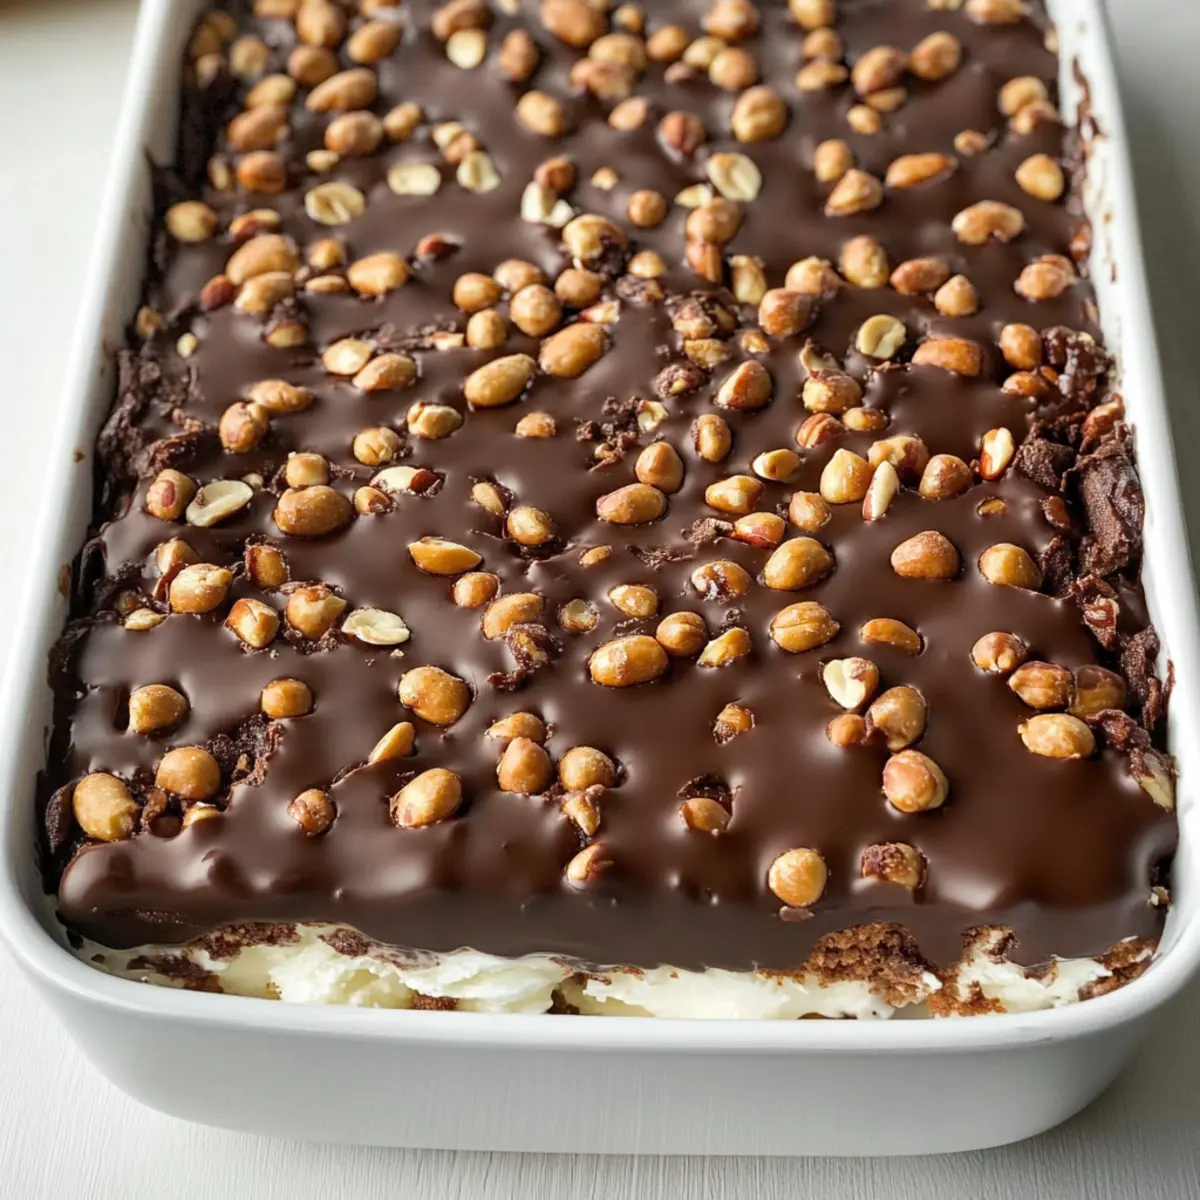
Indulge in Homemade Buster Bar Ice Cream Cake Bliss
Ingredients
Equipment
Method
- Begin by removing the vanilla ice cream from the freezer and letting it sit at room temperature for about 10-15 minutes, until slightly softened but not melted.
- Line the bottom of a 9x13-inch baking dish with whole chocolate graham crackers, breaking them as necessary to fit snugly.
- Once the ice cream is softened, spread half of it evenly over the chocolate graham cracker layer using a spatula.
- Pour a generous layer of hot fudge sauce over the ice cream, ensuring to cover it completely. Sprinkle half of the red skin peanuts on top.
- Spread the remaining softened ice cream over the fudge and peanut layer, smoothing it down with your spatula.
- Sprinkle the remaining peanuts evenly over the top of the last ice cream layer, then drizzle the Magic Shell chocolate coating over the peanuts.
- Cover the baking dish tightly with plastic wrap and place it in the freezer. Allow the cake to freeze for at least 3 hours.