
As the warm aroma of baking fills the kitchen, I can’t help but smile at the memories these Gooey Carmelitas bring. This delightful dessert, with its buttery oatmeal crust and luscious layers of chocolate and caramel, is a family favorite that never fails to impress. One of the best parts about making these Carmelitas is how easy they are to whip up, allowing you to spend more time sharing smiles with loved ones instead of slaving away in the kitchen. Plus, they’re always a crowd-pleaser—who could resist that gooey goodness? Whether you’re craving a sweet treat after dinner or looking to impress at your next gathering, these bars are sure to satisfy. So, what’s your favorite dessert to make when the sweet tooth strikes?
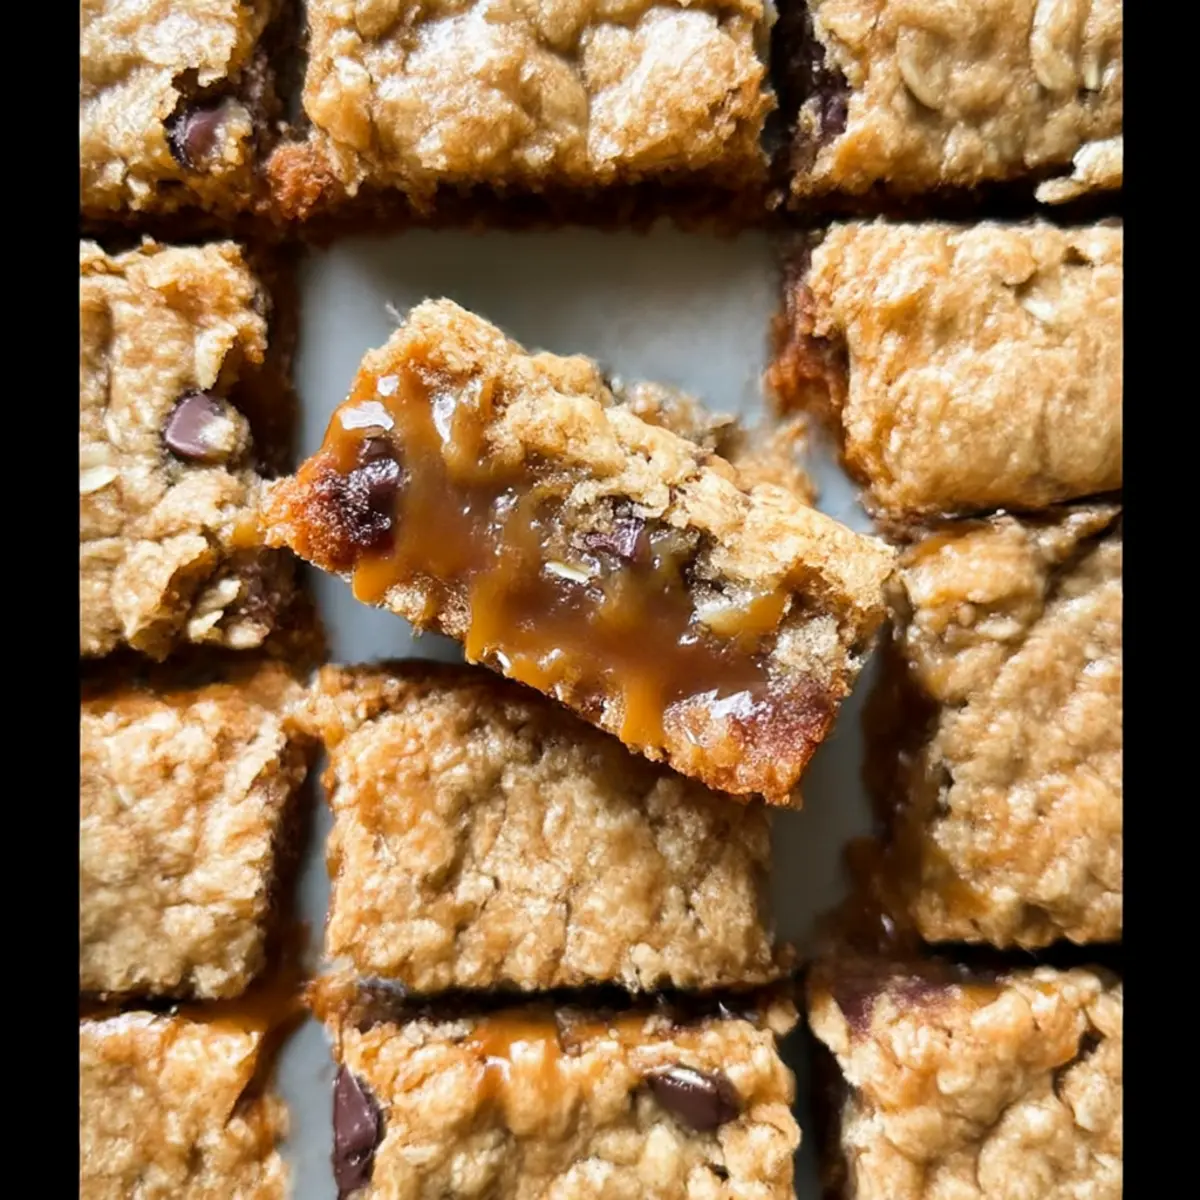
Why are Carmelitas the best dessert?
Irresistible Gooeyness: Each bite of these Carmelitas is filled with rich caramel and chocolate, creating a decadent experience that’s hard to resist.
Effortless Preparation: With straightforward instructions, even novice bakers will find joy in making these treats.
Family-Friendly Fun: Perfect for gatherings, these bars guarantee smiles from both kids and adults alike.
Customizable Delights: Feel free to add nuts or swap chocolate types to suit your taste!
These Carmelitas not only taste heavenly but also bring the family together, making them a staple in our home. Enjoy warm with ice cream for a truly delightful treat!
Carmelitas Ingredients
For the Oatmeal Base
• 32 caramel squares – Adds sweetness and richness. Substitution: Use homemade caramel or caramel sauce for a richer flavor.
• 3/4 cup butter (melted) – Provides moisture and richness to the crust. Substitution: Margarine can be used in place of butter, but the flavor might differ.
• 3/4 cup brown sugar (packed) – Contributes sweetness and a slight molasses flavor. Light or dark brown sugar can be used depending on preference.
• 1 cup all-purpose flour – Essential for the structure of the crust.
• 1 cup rolled oats – Adds texture; provides chewiness. Do not use quick-cooking oats as they yield a different texture.
• 1 teaspoon baking soda – Helps the bars rise slightly.
For the Caramel Layer
• 1/2 cup heavy cream – Creates a smooth caramel sauce. Note: Do not substitute with regular milk; it won’t achieve the same creamy consistency.
• 1/4 teaspoon coarse sea salt – Enhances flavor and balances sweetness.
For the Chocolate Layer
• 3/4 cup semi-sweet chocolate chips – Melts into a luxurious layer within the bars. Substitution: Dark or milk chocolate chips can be used based on preference.
These essential Carmelitas ingredients come together to create a truly delightful dessert that’s perfect for sweet cravings or family gatherings!
Step‑by‑Step Instructions for Carmelitas
Step 1: Preheat the Oven
Begin by preheating your oven to 350°F (175°C). While it warms up, take an 8×8-inch baking pan and grease it thoroughly. For easier cleanup, line the pan with parchment paper, allowing some overhang for easy removal later. This step ensures a perfect base for your delicious Carmelitas.
Step 2: Prepare the Caramel Sauce
In a medium saucepan, combine 32 caramel squares and 1/2 cup of heavy cream. Set the heat to low and stir continuously until the mixture becomes smooth and entirely melted, which should take about 5-7 minutes. Once silky, sprinkle in 1/4 teaspoon of coarse sea salt for added flavor, then remove from heat and set aside to cool slightly.
Step 3: Mix the Oatmeal Crust
In a large mixing bowl, combine 3/4 cup of melted butter, 3/4 cup of packed brown sugar, 1 cup of all-purpose flour, 1 cup of rolled oats, and 1 teaspoon of baking soda. Mix until everything is just combined into a crumbly texture, ensuring no dry spots remain. Reserve 1/2 cup of this mixture for the topping before you move on to the next step.
Step 4: Bake the Base Layer
Press the remaining oatmeal mixture evenly into the bottom of your prepared pan to form a sturdy crust. Bake this layer in the preheated oven for 10 minutes, until it’s lightly golden and set. Once done, carefully remove it and allow it to cool for a few minutes before layering on the next ingredients.
Step 5: Add Chocolate Chips and Caramel
Sprinkle 3/4 cup of semi-sweet chocolate chips over the baked oatmeal crust, distributing them evenly to ensure gooey pockets of chocolate in every bite. Next, pour the prepared caramel sauce over this layer, ensuring the chocolate is well covered. The caramel will melt into the chocolate slightly, creating a delicious blend.
Step 6: Crumble the Topping
Take the reserved 1/2 cup of oatmeal mixture and crumble it evenly over the caramel layer. This will create a delightful, crunchy topping that complements the gooey layers beneath. Make sure to cover all the caramel with the crumble for the best results when baked.
Step 7: Final Bake
Return the layered pan to the oven and bake for an additional 15 to 20 minutes. You’ll know they’re done when the edges are lightly browned and the top appears set, yet still soft. Keep an eye on it to avoid burning. The irresistible aroma of your Carmelitas will fill the kitchen!
Step 8: Cool and Slice
Once baked, take the pan out and let the Carmelitas cool completely in the pan—this can take at least 30 minutes. If you’re in a hurry, you can chill them in the refrigerator for a quicker cool down. Once cooled, lift out using the parchment paper and slice into squares. The gooeyness will have you coming back for seconds!
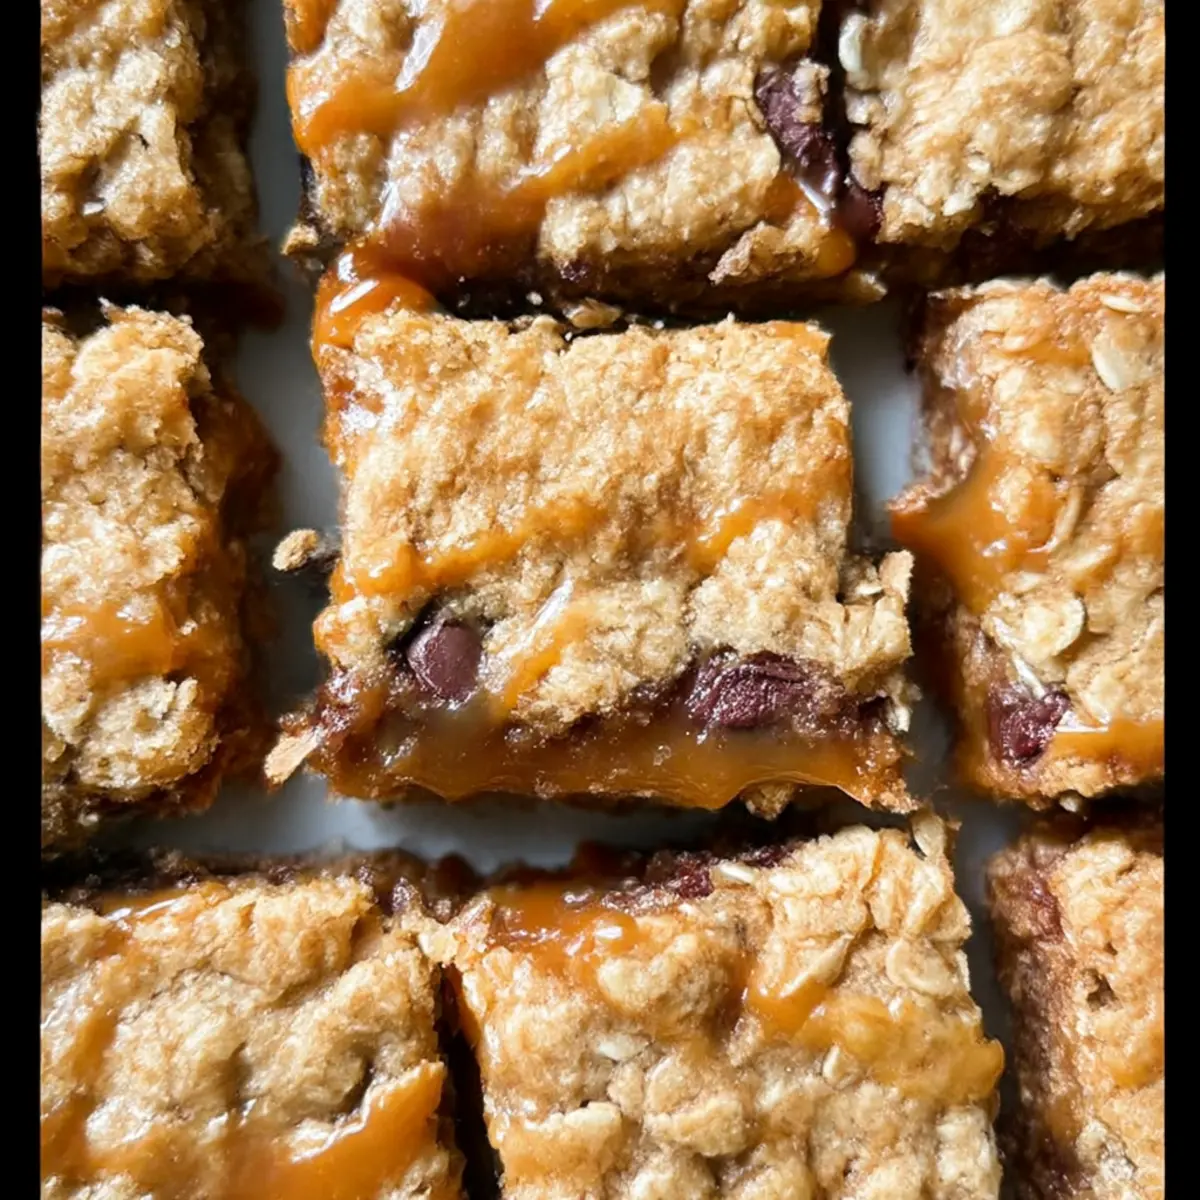
Make Ahead Options
These Gooey Carmelitas are perfect for meal prep enthusiasts! You can prepare the oatmeal crust and caramel layer separately up to 24 hours in advance. Simply mix the crust ingredients and press the mixture into the prepared pan, then cover and refrigerate. For the caramel layer, melt the caramel squares with heavy cream, let it cool slightly, and store it in an airtight container in the fridge. When ready to bake, spread the chilled caramel over the crust, add chocolate chips, crumble the topping, and bake as directed. This way, you’ll enjoy all the delightful gooeyness without the last-minute rush!
Expert Tips for Carmelitas
-
Use Quality Caramel: Opt for high-quality caramel squares melted in cream for the best texture; store-bought sauce lacks the rich flavor you need.
-
Don’t Skimp on Oats: Be sure to use rolled oats for that chewy goodness; quick oats will ruin the signature texture of these Carmelitas.
-
Let Them Cool: Patience is key! Allow the bars to cool completely before cutting, or they might fall apart and lose their gooey charm.
-
Customize Wisely: Feel free to experiment with different chocolate types or add nuts, but remember to keep the oat mixture for the topping.
-
Check for Doneness: Keep an eye on the baking time; every oven is different. Look for lightly browned edges to know they’re ready!
How to Store and Freeze Carmelitas
Room Temperature: Keep Carmelitas in an airtight container at room temperature for up to 3 days to maintain their gooey texture.
Fridge: For longer freshness, store Carmelitas in the fridge, where they will last for about a week. Allow them to come to room temperature before serving for the best taste.
Freezer: These sweet treats can be frozen for up to 3 months. Wrap individual squares tightly in plastic wrap and then place them in a freezer-safe container for easy access.
Reheating: To enjoy warm Carmelitas, reheat in the oven at 350°F (175°C) for about 10 minutes or microwave for 15-20 seconds until heated through.
What to Serve with Gooey Carmelitas?
As you prepare to enjoy your luscious Carmelitas, consider round out this sweet experience with delightful accompaniments that enhance every bite.
-
Vanilla Ice Cream: A scoop of creamy vanilla ice cream adds a refreshing contrast to the warm gooey bars, making every mouthful a heavenly delight. This classic pairing takes your dessert experience to another level!
-
Whipped Cream: Light, airy whipped cream perfectly complements the rich texture of the Carmelitas, providing a sweet and fluffy counterpart that balances the gooeyness beautifully.
-
Fresh Berries: Juicy raspberries or sweet strawberries introduce a burst of freshness, cutting through the richness and adding a delightful tartness to each bite.
-
Chocolate Drizzle: Elevate your Carmelitas by drizzling a melted chocolate ganache on top. This extra layer intensifies the chocolate flavor and transforms the presentation.
-
Nutty Crumble: Top the bars with a sprinkle of toasted nuts for extra crunch. Pecans or walnuts provide not only a delightful contrast in texture but also a nutty flavor that enhances the caramel and oats.
-
Rich Coffee: Pair your sweet treat with a warm cup of coffee. The robust flavors of the coffee balance the sweet Carmelitas, creating a classic dessert duo.
-
Milkshake: For those who love creamy, indulgent beverages, a rich chocolate or vanilla milkshake pairs beautifully, making your dessert feel like a special indulgence.
Carmelitas: Customization Made Easy
Feel free to play around with these delightful Carmelitas to suit your own taste and dietary needs—your taste buds will thank you!
- Dairy-Free: Substitute heavy cream with full-fat coconut milk for a creamy, dairy-free caramel sauce that’s rich and delicious.
- Nutty Crunch: Toss in 1/2 cup of chopped pecans or walnuts into the oatmeal base for an added crunch and nutty flavor.
Adding nuts can add an exciting dimension to your Carmelitas. Plus, those little bites of crunch will surprise everyone in the best way!
- Fruit Boost: Incorporate 1/2 cup of dried fruit like cranberries or chopped apricots for a sweet-tart contrast that beautifully complements the richness of the caramel.
- Spiced Variation: Sprinkle 1 teaspoon of cinnamon or pumpkin spice into the oatmeal mixture for a warm, comforting twist that evokes all the best vibes of fall.
The warm spices will infuse the dessert with twists of flavor that bring a cozy feel to your family gatherings.
- Spicy Kick: Add a pinch of cayenne pepper or red pepper flakes to the chocolate layer for those who love a sweet-and-spicy flavor explosion.
- Gluten-Free: Swap all-purpose flour with a gluten-free flour blend, ensuring you can enjoy your Carmelitas without missing out!
These swaps and twists are just a starting point. You can always explore more options based on your preferences. Dive into creating your perfect batch of Carmelitas that will make everyone come back for more!
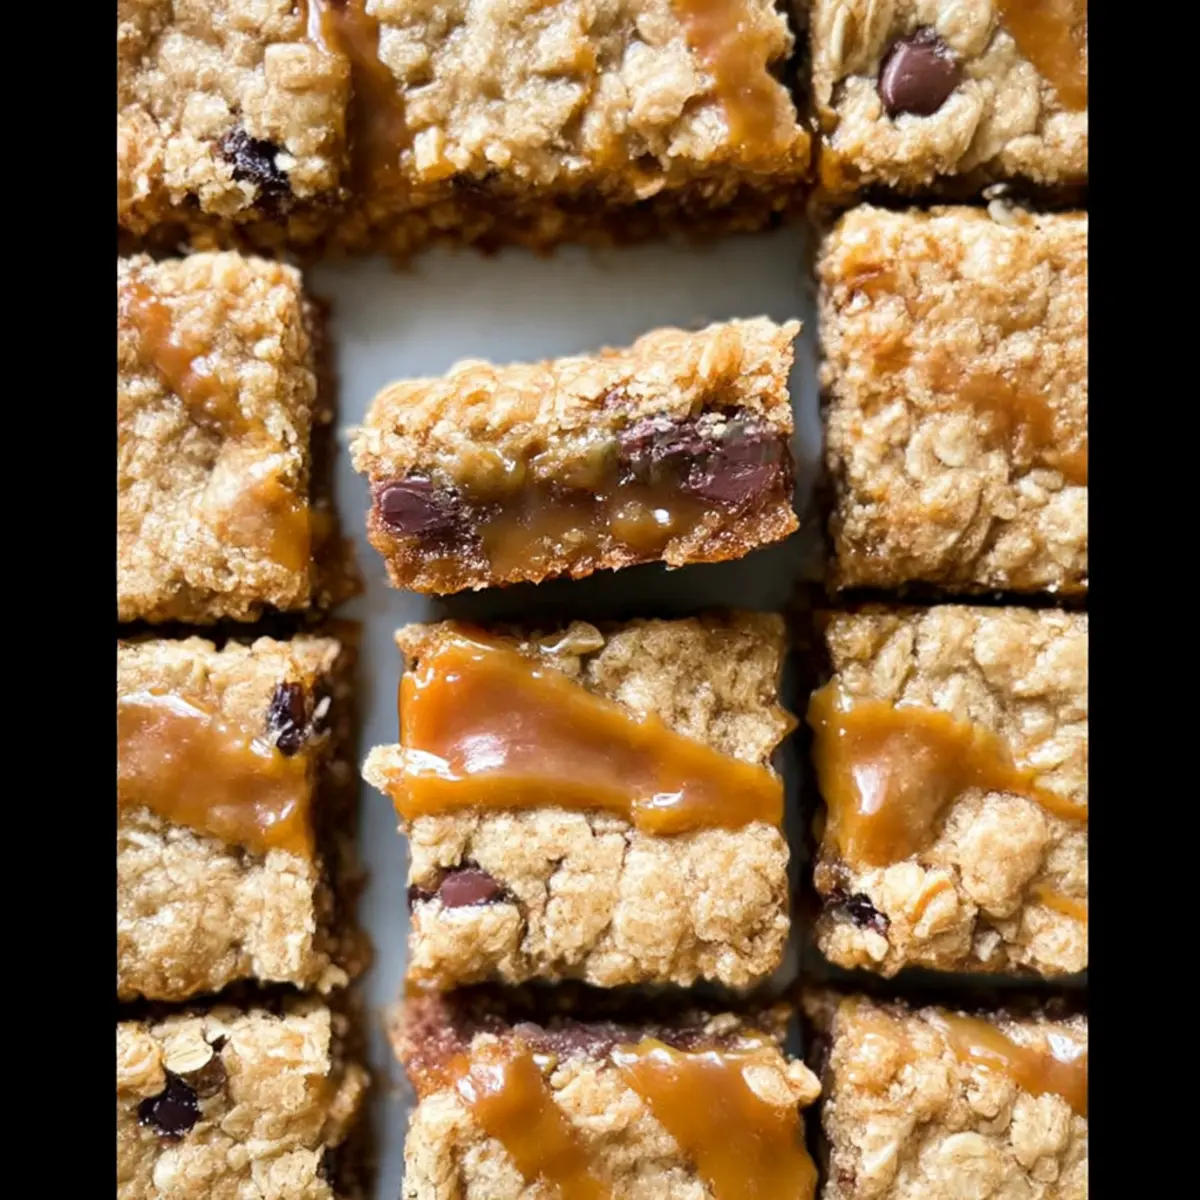
Carmelitas Recipe FAQs
What kind of caramel squares should I use?
Absolutely! For the best results, I recommend using high-quality caramel squares. These melt beautifully with heavy cream and provide a rich flavor that store-bought caramel sauce simply can’t replicate. If you’re feeling adventurous, homemade caramel is an excellent alternative for a more personalized touch.
How do I store Carmelitas for optimal freshness?
You can store Carmelitas in an airtight container at room temperature for up to 3 days. If you want them to last longer, transfer them to the refrigerator for about a week. When serving refrigerated bars, allow them to come to room temperature for the best flavor and texture experience.
Can Carmalitas be frozen? If so, how?
Yes, these delightful squares can be frozen! Wrap individual squares tightly in plastic wrap and place them in a freezer-safe container. They will stay fresh for up to 3 months. When you’re ready to enjoy, simply thaw them in the fridge overnight or warm in the oven at 350°F (175°C) for about 10 minutes.
What’s the best way to tell when Carmelitas are done baking?
Great question! Look for lightly browned edges as an indication that they’re baked just right. The top layer should appear set but still soft. If edges begin to darken too much, it’s a cue to remove them from the oven. Remember, every oven is a bit different!
How do I accommodate for allergies, like nuts or dairy?
For nut allergies, you can simply omit any nuts from the recipe. For dairy-free alternatives, use dairy-free butter and non-dairy cream options. Just be sure to double-check all ingredient labels for hidden allergens. It’s very possible to enjoy Carmelitas while keeping them safe for everyone!
What can I do if my Carmelitas crumble when cutting?
If your Carmelitas are crumbling, it may be due to not allowing them to cool completely before cutting. Patience is key here! Allow them to cool fully in the pan for at least 30 minutes, or chill them briefly in the refrigerator to help solidify the layers before slicing.
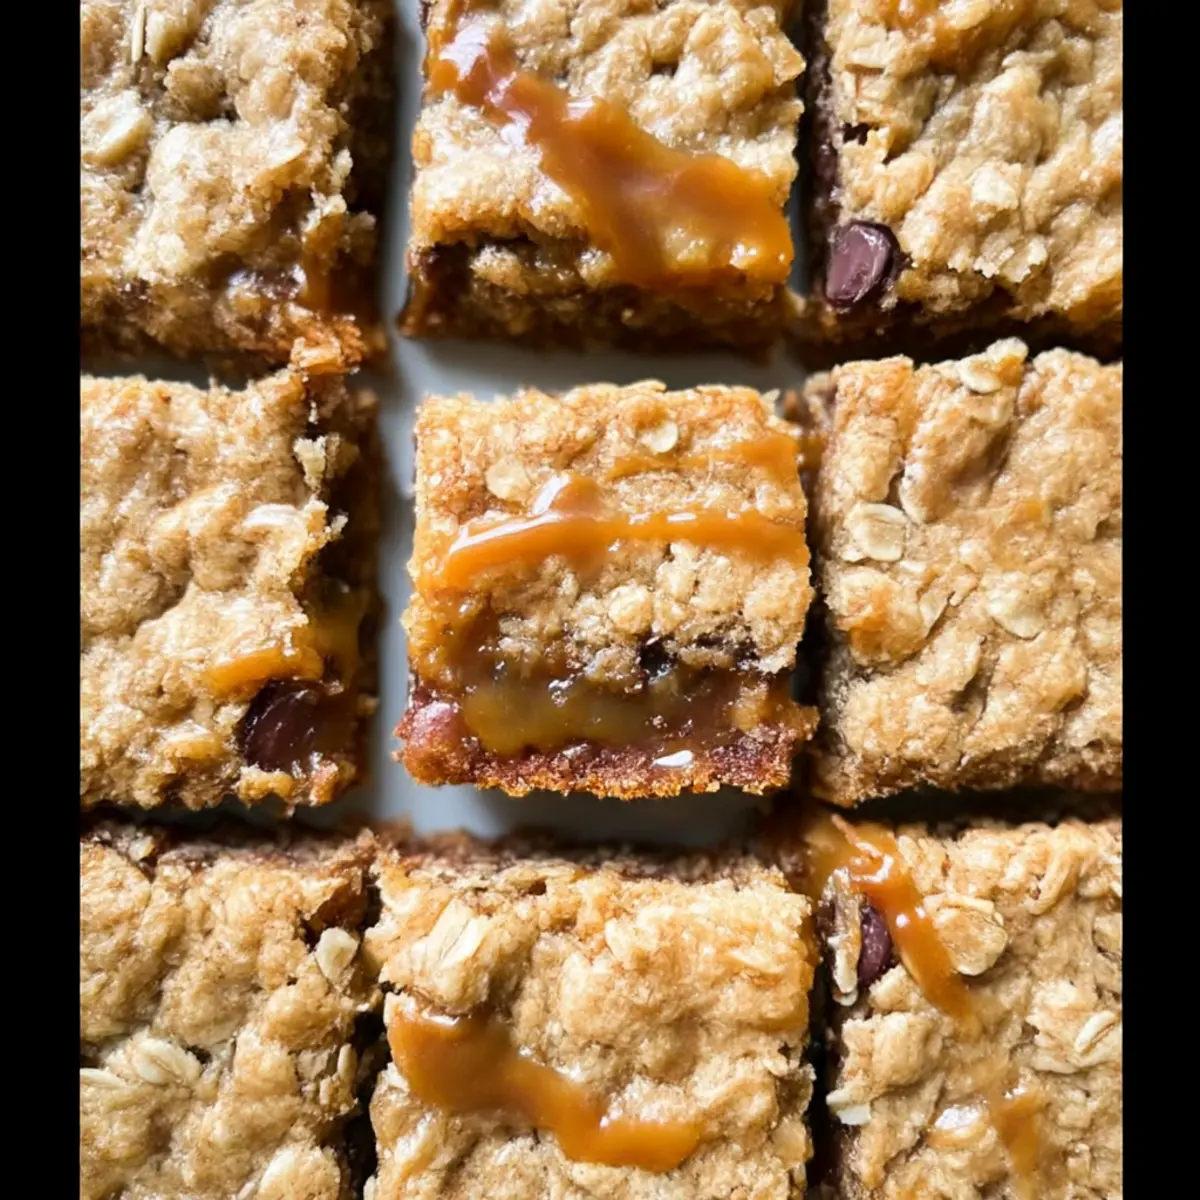
Gooey Carmelitas: The Ultimate Family Dessert Delight
Ingredients
Equipment
Method
- Preheat your oven to 350°F (175°C) and grease an 8x8-inch baking pan thoroughly, optionally lining it with parchment paper.
- In a medium saucepan, combine 32 caramel squares and 1/2 cup of heavy cream. Stir on low heat until smooth and melted for about 5-7 minutes, then add 1/4 teaspoon of coarse sea salt and set aside to cool.
- In a large bowl, combine 3/4 cup melted butter, 3/4 cup packed brown sugar, 1 cup all-purpose flour, 1 cup rolled oats, and 1 teaspoon baking soda. Mix until crumbly, reserving 1/2 cup for topping.
- Press the remaining oatmeal mixture into the bottom of your prepared pan and bake for 10 minutes until lightly golden; cool for a few minutes.
- Sprinkle 3/4 cup semi-sweet chocolate chips over the baked crust, then pour the caramel sauce evenly over the chocolate chips.
- Crumble the reserved oatmeal mixture over the caramel layer, covering it completely.
- Bake the layered pan for an additional 15 to 20 minutes until the edges are lightly browned and the top is set but soft.
- Let the Carmelitas cool completely in the pan for at least 30 minutes before cutting into squares.