
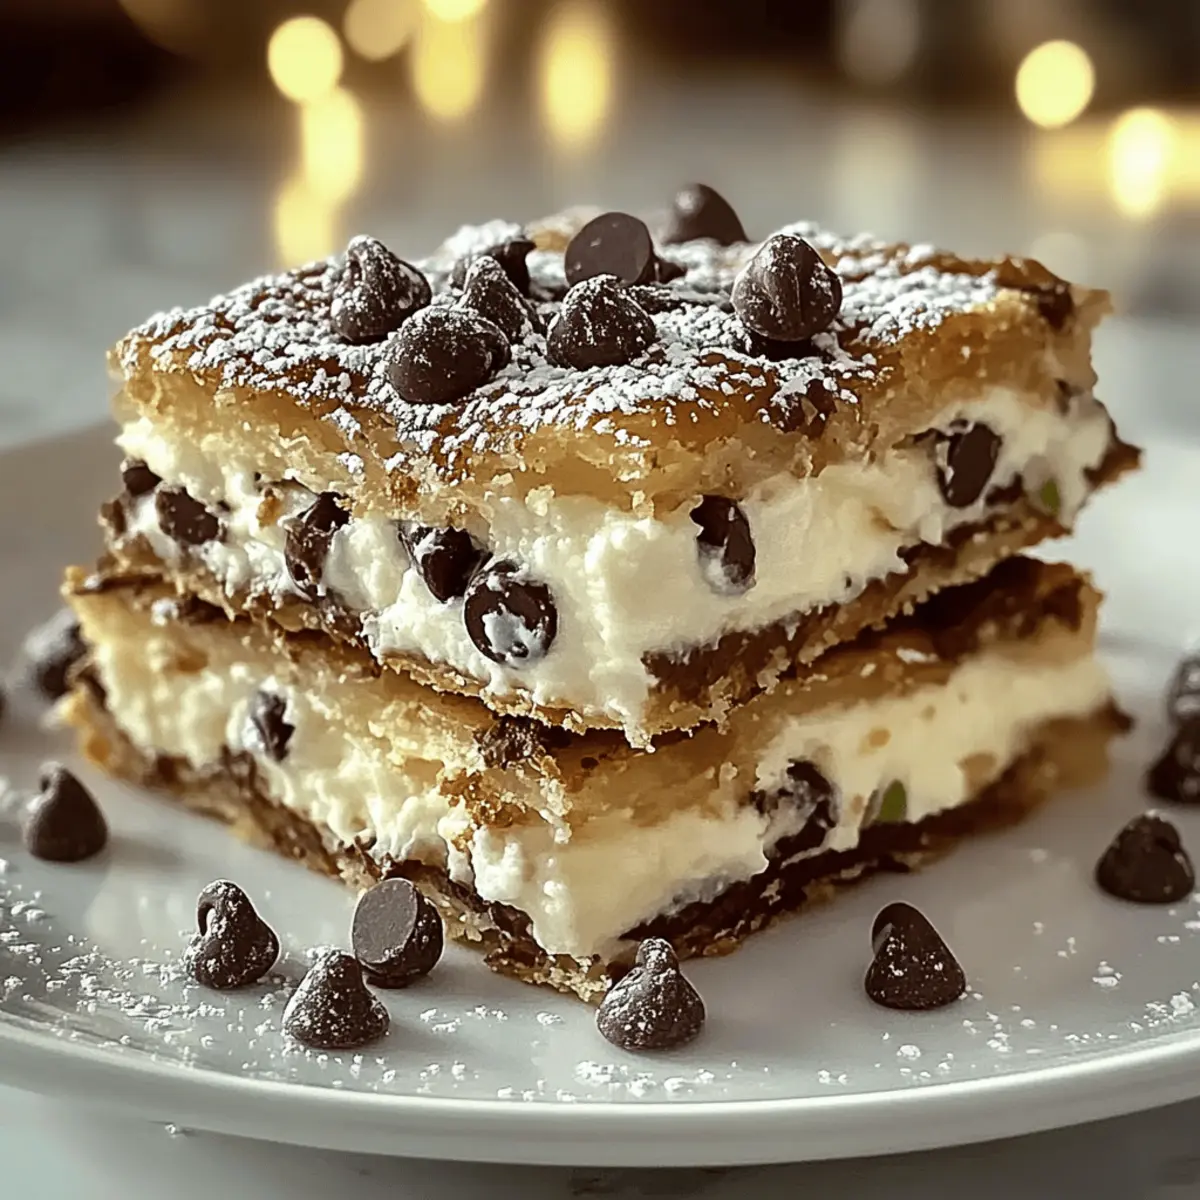
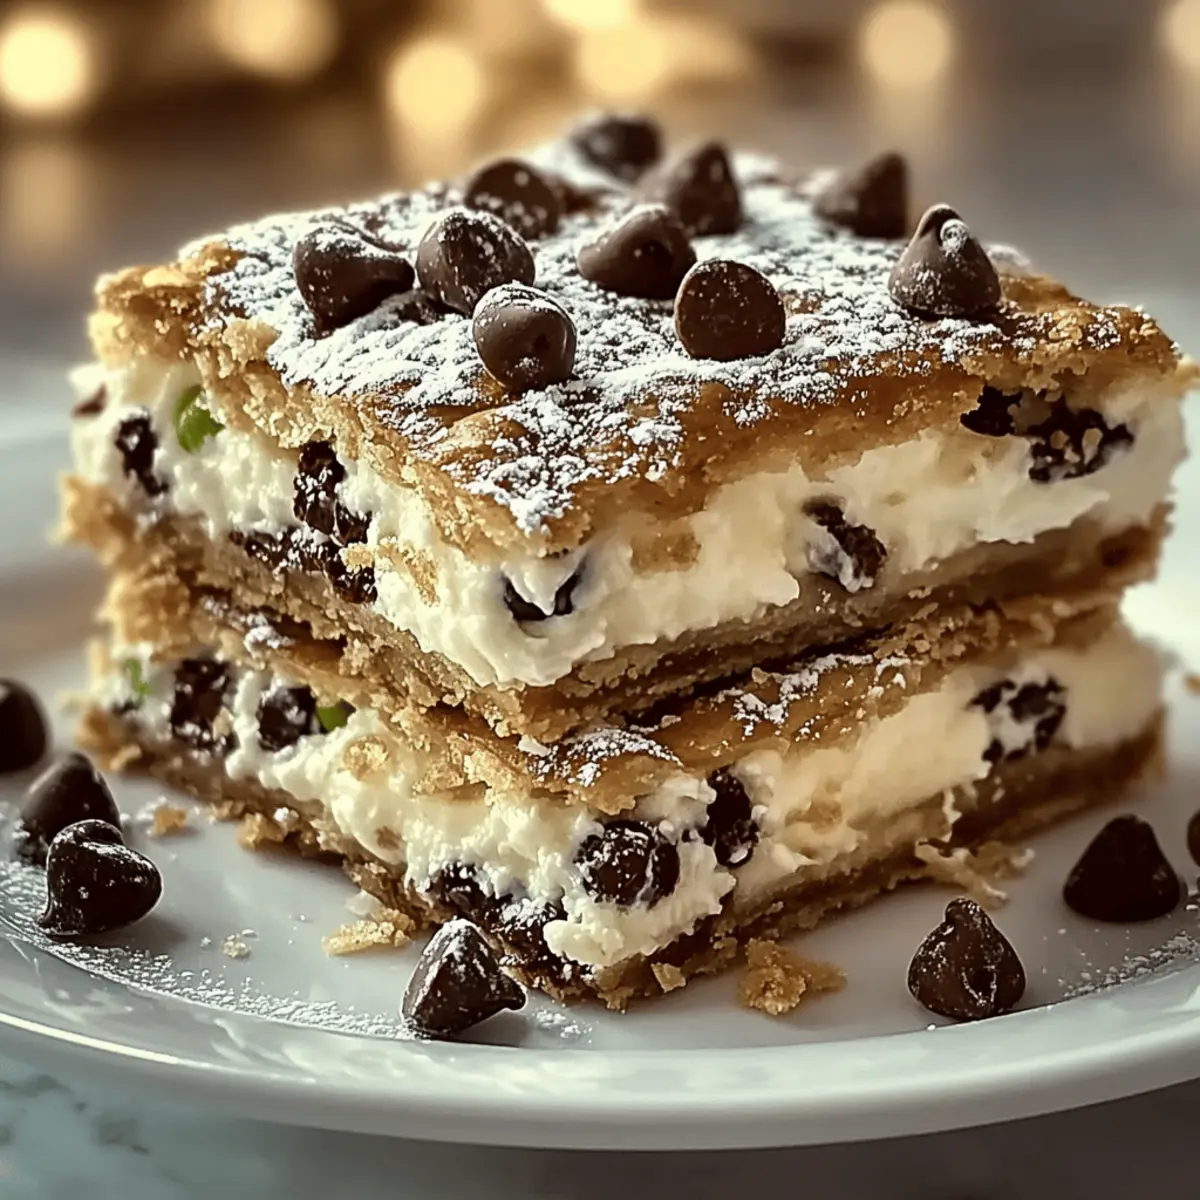
As the aroma of golden pastry fills the kitchen, I can’t help but smile at what’s about to unfold—a delightful batch of Classic Cannoli Squares. This quick Italian dessert combines a luscious ricotta filling with crispy pie crusts, transforming your home into an Italian bakery with minimal effort. Perfectly suited for busy weeknights or last-minute gatherings, these squares are also easily customizable to fit various dietary needs—think gluten-free or dairy-free options. Not only are they a breeze to make ahead, but they also offer a decadent touch of nostalgia and comfort that will have everyone coming back for seconds. Curious about how to indulge in this creamy goodness? Let’s dive into the recipe!
Why You’ll Love Classic Cannoli Squares
Simplicity with Flavor: The preparation is as easy as combining ingredients and baking, making it perfect for home cooks and busy schedules alike.
Customizable Options: Whether you prefer gluten-free or dairy-free, you can easily adjust this recipe to fit your dietary needs without sacrificing taste.
Make-Ahead Delight: Prepare the filling ahead of time and bake just before serving for minimal fuss and maximum wow factor when entertaining.
Crowd-Pleasing Dessert: Serve warm or chilled and watch as these squares disappear at gatherings, pairing wonderfully with a scoop of gelato or fresh berries.
Nostalgic Touch: Enjoy the familiar and heartwarming flavor of traditional cannoli, now in a convenient and shareable form everyone will adore.
Classic Cannoli Squares Ingredients
-
For the Filling
-
Ricotta Cheese – Creamy filling base; use whole milk for a richer texture.
-
Powdered Sugar – Adds sweetness; substitute with coconut sugar for a healthier option.
-
Vanilla Extract – Enhances flavor; opt for pure vanilla for the best results.
-
Cinnamon – Provides warmth and spice; omit if preferring a classic cannoli flavor.
-
Mini Chocolate Chips – Adds richness and texture; dark chocolate enhances flavor complexity.
-
For the Crust
-
Pre-Made Pie Crusts – Forms the base and top; homemade crust works beautifully, too.
-
Egg (for wash) – Creates a glossy finish on the crust.
-
Sugar (for sprinkling) – Adds a sweet crunch on top when baked.
-
Optional Toppings
-
Chopped Pistachios – Offers crunch and decoration.
-
Maraschino Cherries – Adds sweetness and visual appeal.
-
Extra Chocolate Chips – For chocolate lovers wanting more richness.
These ingredients will help you create delightful Classic Cannoli Squares that are sure to impress!
Step‑by‑Step Instructions for Classic Cannoli Squares
Step 1: Prepare the Filling
In a large mixing bowl, combine 2 cups of ricotta cheese, 1 cup of powdered sugar, 1 teaspoon of vanilla extract, ½ teaspoon of cinnamon, and ½ cup of mini chocolate chips. Using a whisk, blend these ingredients until the mixture is smooth and creamy. This filling should have a rich, velvety texture, perfect for your Classic Cannoli Squares.
Step 2: Preheat the Oven
Set your oven to preheat at 375°F (190°C). You want to ensure it reaches the right temperature while you prepare the crust and filling. This will help achieve a beautifully baked, golden-brown finish on your Classic Cannoli Squares.
Step 3: Prepare the Bottom Crust
Roll out one pre-made pie crust and fit it into a 9×9-inch baking dish. Press the crust gently against the bottom and sides of the dish, ensuring no air pockets remain. The crust should be even, creating a sturdy base for your creamy filling.
Step 4: Add the Filling
Spoon the creamy ricotta filling evenly over the prepared bottom crust, spreading it with a spatula while leaving a small margin around the edges. It’s crucial to distribute the filling evenly to allow for consistent baking and avoid any spilling over during the cooking process.
Step 5: Top with Second Crust
Carefully place the second pie crust over the filling, sealing the edges by pressing them together firmly. Use a fork to crimp the edges for a decorative touch. Brush the top crust with a beaten egg to give it a glossy finish and sprinkle sugar generously over the surface.
Step 6: Bake
Slide the baking dish into the preheated oven and bake the Classic Cannoli Squares for 30–35 minutes. Keep an eye on them; they should be golden brown, and a slight bubbling of the filling will indicate they’re just about ready.
Step 7: Cool and Serve
Once baked, remove the dish from the oven and allow it to cool for at least 30 minutes on a wire rack. This cooling time is essential to let the filling set, making it easier to slice into squares. Once cooled, cut into squares and serve, optionally garnished with chopped pistachios or maraschino cherries.

Make Ahead Options
These Classic Cannoli Squares are perfect for busy home cooks looking to save time during meal prep! You can easily prepare the filling (ricotta, powdered sugar, vanilla, cinnamon, and mini chocolate chips) up to 24 hours in advance; just cover and refrigerate to keep it fresh. The pie crust can also be pre-baked and stored in the refrigerator for up to 3 days. When you’re ready to impress your guests or satisfy your sweet tooth, simply spoon the filling into the crust, top with another crust, and bake as directed. By prepping ahead, you’ll enjoy all the deliciousness of these Classic Cannoli Squares with minimal last-minute effort!
How to Store and Freeze Classic Cannoli Squares
-
Fridge: Store any leftover Classic Cannoli Squares in an airtight container for up to 3 days. This keeps the filling fresh and the crust maintain its texture.
-
Freezer: For longer storage, freeze individual squares in a single layer on a baking sheet, then transfer to a freezer-safe container. These can be frozen for up to 2 months.
-
Thawing: To enjoy, simply thaw the squares overnight in the fridge. You can reheat them in the oven for a few minutes to restore the crispiness.
-
Make-Ahead: Prepare the filling a day in advance and keep it in the fridge. This makes it easy to assemble and bake right before serving.
What to Serve with Classic Cannoli Squares
Bring your dessert game to a whole new level by pairing these creamy delights with delightful accompaniments that enhance their rich flavors.
-
Fresh Berries: Juicy strawberries, raspberries, or blueberries add a burst of freshness that contrasts beautifully with the creamy filling.
-
Gelato: A scoop of vanilla or chocolate gelato creates a luxurious, creamy experience that perfectly complements the classic flavors of cannoli.
-
Caramel Sauce: Drizzling warm caramel over the squares adds an indulgent sweetness that elevates the dessert to a decadent treat.
-
Espresso: A small cup of rich espresso provides a bold flavor contrast, making for a comforting end to your meal.
-
Whipped Cream: Light and airy whipped cream adds a touch of elegance, enhancing the dessert’s creaminess without overwhelming its flavors.
-
Chocolate Sauce: For a touch of indulgence, drizzle chocolate sauce over the squares. It’s a chocolate lover’s dream paired with cannoli!
-
Chopped Nuts: Sprinkling over pistachios or almonds adds crunch and a nutty flavor that enhances the texture of your dessert.
Feel free to mix and match these pairings to discover your favorite combination with Classic Cannoli Squares!
Classic Cannoli Squares: Creative Twists
Feel free to explore these delightful variations that will make your Classic Cannoli Squares even more exciting and tailored to your taste!
-
Dairy-Free: Substitute ricotta with blended silken tofu plus nutritional yeast for a creamy, plant-based filling. This can make everyone feel included while enjoying the dessert.
-
Gluten-Free: Use gluten-free pie crusts as a base to accommodate those with dietary restrictions. This thoughtful twist lets everyone indulge without worry.
-
Zesty Surprise: Add a teaspoon of lemon zest to the filling for a refreshing citrus note. This bright flavor complements the rich filling beautifully.
-
Nutty Crunch: Stir in finely chopped nuts, such as pistachios or walnuts, for added texture and crunch. The nuttiness will elevate your squares, bringing unforgettable bites.
-
Chocolate Lovers: Mix in crushed chocolate-covered espresso beans for a decadent twist. This variation adds a coffee flavor that delightful chocolate enthusiasts will adore.
-
Layered Delight: Add fresh berries like raspberries or strawberries between the filling and top crust for fruity bursts of flavor. It introduces a lovely freshness that perfectly balances the creaminess.
-
Extra Sweetness: Drizzle some caramel or chocolate sauce on top before serving. This additional sweetness will elevate the dessert into a show-stopping treat.
-
Festive Finishing Touch: Garnish with fresh mint leaves for a pop of color and freshness. It’s always nice to add visual appeal alongside deliciousness, just like with my Cinnamon Bun Twist or Pumpkin Roll Savor.
Tailoring these Classic Cannoli Squares to your preferences and the occasion is a joyous way to create memorable experiences in the kitchen!
Expert Tips for Classic Cannoli Squares
-
Quality Ingredients: Use high-quality ricotta cheese for a creamier filling. If possible, opt for whole milk ricotta for the best flavor.
-
Drain Before Mixing: Make sure to drain excess moisture from the ricotta to avoid a soggy filling. This step is key to achieving the perfect texture in your Classic Cannoli Squares.
-
Watch the Oven: Keep an eye on your squares while they bake. If the top is browning too quickly, you can cover it loosely with foil to prevent burning.
-
Cool Completely: Allow the squares to cool for at least 30 minutes before slicing. This ensures they hold their shape and are easier to cut neatly.
-
Customizable Toppings: Feel free to experiment with optional toppings such as pistachios or maraschino cherries to add a personal touch to your Classic Cannoli Squares.
Classic Cannoli Squares Recipe FAQs
How do I choose the best ricotta cheese for my cannoli squares?
Absolutely! For the creamiest texture, I recommend using whole milk ricotta cheese. Look for ricotta that has a thick, rich consistency and avoid any brands with excessive liquid on top, as this can lead to a soggy filling. If possible, choose a product labeled as “fresh” for optimal flavor.
How should I store leftovers of my Classic Cannoli Squares?
To keep your delicious Classic Cannoli Squares fresh, store any leftovers in an airtight container in the refrigerator for up to 3 days. This will help maintain the filling’s creaminess and the crust’s texture. If you notice any dark spots or drying out, it’s best to consume them sooner.
Can I freeze Classic Cannoli Squares?
Yes, you can! After baking and cooling, freeze individual squares in a single layer on a baking sheet for about an hour, then transfer them to a freezer-safe container or plastic wrap. They will remain good for up to 2 months. When ready to enjoy, thaw overnight in the refrigerator and reheat briefly in the oven to regain some crispiness.
What should I do if my filling is too runny?
To fix a runny filling, begin by draining excess moisture from the ricotta cheese using a fine mesh strainer. You can let it sit over a bowl for about 30 minutes. Additionally, consider adding a little extra powdered sugar or even a small amount of cornstarch to help thicken the filling before mixing it with the other ingredients.
Are there any dietary considerations for making Classic Cannoli Squares?
Very much so! If you’re looking for gluten-free options, simply use gluten-free pie crusts available in stores. For a dairy-free version, substitute the ricotta with blended silken tofu mixed with a touch of nutritional yeast to mimic that creamy texture. Be sure to check for allergies or sensitivities to any optional toppings like nuts or chocolate chips!

Classic Cannoli Squares: Quick, Creamy Dessert Delight
Ingredients
Equipment
Method
- In a large mixing bowl, combine 2 cups of ricotta cheese, 1 cup of powdered sugar, 1 teaspoon of vanilla extract, ½ teaspoon of cinnamon, and ½ cup of mini chocolate chips. Blend until smooth and creamy.
- Set your oven to preheat at 375°F (190°C).
- Roll out one pre-made pie crust and fit into a 9x9-inch baking dish, pressing gently to avoid air pockets.
- Spoon the creamy ricotta filling over the prepared bottom crust, spreading evenly.
- Carefully place the second pie crust over the filling, sealing the edges by pressing together. Crimp the edges with a fork and brush with beaten egg before sprinkling sugar on top.
- Bake for 30–35 minutes until golden brown and slightly bubbling.
- Allow to cool for at least 30 minutes on a wire rack, then cut into squares and serve, garnished if desired.