
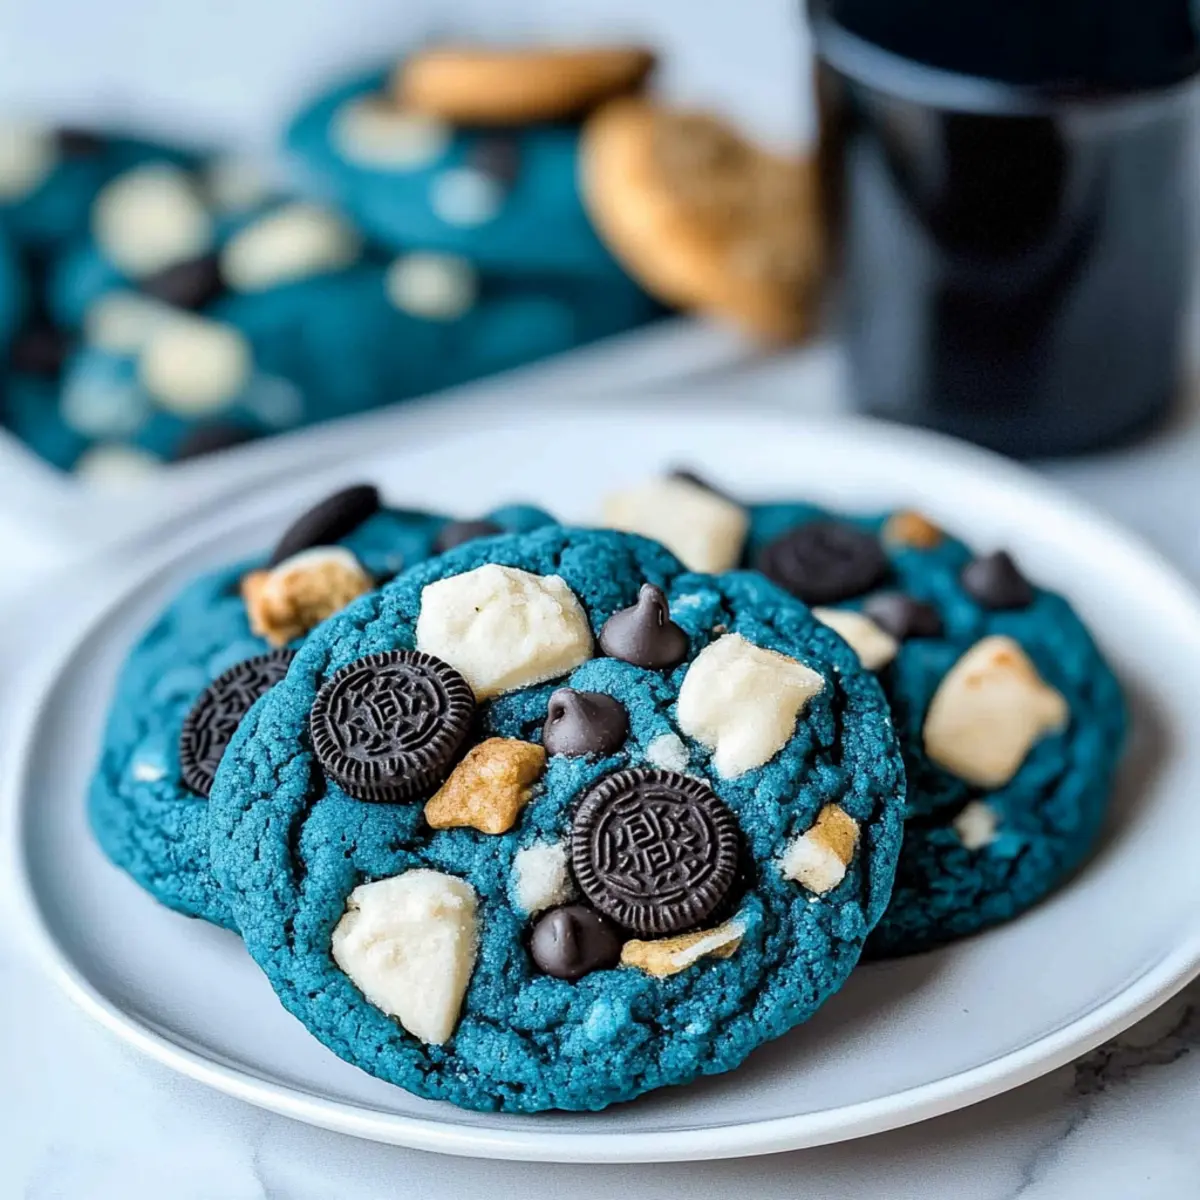
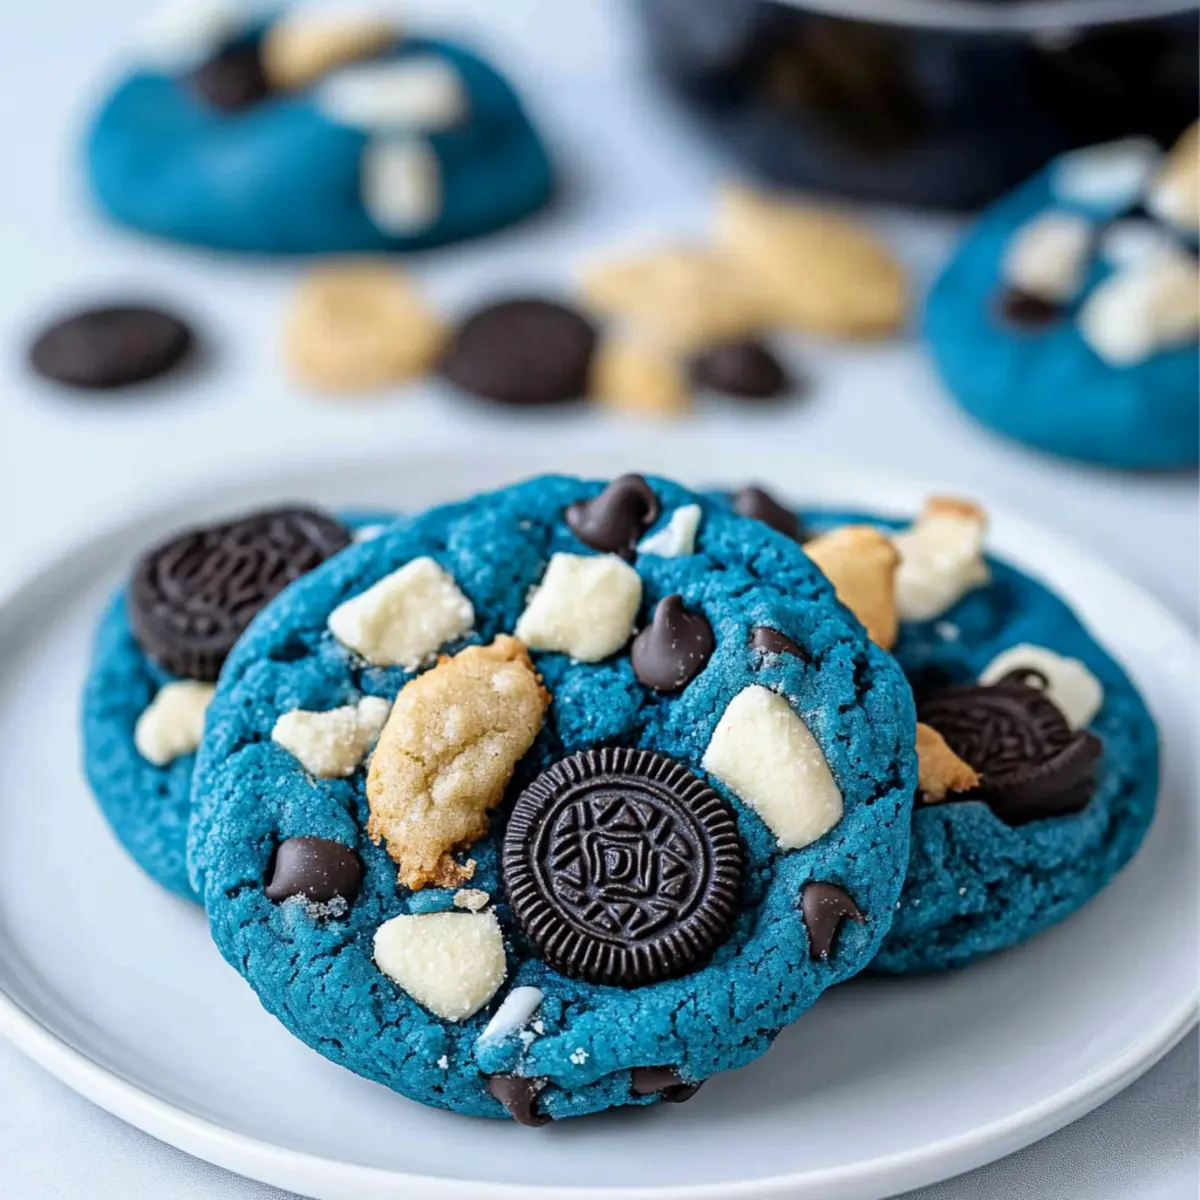
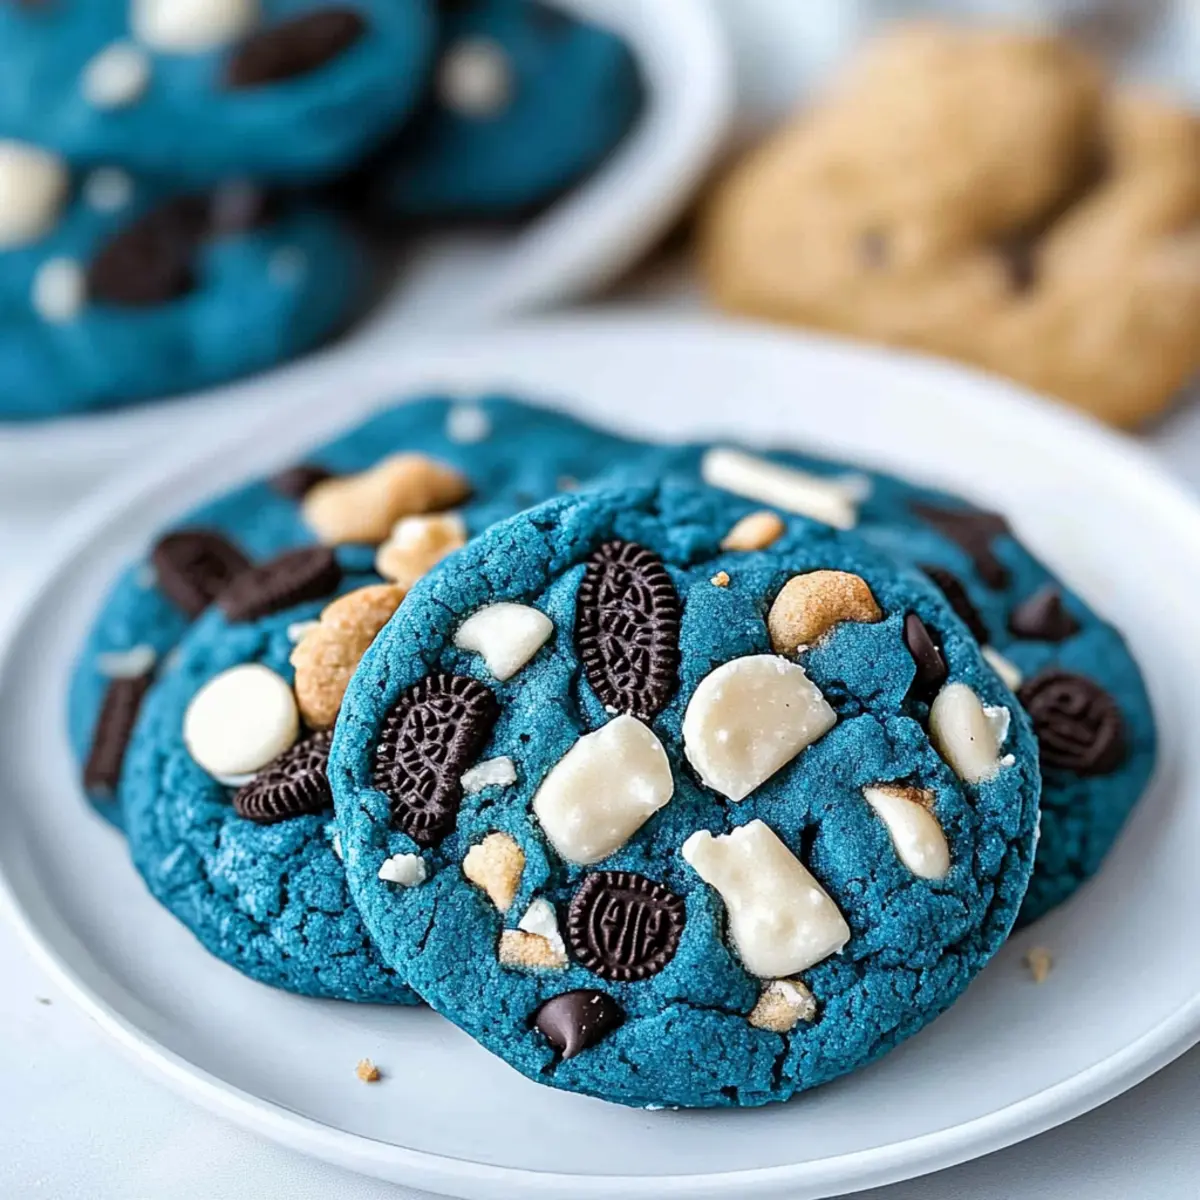
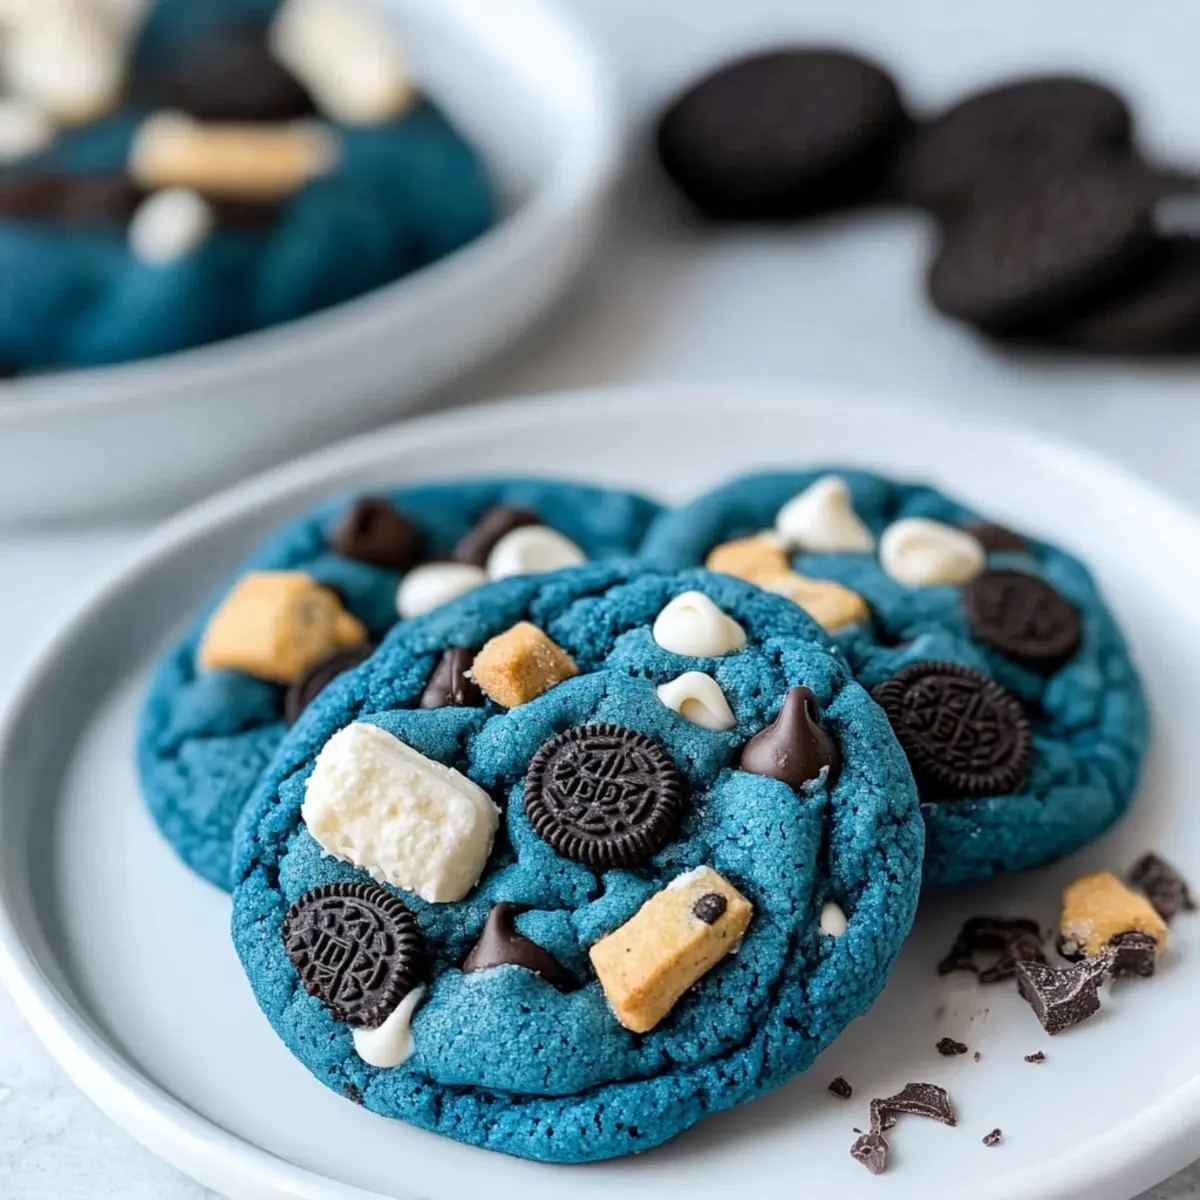
The kitchen was filled with a delightful chaos as my youngest proudly announced, “I’m making Cookie Monster Cookies!” Inspired by his enthusiasm, I couldn’t resist joining in the fun. These playful treats are not just eye-catching with their bright blue hue; they’re also a party in every bite! Bursting with white chocolate chips, chopped Chips Ahoy, and Oreos, Cookie Monster Cookies are perfect for creating joyful moments with your loved ones. Not to mention, they’re super simple to whip up, making them a go-to solution for satisfying those late-night sugar cravings or brightening up a kid’s birthday party. Are you ready to bake some smiles? Let’s dive into this exciting recipe!
Why Are Cookie Monster Cookies So Fun?
Vibrant, Eye-Catching Color: The striking blue hue of these cookies is sure to impress guests and kids alike.
Texture Delight: Each bite offers a perfect balance of chewiness and crunch from the added cookies, making every mouthful a celebration.
Easy to Make: This recipe is incredibly simple, perfect for cooks of any skill level. If you love cookies, check out our Cinnamon Bun Cookies for another fun twist!
Endless Customization: You can easily swap ingredients, adjusting flavors and textures to your preference, like trying different chocolate types or even a vegan option!
Kid-Friendly Fun: These cookies are not just tasty; they are a joyful project to share with little bakers, bringing families together in the kitchen.
Perfect for Any Occasion: Whether it’s a birthday party or a simple family treat, these cookies will be a hit wherever they go!
Cookie Monster Cookies Ingredients
-
For the Cookie Dough
• All-Purpose Flour – Provides structure to the cookies; for gluten-free, use a 1:1 gluten-free flour blend.
• Cornstarch – Adds softness to the texture; no substitutions needed.
• Baking Soda – A leavening agent for lift; ensure freshness for best results.
• Salt – Enhances flavor; sea salt or kosher salt are good alternatives.
• Unsalted Butter – Creates a rich flavor and chewy texture; can substitute with margarine or coconut oil for dairy-free.
• Brown Sugar – Adds moisture and chewiness; can switch to coconut sugar for a healthier option.
• Granulated Sugar – Contributes sweetness and helps with browning; any granulated sugar can be used.
• Large Eggs – Binds ingredients and adds moisture; substitutable with flax eggs for a vegan version.
• Vanilla Extract – Imparts flavor depth; substitute with almond extract for a different taste.
• Gel Food Coloring (Royal Blue, Electric Blue, Violet) – Achieves the iconic blue color; any food coloring can be used, but results may vary. -
For the Mix-Ins
• White Chocolate Chips – Adds sweetness and texture; can swap with semi-sweet or dark chocolate chips.
• Chopped Chips Ahoy Cookies – Contributes additional texture and flavor; homemade chocolate chip cookies can also be used.
• Chopped Oreos – Adds a crunchy, chocolatey layer; other sandwich cookies can be substituted.
Enjoy creating these mesmerizing Cookie Monster Cookies with your family!
Step‑by‑Step Instructions for Cookie Monster Cookies
Step 1: Preheat the Oven
Begin by preheating your oven to 350°F (175°C). While the oven warms up, prepare your cookie sheets by lining them with parchment paper or silicone mats to ensure easy removal of the cookies later. This step is crucial for achieving perfectly baked Cookie Monster Cookies with the right texture.
Step 2: Mix Dry Ingredients
In a medium bowl, sift together the all-purpose flour, cornstarch, baking soda, and salt. This process aerates the flour and combines the dry ingredients evenly, ensuring your cookies will rise beautifully. Set this mixture aside for later use; it’s the structural foundation of your delightful Cookie Monster Cookies.
Step 3: Cream Butter and Sugars
In a larger mixing bowl, combine the unsalted butter, brown sugar, and granulated sugar. Using an electric mixer, cream these ingredients together on medium speed for about 2 minutes until the mixture is light and fluffy. This step is essential as it creates the rich, chewy texture of your cookies.
Step 4: Incorporate Eggs and Vanilla
Add in the large eggs and vanilla extract to the butter-sugar mixture. Beat well until all ingredients are fully combined. As you mix, gradually incorporate gel food coloring for that vibrant blue hue; aim for a color you love, as it’ll add excitement to your Cookie Monster Cookies!
Step 5: Combine Wet and Dry Mixtures
Next, gradually add the dry ingredient mixture to your wet ingredients, stirring gently with a spatula until just combined. Be careful not to overmix; you want the dough to be thick and sticky, indicating that it’s ready for the delicious mix-ins that will make these Cookie Monster Cookies stand out.
Step 6: Fold in Mix-Ins
Using a spatula, carefully fold in the white chocolate chips, chopped Chips Ahoy cookies, and Oreos by hand. Ensure that the mix-ins are evenly distributed throughout the dough to guarantee that every bite of your Cookie Monster Cookies is packed with delightful textures and flavors.
Step 7: Shape the Cookies
Using a cookie scoop or a tablespoon, form dough into balls about 2 tablespoons in size. Place them on your prepared cookie sheets, ensuring there’s enough space between each dough ball for spreading. For added visual appeal, press a few extra cookie pieces onto the surface of each ball before baking.
Step 8: Bake
Transfer the cookie sheets to the preheated oven. Bake the cookies for 10-12 minutes, or until the edges look lightly set and the centers appear slightly soft. Avoid overbaking; pull them out when they still look a bit underdone for that perfect chewy texture in your Cookie Monster Cookies.
Step 9: Cooling Period
Once baked, allow the cookies to cool on the sheets for about 15 minutes. This resting period helps them firm up as they cool, making it easier to transfer them without losing shape. After cooling, move the cookies to a cooling rack to finish cooling completely, if you can resist the temptation!
What to Serve With Cookie Monster Cookies
Pair your whimsical Cookie Monster Cookies with delightful accompaniments that enhance their playful charm and taste.
-
Cold Milk: The classic pairing brings the nostalgia of childhood snacks, perfectly balancing the sweetness of the cookies and making every bite a treat. A glass of cold milk is a cozy addition, inviting joy to each morsel.
-
Vanilla Ice Cream: Serve these cookies warm alongside a scoop of vanilla ice cream for an indulgent dessert experience. The combination of soft, chewy cookie and creamy ice cream creates a delightful textural contrast that is hard to resist.
-
Fruit Salad: A refreshing fruit salad complements the sweetness of the cookies while adding a bright and healthy element to your dessert platter. The juicy, natural sweetness of seasonal fruits provides a perfect palate cleanser.
-
Chocolate Milkshake: For a fun and indulgent treat, whip up a chocolate milkshake to elevate snack time. The richness of the shake pairs beautifully with the cookies and will delight kids and adults alike.
-
Hot Cocoa: A cozy cup of hot cocoa adds warmth and sweetness, making them perfect companions during chilly days or festive gatherings. Top your cocoa with whipped cream for an extra treat that echoes the playful spirit of the cookies.
-
Coffee: For the grown-ups, a rich cup of coffee offers a robust pairing with the sweet, chewy cookies, creating a delightful contrast that enhances the chocolatey flavors. Experiment with your favorite brew or a splash of flavored creamer.
-
Candy Eyeballs: Add a whimsical touch by decorating the cookies with candy eyeballs for a playful presentation. These delightful additions not only enhance their charm but also serve as a fun conversation starter at parties.
Cookie Monster Cookies Variations & Substitutions
Feel free to personalize your Cookie Monster Cookies, making them uniquely yours with these fun twists!
-
Milk Chocolate: Swap the white chocolate chips for milk chocolate for a richer flavor. This transition brings a delightful sweetness that kids will adore!
-
Dairy-Free: Use coconut oil or a dairy-free margarine in place of unsalted butter for a creamy, non-dairy option. It adds a lovely texture that still delivers on taste.
-
Gluten-Free: Replace all-purpose flour with a 1:1 gluten-free flour blend to keep these cookies accessible for everyone. It’s the perfect way to ensure all cookie lovers can join the fun!
-
Vegan: Substitute regular eggs with flax eggs for a plant-based option. Just mix one tablespoon of ground flaxseed with three tablespoons of water for each egg; it’s a fantastic binder!
-
Festive Touch: For a whimsical feel, add candy eyeballs on top before baking. This playful detail brings the Cookie Monster theme to life, making them a hit at parties!
-
Flavor Boost: Try infused extracts, like almond instead of vanilla, to elevate the cookie flavor profile. This simple swap adds a unique twist that will surprise and delight.
-
Texture Variations: Fold in chopped nuts like walnuts or pecans for an added crunch. This not only changes the texture but also creates a delightful nutty flavor that balances the sweetness beautifully.
-
Spicy Kick: Add a pinch of cinnamon or a dash of cayenne pepper for a surprising warmth. This bold addition can transform the entire flavor experience of your cookies; you’ll love the complexity!
With these variations, you’ll have endless opportunities to experiment with your Cookie Monster Cookies! For more delightful cookies, be sure to check out our Raspberry Cookies Sweet or Chocolate Blossom Cookies for inspiration!
Make Ahead Options
These Cookie Monster Cookies are a wonderful choice for meal prep lovers! You can prepare the cookie dough up to 24 hours ahead of time by mixing all ingredients except the mix-ins (white chocolate chips, Chips Ahoy, and Oreos). Store the dough in an airtight container in the refrigerator to maintain its freshness and prevent drying out. When you’re ready to bake, simply fold in the mix-ins and scoop the dough onto the baking sheets. Alternatively, you can form the dough balls and freeze them for up to 3 months. Thaw the dough overnight in the fridge before baking for irresistibly chewy, vibrant cookies that everyone will adore!
How to Store and Freeze Cookie Monster Cookies
-
Room Temperature: Store the cookies in an airtight container at room temperature for up to 3 days to maintain freshness and softness.
-
Fridge: For extended freshness, place cookies in the refrigerator. They will stay delicious for up to a week; just remember to let them warm up before enjoying.
-
Freezer: If you’re making a big batch, freeze the cookies for up to 3 months. Place them in a freezer-safe container or resealable bag, separating layers with parchment paper to prevent sticking.
-
Dough Freezing: You can also freeze the cookie dough! Shape it into balls, freeze on a baking sheet, and once solid, transfer to a freezer bag. Thaw before baking for fresh Cookie Monster Cookies anytime!
Expert Tips for Cookie Monster Cookies
- Uniform Dough Balls: Use a cookie scoop to form balls for even baking, ensuring all your Cookie Monster Cookies have the same delightful texture.
- Extra Crunch: Before baking, press a few extra cookie pieces into the tops of the dough balls. This adds visual appeal and texture that everyone will love.
- Watch the Baking Time: Ovens can vary; keep a close eye on your cookies as they bake. Remove them when the edges are set but the centers look slightly soft for the best chewiness.
- Customize the Color: Feel free to experiment with the amount of gel food coloring. Remember, the blue color may darken a bit during baking, so aim for a vibrant start!
- Ingredient Swaps: Don’t hesitate to substitute ingredients to fit your dietary needs. Flour and chocolate types can be easily adjusted without compromising the fun of these Cookie Monster Cookies.
Cookie Monster Cookies Recipe FAQs
What type of flour should I use for Cookie Monster Cookies?
You should use all-purpose flour to provide the right structure for these cookies. If you need a gluten-free option, I recommend using a 1:1 gluten-free flour blend, which works beautifully without sacrificing texture!
How should I store Cookie Monster Cookies?
Store your cookies in an airtight container at room temperature for up to 3 days. To keep them fresher for longer, you can refrigerate them, where they will stay tasty for about a week. Just remember to let them sit at room temperature for a bit before enjoying them.
Can I freeze Cookie Monster Cookies?
Absolutely! You can freeze the baked cookies for up to 3 months. Place them in a freezer-safe container or resealable bag, layering parchment paper between cookies to prevent sticking. For the cookie dough, shape it into balls, freeze on a baking sheet, then transfer to a freezer bag. Thaw before baking for warm and fresh cookies!
How can I fix my Cookie Monster Cookies if they turn out too dry?
If your cookies come out dry, it might be due to overbaking or too much flour. Always check for browning and remove them when the edges are lightly set but the centers are still soft. If you feel they need rescue, try adding a bit of melted butter or some milk to the dough next time to keep them chewier and more delicious!
Are there any dietary considerations for these cookies?
Yes! These Cookie Monster Cookies contain common allergens like gluten, dairy, and eggs. If you’re baking for someone with dietary restrictions, you can make substitutes such as using coconut oil in place of butter, flax eggs instead of regular eggs, and a gluten-free flour blend. Always be sure to read labels on any mix-ins to avoid allergens!
Can I customize the color of my Cookie Monster Cookies?
Certainly! Feel free to experiment with different gel food colorings to achieve the shade you like. Keep in mind, though, that the color may darken slightly during baking, so it’s best to aim for a vibrant blue at the outset!
Cookie Monster Cookies: Fun, Chewy Treats Your Kids Will Love
Ingredients
Equipment
Method
- Preheat your oven to 350°F (175°C) and line cookie sheets with parchment paper or silicone mats.
- In a medium bowl, sift together the all-purpose flour, cornstarch, baking soda, and salt.
- In a larger mixing bowl, cream together the unsalted butter, brown sugar, and granulated sugar until light and fluffy.
- Add in the large eggs and vanilla extract, mixing well before incorporating gel food coloring.
- Gradually add the dry ingredient mixture to your wet ingredients, stirring until just combined.
- Carefully fold in the white chocolate chips, chopped Chips Ahoy cookies, and Oreos by hand.
- Form dough into balls about 2 tablespoons in size and place them on your prepared cookie sheets.
- Bake the cookies for 10-12 minutes until edges are set and centers are slightly soft.
- Allow the cookies to cool on the sheets for about 15 minutes before transferring them to a cooling rack.