
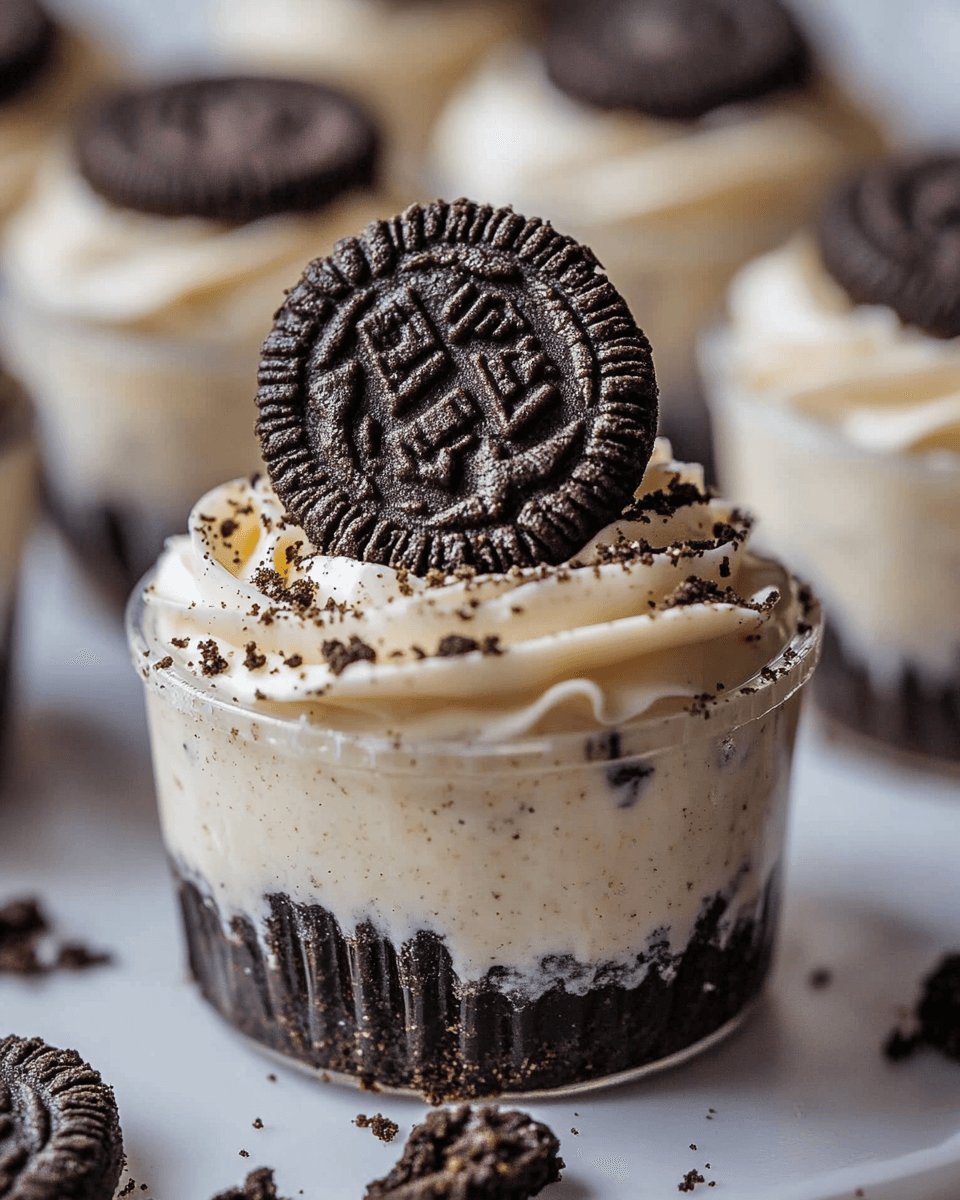
Introduction to Cookies and Cream Cheesecake Cups
There’s something magical about dessert that brings us all together. Cookies and Cream Cheesecake Cups are a delightful treat that can turn any ordinary day into a special occasion. Whether you’re celebrating a birthday, hosting a game night, or just craving something sweet, these little cups are the perfect solution. They’re quick to whip up and require no baking, making them ideal for busy days when you want to impress your loved ones without spending hours in the kitchen. Trust me, once you try these, they’ll become a go-to dessert in your home!
Why You’ll Love This Cookies and Cream Cheesecake Cups
These Cookies and Cream Cheesecake Cups are not just a dessert; they’re a celebration in a cup! The ease of preparation means you can whip them up in no time, even on a hectic day. Plus, the creamy texture combined with the crunch of chocolate cookies creates a flavor explosion that’s hard to resist. Perfect for impressing guests or treating yourself, these cups are a sweet escape from the everyday grind.
Ingredients for Cookies and Cream Cheesecake Cups
Gathering the right ingredients is the first step to creating these delightful Cookies and Cream Cheesecake Cups. Here’s what you’ll need:
- Cream Cheese: The star of the show! Softened cream cheese gives the cheesecake its rich and creamy texture.
- Granulated Sugar: This sweetener balances the tanginess of the cream cheese, making each bite irresistible.
- Vanilla Extract: A splash of vanilla adds warmth and depth to the flavor profile.
- Heavy Whipping Cream: Whipped to perfection, it lightens the cheesecake mixture and adds a luscious mouthfeel.
- Chocolate Sandwich Cookies: Crushed cookies, like Oreos, provide that classic cookies and cream flavor and a delightful crunch.
- Mini Chocolate Chips (optional): For those who can’t get enough chocolate, these little gems add extra sweetness and texture.
- Additional Crushed Cookies: Use these for topping to enhance the visual appeal and add a bit of crunch.
For those looking to lighten things up, consider using reduced-fat cream cheese and whipped topping. You can also get creative by adding a layer of chocolate or caramel sauce between the cheesecake layers for an extra flavor boost. Exact quantities for each ingredient can be found at the bottom of the article, ready for printing!
How to Make Cookies and Cream Cheesecake Cups
Creating these Cookies and Cream Cheesecake Cups is a breeze! Follow these simple steps, and you’ll have a delicious dessert ready to impress. Let’s dive in!
Step 1: Prepare the Cream Cheese Mixture
Start by grabbing a large mixing bowl. Beat the softened cream cheese with an electric mixer until it’s smooth and creamy. This is where the magic begins! Make sure there are no lumps; a silky texture is key. Gradually add in the granulated sugar and vanilla extract, mixing until everything is well combined. The aroma of vanilla will fill your kitchen, and trust me, it’s heavenly!
Step 2: Whip the Heavy Cream
In a separate bowl, pour in the heavy whipping cream. Using a mixer, whip it until stiff peaks form. This step is crucial for achieving that light, airy texture in your cheesecake cups. When you lift the beaters, the cream should hold its shape. It’s like a fluffy cloud of deliciousness waiting to be folded into the cream cheese mixture!
Step 3: Combine the Mixtures
Now, gently fold the whipped cream into the cream cheese mixture. Use a spatula and be careful not to deflate the whipped cream. This is where you create that dreamy, creamy filling. Once fully incorporated, stir in the crushed chocolate sandwich cookies. If you’re feeling indulgent, toss in some mini chocolate chips for an extra chocolatey kick!
Step 4: Fill the Cups
Grab your individual serving cups or small jars. Spoon the cheesecake mixture into each cup, filling them about three-quarters full. This allows room for the topping and keeps things neat. The layers of creamy goodness will look so inviting, you might be tempted to dive in right away!
Step 5: Garnish and Refrigerate
To finish, sprinkle additional crushed cookies on top of each cup. This adds a nice crunch and makes them look extra appealing. Now, it’s time to refrigerate! Let the cups chill for at least two hours. This allows the cheesecake to set perfectly. The anticipation will be worth it when you finally dig in!
Tips for Success
- Make sure your cream cheese is at room temperature for easy mixing.
- Don’t overmix the whipped cream; fold gently to maintain its lightness.
- Chill the cups longer if you prefer a firmer texture.
- Experiment with different cookie brands for unique flavors.
- Use a piping bag for a neat and professional look when filling the cups.
Equipment Needed
- Mixing Bowls: A large bowl for the cream cheese and a medium bowl for whipping cream. Any size will do!
- Electric Mixer: A hand mixer works great, but a stand mixer can save time.
- Spatula: Essential for folding and mixing without deflating the whipped cream.
- Serving Cups or Jars: Use any small containers you have on hand for a fun presentation.
Variations
- Peanut Butter Twist: Add a layer of creamy peanut butter to the cheesecake mixture for a nutty flavor that pairs beautifully with chocolate.
- Minty Fresh: Incorporate a few drops of peppermint extract into the cream cheese mixture for a refreshing mint chocolate experience.
- Fruit Fusion: Top the cheesecake cups with fresh berries or a fruit compote for a burst of color and flavor.
- Gluten-Free Option: Use gluten-free chocolate sandwich cookies to make this dessert suitable for those with gluten sensitivities.
- Vegan Version: Substitute cream cheese with a vegan alternative and use coconut cream instead of heavy whipping cream for a plant-based treat.
Serving Suggestions
- Pair with Coffee: A rich cup of coffee complements the sweetness of the cheesecake cups perfectly.
- Fresh Berries: Serve with a side of strawberries or raspberries for a refreshing contrast.
- Elegant Presentation: Use clear cups or jars to showcase the beautiful layers of the dessert.
- Chocolate Drizzle: Drizzle some chocolate sauce on top for an extra touch of indulgence.
FAQs about Cookies and Cream Cheesecake Cups
Can I make these Cookies and Cream Cheesecake Cups ahead of time?
Absolutely! These cups are perfect for making in advance. Just prepare them, refrigerate, and they’ll be ready to serve when you need them. They actually taste even better after chilling for a few hours!
How long do these cheesecake cups last in the fridge?
Stored in an airtight container, your Cookies and Cream Cheesecake Cups will stay fresh for about 3 to 4 days. Just be sure to keep them chilled until you’re ready to enjoy!
Can I use different types of cookies?
Definitely! While chocolate sandwich cookies are traditional, feel free to experiment with other cookies. Vanilla wafers or even graham crackers can create a unique twist on this classic dessert.
Is there a way to make these cheesecake cups healthier?
Yes! You can use reduced-fat cream cheese and whipped topping to cut down on calories. Additionally, swapping out regular sugar for a sugar substitute can help if you’re watching your sugar intake.
What can I serve with these cheesecake cups?
These delightful cups pair wonderfully with a hot cup of coffee or a refreshing glass of milk. You can also add fresh fruit on the side for a burst of flavor and color!
Final Thoughts
Creating these Cookies and Cream Cheesecake Cups is more than just making a dessert; it’s about crafting moments of joy. Each bite is a delightful blend of creamy and crunchy, evoking memories of childhood treats and carefree days. Whether you’re sharing them with friends or savoring them solo, these cups bring a sense of indulgence that’s hard to resist. Plus, the no-bake aspect means you can whip them up anytime, making them a go-to for any occasion. So, roll up your sleeves, gather your ingredients, and let the sweet magic unfold in your kitchen!
Cookies and Cream Cheesecake Cups: A Delightful Treat!
Ingredients
Method
- In a large mixing bowl, beat the softened cream cheese with an electric mixer until smooth and creamy.
- Gradually add the granulated sugar and vanilla extract, mixing until well combined.
- In a separate bowl, whip the heavy cream until stiff peaks form.
- Gently fold the whipped cream into the cream cheese mixture until fully incorporated.
- Stir in the crushed chocolate sandwich cookies and mini chocolate chips, if using.
- Spoon the cheesecake mixture into individual serving cups or small jars, filling them about 3/4 full.
- Top each cup with additional crushed cookies for garnish.
- Refrigerate for at least 2 hours to allow the cheesecake to set before serving.
Nutrition
Notes
- For a lighter version, use reduced-fat cream cheese and whipped topping.
- Try adding a layer of chocolate sauce or caramel sauce between the cheesecake layers for extra flavor.