
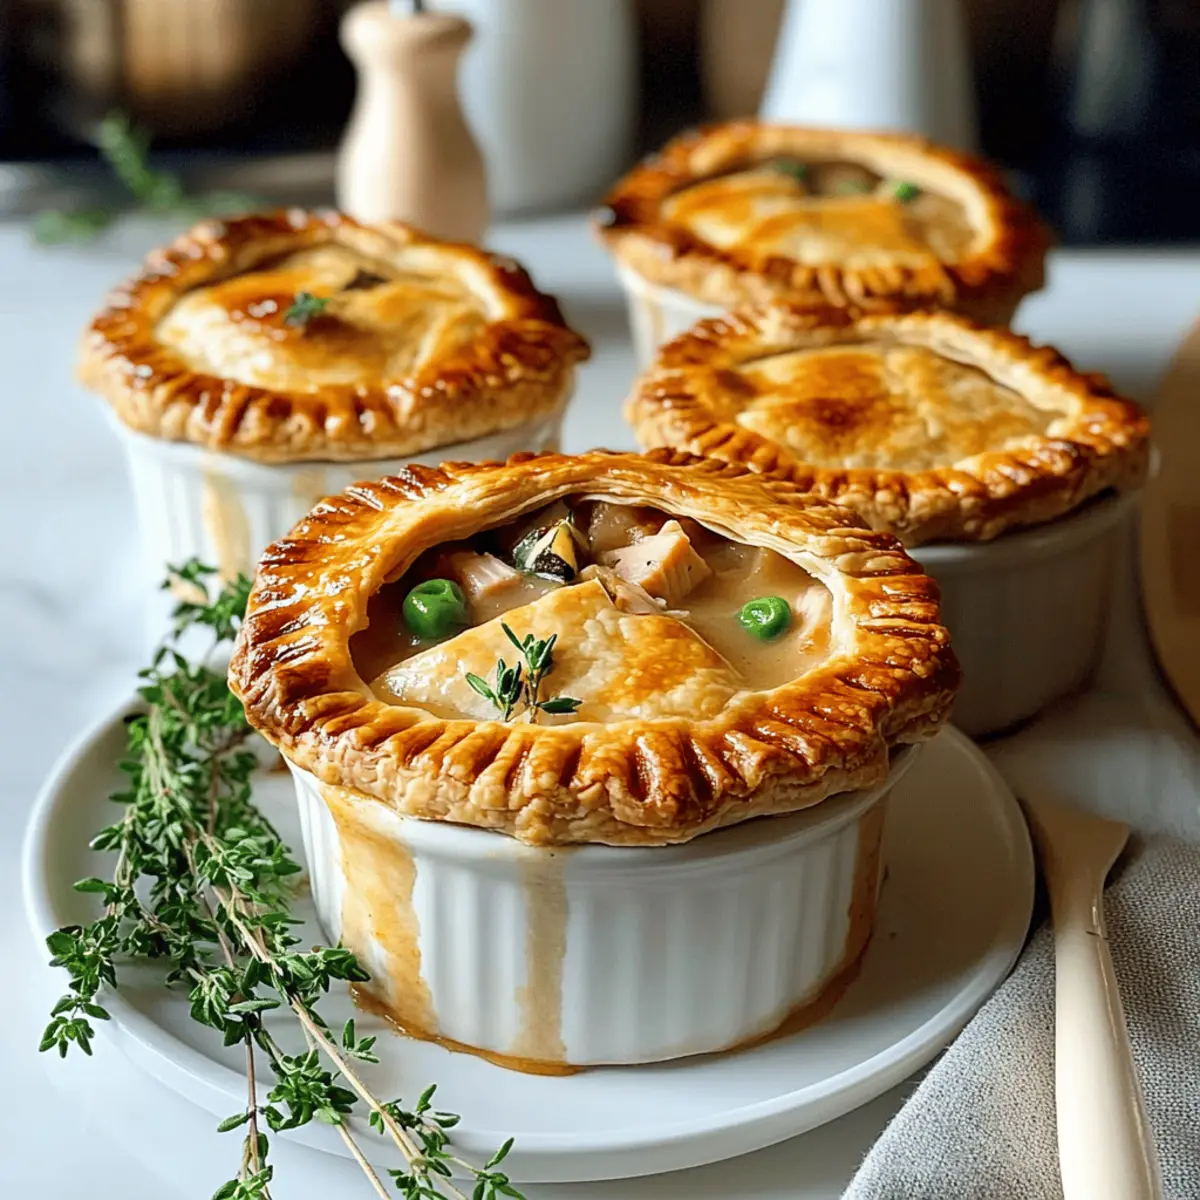
The kitchen becomes a sanctuary as the first chill of autumn sweeps in, evoking memories of warm meals shared with loved ones. That’s when I turn to my favorite comfort food: Creamy Turkey Pot Mini Pies. These delightful morsels marry a rich, savory filling with a perfectly flaky crust, making them not just an effective use of leftover turkey, but also a versatile delight for any occasion. With quick prep and the ability to cater to a range of tastes—think chicken, beef, or even a hearty vegetarian option—these mini pies are a go-to for busy weeknights and festive gatherings alike. Are you ready to fill your home with the irresistible aroma of homemade goodness?
Why Are These Mini Pies So Special?
Comforting and Versatile: These Creamy Turkey Pot Mini Pies blend the warmth of home cooking with delightful flavors, satisfying both traditionalists and those seeking variety—a guaranteed crowd-pleaser for gatherings or family dinners.
Easy to Prepare: Quick prep and simple steps ensure you spend more time enjoying and less fussing over the stove. You can easily whip them up in just under an hour!
Leftover Lover’s Dream: Perfect for using leftover turkey, the recipe encourages creativity; try substituting with chicken, beef, or a hearty vegetarian filling for diverse flavor profiles.
Make-Ahead Magic: Prepare the filling ahead of time and assemble these pies right before baking—making dinner stress-free on busy nights.
Whether you savor them as a snack or main dish, these mini pies promise a delightful taste experience that will warm your heart and home. For another comforting treat, check out these Mini Pecan Pie bites!
Creamy Turkey Pot Mini Pies Ingredients
For the Filling
• Turkey – Use leftover turkey for convenience and maximum flavor.
• Carrots – Add sweetness and texture; substitute with peas or corn for variety.
• Peas – Enhance the filling with color and tenderness; feel free to swap in your favorite vegetables.
• Cream – Adds richness to the filling; low-fat cream makes for a lighter dish if desired.
• Herbs (e.g., thyme, parsley) – Bring freshness and robust flavor to your filling.
• Seasonings (e.g., red pepper flakes) – Add spice according to your taste preference.
For the Crust
• Butter – Ensures a flaky crust and adds delicious flavor; margarine works as a dairy-free alternative.
• Pie Crust – Acts as the foundation for your filling; using a store-bought crust saves time, while homemade allows for creative twists.
Step‑by‑Step Instructions for Creamy Turkey Pot Mini Pies
Step 1: Prepare the Filling
In a large skillet over medium heat, melt 2 tablespoons of butter. Add diced leftover turkey, sliced carrots, and peas, sautéing for about 5-7 minutes until the vegetables are tender. Pour in 1 cup of cream, stirring to combine, and season with herbs and spices, cooking for an additional 2-3 minutes until the mixture is heated through and well combined.
Step 2: Cool the Filling
Once cooked, remove the skillet from heat and allow the creamy turkey filling to cool for about 10 minutes. This cooling step is essential to prevent the pie crust from becoming soggy during assembly. Stir occasionally to help it cool evenly and maintain that delicious creaminess without becoming too thick.
Step 3: Prepare the Crust
Preheat your oven to 375°F (190°C) while rolling out the pie crust on a lightly floured surface. Using a round cookie cutter or a glass, cut out circles to fit your mini pie dishes or muffin tins. Aim for circles that are slightly larger than the bottom of the dish to create a lovely crust that houses your filling.
Step 4: Assemble the Pies
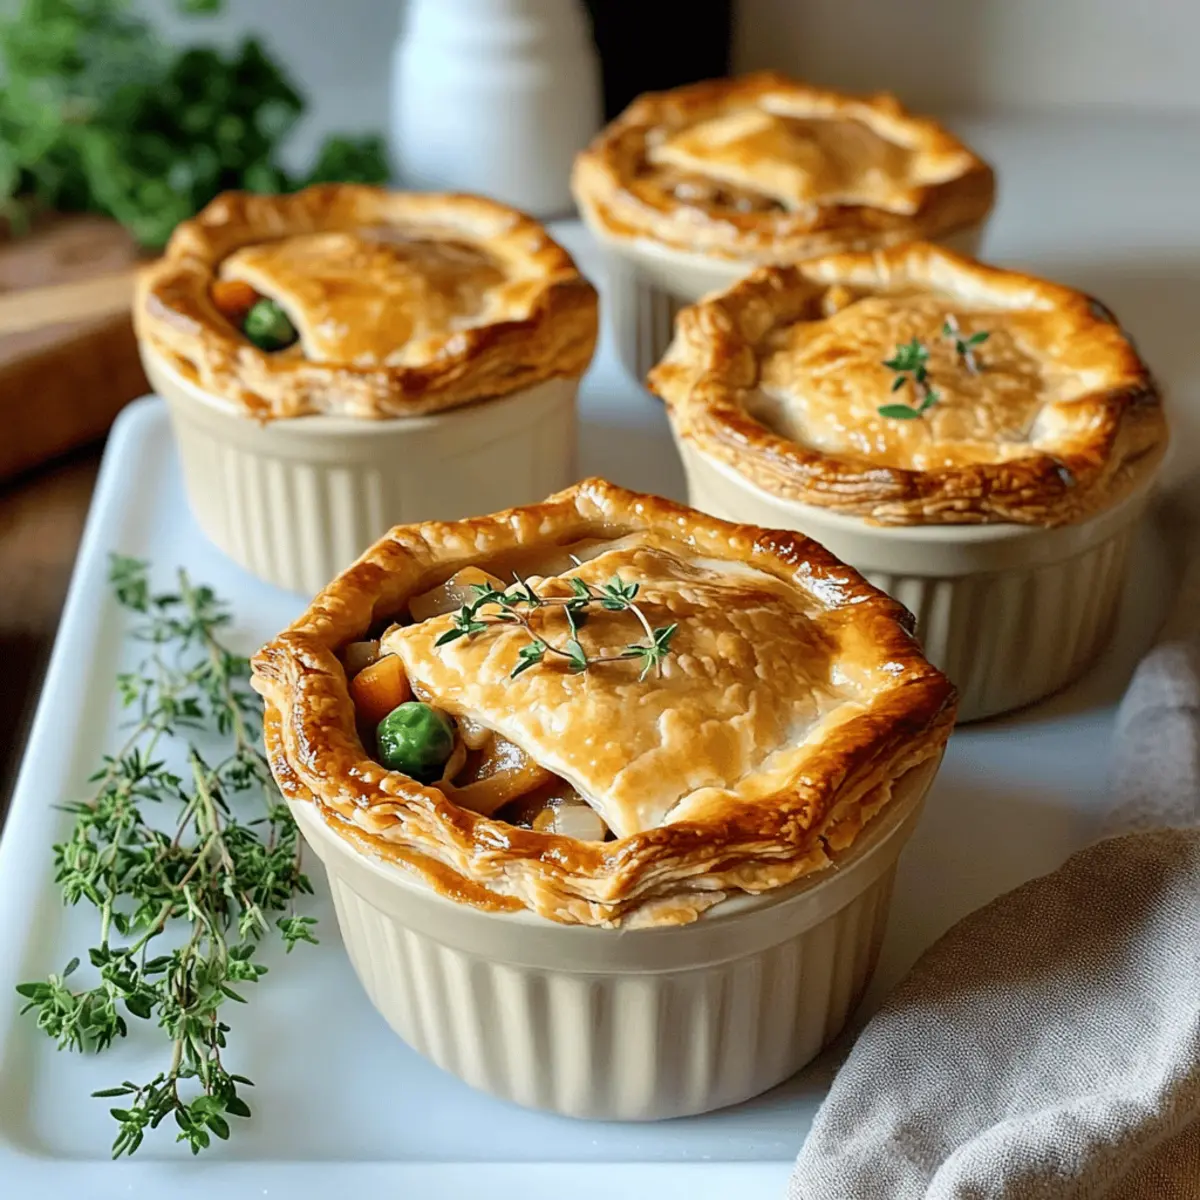
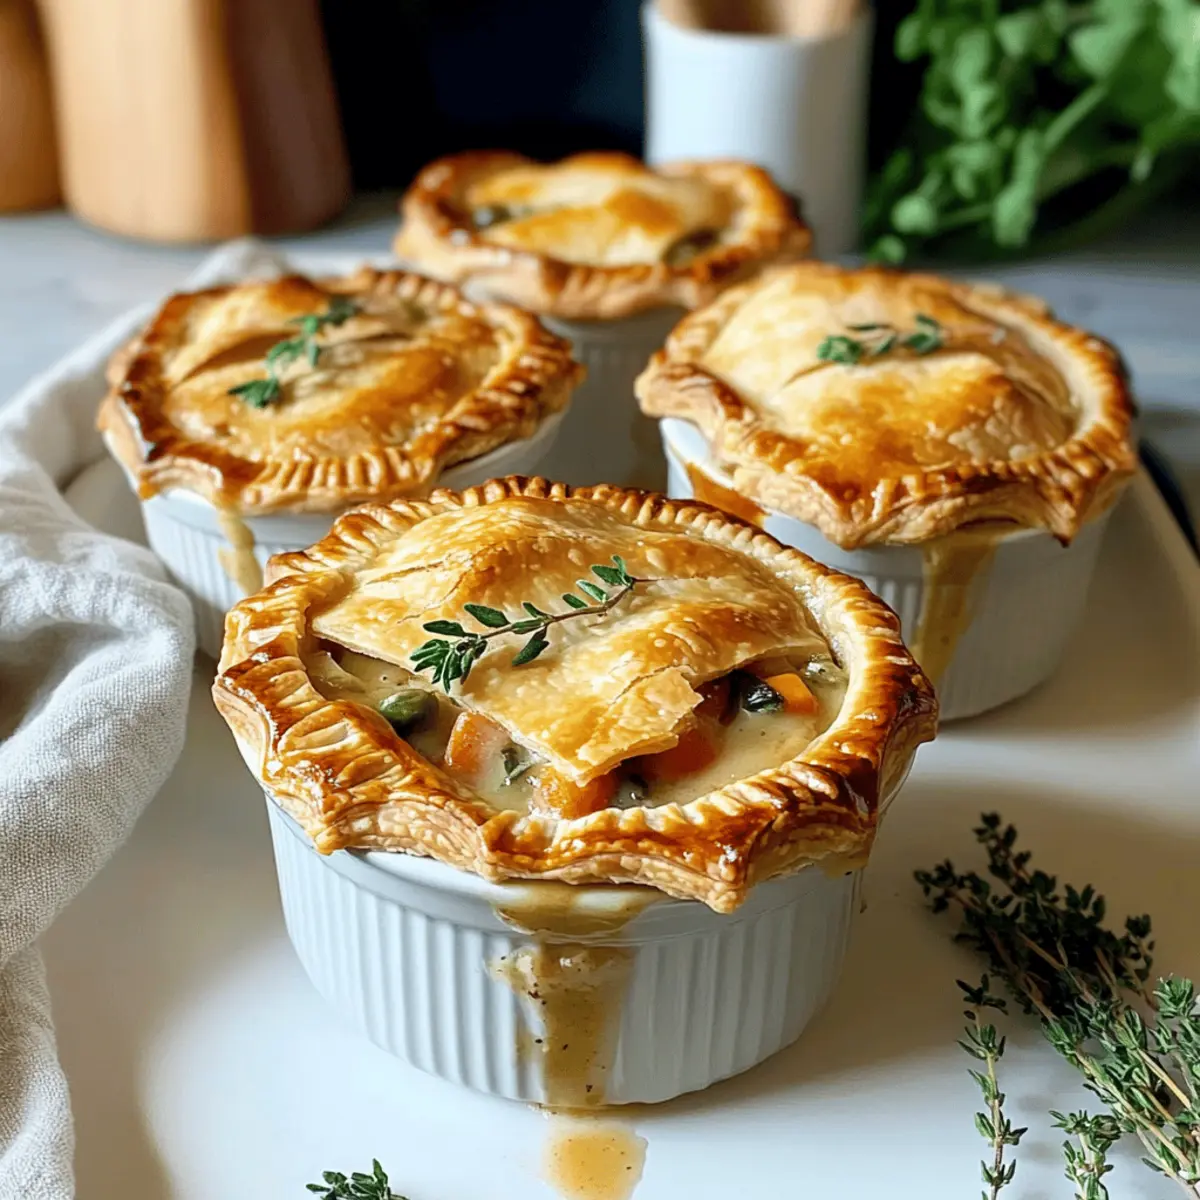
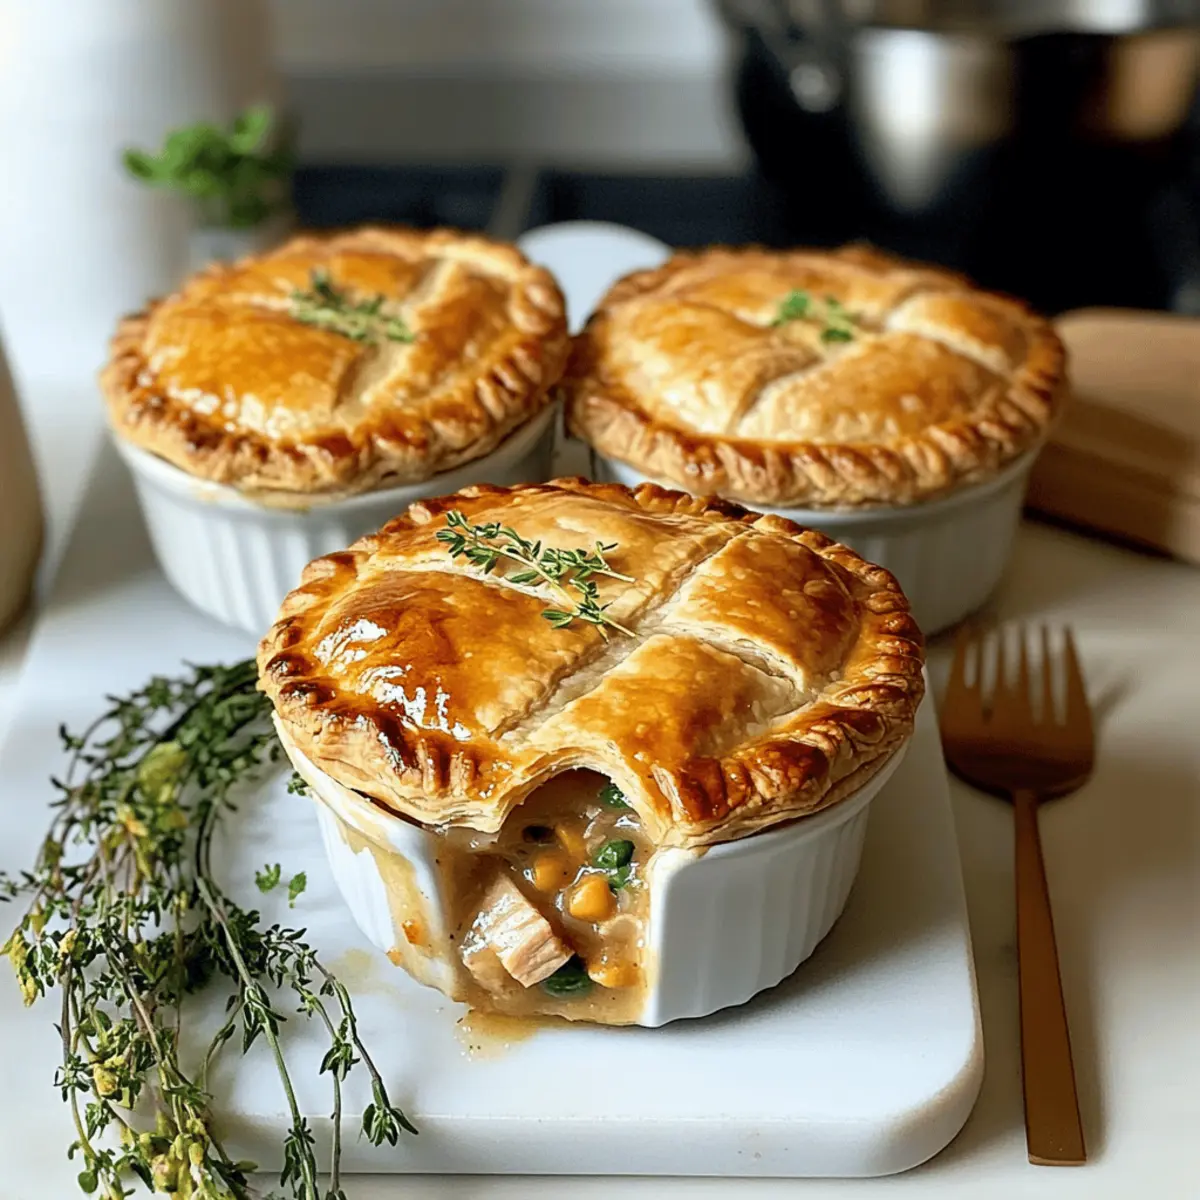
Place the pie crust circles into the greased mini pie dishes, gently pressing them into the bottoms and sides. Spoon in the creamy turkey filling, being careful not to overfill, about three-quarters full. Next, cut smaller circles or shapes from the remaining crust for the tops, and place them on each filled pie, cutting vent holes for steam to escape.
Step 5: Bake
After assembling, arrange the mini pies on a baking sheet and place them in the preheated oven. Bake for 25-30 minutes or until the crusts are golden brown and the filling is bubbling through the vents. Keep an eye on them to ensure the edges don’t brown too quickly; if they do, cover them with foil.
Step 6: Cool and Serve
Once baked to perfection, remove the mini pies from the oven and let them cool for about 5-10 minutes before serving. This resting time enhances the flavors and allows for easier handling. Enjoy these Creamy Turkey Pot Mini Pies as a comforting dish that brings warmth to your family table.
What to Serve with Creamy Turkey Pot Mini Pies
Imagine the delightful warmth and comfort of a perfectly paired meal that brings the whole family together.
-
Crisp Side Salad: A fresh green salad with vinaigrette adds a zesty counterpoint to the creamy turkey filling, balancing flavors beautifully. The crunch of carrots and cucumbers adds texture that complements the pies perfectly.
-
Garlic Mashed Potatoes: Creamy mashed potatoes infused with garlic make a comforting accompaniment, enhancing the indulgent vibe of the meal. Their smooth texture pairs well with the flaky crust and savory filling.
-
Steamed Green Beans: Bright and crisp green beans bring an element of freshness and color to the plate, adding a delightful snap that contrasts with the mini pies.
-
Savory Cornbread: A slice of warm, buttery cornbread provides a touch of sweetness and a hearty component, ideal for soaking up the creamy filling from the pies.
-
Roasted Vegetables: A medley of roasted seasonal vegetables can add depth and sweetness to your meal. Their caramelized edges enhance the comforting flavors of the creamy turkey pot mini pies.
-
Chardonnay: A glass of chilled Chardonnay, with its light and fruity notes, complements the richness of the pies without overwhelming the palate. Perfect for a cozy dinner setting!
These suggestions ensure your dinner is not just a meal, but a heartwarming experience shared with loved ones.
Storage Tips for Creamy Turkey Pot Mini Pies
- Fridge: Store baked creamy turkey pot mini pies in an airtight container for up to 3 days. This keeps them fresh and ready for a quick snack or meal.
- Freezer: Unbaked mini pies can be frozen for up to 1 month. Just ensure they are tightly wrapped in plastic wrap and placed in a freezer bag for optimal freshness.
- Reheating: To reheat, simply pop baked mini pies in an oven at 350°F (175°C) for about 15-20 minutes or until heated through. This brings back that delightful crispiness!
- Airtight Storage: Always use airtight containers to prevent moisture buildup, ensuring that your tasty creamy turkey pot mini pies maintain their delicious flavors and textures.
Make Ahead Options
These Creamy Turkey Pot Mini Pies are perfect for busy home cooks who want to enjoy a comforting meal without the last-minute rush! You can prepare the creamy filling up to 3 days in advance; simply sauté the ingredients and store the mixture in an airtight container in the fridge to maintain its rich flavor and texture. For the crust, you can cut out the pastry circles and place them in the mini pie dishes up to 24 hours ahead—just cover them to keep them fresh. When you’re ready to bake, simply fill the crusts with the chilled filling and top them with the prepared pie crusts, then bake until golden brown and enjoy a delicious meal with minimal effort!
Creamy Turkey Pot Mini Pies Variations
Feel free to explore these exciting ways to make this recipe uniquely yours—each variation offers a delightful twist just waiting to be discovered!
-
Chicken Swap: Replace turkey with shredded chicken for a classic twist. It’s a comforting option that holds its own in flavor and texture.
-
Beef Alternative: Try ground beef instead for a heartier filling. It adds a rich layer that complements the creaminess beautifully, perfect for meat lovers.
-
Vegetarian Delight: Substitute turkey with a mix of lentils and your favorite hearty vegetables for a filling that’s just as satisfying. Think mushrooms, bell peppers, and perhaps a splash of soy sauce for more depth.
-
Spice It Up: Add a dash of your favorite hot sauce or a sprinkle of cayenne pepper for a little kick. This personalizes the dish and can bring out the flavors even more delightfully.
-
Cheesy Goodness: Top each pie with shredded cheese before baking for a melty, indulgent finish. Varieties like cheddar or mozzarella can elevate the dish, making it even more gourmet.
-
Herb Revival: Experiment with different herbs like rosemary or sage for a fragrant twist. Each herb adds a new layer of flavor that can transform the overall experience.
-
Crust Variations: Use puff pastry instead of traditional pie crust for a lighter, flakier texture. This adds an elegant touch that’s perfect for special occasions.
-
Mini Tarts: For a fun presentation, turn the filling into mini tarts using phyllo dough. It’s a crispy alternative that can be delightful for gatherings or parties.
Serve these scrumptious mini pies alongside a simple side salad for a complete meal or enjoy the warmth of a comforting dish by itself. For another family-friendly delight, don’t forget to try these Butterfinger Cheesecake Bars—they’re just as easy to whip up and utterly satisfying!
Expert Tips for Creamy Turkey Pot Mini Pies
- Cool Before Assembly: Let the filling cool for about 10 minutes before spooning it into the crust. This prevents the bottom from becoming soggy, ensuring your creamy turkey pot mini pies maintain a flaky texture.
- Don’t Overfill: Aim for about three-quarters full when adding filling to each pie. Overfilling can cause spills during baking, creating a mess in your oven.
- Vent for Steam: Cut small vent holes in the top crust to allow steam to escape. This avoids sogginess and ensures even cooking in the creamy turkey pot mini pies.
- Watch the Edges: If the edges of your crust start to brown too quickly, cover them with foil during baking. This protects them from burning while the filling remains tender.
- Quality Pans Matter: Use quality pie pans or muffin tins for even baking. A well-constructed pan ensures that your mini pies cook through perfectly, highlighting their comforting flavors.
Creamy Turkey Pot Mini Pies Recipe FAQs
What type of turkey should I use for the filling?
Absolutely! Using leftover turkey is perfect for this recipe, as it adds rich flavor. If you don’t have leftover turkey, rotisserie chicken is a convenient substitute that works wonderfully!
How should I store the baked mini pies?
I recommend placing your baked creamy turkey pot mini pies in an airtight container in the refrigerator. They will stay fresh for up to 3 days—perfect for quick meals or snacks!
Can I freeze unbaked mini pies?
Yes, indeed! Unbaked mini pies can be frozen for up to 1 month. Just wrap them tightly in plastic wrap and place them in a freezer bag to keep them nice and fresh. When you’re ready to bake, they can go straight into the oven from the freezer—just add an extra few minutes to the baking time.
What should I do if my filling is too watery?
If you find your filling is too watery, don’t worry! You can cook it on low heat to evaporate some moisture, stirring frequently. Alternatively, adding a tablespoon of cornstarch mixed with a little water can help thicken it. Just be sure to stir it in gradually until you reach your desired consistency!
Are there any dietary considerations with this recipe?
Very much so! If you have food allergies, ensure the cream can be substituted with a non-dairy alternative like coconut cream. For those sensitive to gluten, use gluten-free pie crusts available at most grocery stores. Always check labels for allergens or added ingredients if you’re handling dietary restrictions—keeping everyone safe and happy is the goal!
How can I tell when my mini pies are done baking?
You’ll know your creamy turkey pot mini pies are done when the crust is golden brown and the filling is bubbling through the steam vents on top—usually around 25-30 minutes at 375°F (190°C). Keep an eye on them towards the end to prevent over-browning; if needed, cover the edges with foil!
Savory Creamy Turkey Pot Mini Pies for Cozy Evenings
Ingredients
Equipment
Method
- In a large skillet over medium heat, melt 2 tablespoons of butter. Add diced leftover turkey, sliced carrots, and peas, sautéing for about 5-7 minutes until the vegetables are tender. Pour in 1 cup of cream, stirring to combine, and season with herbs and spices, cooking for an additional 2-3 minutes until the mixture is heated through and well combined.
- Once cooked, remove the skillet from heat and allow the creamy turkey filling to cool for about 10 minutes. Stir occasionally to help it cool evenly.
- Preheat your oven to 375°F (190°C) while rolling out the pie crust on a lightly floured surface. Using a round cookie cutter or a glass, cut out circles to fit your mini pie dishes.
- Place the pie crust circles into the greased mini pie dishes, gently pressing them into the bottoms and sides. Spoon in the creamy turkey filling, about three-quarters full. Cut smaller circles from the remaining crust for the tops, placing them on each filled pie and cutting vent holes.
- Arrange the mini pies on a baking sheet and bake for 25-30 minutes or until the crusts are golden brown and the filling is bubbling through the vents.
- Once baked, remove the mini pies from the oven and let them cool for about 5-10 minutes before serving.