
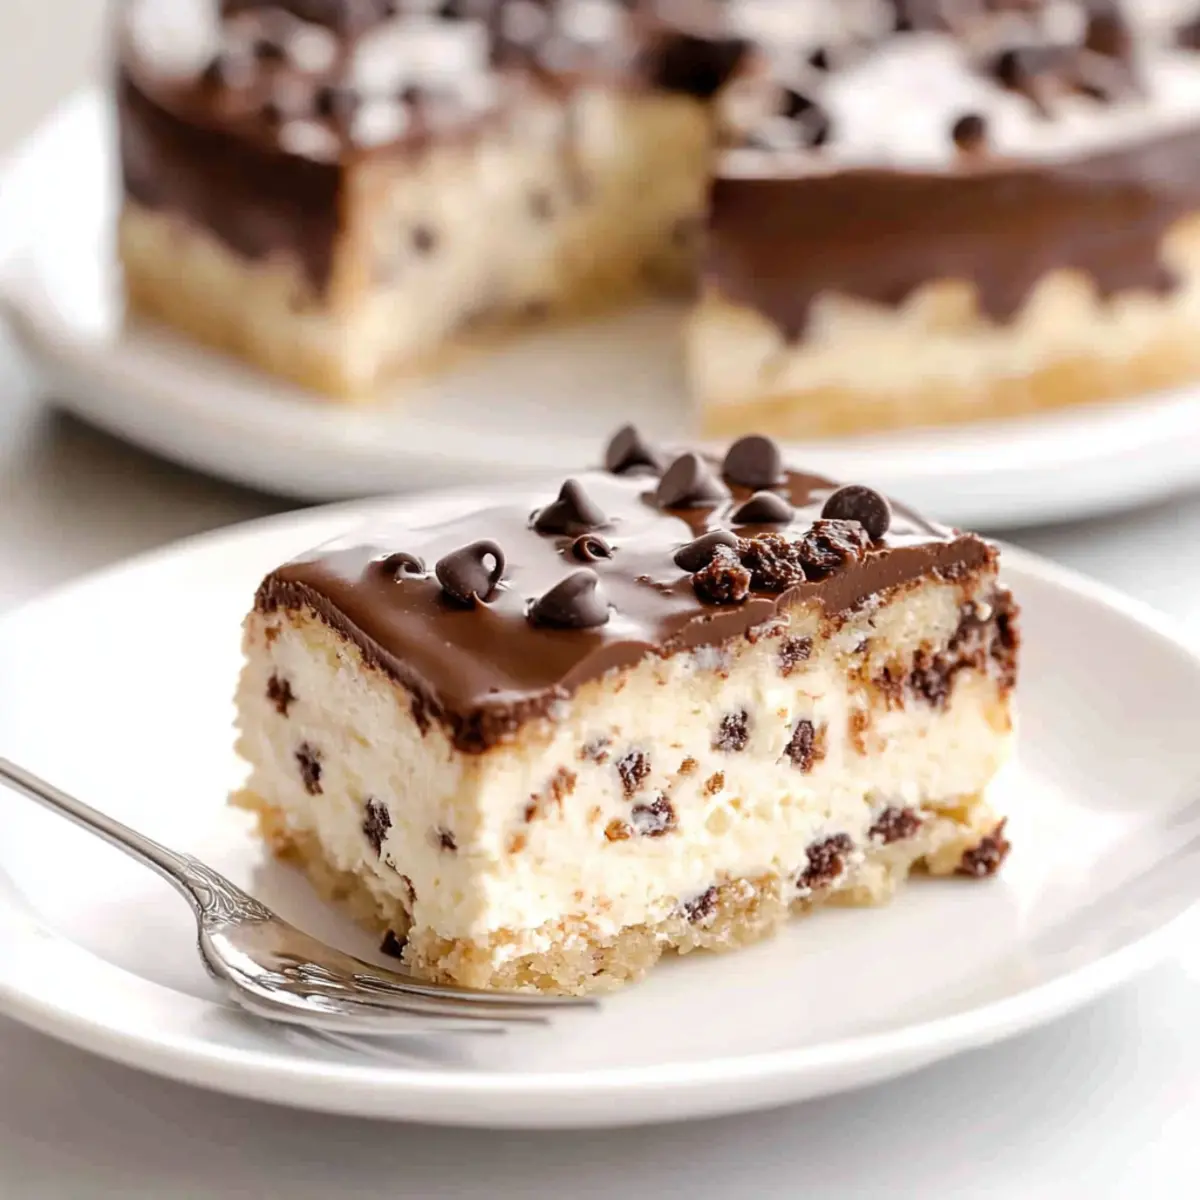
As I stood in my kitchen, the sweet scent of chocolate and vanilla swirling together, I couldn’t help but smile. The Easy No-Bake Cannoli Cake was coming together effortlessly, blending the classic flavors of traditional Italian cannoli into a delightful dessert that requires zero baking. With layers of creamy ricotta and mini chocolate chips nestled between slices of frozen pound cake, this crowd-pleaser is perfect for any occasion—from family dinners to festive potlucks. Not only is it incredibly simple to whip up, but it also allows you to impress your guests without spending hours in the kitchen. Are you ready to indulge in a slice of this luscious cake and bring a touch of Italy to your table?
Why is this Cannoli Cake a Must-Try?
No-Bake Delight: This Easy Cannoli Cake offers a delicious dessert without the heat of the oven. Effortless Layers: With each layer of rich ricotta and mini chocolate chip filling grounded by frozen pound cake, assembly is a breeze. Crowd-Pleaser: Perfect for gatherings, its creamy sweetness and familiar flavors will leave everyone asking for seconds. Versatile Serving Options: Try individual servings in dessert cups for a unique twist, or pair with fresh berries for a refreshing touch. Make-Ahead Wonder: Prep this cake in advance and just chill until ready to serve, making it an ideal choice for busy hosts!
Easy Cannoli Cake Ingredients
-
For the Cake Base
• 16-ounce frozen pound cake – Structure and base of the cake; consider using Sara Lee for best results; freeze before slicing for cleaner cuts. -
For the Filling
• 15-ounce whole milk ricotta cheese – Main filling ingredient adding creaminess; mascarpone can be substituted for a richer taste but may slightly alter the texture.
• 12-ounce mini chocolate chips – Add flavor and texture; can use regular chocolate chips for a more intense chocolate flavor or omit for a lighter dessert.
• 1 teaspoon vanilla extract – Flavor enhancer; optional flavorings such as almond extract can be added for variation.
• ¾ cup powdered sugar – Sweetens the filling; adjust to taste for a less sweet profile. -
For the Ganache
• 2 cups heavy whipping cream – For both the filling and ganache, providing richness; Cool Whip may be used for the filling, but it does not work for ganache.
This Easy Cannoli Cake is sure to impress your guests and bring joy to your gatherings!
Step‑by‑Step Instructions for Easy Cannoli Cake
Step 1: Prep Cake
Begin by placing the frozen pound cake in the freezer for at least 2 hours, ensuring it is solid and easy to slice. Once fully frozen, remove it from the freezer and use a sharp serrated knife to slice the cake into even ¼ inch pieces, which will create the perfect base for your Easy Cannoli Cake layers.
Step 2: Make Ganache
In a medium saucepan, heat 1 cup of heavy cream over medium heat until it just begins to simmer but not boil. Remove from heat and pour it over 12 ounces of mini chocolate chips in a bowl. Let this mixture sit for about 5 minutes, then stir gently until smooth and glossy. Allow the ganache to cool and thicken slightly in the refrigerator while you prepare the filling.
Step 3: Prepare Filling
In a large mixing bowl, combine 15 ounces of whole milk ricotta cheese, ¾ cup of powdered sugar, and 1 teaspoon of vanilla extract. Whisk the ingredients until the mixture is smooth and creamy, with a velvety consistency. Then, gently fold in the remaining 6 ounces of mini chocolate chips, ensuring they are evenly distributed throughout the filling for that delightful texture in your Easy Cannoli Cake.
Step 4: Whip Cream
In another bowl, pour the remaining 1 cup of heavy whipping cream and whip it using an electric mixer on medium-high speed until you reach stiff peaks, which should take about 3-5 minutes. This light and airy cream will enhance the filling. Carefully fold the whipped cream into the ricotta mixture, taking care not to deflate it while creating a luscious, fluffy filling.
Step 5: Layer Cake
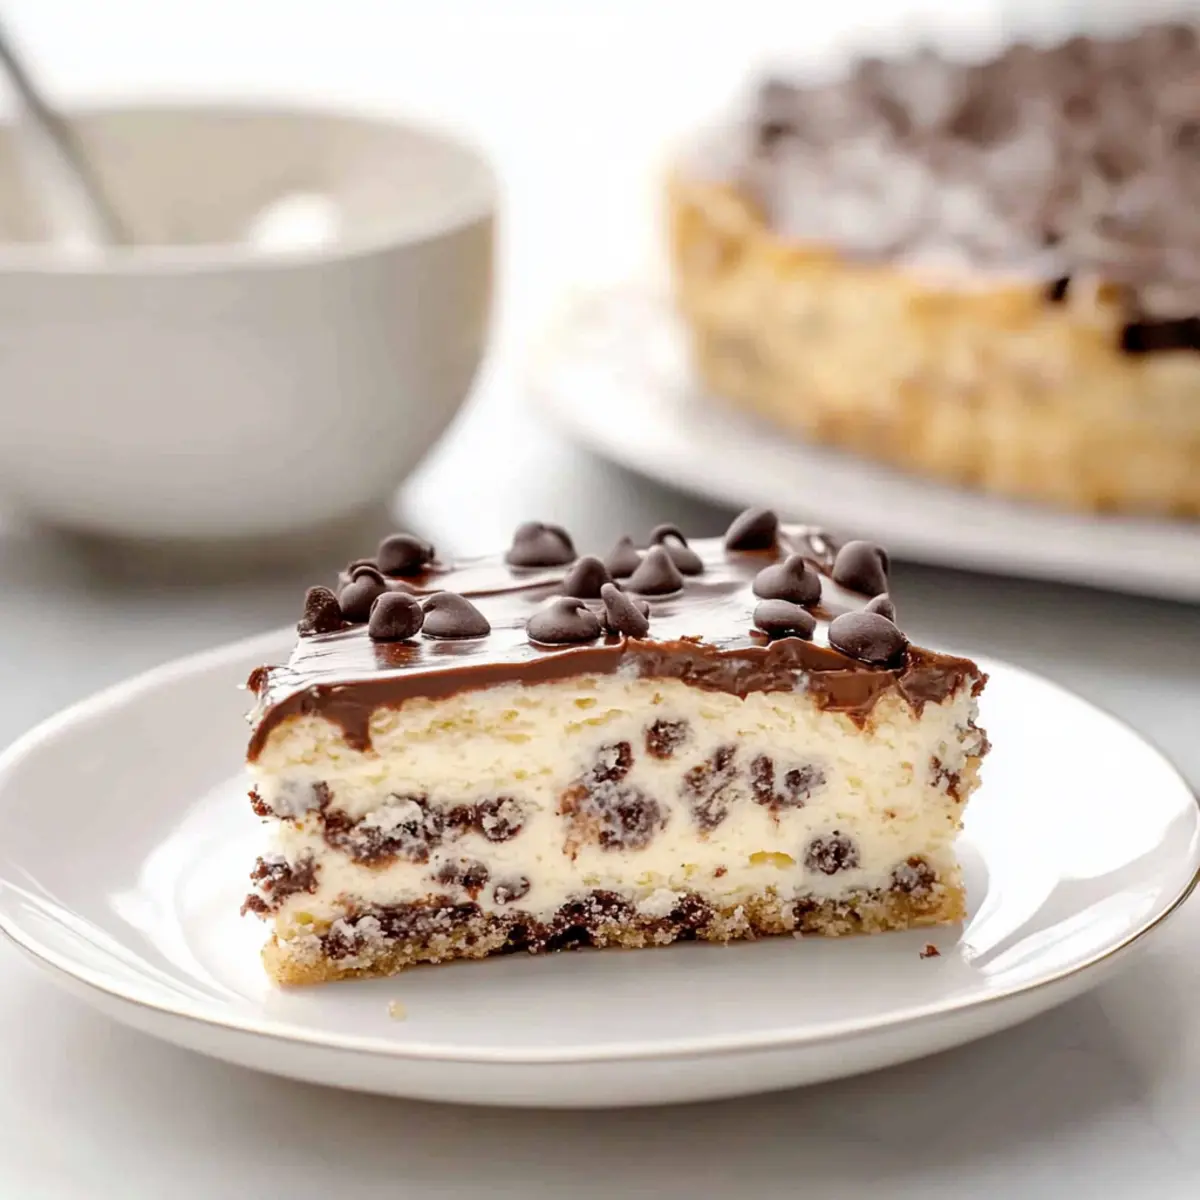
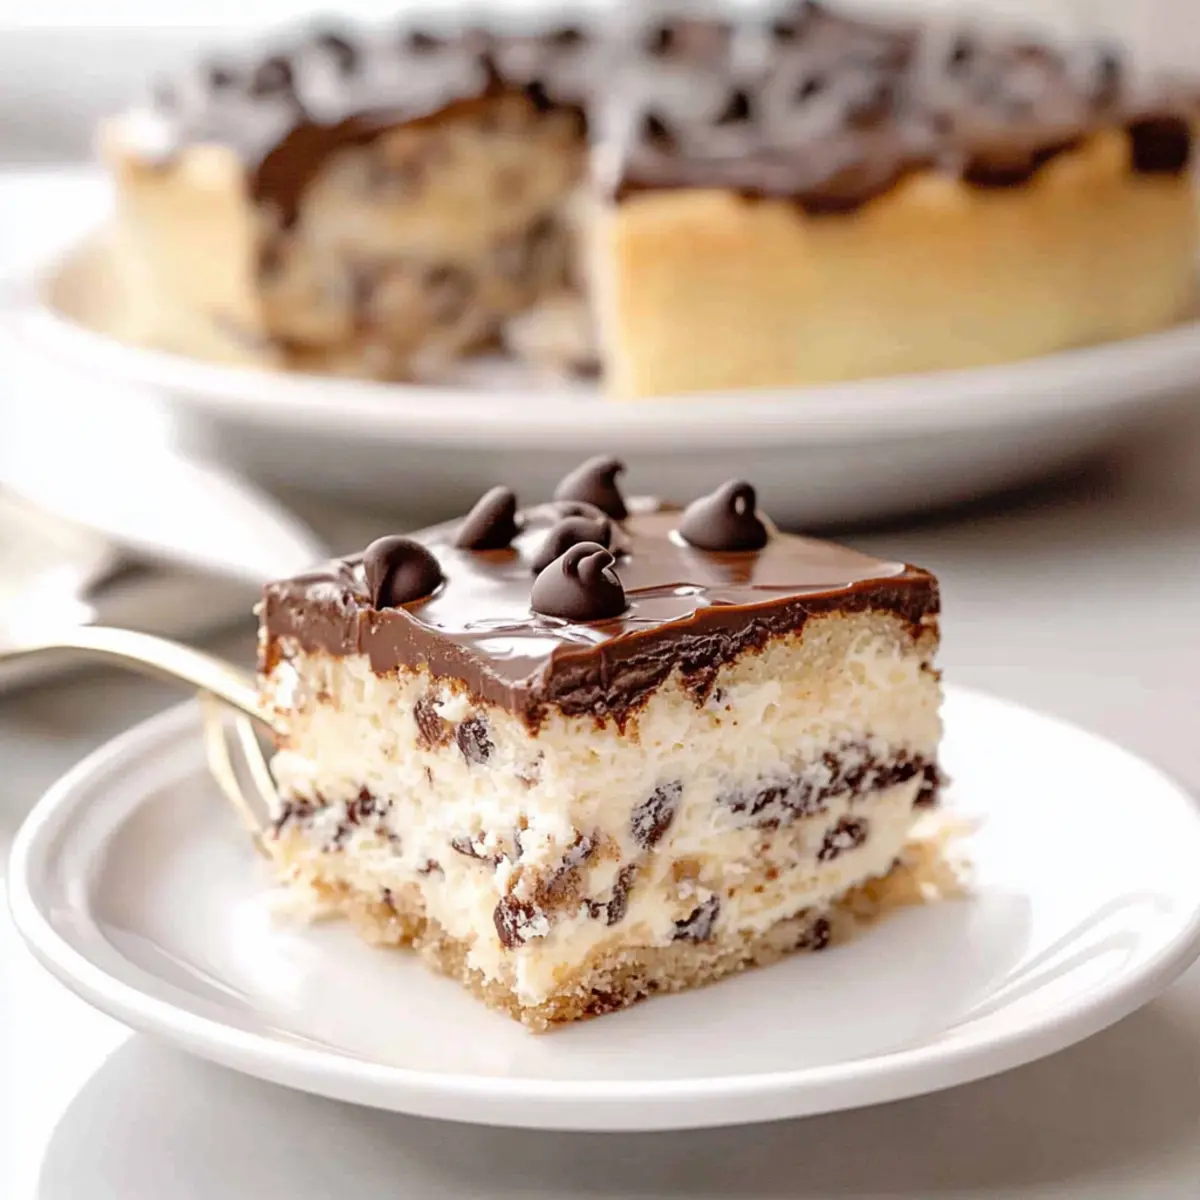
Now it’s time to assemble your Easy Cannoli Cake! In an 8×8-inch pan, lay down the first layer of freshly sliced pound cake, covering the bottom completely. Spread half of the ricotta filling over this layer, smoothing it with a spatula. Add another layer of pound cake, top with the remaining filling, and finish with one final layer of cake on top for a beautiful layered dessert.
Step 6: Add Ganache
Once the filling is set in the cake layers, retrieve the cooled ganache. Pour it over the top of the cake, spreading it evenly to create a delectable chocolate layer. Then, sprinkle the leftover mini chocolate chips on top for added texture and visual appeal. This decadent layer will bring your Easy Cannoli Cake to life.
Step 7: Chill
Cover the assembled cake with plastic wrap and place it in the refrigerator for a minimum of 3 hours, or overnight if possible, to allow the flavors to meld together beautifully. This chilling step is crucial, as it will help the layers set, making it easier to slice when ready to serve. Enjoy the anticipation of this delightful dessert!
Expert Tips for Easy Cannoli Cake
-
Thorough Freezing: Ensure the pound cake is completely frozen before slicing; this helps achieve clean, even cuts and prevents crumbling.
-
Whipping Cream: Use a chilled bowl and beaters for whipping cream to stiff peaks; this will enhance the airiness of the filling in your Easy Cannoli Cake.
-
Layering Smartly: Layering the cake carefully in an 8×8-inch pan is key; for larger gatherings, consider using a 9×13-inch pan to double the recipe and accommodate more servings.
-
Cooling Ganache: Allow the ganache to cool to avoid melting the filling when poured; refrigerating it briefly helps achieve the perfect pourable consistency.
-
Flavor Variations: Experiment with flavor by adding orange zest to the ricotta mixture or using flavored syrup to soak the cake layers for extra moisture and taste.
Make Ahead Options
This Easy Cannoli Cake is perfect for busy home cooks looking to save time during the week! You can prepare the filling and ganache up to 24 hours in advance. Simply make the filling by whisking together the ricotta, powdered sugar, and chocolate chips, and store it in an airtight container in the refrigerator. The ganache can be made and refrigerated as well. To maintain quality, ensure the layers of pound cake are tightly wrapped to prevent drying out. When you’re ready to assemble, layer the cake, filling, and ganache, and chill for at least 3 hours before serving. By prepping ahead of time, you’ll enjoy a delightful dessert with minimal last-minute effort!
What to Serve with Easy No-Bake Cannoli Cake?
Delightful pairings can elevate your Easy No-Bake Cannoli Cake to a whole new level of enjoyment.
- Fresh Berries: The tartness of strawberries or raspberries beautifully cuts through the richness, adding a fresh note to the dessert.
- Espresso: A strong cup of espresso complements the creamy layers, providing a balanced contrast that pairs perfectly with this Italian-inspired treat.
- Vanilla Ice Cream: Creamy ice cream adds an irresistible sweetness while enhancing the decadent layers of the cannoli cake. The contrast of cold and creamy will have everyone coming back for more.
- Whipped Cream: A dollop of lightly sweetened whipped cream on the side adds a luscious touch and extra creaminess to the slice.
- Chocolate Sauce: Drizzling warm chocolate sauce over the top tantalizes the taste buds, intensifying the chocolate experience for every chocolate lover.
- Amaretto Liqueur: Serve a small glass of this sweet almond-flavored liqueur alongside the cake for an adult twist that pairs beautifully with the dessert.
These suggestions will not only enhance the dessert but create a wonderful experience for your guests as they indulge in layers of flavor!
How to Store and Freeze Easy Cannoli Cake
-
Fridge: Store leftovers in an airtight container in the refrigerator for up to 3 days. This will keep the flavors fresh and the texture delightful.
-
Freezer: If you want to keep the Easy Cannoli Cake longer, wrap individual slices tightly in plastic wrap, then place them in an airtight freezer bag. It can be frozen for up to 2 months.
-
Thawing: When you’re ready to enjoy, remove the dessert from the freezer and let it thaw in the fridge overnight for the best texture.
-
Reheating: This cake is best served chilled and doesn’t require reheating, but you can let it sit at room temperature for 15 minutes for a softer texture before serving.
Easy Cannoli Cake Variations
Feel free to let your creativity shine and customize this delightful cake to suit your taste buds!
-
Nutty Twist: Add chopped pistachios into the ricotta filling for a crunchy surprise that pairs beautifully with the creamy texture. Imagine the satisfying crunch that complements every bite!
-
Fruity Fusion: Toss in fresh raspberries or strawberries between the layers for a fruity burst of flavor. Not only does this add color, but the tartness balances the sweetness of the filling wonderfully.
-
Dairy-Free Delight: Substitute coconut cream for heavy whipping cream and use a dairy-free pound cake for a delicious, dairy-free version. This brings a subtle tropical flavor that feels light and refreshing!
-
Chocolate Lovers: Replace half of the mini chocolate chips with dark chocolate chunks or even a drizzle of melted dark chocolate over the top for an indulgent twist. This variation brings an irresistible richness to every slice.
-
Citrus Zing: Stir in zest of a lemon or orange into the ricotta mixture for a bright, zesty flair. The citrus elevates the flavors, making each bite taste fresher and more vibrant.
-
Coffee Infusion: Incorporate instant espresso powder into the ricotta filling for a delightful coffee kick. It’s perfect for those who enjoy a little caffeine alongside their dessert!
-
Syrup Soak: Soak the pound cake layers in a vanilla or amaretto syrup for extra moisture and added sweetness. This will enhance the depth of flavor and make your cake even more sumptuous.
-
Individual Servings: Layer the filling and cake in dessert cups for easy handling at gatherings. This fun presentation allows guests to enjoy their own portion without any fuss!
Explore these variations to make your Easy Cannoli Cake uniquely yours. And if you’re in the mood for more creamy delights, check out my recipes for Butter Jelly Cheesecake or Carrot Cake Cheesecake!
Easy Cannoli Cake Recipe FAQs
What type of pound cake should I use for this recipe?
I recommend using a quality frozen pound cake, like Sara Lee, as it provides excellent structure and flavor. Be sure to freeze it thoroughly before slicing to achieve cleaner cuts, ideally for at least 2 hours.
How should I store leftover Easy Cannoli Cake?
Store any leftovers in an airtight container in the refrigerator for up to 3 days. This keeps the flavors fresh while maintaining the delightful textures of the cake and filling. You can also cover the cake tightly with plastic wrap if it fits in the container.
Can I freeze Easy Cannoli Cake?
Absolutely! Wrap individual slices tightly in plastic wrap and then place them in an airtight freezer bag. It can be stored in the freezer for up to 2 months. This way, you can enjoy a slice whenever you crave a sweet treat.
What should I do if the ganache is too runny?
If you find your ganache is too runny, let it cool in the refrigerator for about 15-30 minutes to thicken before pouring. If it’s still too thin, you can reheat it gently on the stove and add a bit more chocolate, one tablespoon at a time, until you reach your desired consistency.
Can I make this cake gluten-free?
Yes, you can! Simply substitute the frozen pound cake with a gluten-free version. There are delicious gluten-free pound cakes available in stores, or you can make your own with gluten-free flour. Additionally, always check labels on ricotta cheese and chocolate chips to ensure they are gluten-free.
Is this cake suitable for pets or those with allergies?
The Easy Cannoli Cake is not safe for dogs or cats due to the chocolate content. Additionally, if anyone has dairy allergies, you can experiment with dairy-free alternatives, like coconut cream instead of heavy cream and dairy-free chocolate chips. Just keep in mind that the flavor and texture may vary slightly.
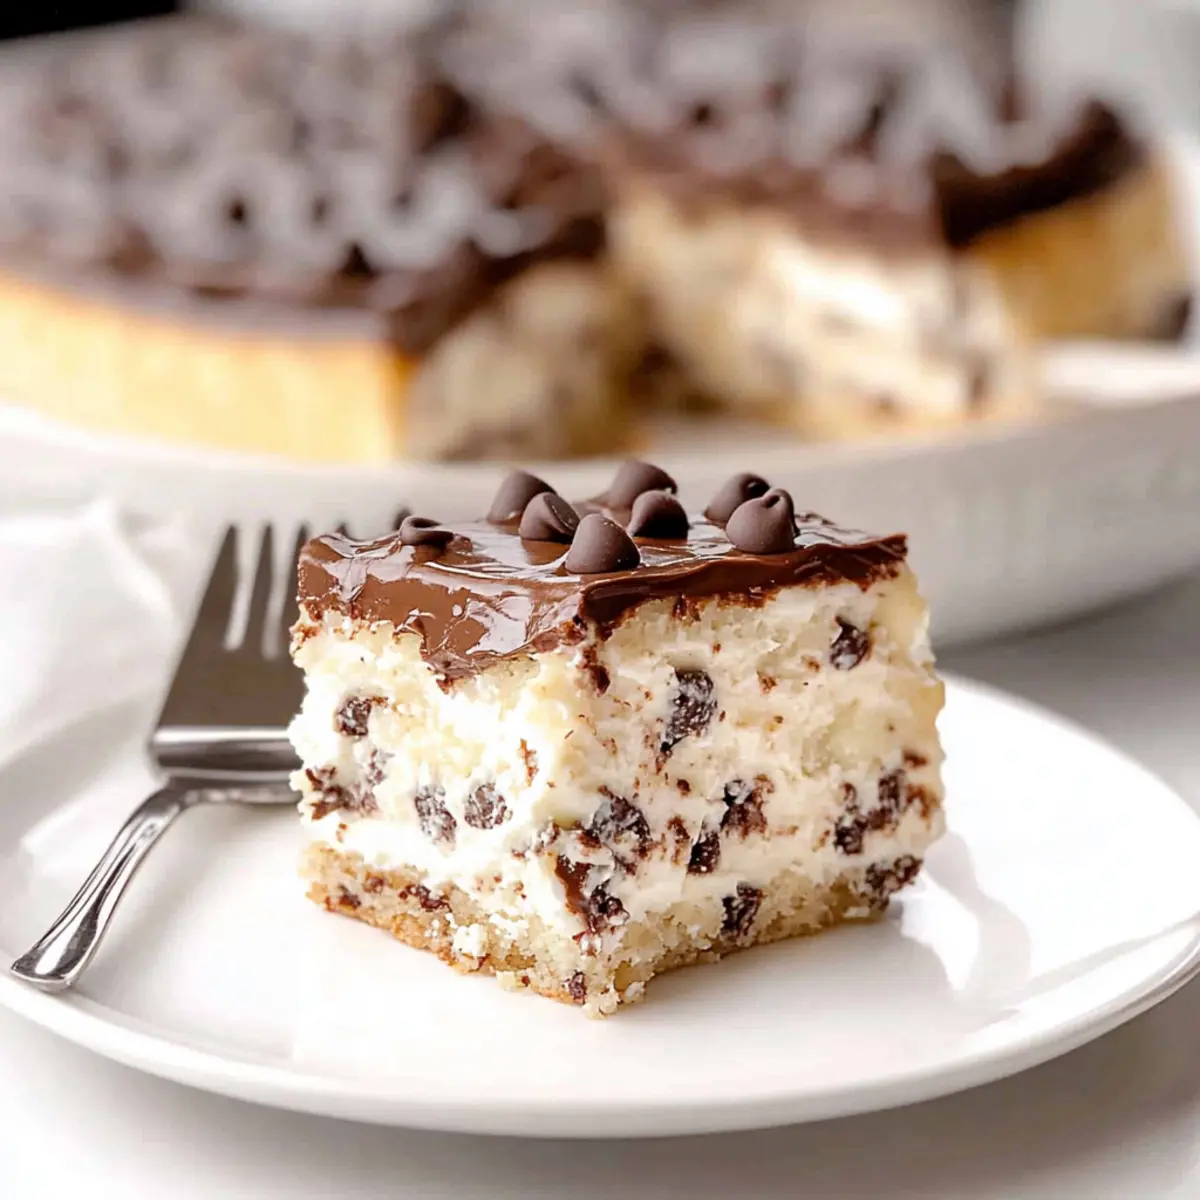
Easy Cannoli Cake That Impresses Without Baking Effort
Ingredients
Equipment
Method
- Begin by placing the frozen pound cake in the freezer for at least 2 hours, ensuring it is solid and easy to slice. Once fully frozen, remove it from the freezer and use a sharp serrated knife to slice the cake into even ¼ inch pieces, which will create the perfect base for your Easy Cannoli Cake layers.
- In a medium saucepan, heat 1 cup of heavy cream over medium heat until it just begins to simmer but not boil. Remove from heat and pour it over 12 ounces of mini chocolate chips in a bowl. Let this mixture sit for about 5 minutes, then stir gently until smooth and glossy. Allow the ganache to cool and thicken slightly in the refrigerator while you prepare the filling.
- In a large mixing bowl, combine 15 ounces of whole milk ricotta cheese, ¾ cup of powdered sugar, and 1 teaspoon of vanilla extract. Whisk the ingredients until the mixture is smooth and creamy, with a velvety consistency. Then, gently fold in the remaining 6 ounces of mini chocolate chips, ensuring they are evenly distributed throughout the filling for that delightful texture in your Easy Cannoli Cake.
- In another bowl, pour the remaining 1 cup of heavy whipping cream and whip it using an electric mixer on medium-high speed until you reach stiff peaks, which should take about 3-5 minutes. This light and airy cream will enhance the filling. Carefully fold the whipped cream into the ricotta mixture, taking care not to deflate it while creating a luscious, fluffy filling.
- In an 8x8-inch pan, lay down the first layer of freshly sliced pound cake, covering the bottom completely. Spread half of the ricotta filling over this layer, smoothing it with a spatula. Add another layer of pound cake, top with the remaining filling, and finish with one final layer of cake on top for a beautiful layered dessert.
- Once the filling is set in the cake layers, retrieve the cooled ganache. Pour it over the top of the cake, spreading it evenly to create a delectable chocolate layer. Then, sprinkle the leftover mini chocolate chips on top for added texture and visual appeal.
- Cover the assembled cake with plastic wrap and place it in the refrigerator for a minimum of 3 hours, or overnight if possible, to allow the flavors to meld together beautifully.