
Introduction to Espresso Cheesecake
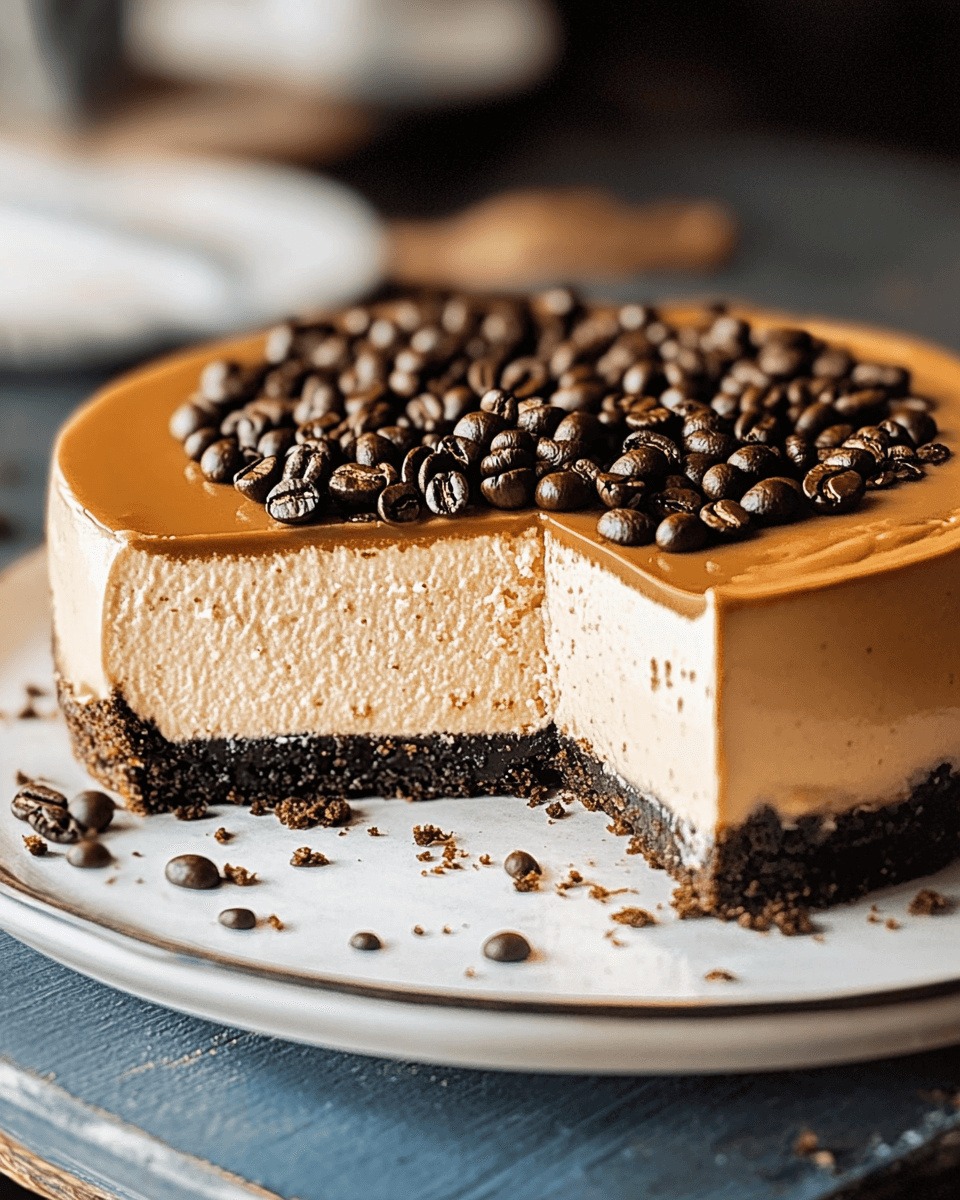
There’s something magical about the combination of coffee and dessert, isn’t there? When I first discovered espresso cheesecake, it felt like a delicious secret waiting to be shared. This rich and creamy espresso cheesecake is not just a treat; it’s a delightful experience that can elevate any gathering. Whether you’re looking to impress your loved ones or simply indulge after a long day, this recipe is your go-to solution. With its perfect balance of flavors, it’s sure to become a favorite in your home. Let’s dive into this culinary adventure together!
Why You’ll Love This Espresso Cheesecake
This espresso cheesecake is a game-changer for dessert lovers. It’s incredibly easy to whip up, making it perfect for busy weeknights or last-minute gatherings. The rich flavors of coffee and chocolate create a taste sensation that will leave your guests raving. Plus, it’s a crowd-pleaser that pairs beautifully with a cup of coffee or a glass of dessert wine. Trust me, once you try it, you’ll be hooked!
Ingredients for Espresso Cheesecake
Gathering the right ingredients is the first step to creating your espresso cheesecake masterpiece. Here’s what you’ll need:
- Crushed digestive biscuits: These form the base of your cheesecake, providing a delightful crunch and a hint of sweetness.
- Melted coconut oil: This adds richness to the crust while keeping it dairy-free. You can also use unsalted butter if you prefer.
- Brown sugar: It enhances the crust with a deep, caramel-like flavor that pairs beautifully with the coffee.
- Cream cheese: The star of the show! It gives the cheesecake its creamy texture and tangy taste.
- Ricotta cheese: This adds lightness and a unique flavor, making the cheesecake even more delightful.
- Confectioners’ sugar: For sweetness, this sugar dissolves easily, ensuring a smooth filling.
- Almond extract: A splash of this adds a lovely nutty aroma that complements the coffee perfectly.
- Strong brewed coffee: The key ingredient that brings the espresso flavor to life. Make sure it’s cooled before adding!
- Eggs: They help bind everything together, giving the cheesecake its structure.
- Sour cream: This is whipped and spread on top for a tangy finish that balances the sweetness.
- Dark chocolate shavings: A garnish that adds a touch of elegance and a hint of bitterness to contrast the sweetness.
For those looking to experiment, consider adding a splash of espresso liqueur for an extra kick. If you want a lighter version, swapping half of the cream cheese for silken tofu works wonders. You can find the exact quantities for each ingredient at the bottom of the article, ready for printing!
How to Make Espresso Cheesecake
Creating your espresso cheesecake is a delightful journey. Follow these simple steps, and you’ll be savoring a slice of heaven in no time!
Step 1: Preheat and Prepare
Start by preheating your oven to 325°F (163°C). This ensures your cheesecake bakes evenly. While the oven warms up, grab a 9-inch springform pan. Lightly grease it with butter or a non-stick spray. This will help your cheesecake release easily once it’s baked. Trust me, you don’t want to wrestle with a stuck cheesecake!
Step 2: Make the Crust
In a mixing bowl, combine the crushed digestive biscuits, melted coconut oil, and brown sugar. Blend them until the mixture resembles wet sand. It should hold together when pressed. Now, firmly press this mixture into the base of your prepared springform pan. Make sure it’s even and compact. This crust is the foundation of your espresso cheesecake, so give it some love!
Step 3: Prepare the Filling
In another bowl, mix the softened cream cheese and ricotta cheese until smooth and creamy. Gradually add the confectioners’ sugar and almond extract, blending until well combined. Next, pour in the cooled strong brewed coffee and stir until fully incorporated. Now, add the eggs one at a time, mixing gently on low speed after each addition. This helps avoid overmixing, which can lead to cracks in your cheesecake.
Step 4: Bake the Cheesecake
Carefully pour the cheesecake filling over the crust in the springform pan. Smooth the surface with a spatula for a nice finish. Place it in the preheated oven and bake for about 50-60 minutes. You’ll know it’s done when the edges are firm, but the center still has a slight wobble. This wobble means it will set perfectly as it cools.
Step 5: Cool and Chill
Once baked, turn off the oven and leave the cheesecake inside with the door ajar for an hour. This gradual cooling helps prevent cracks. After an hour, transfer the cheesecake to the refrigerator. Let it chill for at least 4 hours, or overnight if you can wait. The longer it chills, the better the flavors meld together!
Step 6: Garnish and Serve
Before serving, whip the sour cream until fluffy. Spread it over the top of the chilled cheesecake for a tangy finish. Finally, sprinkle dark chocolate shavings on top for that elegant touch. Your espresso cheesecake is now ready to impress! Slice it up and enjoy every rich, creamy bite.
Tips for Success
- Use room temperature ingredients for a smoother filling.
- Don’t skip the cooling step in the oven; it helps prevent cracks.
- For a richer flavor, use freshly brewed espresso instead of regular coffee.
- Keep an eye on the baking time; every oven is different.
- Let the cheesecake chill overnight for the best texture and flavor.
Equipment Needed
- 9-inch springform pan: Essential for easy removal. A regular cake pan works, but it may be trickier to serve.
- Mixing bowls: Use a large bowl for the filling and a smaller one for the crust.
- Electric mixer: A hand mixer is perfect for blending the filling smoothly.
- Spatula: Great for smoothing the filling and scraping down the sides of the bowl.
- Measuring cups and spoons: Accurate measurements ensure the best results.
Variations
- Chocolate Espresso Cheesecake: Add melted dark chocolate to the filling for a richer, chocolatey flavor.
- Nutty Delight: Incorporate finely chopped nuts like walnuts or hazelnuts into the crust for added texture and flavor.
- Vegan Option: Substitute cream cheese with a vegan cream cheese alternative and use flax eggs instead of regular eggs.
- Decaf Version: Use decaffeinated coffee for a delicious dessert that won’t keep you up at night.
- Fruit Topping: Top with fresh berries or a berry compote for a refreshing contrast to the rich cheesecake.
Serving Suggestions
- Pair your espresso cheesecake with a rich cup of freshly brewed coffee for a delightful experience.
- Serve with a dollop of whipped cream for added creaminess and a touch of sweetness.
- Consider a side of fresh berries to add a pop of color and a refreshing contrast.
- For an elegant presentation, drizzle chocolate sauce over the cheesecake before serving.
- Enjoy with a glass of dessert wine or a creamy liqueur for a luxurious finish.
FAQs about Espresso Cheesecake
As you embark on your espresso cheesecake journey, you might have a few questions. Here are some common queries that can help you along the way:
Can I use instant coffee instead of brewed coffee?
Absolutely! Just dissolve the instant coffee in hot water to create a strong coffee flavor. It’s a quick and easy alternative.
How do I prevent my cheesecake from cracking?
To avoid cracks, make sure to cool the cheesecake gradually in the oven and don’t overmix the filling. Room temperature ingredients also help create a smooth texture.
Can I make this cheesecake ahead of time?
Yes! In fact, making it a day in advance allows the flavors to meld beautifully. Just keep it covered in the fridge until you’re ready to serve.
What can I substitute for ricotta cheese?
If you don’t have ricotta, you can use mascarpone or even cottage cheese blended until smooth. Each will give a slightly different texture but will still taste great!
Is this espresso cheesecake suitable for vegetarians?
Yes, this recipe is vegetarian-friendly! Just ensure that the cream cheese and other dairy products you use are vegetarian-certified.
Final Thoughts
Creating this espresso cheesecake is more than just baking; it’s about crafting a moment of joy. Each slice offers a rich, creamy experience that dances on your taste buds, blending the boldness of coffee with the sweetness of chocolate. Whether you’re celebrating a special occasion or simply treating yourself after a long day, this dessert brings warmth and satisfaction. Sharing it with friends or family makes it even more special, as laughter and stories flow alongside each delicious bite. Trust me, once you serve this espresso cheesecake, it will become a cherished recipe in your home!
Espresso Cheesecake: Unlock the Secret to Delight!
Ingredients
Method
- Preheat your oven to 325°F (163°C) and prepare a 9-inch springform pan by greasing it lightly with butter or a non-stick spray.
- In a mixing bowl, blend the crushed digestive biscuits with the melted coconut oil and brown sugar until the mixture resembles wet sand. Press this mixture firmly into the base of the springform pan to create a solid crust.
- In another bowl, combine the cream cheese and ricotta cheese, beating them together until the mixture is smooth and creamy. Gradually add in the confectioners' sugar and almond extract, mixing until everything is well blended.
- Pour in the cooled coffee and stir until fully incorporated into the cheese mixture.
- Add the eggs one by one, mixing gently on low speed after each addition just until combined to avoid overmixing.
- Carefully pour the cheesecake filling over the prepared crust, smoothing the surface with a spatula.
- Bake in the preheated oven for about 50-60 minutes, or until the edges are firm and the center has a slight wobble.
- Once baked, turn off the oven and leave the cheesecake inside with the door ajar for an hour to cool gradually.
- After cooling, transfer the cheesecake to the refrigerator and allow it to chill for a minimum of 4 hours, or overnight for best results.
- Before serving, whip the sour cream until fluffy and spread it over the top of the cheesecake. Finish with a sprinkle of dark chocolate shavings for an elegant touch.
Nutrition
Notes
- For an extra kick, consider adding a splash of espresso liqueur to the mixture.
- For a lighter version, swap half of the cream cheese for silken tofu.